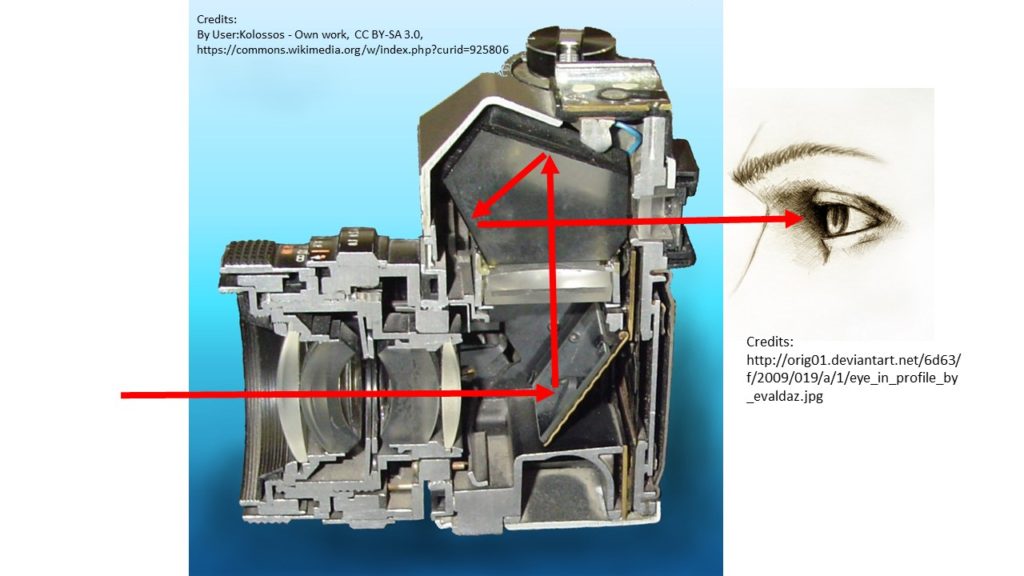
SLR is an abbreviation for Single Lens Reflex. It simply means that there is only one lens and that you via a mirror look through the lens that sit on front of your camera. This is as opposed to a rangefinder camera, where the viewfinder gives you a preview of the scene based on another lens that what the camera will be using to capture the image. Hence only a single lens in a DSLR.
The mirror flicks away when you take the shot (and it makes a noticeable noise). This is why you will see the viewfinder go black during the exposure – the light is sent to the sensor rather than the viewfinder.
The D in DSLR is Digital, as your camera has a digital sensor rather than a piece of film. So it is Digital Single Lens Reflex camera or DSLR.
A mirrorless camera (ML) has no mirror and simply sends the light directly to the sensor, that then via a small electronic viewfinder (a small TV!) presents the preview for the photographer in real time.
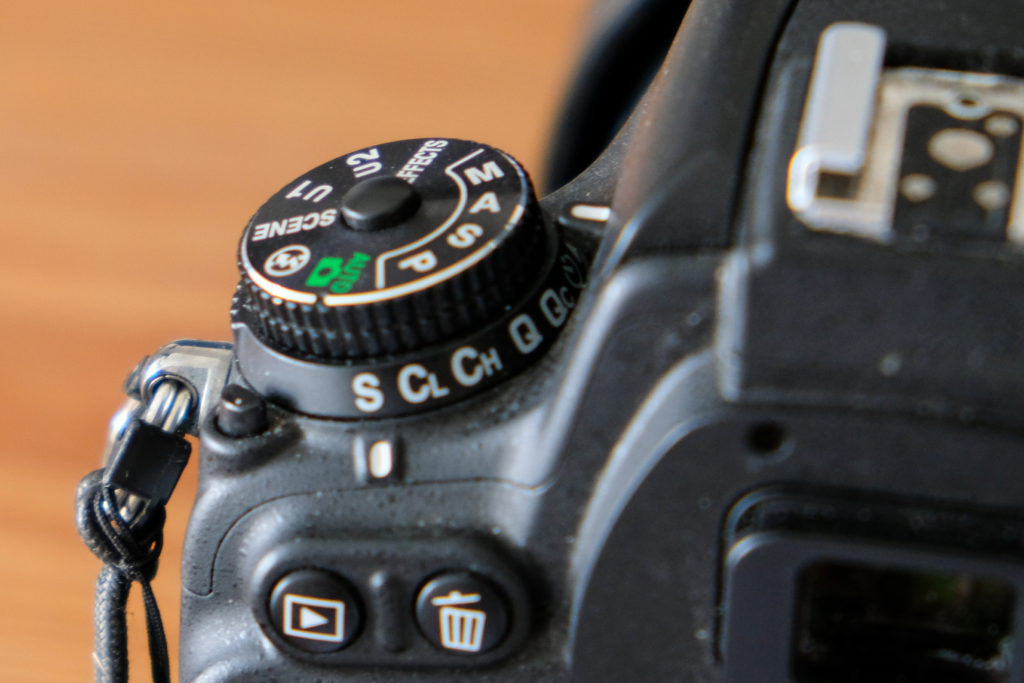
PASM is abbreviations for program, aperture priority, shutter priority and manual exposure modes. You typically find these modes on a dial top left of your camera. If you are shooting Fuji, you will not have a PASM dial – the camera figures out the mode based on your selections.
The point with the PASM dial is to control how much control you have of how correct exposure is achieved. You may recall that the exposure triangle gives 3 variables to control the exposure: Aperture, Shutter speed and ISO. Lets get back to ISO a bit later, as ISO is not controlled by the PASM dial.
(P)rogram mode: Camera controls aperture and shutter
(A)perture priority: You control aperture, camera controls shutter
(S)hutter priority: Camera controls aperture, you control shutter
(M)anual mode: You control aperture and shutter
So what is the point with different degrees of control? It all comes down to what it is your are shooting and what you want to achieve. Not a very helpful answer, but some examples might help:
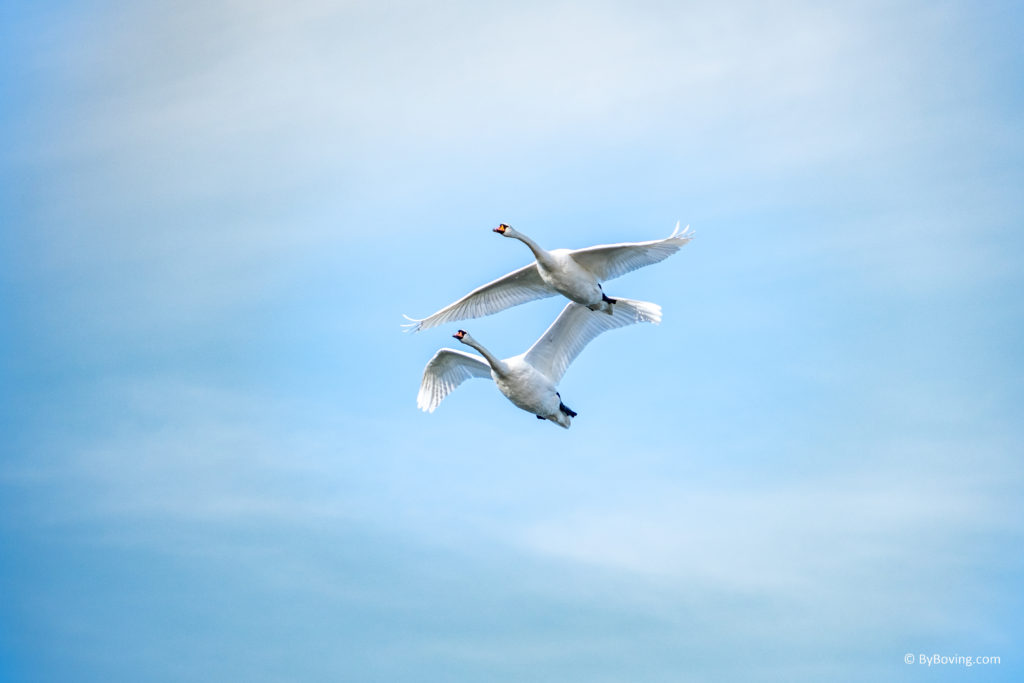
Lets say you want so shoot something that moves very fast and you want to freeze the action. In that case you want to secure that the wings for the bird for example are not a big blur but is captured razor sharp. So here shutter priority is a good choice, as you set the shutter speed to say 1/1000th of a second and ask the camera to adjust the aperture to get a correct exposed image.
In another situation you are shooting a landscape with very little moving parts. But you want to have as much of the landscape sharp as possible, so you set the aperture very narrow to maximize the depth of field. You leave it up to the camera to determine the shutter speed.
The thing to realize is that your camera, no matter how clever it is, cannot tell what it is you are shooting. Only you know that. So if you go for the automated (P)rogram mode, you get some “middle of the road” camera settings that may not work for what it is you want to achieve. So by taking the camera out of the automated exposure mode (P) and move to the semi automated modes (A) and (S), you get more control. And the top of the pop is manual mode (M) where you can control both shutter speed and aperture at the same time. This can be used for example to deliberately under or over exposing your image to achieve a high key effect. It all comes down to what you want to achieve.
What is then the difference between Auto mode and Program mode? You probably have auto mode as a green option on the mode dial on your camera. In auto mode, the camera controls EVERYTHING – you are really going with an auto pilot here. In program mode, the camera only automates the exposure settings – you control many other options, for example if a flash is to be used or not. In auto mode, the built in flash (provided your camera has one) pops up as soon as the camera finds there is too little ambient light.
What about ISO then? ISO is typically controlled irrespective of the exposure mode. You can control ISO via the menu system and sometimes via buttons on the camera body. ISO comes in 2 option: Auto or a specific value. If you set the camera in Auto ISO mode, it is one more dimension the camera can use to get a usable image. But be aware that you pay a price for using high ISO values: grain. There is no free lunch in photography.
RAW format is a way of storing information about an image so that it gets as close as practically possible to what the camera sensor recorded.
It is not about resolution. The resolution of the image is (unless cropping) determined by the resolution of the sensor. You can have two images in different formats (say JPG and RAW) and they hold the same resolution, but what is different is how much information is stored about each point or dot (pixel) in the image.
RAW format stores much more information about each pixel than other formats do. This maximizes the options for you to work with the image in post processing – you can recover shades in the dark, clipping in the highlights and work with the colors to a degree that no other format allows you to.
But there is no free lunch in photography. The price you pay for all this flexibility and headroom is the file size. RAW format takes up much more space than JPG or HEIC formats, even when the resolution of the image is the same. That is why many edit their images in RAW format and finish their work by exporting the file to a format that takes up less space – this makes sharing on social media much easier.
Vignetting is simply that the corners or edges of your image are darker than the center. It is caused by the lens, but can also be created artificially in post processing software. The term light falloff is also used for the same.
Some use vignetting to draw attention to the center of the image and hence find it useful.
Most lenses exhibit some level of vignetting and it is most common for lenses that can open up and let in a lot of light (say f/1.4 or f/1.2). Some cameras are able to correct the vignetting as part of the cameras processing of the image, so it is never visible to the photographer.
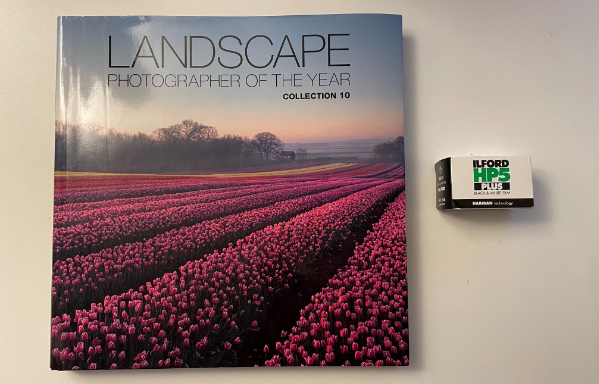
I believe they produce a book similar to this one every year, or at least regularly. This is the edition 10, with 1-9 preceding obviously. So it is not the latest and greatest I am reviewing here, but the images are timeless and hence the edition number is of less interest.
It is VisitBritain as sponsor amongst others, so there is an agenda here other than just distributing some absolutely lovely award winning British images.
And I am happy to see that one of my favorite ocean photographers Rachel Talibart is one of the winners that made it into this book (the Sunday Times magazine award), but there are simply so many other talented British photographers that you have to see it to understand it. This is only the top of the iceberg – there must be so many hard working photographers out there that are not on display in this book.
One of the things I really enjoy about this book – other than the beautiful images – is that the photographers tell a little story about each image and in the back of the book they document what camera, settings and lens they used, and in addition briefly describe their post processing work. This is valuable insights, and shows that cameras of different make and price range are all able to produce beautiful images. It is the photographer that makes the big difference. A decent quality and camera is merely the means to an end.
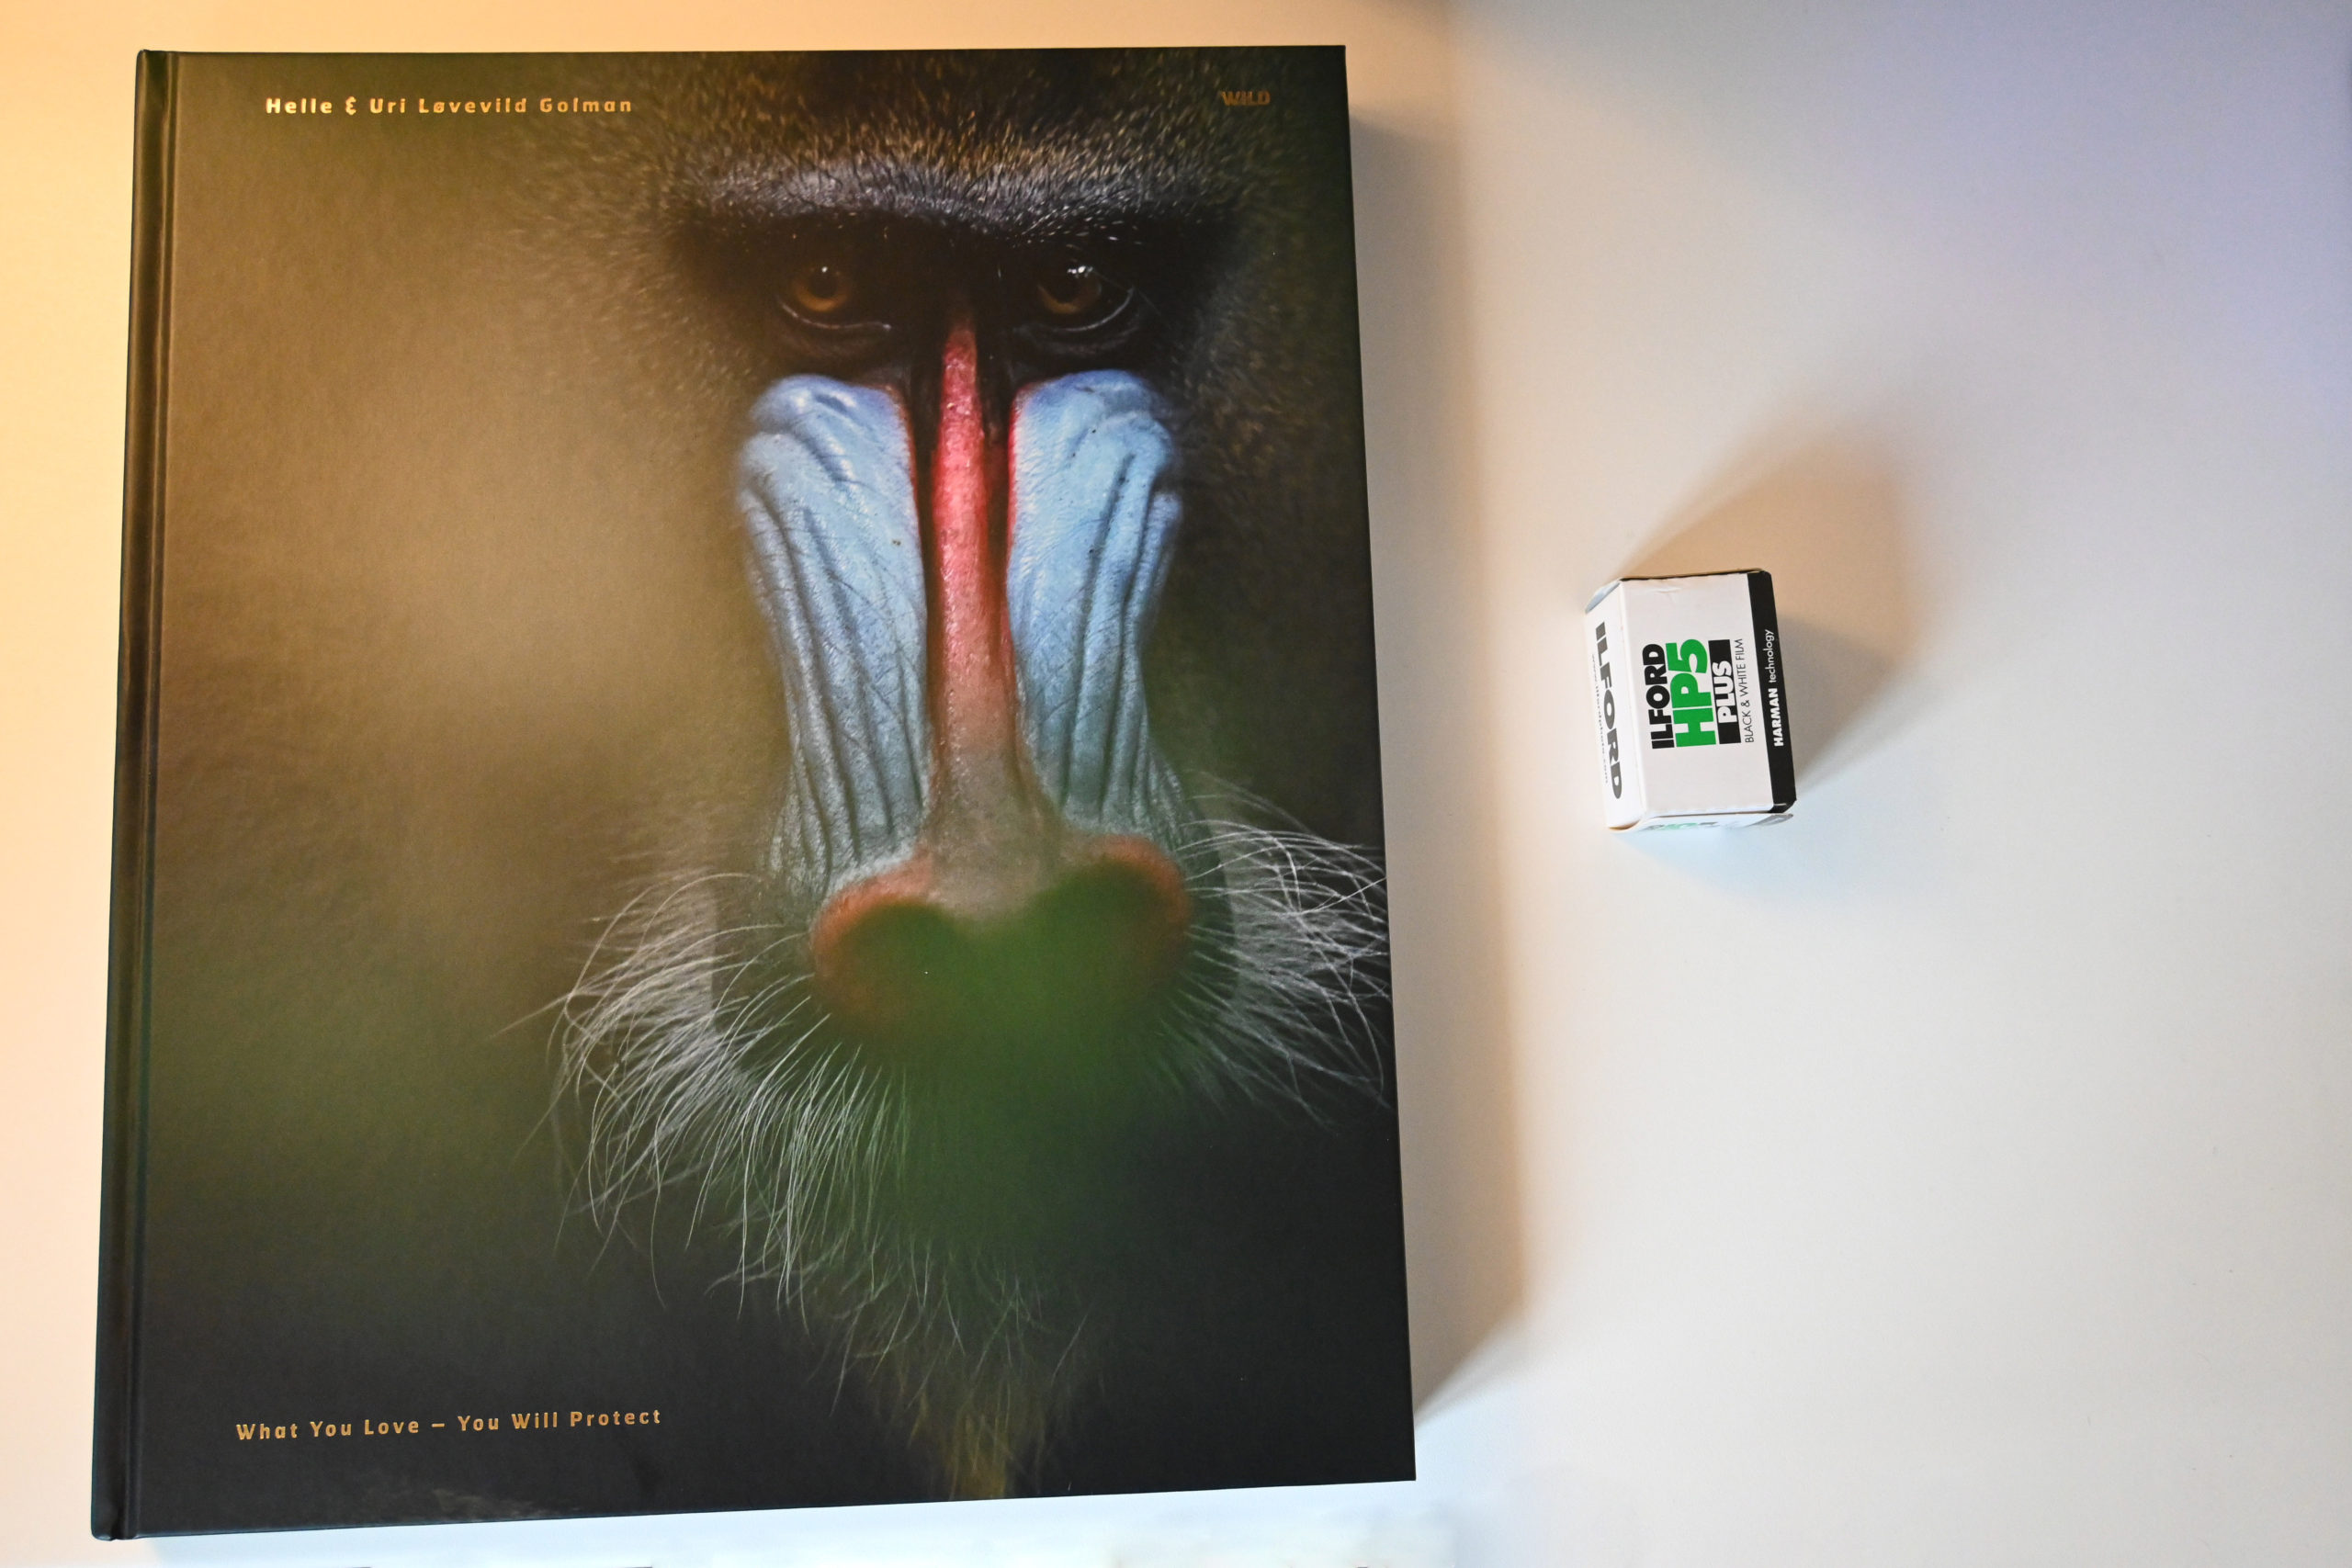
The two Danish photographers Helle and Uri have captured images of wildlife that are nothing short of astonishing. This 200+ page coffee table book is filled with one wonderful image after another. Their passion for wildlife and nature shines from every single image, carefully selected from numerous journeys into the wild: South America, Greenland, New Guinea, Antarctica -the list goes on and on.
It is seldom that I am blown away by even a single image, but in this case I was blown away by almost every single image in this giant of a book. Their work is truly impressive. It is the combination of their love for nature that shines from each page and the technically impeccable images that lifts this book to a level that I have seldom seen. There are a few introduction pages and forewords, but other than that the book is filled with one wonderful image after another.
I can only recommend this book wholeheartedly, even if you are not a nature lover, you will be impressed by the sheer quality of the images presented.
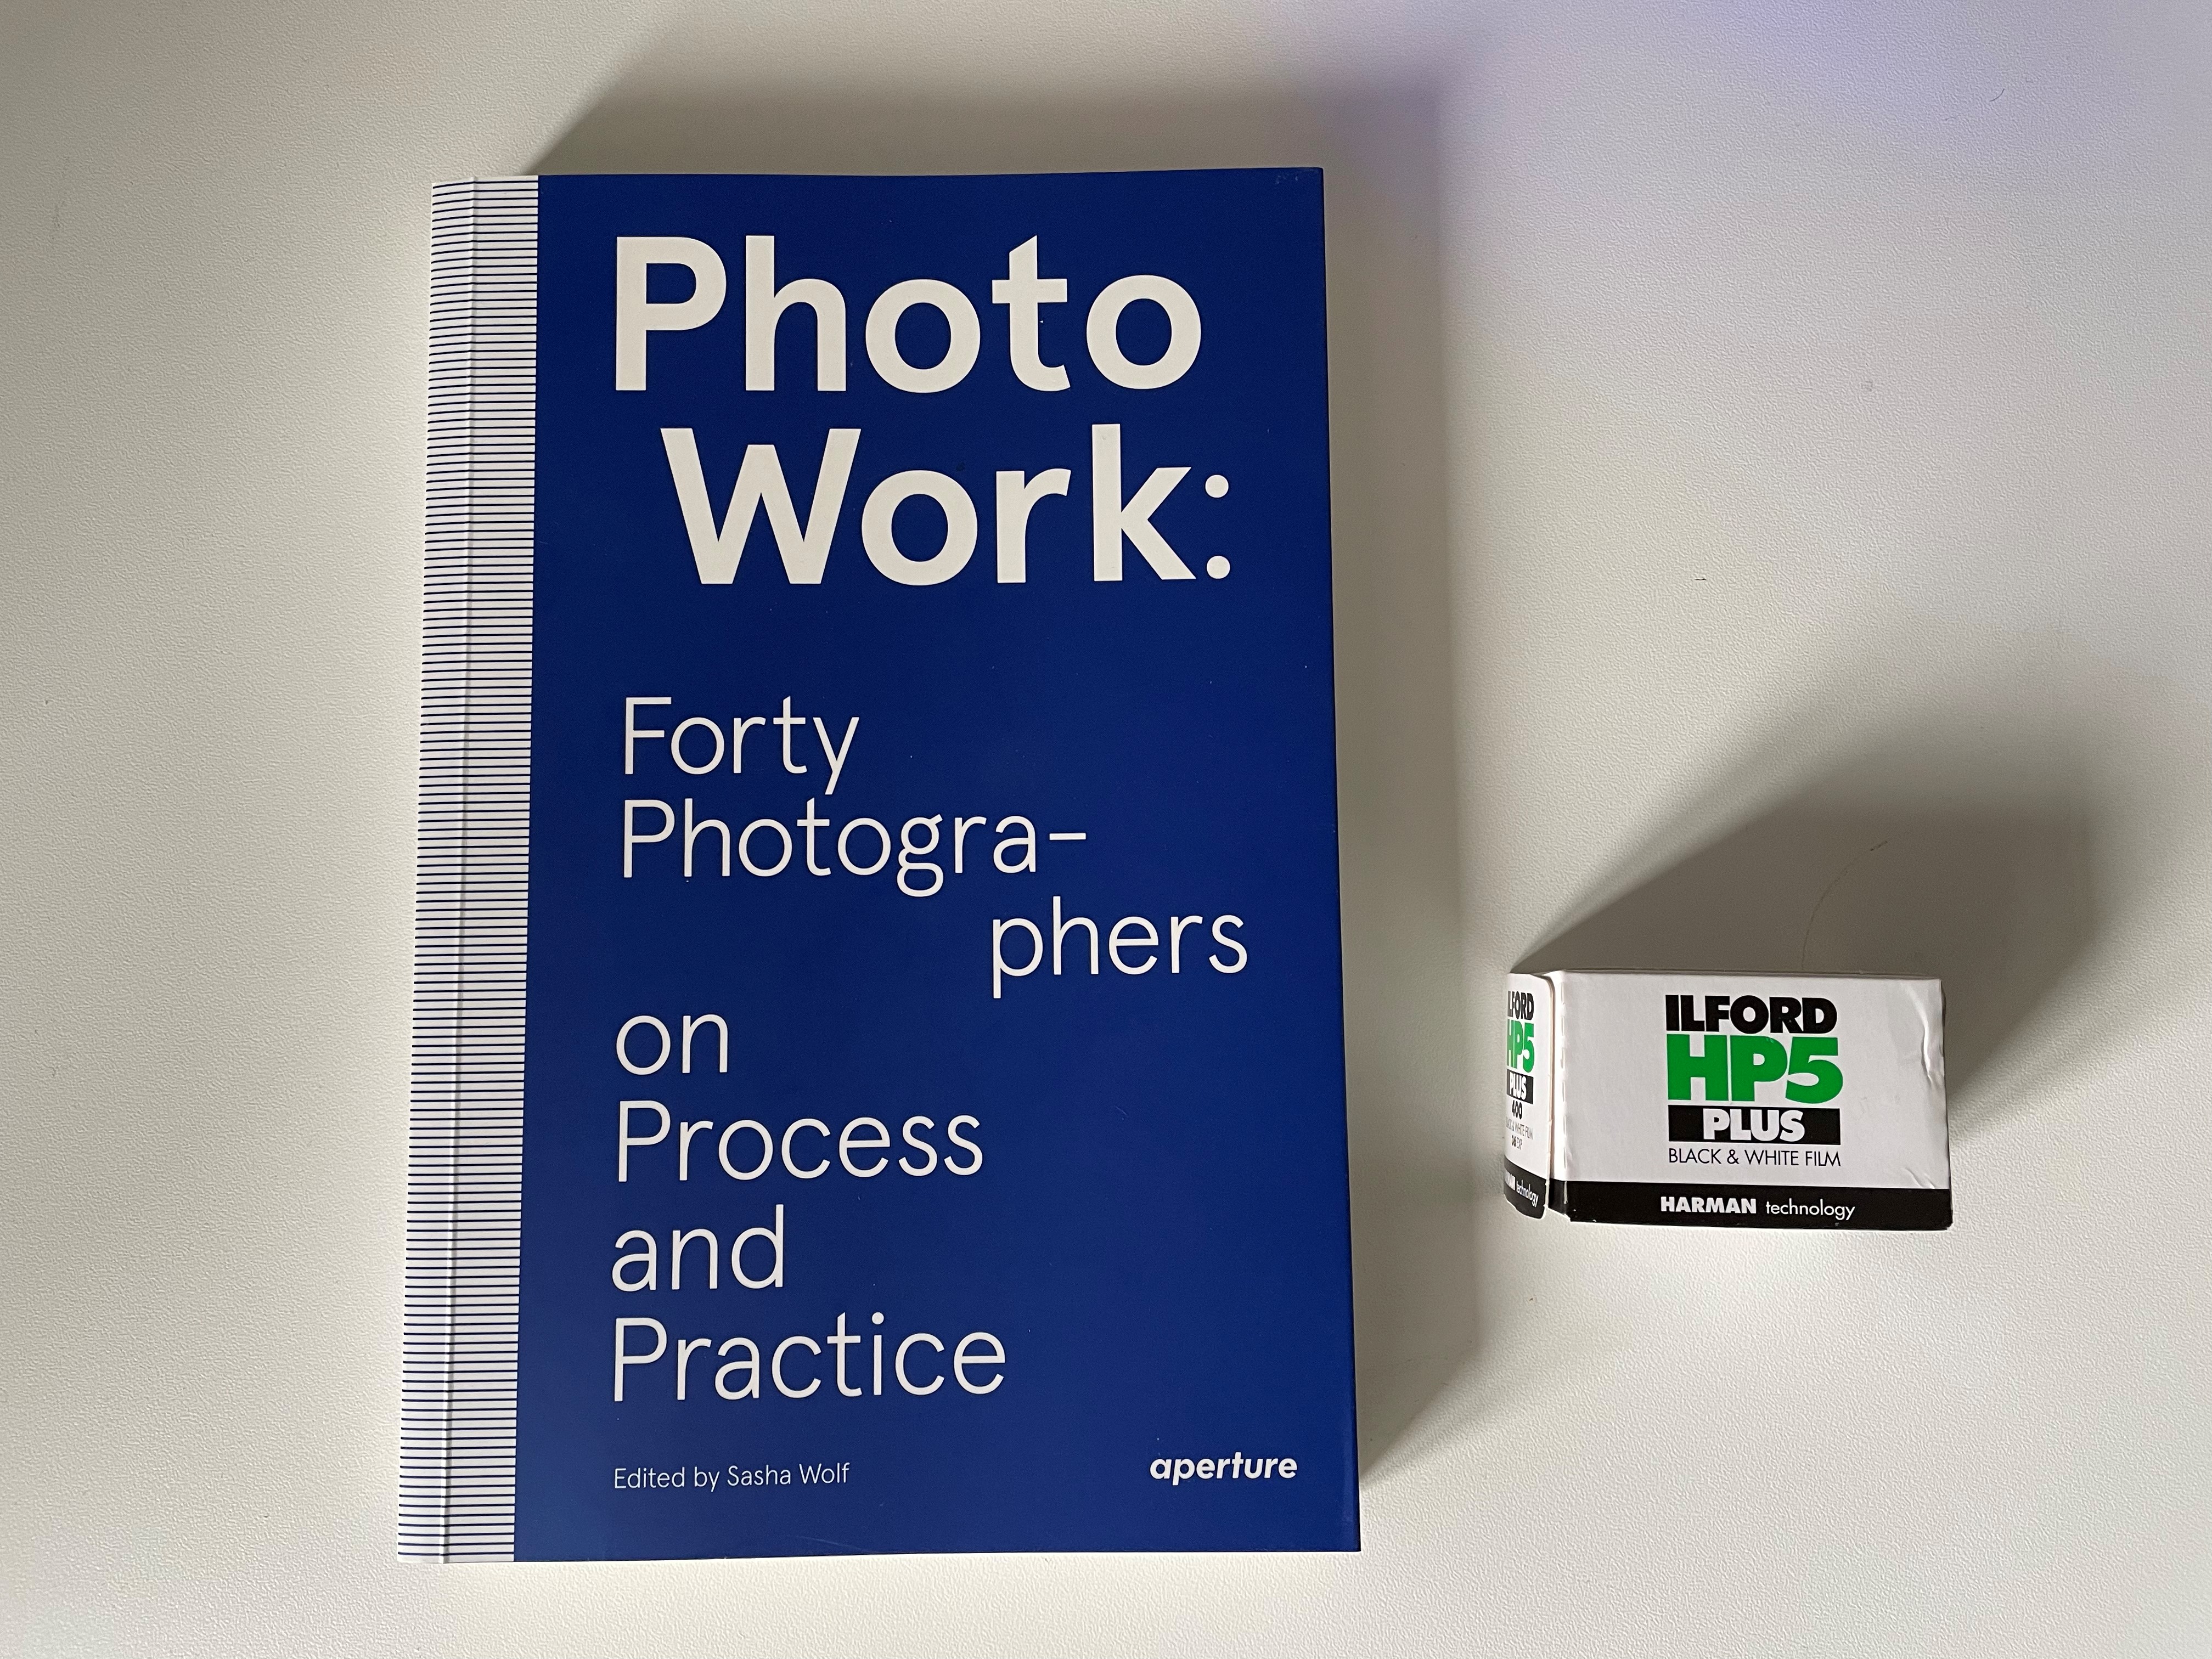
This book is as academic as they come! That is my review in short! If you are curious to look over the shoulders of 40 acclaimed photographers (like Andrew Moore or Paul Graham) and understand their process and workflow, then this is the book to read!
All 40 have been given the same questionnaire of 12 questions like “Do you create with presentation in mind, be that a gallery show or a book?”. The book is simply the documentation of 40 answers to these 12 questions.
This is not your beginners book about photography, nor the advanced book about photography, rather it is an look into the minds and workflows of some highly creative people. I could as well have been a book about painters – the questions and their answers are that agnostic to photography.
So only if you have a keen interest in this highly specialized area can I recommend this book – otherwise I would stay clear of the 255 pages of process and insights.
When light travels though the lens, the aperture blades can reduce the diameter of the hole the light travels through. Most lenses can close down the aperture to a very, very small area – the size of a pinhead or even smaller.
When light has to travel through such a small hole it simply changes slightly. This can get very technical, but the effect is that your images appear soft, i.e. as if out of focus – even when you have focused perfectly.
Photographers debate exactly when the effect sets in and how large the effect is. Macro photographers often shoot at crazy high f-stop numbers (closed down apertures) and seem to be doing fine, and in many find that the effect of diffraction is exaggerated.
The best you can do is to notice if your lens/camera combination gives diffraction – I think you should start to worry about this from around F/16 and onwards.
When your DSLR focuses, it typically does so by opening the aperture up as much as possible to allow all the available light to flow to the auto focus system. So if for example you are shooting with a f/1.8 lens at f/8, the camera will open up to f/1.8 to focus and then shift down to f/8 to take the picture.
Some lenses, especially lenses that can go very wide, i.e. a low f-stop number, suffer from focus shift, which means that the lens moves the focal plane as a consequence of changing the aperture.
This is nothing short of a catastrophe for an auto focus system, as the camera gets the focus sharp at f/1.8, but then when the image is taken at f/8 the subject is no longer in tac sharp focus.
There are a few ways to mitigate focus shift, as you can of course shoot at the maximum aperture – then the focus aperture and the shoot aperture is one and the same. You can also shoot in live view on your DSLR, as it the uses a different focus system than when not shooting in live view mode. The best option of course is to get a lens that does not suffer from focus shift!
This is not your average photography book – far from. Finn Beales apparently has landed some VERY big accounts (Apple, Land Rover, Audi, Cartier, etc) and in this book he shares how to pitch for a photography job, plan, deliver and maintain a good long lasting relationship with the client.
The book opens with a chapter about storytelling and how you make a series of pictures tie together to tell a story, with a clear red thread throughout the images – the last image holding the hand of the first one. It continues into how to pitch for a job, win it, plan it, execute the shoot day, edit and finally deliver. I learned a lot about how to manage such process (including the shoot day(s)) as a project and how much planning that is required.
There is a very good section in the book about what colors work together and why – and illustrated with specific examples to underline the points made. Finn coins this as creating a mood board. This was an eye opener for me. I have not come across a photo book where the use of color is addressed in this way and I can tell that this section of the book is one that I will re-visit over and over again.
Finn also has a section about which focal lengths he uses for what kind of shots and I really felt that this part of the book was like looking over the shoulder of a successful commercial photographer. I really found this part extraordinary, and as a result it re-ignited my love for the 50mm prime as a universal tool in my camera bag!
There also are some chapters about editing your photos, but here I felt that I did not learn that much new. However, Finn also addresses how to do data management of your photo files, and here there are lots of tips and tricks that I think you will find useful.
So all in all I found this book both interesting and useful, but if you are new to photography, this would NOT be the book I’d start with. There are better options from Joel Sartore and Michael Freeman. However, if:
storytelling with pictures
project management of your shoots
use of colors to create moods
creating and maintaining client accounts
processing and storing your images
are subjects of interest to you, then this book is definitely worth it. 176 pages with lots of illustrations and examples and exercises. And there is more to be found on his website.