Is the camera shutter count important?

The odometer of a used car is an important indicator of just how used the car is! It may not tell exactly how well the previous owner(s) took care of the car, nor if they drove like rotten tomatoes or carefully like some senior citizens are able to. The shutter count on your camera is a little bit the same: it tells something about how used the camera is, but it is not the entire story.

You can tell a lot from the scratches and wear and tear on the outside of the camera body – many professionals (sports, photo journalism) do not baby their gear and you can certainly tell from the look of the camera. However, the cameras they choose for their line of business is built for the purpose, so factor this in when looking at a seemingly beaten up pro grade used camera.

In the spec sheet, camera manufacturers list the shutter count life expectancy for a given camera. The Nikon D4 is set to 400.000, but Nikon is notorious for being conservative when it comes to the life expectancy, and many report that they have passed the  expected shutter count by several factors!

The shutter in a DSLR is one of the parts that endure the most wear and tear, and hence the focus is very much on the mechanical shutter itself. If your cameras shutter stops working, it is often possible to have the shutter itself replaced and the camera re-calibrated, giving you – if not a new then – a refurbished camera that most likely will have several good years ahead. However, the precondition is that the camera is within the service window still and that spare parts are available. I have a Nikon D4 that is 10+ years old, and I doubt that I can get that serviced anymore as spare parts simply are no longer produced or in stock.

Other parts like buttons and dials are subject to wear and tear as well as the lens mount and doors in the camera. Print cards and electronics can also see the end of their life, but the mechanical parts is usually where the issues surface first.

Some think that the camera shutter counter is reflected in the file numbering of the pictures. And to some extend it is, but you can typically re-set or change the file naming counter, so it is not evidence of the shutter count. Unfortunately, most camera manufacturers do not provide the shutter counter to be seen via say the menu system or some other easily available option. It is hidden inside the camera!

Good news is that the EXIF information of the images contains the shutter count. So if you take an image and send it to this website, you can get the information “pulled out” of the image, provided your camera is supported. Although they say that the image is not stored, I would recommend that you use a test shot or something that is not dear to you as the image you upload. I have only been able to make it work for RAW files, not JPGs.

Sample shutter count for a Nikon D4

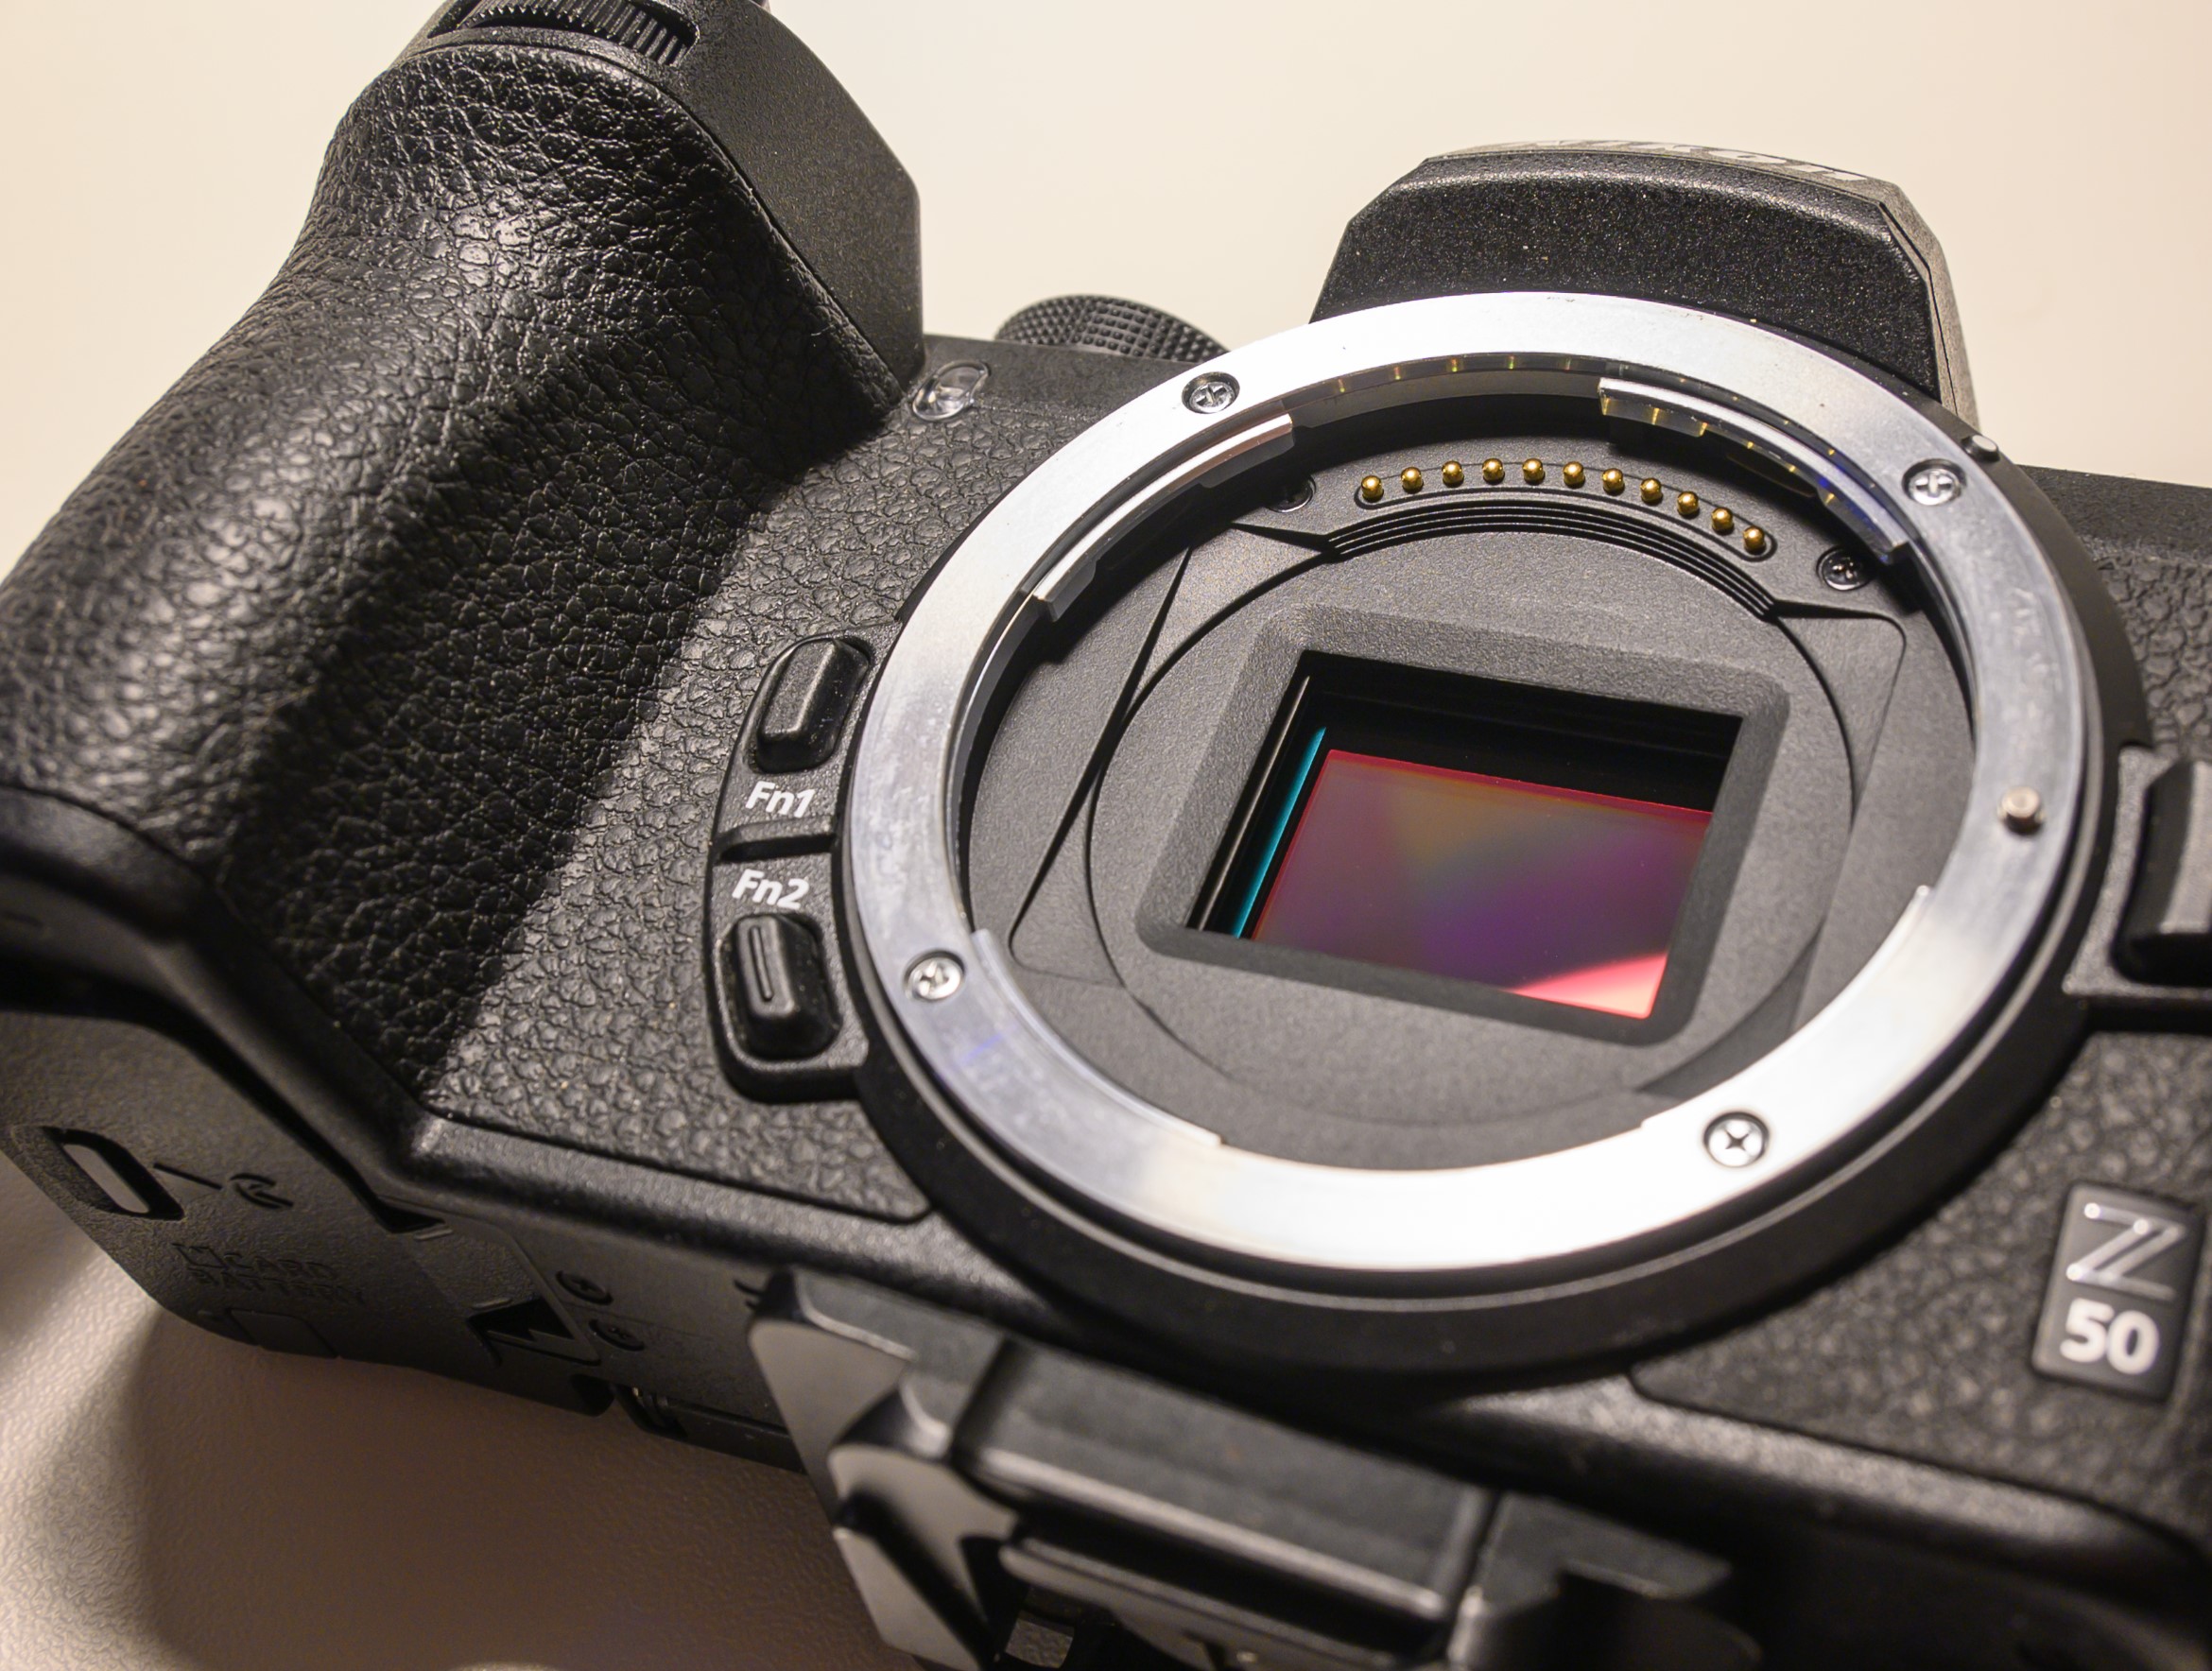
With the move from DSLRs to mirrorless cameras, the significance of the shutter count has dropped somewhat. However, there may still be a mechanical shutter in your mirrorless camera that is needed for flash photography or the like. However, when shooting with the electronic shutter, there is very little wear and tear of the mechanics of the camera (other than the shutter release button of course).

For a mirrorless camera you will typically find a counter for both the electronic and the mechanical shutter. For a DSLR, the distinction is between the counter including live-view shots and the more classic shutter release. It is a fair distinction, as the mirror is not flicking every time you shoot an image in live view.

Video link

What is colour depth in photography?

Colour is reproduced mixing 3 channels of primary colour (Red, Green, Blue) and the colour depth tells how much information can be stored per colour channel. As each bit can hold a value of either 1 or 0, and combining say 8 bits for one channel allows to store up to 2^8=256 different values.

If there is room for 8 bits per channel, the total number of colours will then be a combination of the 3 channel meaning 256*256*256 = more than 16 million combinations. So a 8 bit colour depth yields more than 16 million combinations.

Notice that if the image is monochromatic and e.g. only uses the red channel, then the number of combinations are dramatically reduced as the other channels are not used for storing information.

Related reading

What is the difference between resolution and bit-depth in photography?

What is BSI in photography?

BSI is Back Side Illumination in a digital camera sensor.

It gets very technical very quickly, but the gist of it is that BSI is a new way of organising the layers in the digital sensor of camera. The new layering  allows more light to travel to the pixels that read the light.

The big benefit of BSI is more precise reading of the light. Some say that the signal to noise ratio is improved, others that the dynamic rang is increased. If you compare the spec sheet of a traditional sensor with a back side illuminated sensor, the difference should appear as better specs for the BSI sensor.

In my experience, the improvements are shallow. I have both the Nikon D750 and the Nikon Z6ii, i.e. one camera with a traditional sensor and another with BSI. For my style of shooting (outdoor photography), I can hardly tell the difference, and I think it is because we are comparing some very good sensors to some very, very good ones!

Related reading

What is a camera image sensor?

What is IBIS in photography?

What is IBIS in photography?

IBIS is In Body Image Stabilisation.

It is a stabilisation system in the camera body, opposed to stabilisation that you will find in a lens. Some camera systems allow both the in body and the in lens stabilisation systems to work together to maximise the effect.

The point with stabilisation is to mitigate camera shake. If you shoot with a slow shutter opening time, it is possible to move the camera a good deal while the shutter is open. This will be visible in the image; it may look blurred or not sharp.

The classic way to mitigate this is via the use of a tripod to stabilise the camera. An alternative is to follow the reciprocal rule, that says that the shutter speed should be equal to or faster than the reciprocal focal length. So if you are shooting at 100mm, you should not shoot slower than 1/100th of a second.

IBIS in the camera body allows you to shoot handheld at slower shutter speeds than what the reciprocal rule suggests.

Related reading

What is a camera image sensor?

What is banding in photography?


What is exposure delay mode? (using Nikon as an example)

Camera shake is typically something you want to avoid if you want sharp images, and many landscape photographers use different techniques to avoid camera shake.

One classic tool is to put the camera on a tripod to secure the camera is held absolutely still during the exposure, but even when using a tripod, there are a few more factors that can contribute to camera shake, such as

  • the photographer pushing the shutter and hence moving the camera slightly
  • the mirror flicking (in a DSLR)

These small movements may – if you are striving for minimum camera shake – yield ever so slightly movements to the camera body. Here  exposure delay comes to the rescue.

Exposure delay is pretty much what the name says: after you hit the shutter, there is a delay before the picture being taken. It is worth noticing however, that on a DSLR, the mirror is lifted as you hit the shutter, so the mirror movement does not yield any camera shake.

You can set up the duration of the exposure delay in the shooting/display menu that you find in the custom settings menu (also know as the pencil menu).

Exposure delay mode
You find the exposure delay mode setup under the shooting/display menu item in the Custom Settings Menu.

In the menu “d” for shooting/display, you will find the Exposure delay mode option.

What is exposure delay mode? (Nikon)
You find the exposure delay mode menu item in the shooting/display menu. Notice that the specific menu item ID may vary from camera to camera, so this is just an example.

Typically you can set the shooting delay mode from 0.2 seconds up until 3 seconds. I always use the longest option available.

What is exposure delay mode? (Nikon)
The options available for how long you want the exposure delay to be.

Alternatives

The big advantage of using exposure delay is that it is a solution that is available, provided you have brought your Nikon along. You can also use a remote trigger (wired, radio controlled) to make sure you pushing the shutter does not give any camera shake, but of course the pre-condition is that (1) you have a remote trigger and (2) that you remembered to bring it along!

Also, there is an option to set the release mode to self-timer, in which you can shoot one or more images with an interval you select. But again, on a DSLR, the mirror flicks for each image and hence the exposure delay is a better option.

Related reading

Nikon Z6ii: Firmware upgrade, how-to

Nikon D4: Manual exposure, how to

Is JPG a bad format for photography?

RAW!

You will often hear experienced photographers talk about the JPG file format as a bad thing and RAW as the way to go. But I think there is a nuance to this: horses for courses.

It is true that JPGs are more “locked in” in terms of what you can do in post processing. Some have described RAW as the ingredients in a meal, and the JPG as the cooked food, and the comparison is not that bad. The RAW format gives more headroom in recovering details from bright highlights and dark shadows and you can also do much more editing if colors and white balance etc than JPG allows. And the quality of the JPG file is subject to the in camera processing of the image and hence the quality of the software in the camera.

But it comes with a price, and the price is disk space or storage space. RAW files store a lot more information per pixel than a JPG does, and this is why JPG files are so popular on the web where fast load times are a key factor. The resolution of a RAW image and a JPG image is the same, but the amount of information stored per pixel in the RAW format is much more than the JPG. Also, the JPG file will be subject to compression where a lot of information can also be lost.

So to say that RAW is good and JPG is bad is to simplified. Sometimes you just don’t need all the flexibility that a RAW file offers, and if you shoot a lot of images the amount of space saved can be significant. Also, if you plan to use the images as JPGs because they need to be small, shooting in JPG directly saves you the conversion from RAW to JPG in post processing. So you may save both time and storage.

I often shoot JPG when I have a very controlled environment like a studio with flashes in a tethered setup where the image is loaded directly into Lightroom for viewing large scale. Here I can quickly see if the colors and metering is spot on or not and adjust accordingly. Where I need the RAW file flexibility is when more variables are not under my control. Like when shooting in low light or shooting into the sun. Here I prefer the headroom in post processing that RAW files give.

Related reading

What is RAW format in photography?

What is SOOC in photography?

What is SOOC in photography?

The real deal

SOOC is simply an abbreviation meaning Straight Out of Camera in relation to digital photography. It signals that the image has not been edited in any way and is as close to the original as you can get.

Many think of SOOC as meaning no editing in software designed for the purpose like Lightroom or Photoshop. However, most cameras allow a profile to be applied to the image (standard, vivid, B&W, vintage, etc) and  then it is debatable how unedited the image actually is. From the camera picks up the information from the sensor and until the information is written to the memory card, there is a bit of processing going on, so the completely unedited image is probably difficult to find.

The closest is a RAW image format, but even here the ISO settings influence the processing of the image. Many think that the ISO setting influences the sensors sensitivity to light, but the sensors sensitivity is constant. Instead the ISO settings governs a gain applied to the light readings from the sensor, and this camera internal processing can – with a bit of good will – also be seen as a sort of editing.

So I see SOOC more as an ideal that some like to get as close to as practically possible. Many professionals do what they can to get the images right in camera i.e. make sure the framing is spot on and no tweaking to e.g. the exposure settings is necessary in post to make the images look their best. They do not do so out of idealism, but simply because it saves time, and as you know: time is money. A school photographer taking several thousands of headshots over a year can save a lot of time if there is no editing needed but the result can be printed and delivered to the clients as is.

So my advice is that you should not put too much into the SOOC term. See it as an ideal and just know that when a camera reviewer says he /she presents the images SOOC, it is just another way of saying that the images could probably be even better with a bit of time spent editing.

Related reading

Is JPG a bad format for photography?

What is BSI in photography?

What is a camera image sensor?

Read the light

The image sensor has replaced the 35mm film as the receptor of light. This gives many advantages, for example that you don’t have to change film every 24 or 36 images, that you can preview the result immediately and don’t have to wait for the lab to deliver results. Further, you can carry a very large number of pictures on a small memory card and it is easy to transfer the files to a PC for post processing. Most shoot with digital cameras these days, but – just like the revival of the vinyl records – there as some that mix film shooting into their work simply because they like the expression you get this way.

The 35mm film has been replaced by a sensor that is able to read the light it is exposed to.

The image sensor is the unit that has replaced where the film used to be – and this is very literally. The sensor sits in the same position as the film used to do and the size is – provided you shoot full frame – also the same (35 mm).

The camera image sensor, here from the Nikon Z50. In a mirrorless camera the sensor is completely exposed when the lens is removed; on a DSLR the sensor is hidden behind a diagonal positioned glass.

With the introduction of mirrorless cameras you can now actually see the sensor when the glass is removed from the camera body. This also makes the sensor vulnerable to dust and dirt if you change lenses in the field. With a DSLR, the sensor is to some extend protected behind the mirror.

The sensor is not exposed entirely, as there is a thin layer of glass in front of the sensor; otherwise the sensor would be too vulnerable. You can buy sets to clean the sensor and to blow air onto the sensor in order to remove dust and particles. Never remove dust from the sensor using your breath – it contains moist and that is dangerous for your camera in general and the electronics in particular. Always use a (rocket) air blower for such work.

The sensor reads the light just like the film used to do and the values read are then made into an image stored on the memory card in the camera. You cannot change the sensitivity of the sensor, it remains the same as when the sensor left the factory. But you can change the ISO value, which is a factor applied to the light read by the sensor by the cameras image processing software (firmware). Unfortunately, cranking up the ISO means that both signal and noise is amplified, and with a weak signal, it can be difficult for the camera to distinguish between signal and noise. For that reason images taken with high ISO values are grainy and have washed out colors.

Related reading

Is mirrorless cameras better than DSLRs?

Should you upgrade from APS-C to full frame?

What is a mirrorless camera?

Mirror and optical viewfinder

A mirrorless (ML) camera is as the name says, a camera without a mirror, nor does it have an optical viewfinder. Light flows directly from the lens to the camera sensor. The ML camera can be seen as a natural evolution of the DSLR and even the SLRs, but the ML concept is also used in cameras that do not have an interchangeable lens system, like a point-and-shoot camera or a smartphone.

The image below shows how a DSLR works. The light is sent to the optical viewfinder via several mirrors, most notably the first one that keeps the light away from the sensor (or film).

With a mirrorless camera, the light is constantly and directly sent to the sensor. The optical viewfinder is replaced by a electronic viewfinder, which basically is a small TV screen located where the optical viewfinder used to be. Not all ML cameras have a viewfinder, but instead uses the rear LCD as viewfinder.

Many DSLR cameras can flick away the mirror and show on the rear LCD what you can see in the electronic viewfinder of the ML camera. In that way, the DSLR can work as a ML when using the rear LCD.

The lack of a mirror is not to be confused with the shutter. Many ML cameras have both a mechanical and an electronic shutter. The mechanical shutter has two curtains that allow the sensor to be exposed according to the selected shutter speed by moving the curtains across the sensor. The electronic shutter turns the camera sensor on and off to get the same effect. It is all about measuring the light at the timeframe dictated by the shutter speed. Notice that for flash photography a mechanical shutter is required.

On a DSLR/SLR, the focus system is often a separate system that via a small hole in the glass uses a small area of light to determine focus or not. Therefore a DSLR focus system often only allows you to select a focus area in the center of the frame. With a ML system, the entire sensor in real time receives light and determines focus or not – this requires good software and computing power, but it also opens up for selecting focus points in the entire frame (incl. corners) and intelligence to recognize people (their eyes) and animals, and thereby take the sophistication of the auto focus systems to a new level.

Related reading

What is a DSLR?

Is mirrorless cameras better than DSLRs?


What is a camera battery grip? And why use it?

A grip on ergonomics

A battery grip is an optional extension of your camera body, that allows you to mount more batteries than what can be in the camera body as such. Some cameras like the Nikon D4 are “born” with the grip as an integral part of the camera, but most cameras has a battery grip as an option.

A battery grip for my Nikon D700 here front left. Notice the contacts that enables the grip to talk to the camera.

You can always carry an extra battery in your pocket, but the first advantage of a grip is that it extends the number of “built in” batteries. Some camera grips even allows you to charge the battery while mounted in the camera which further eases the job of leaving home with sufficient battery power.

Battery grip mounted here on the Nikon D700.

Another advantage is improved ergonomics. In the image above, you can see that the camera body is extended downwards, and there for gives more real estate for your hands to hold on to. When shooting in landscape mode, especially the pinky on large hands will find much better support and grip than without the grip.

Shooting in portrait mode with improved ergonomics.

A third advantage is also related to ergonomics. When shooting in portrait mode as many portrait photographers do most of the time, the battery grip provides ergonomics very similar to the grip in landscape mode. You avoid the twist in the wrist, as your hand can stay in the same position while you turn the camera. This may sound like a small thing, but when you are working with heavy cameras and/or for extended periods of time, the relief a grip provides for your wrist is vital.

On battery grips, it is often the case that the shutter release and the most vital controls are replicated. Not all grips have this feature, so make sure to check the one you consider to buy. Lack of controls on the grip reduces the ergonomic benefits somewhat.

Vital controls are replicated on the grip here, and even a joystick is added which is not part of the camera body as such – it “only” has a command wheel.

In the example above from my Nikon D700, the grip actually has better buttons and dials than the camera body as such, as the command wheel is replaced by a joystick!

A final benefit is the ease of access to the batteries in the grip, when mounted on a tripod:

Easy access to the battery in the grip. A little tray that slides out horizontally holds the battery.

The battery in the camera body sits vertically, where as the grip holds the battery in a horizontal position. This makes access much easer. A slight disadvantage is though that access to the battery in the camera body can be more cumbersome, as it involves removing the grip first.

The disadvantage of grips is extra cost and extra weight.

A grip can easily make up a significant investment relative to the price of the camera body. There are many off brand producers that make battery grips that price wise are significantly lower than the brand versions. But in my experience, the extra cost of the brand version is more than justified in better quality and feel.

Not everybody likes the added weight. I find on the contrary that the overall balance in the camera body and glass is improved, so I love my grips! But we are into personal preference territory here,  and I recommend that you try out a grip before you buy exactly for that reason.

Related reading

What is a DSLR?

Is mirrorless cameras better than DSLRs?