No nonsense
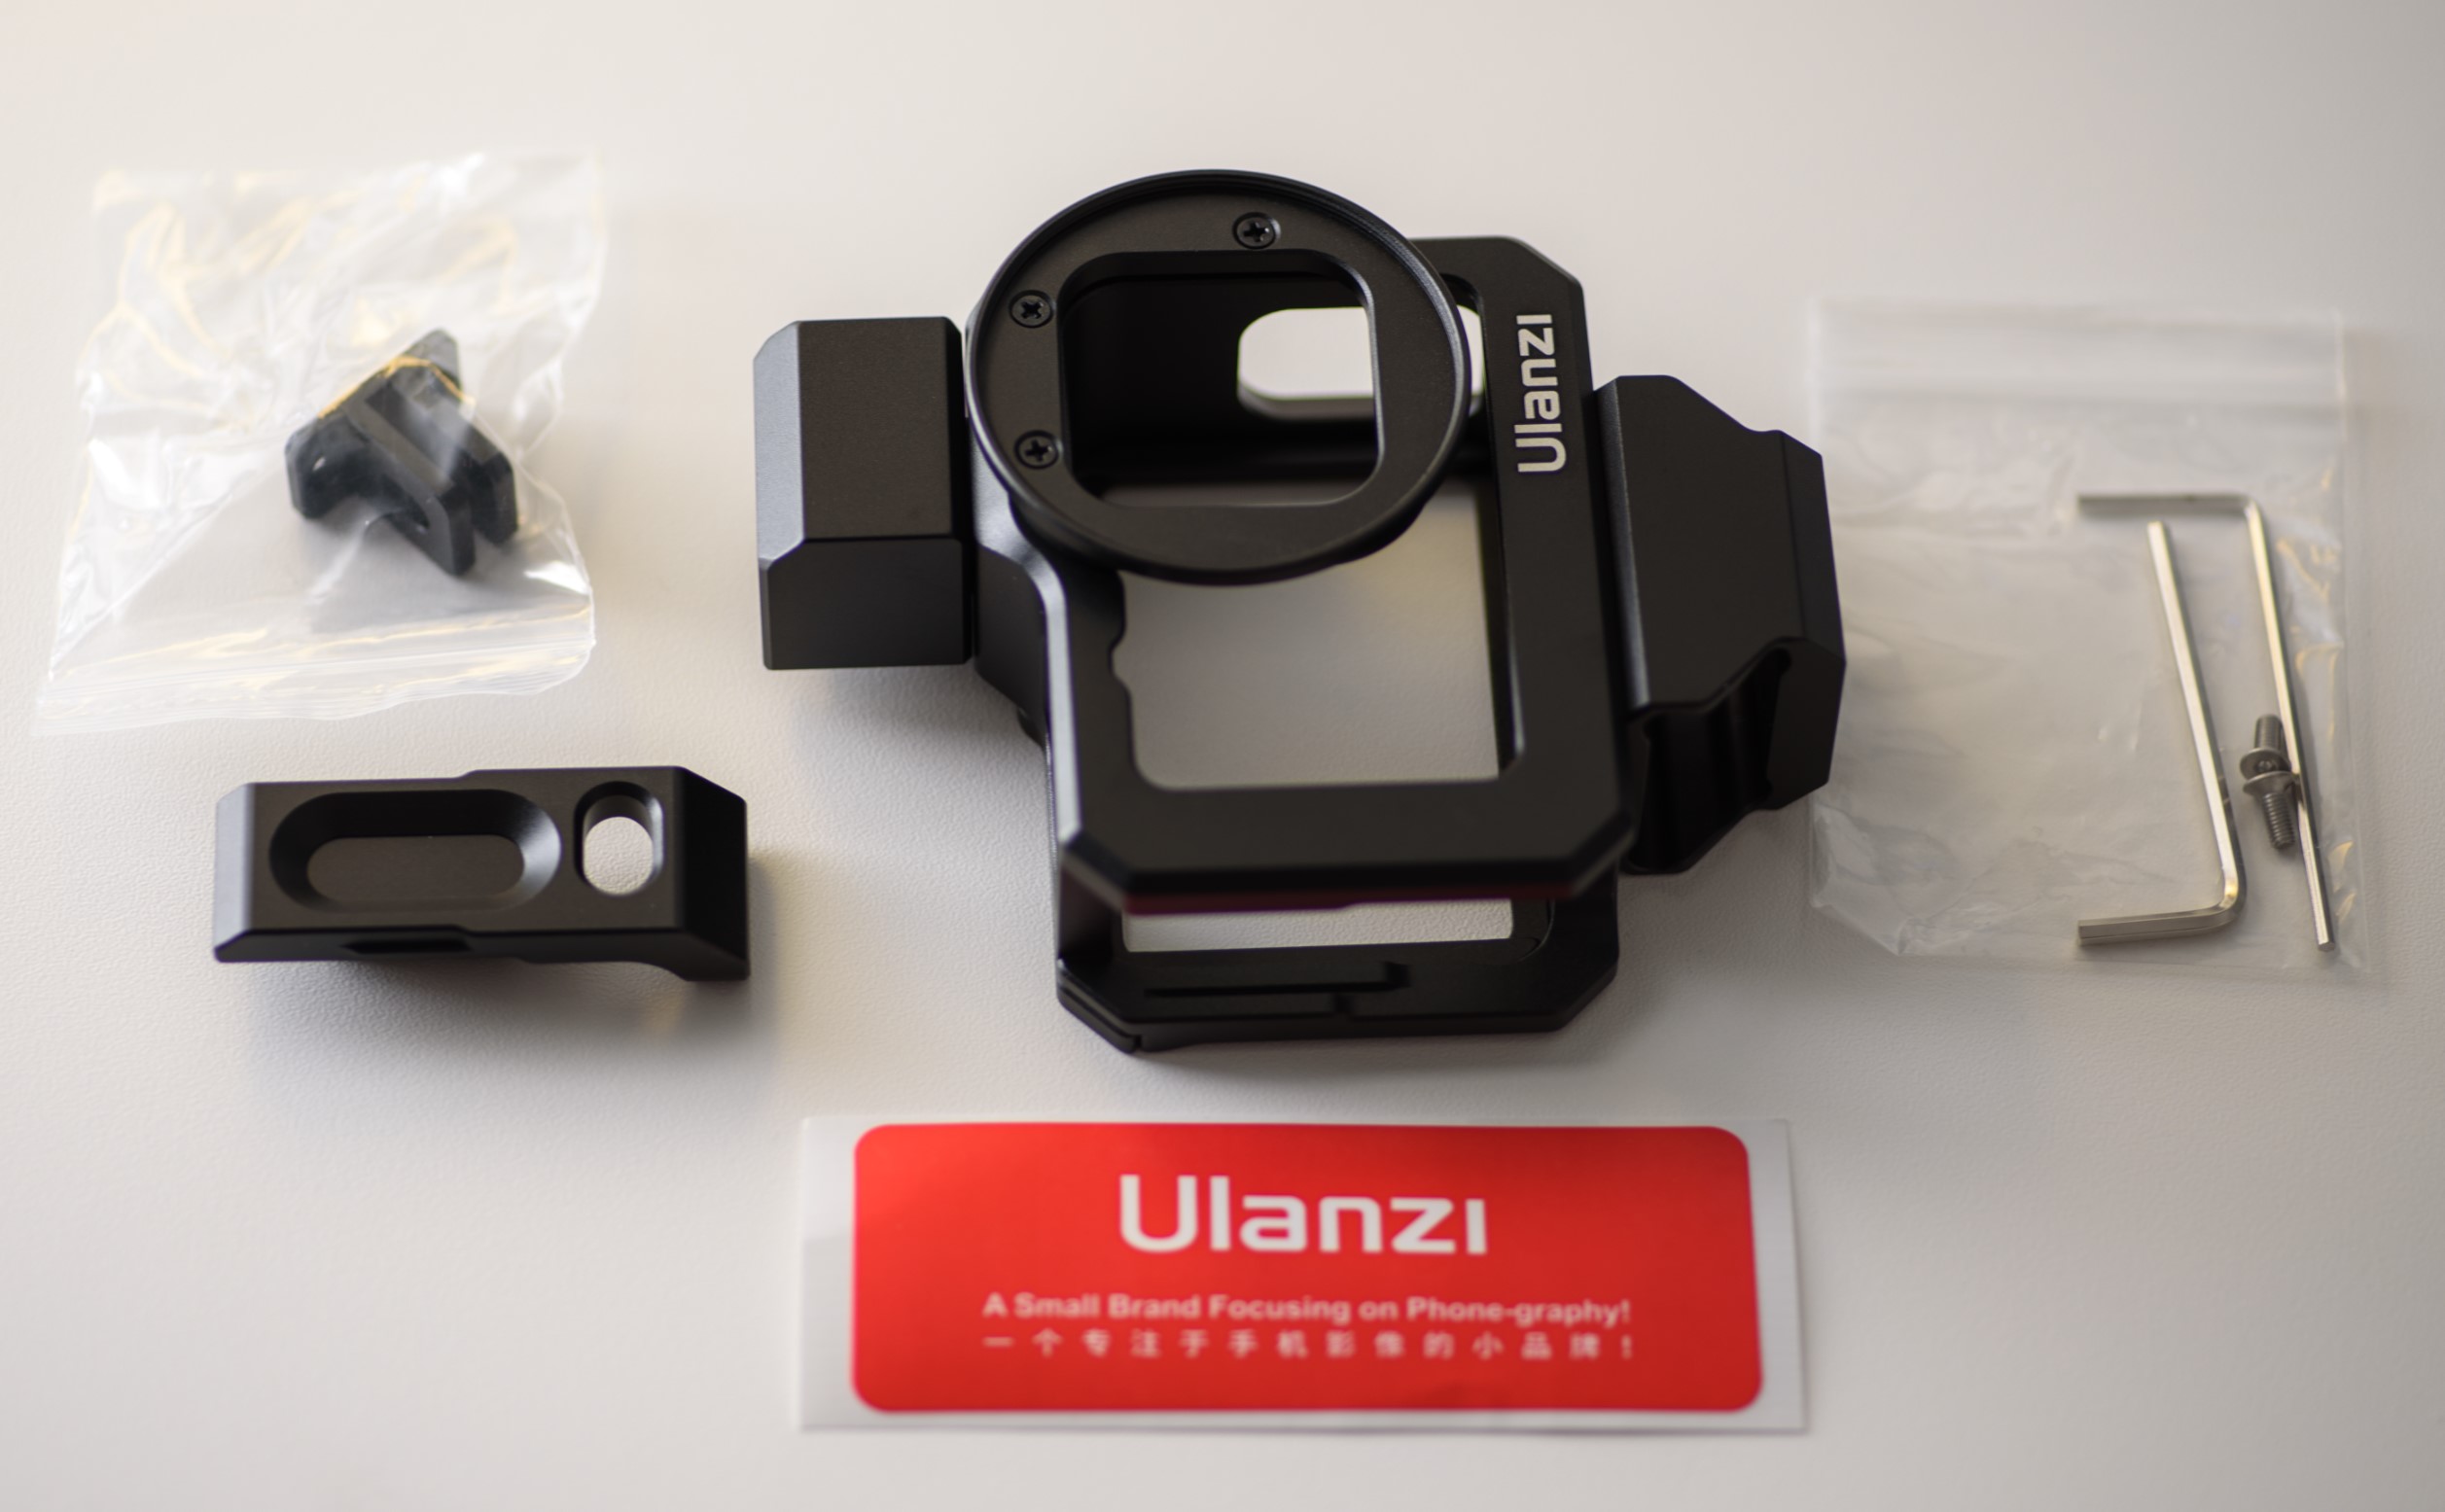
The Ulanzi G9-5 Metal Cage for GoPro 9 and GoPro 10 comes in a small plastic wrapped cardboard box that certainly does not make a big fuzz with colorful images or the like. It signals an engineering no-nonsense approach from the very start.

In the box you will find the cage itself, with a small cage for the sound adapter already mounted at the bottom.
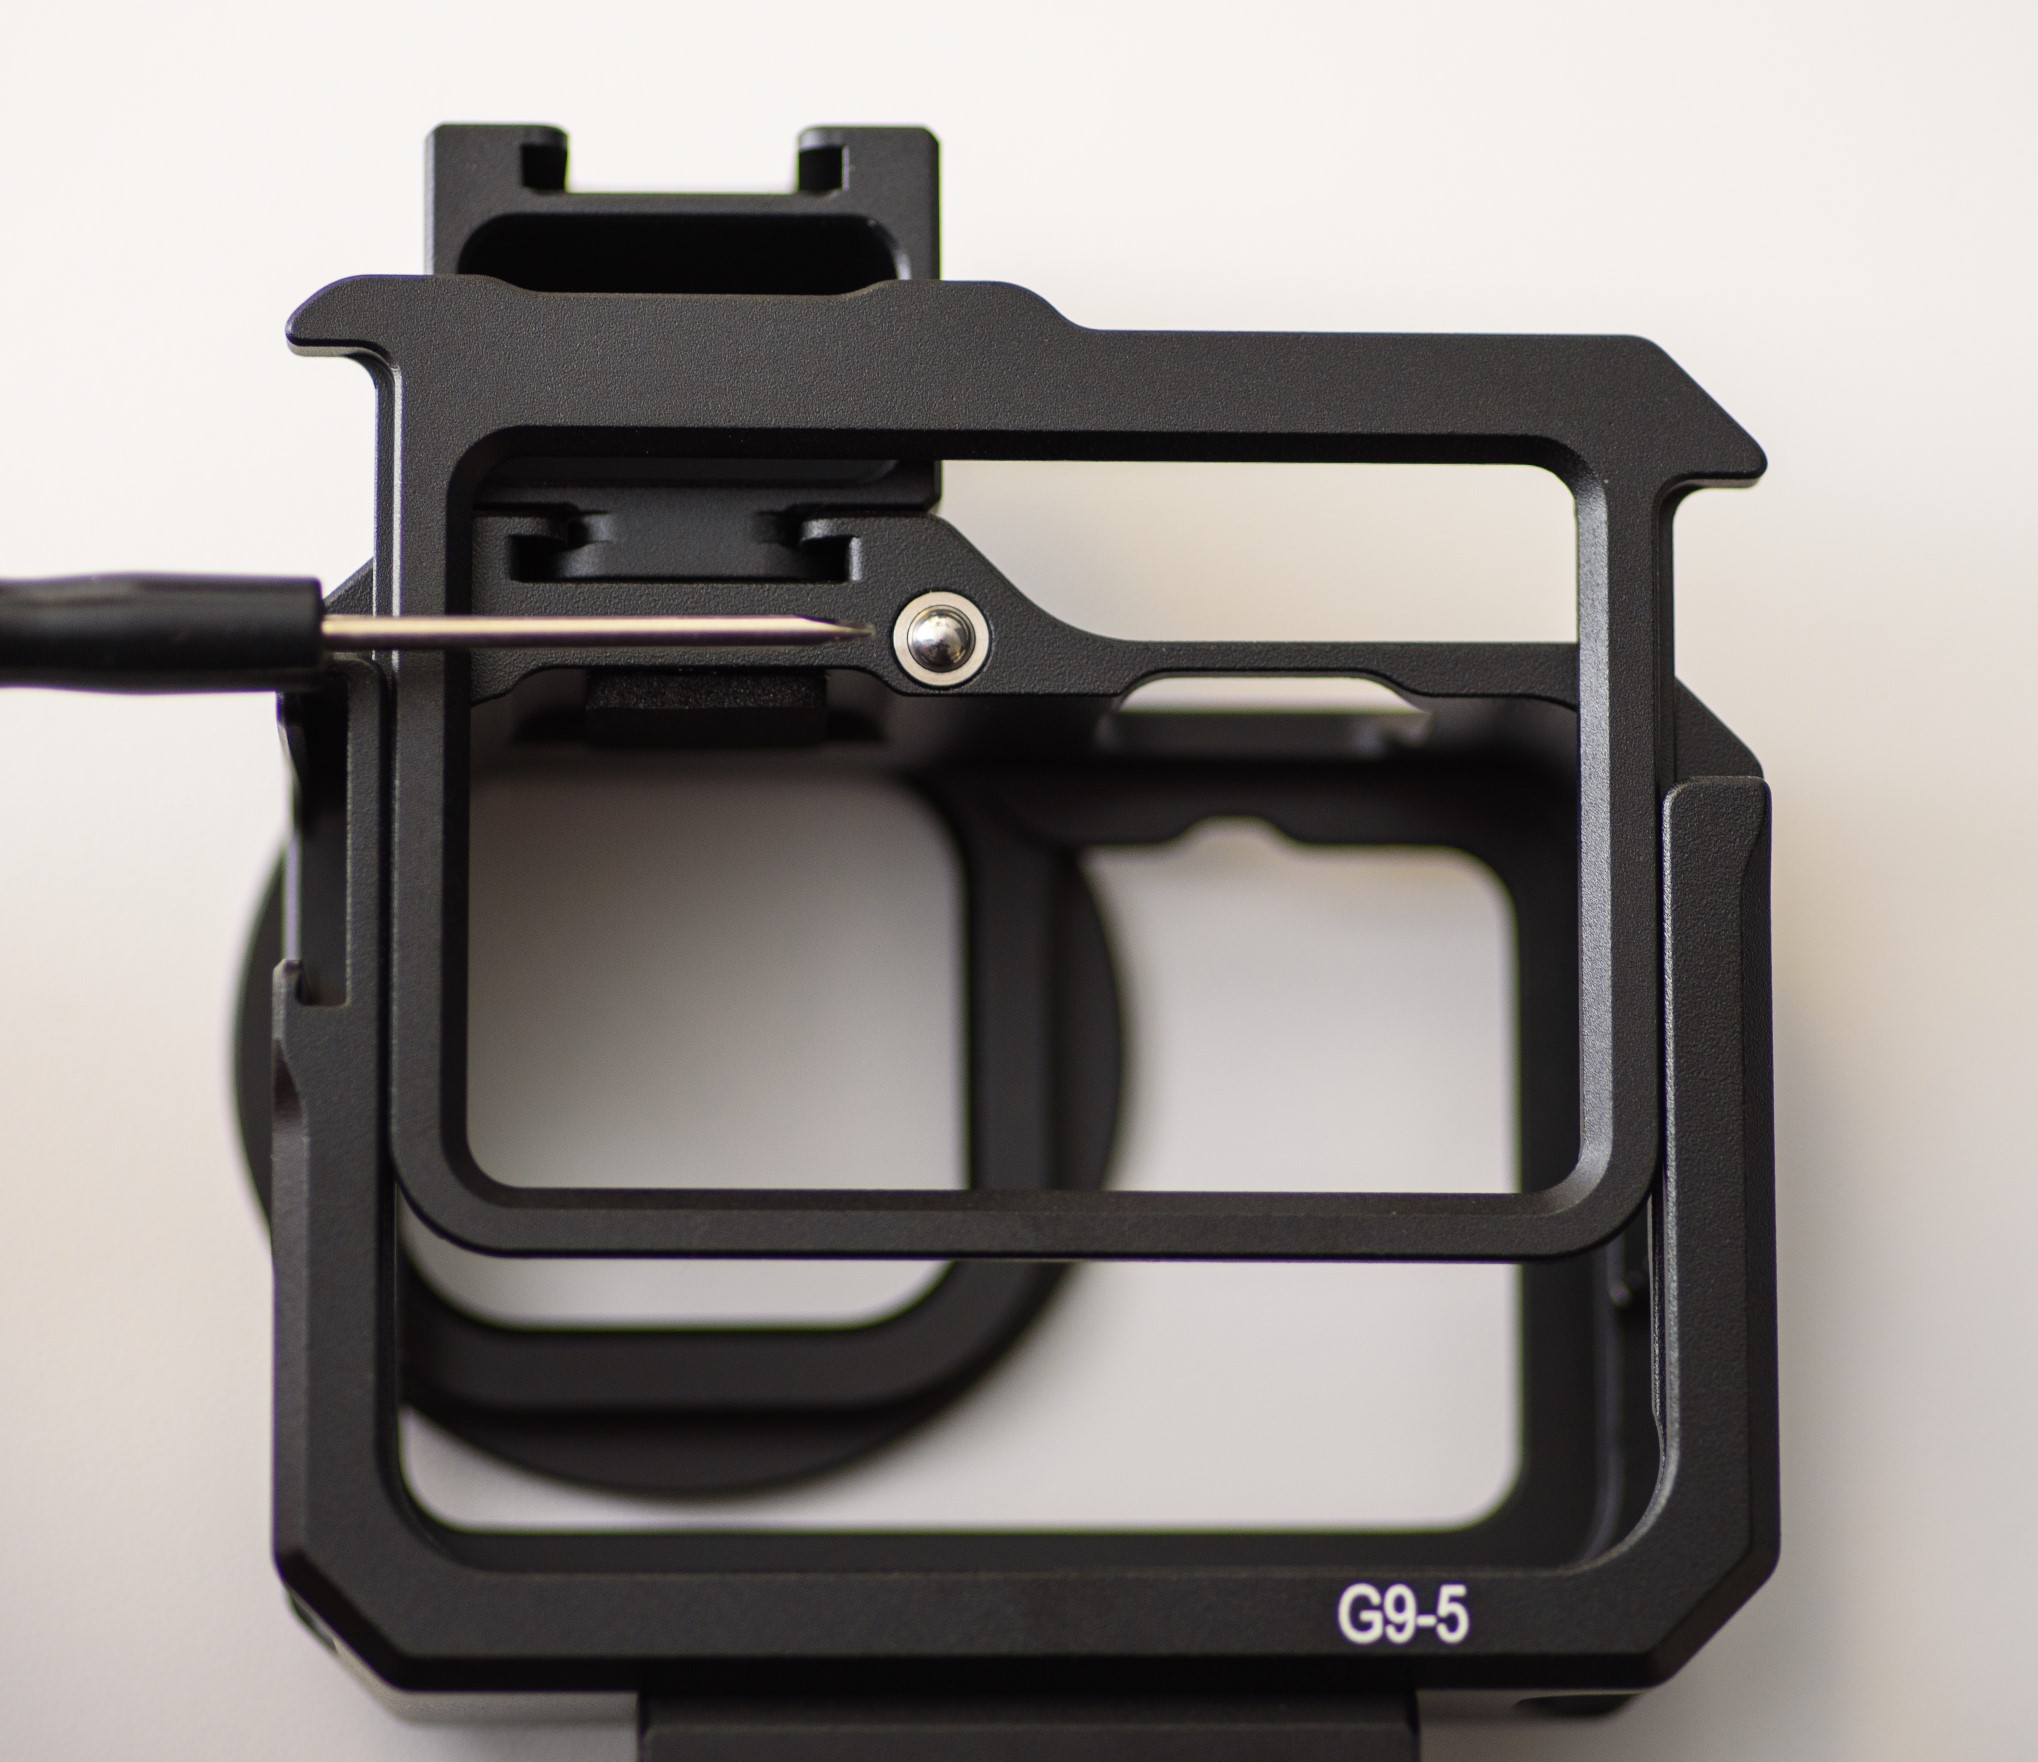
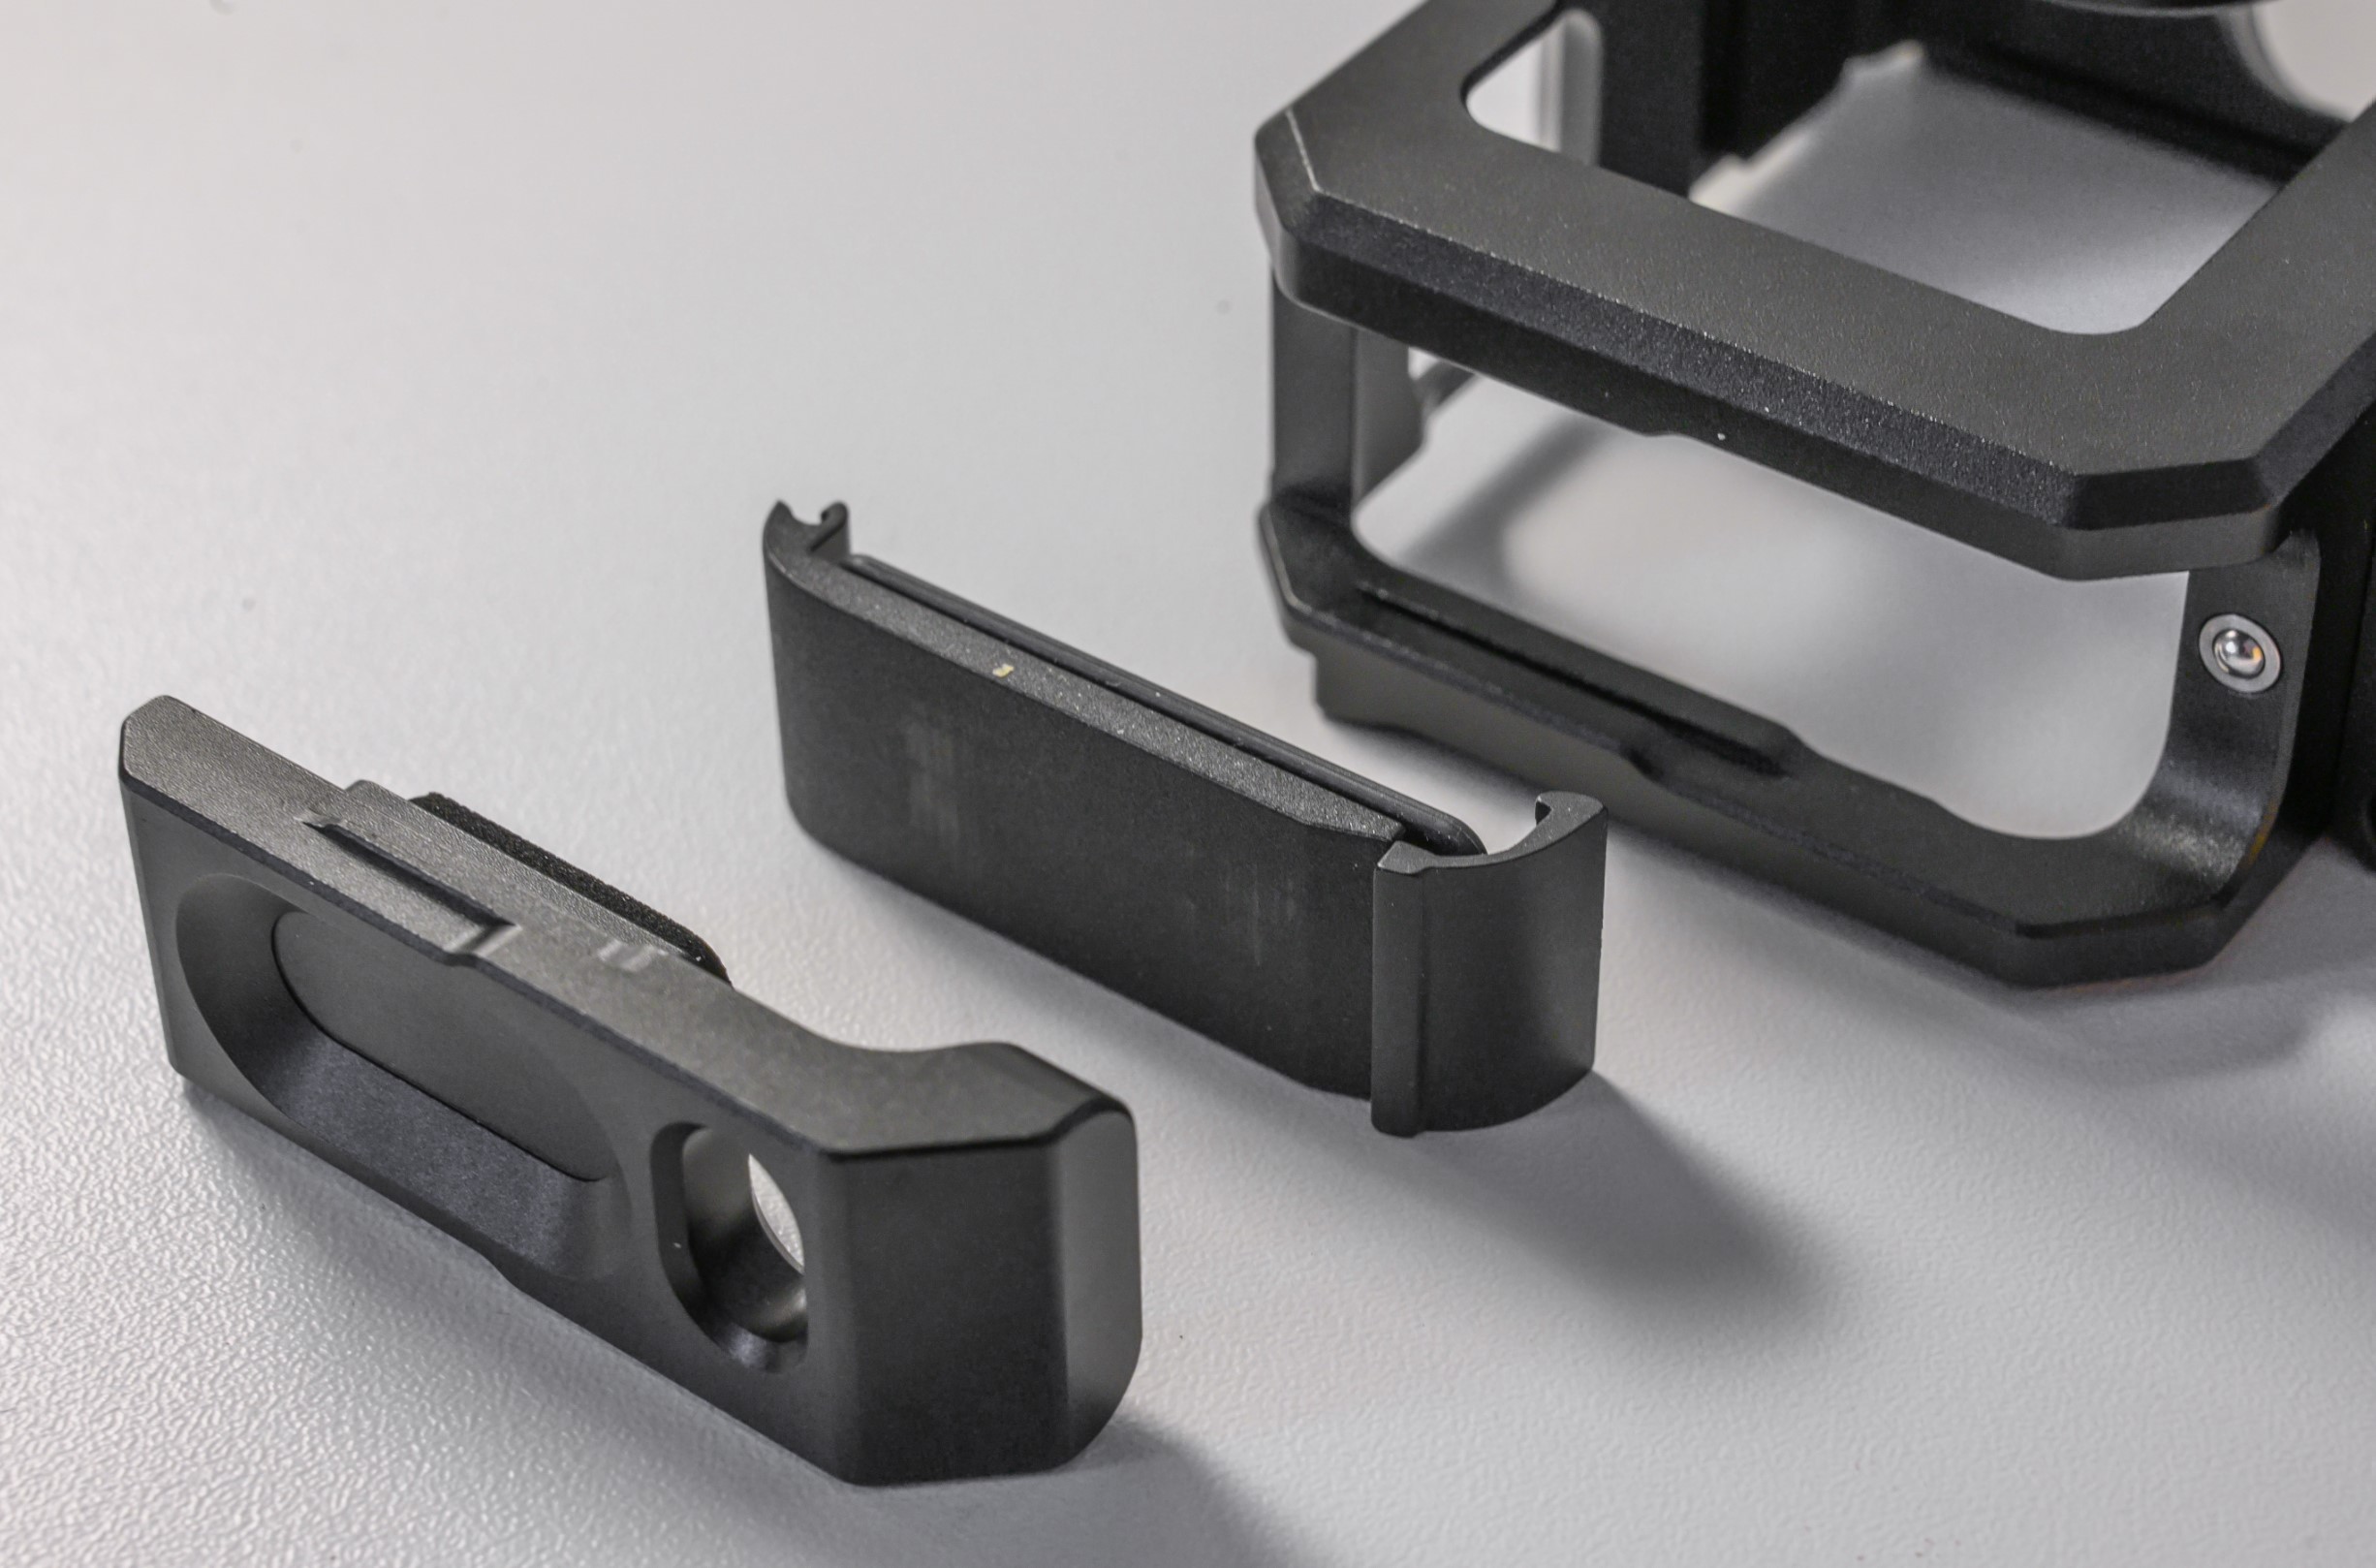
To fit the GoPro Hero 9 or 10 into the cage, the rear of the cage has a sliding door. The door is locked into position by a small spring laden ball that fits into a dent into the rear side of door. This works really well. The door on the side of the cage follow the same principle.
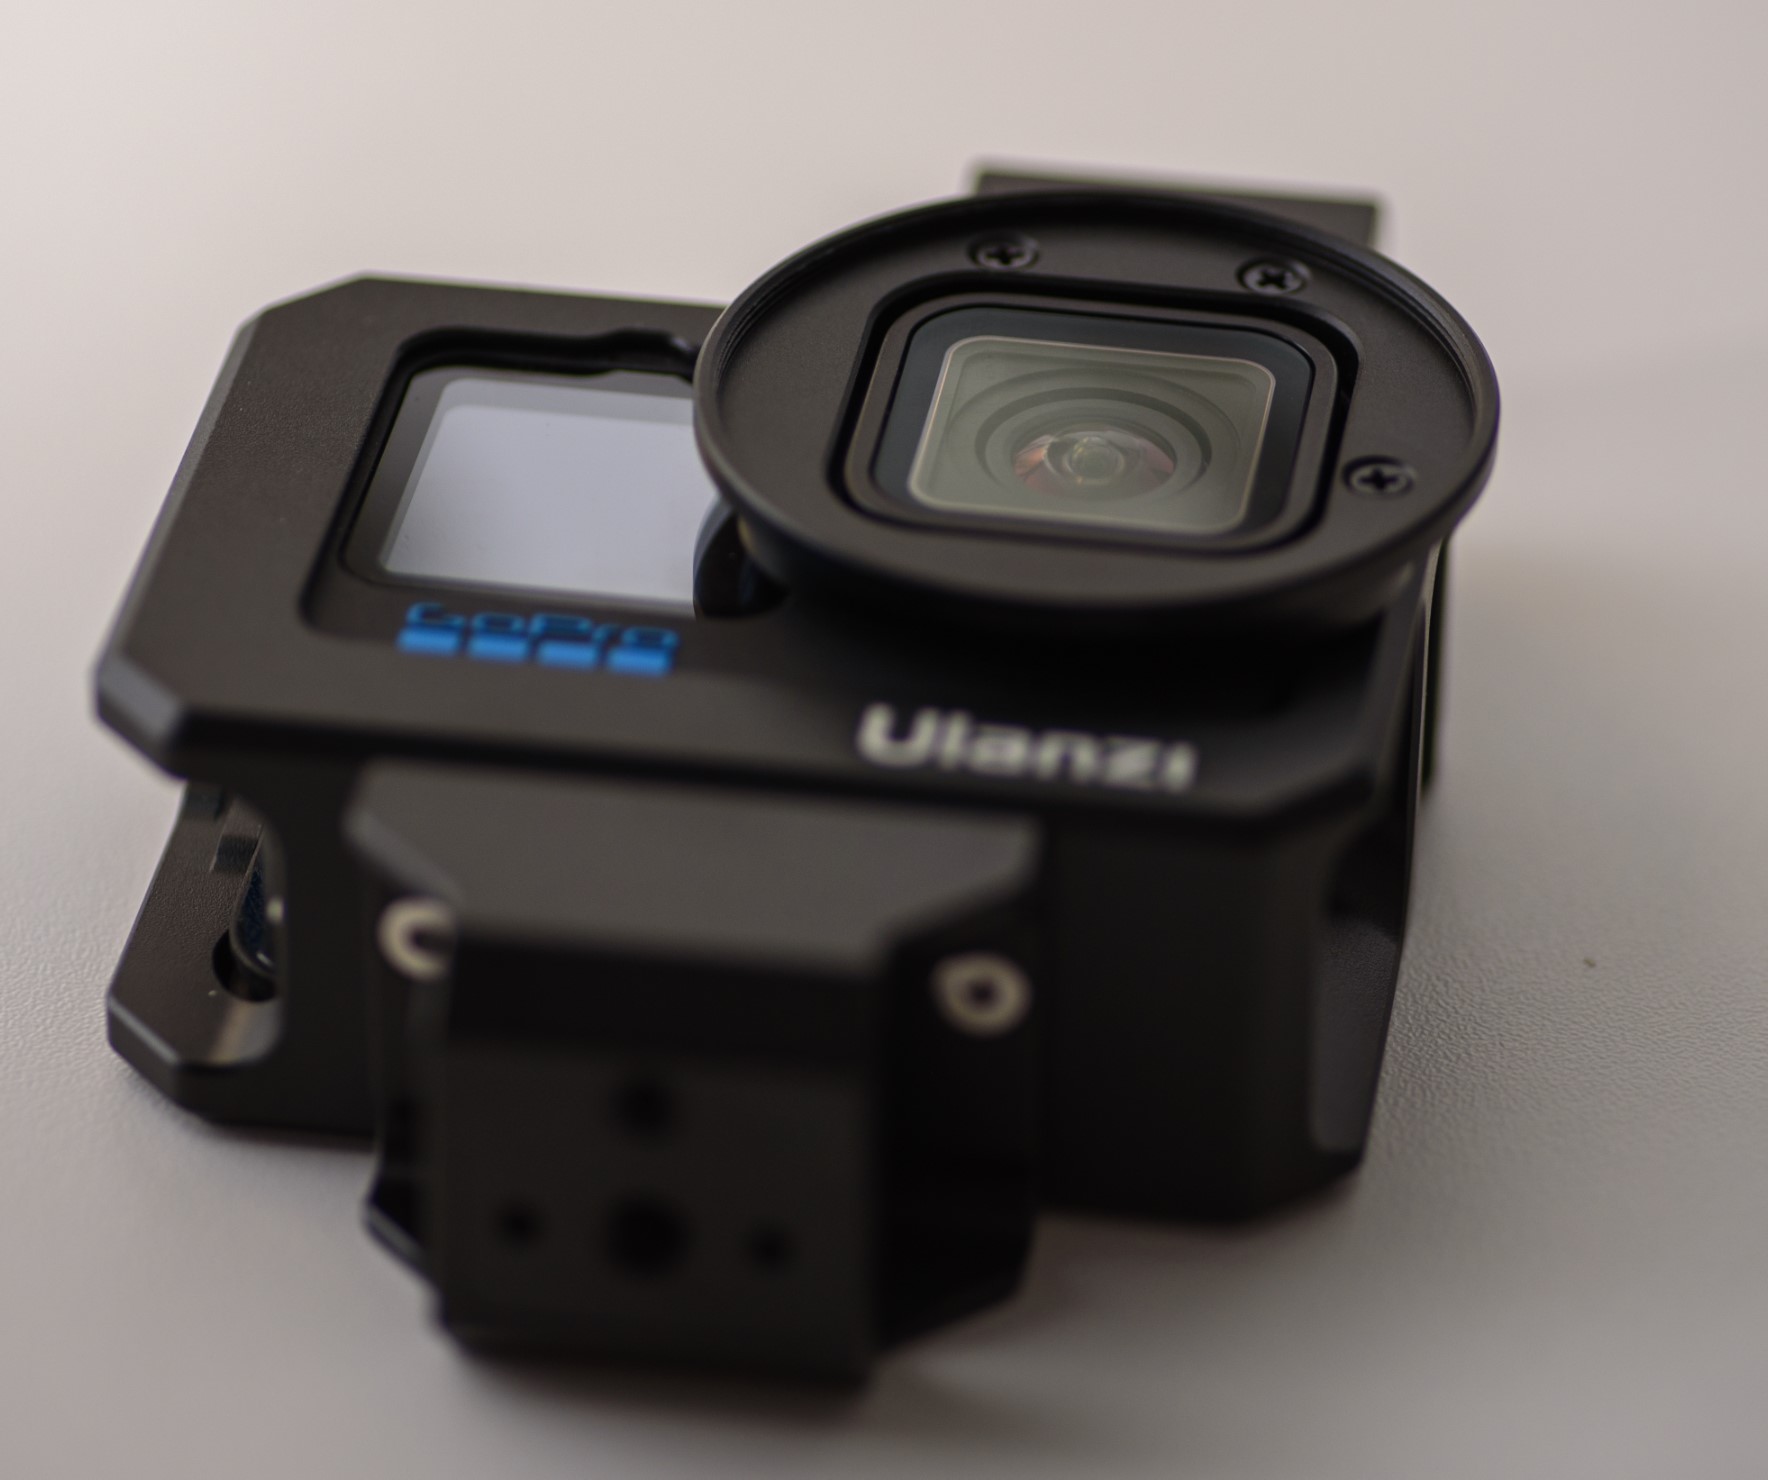
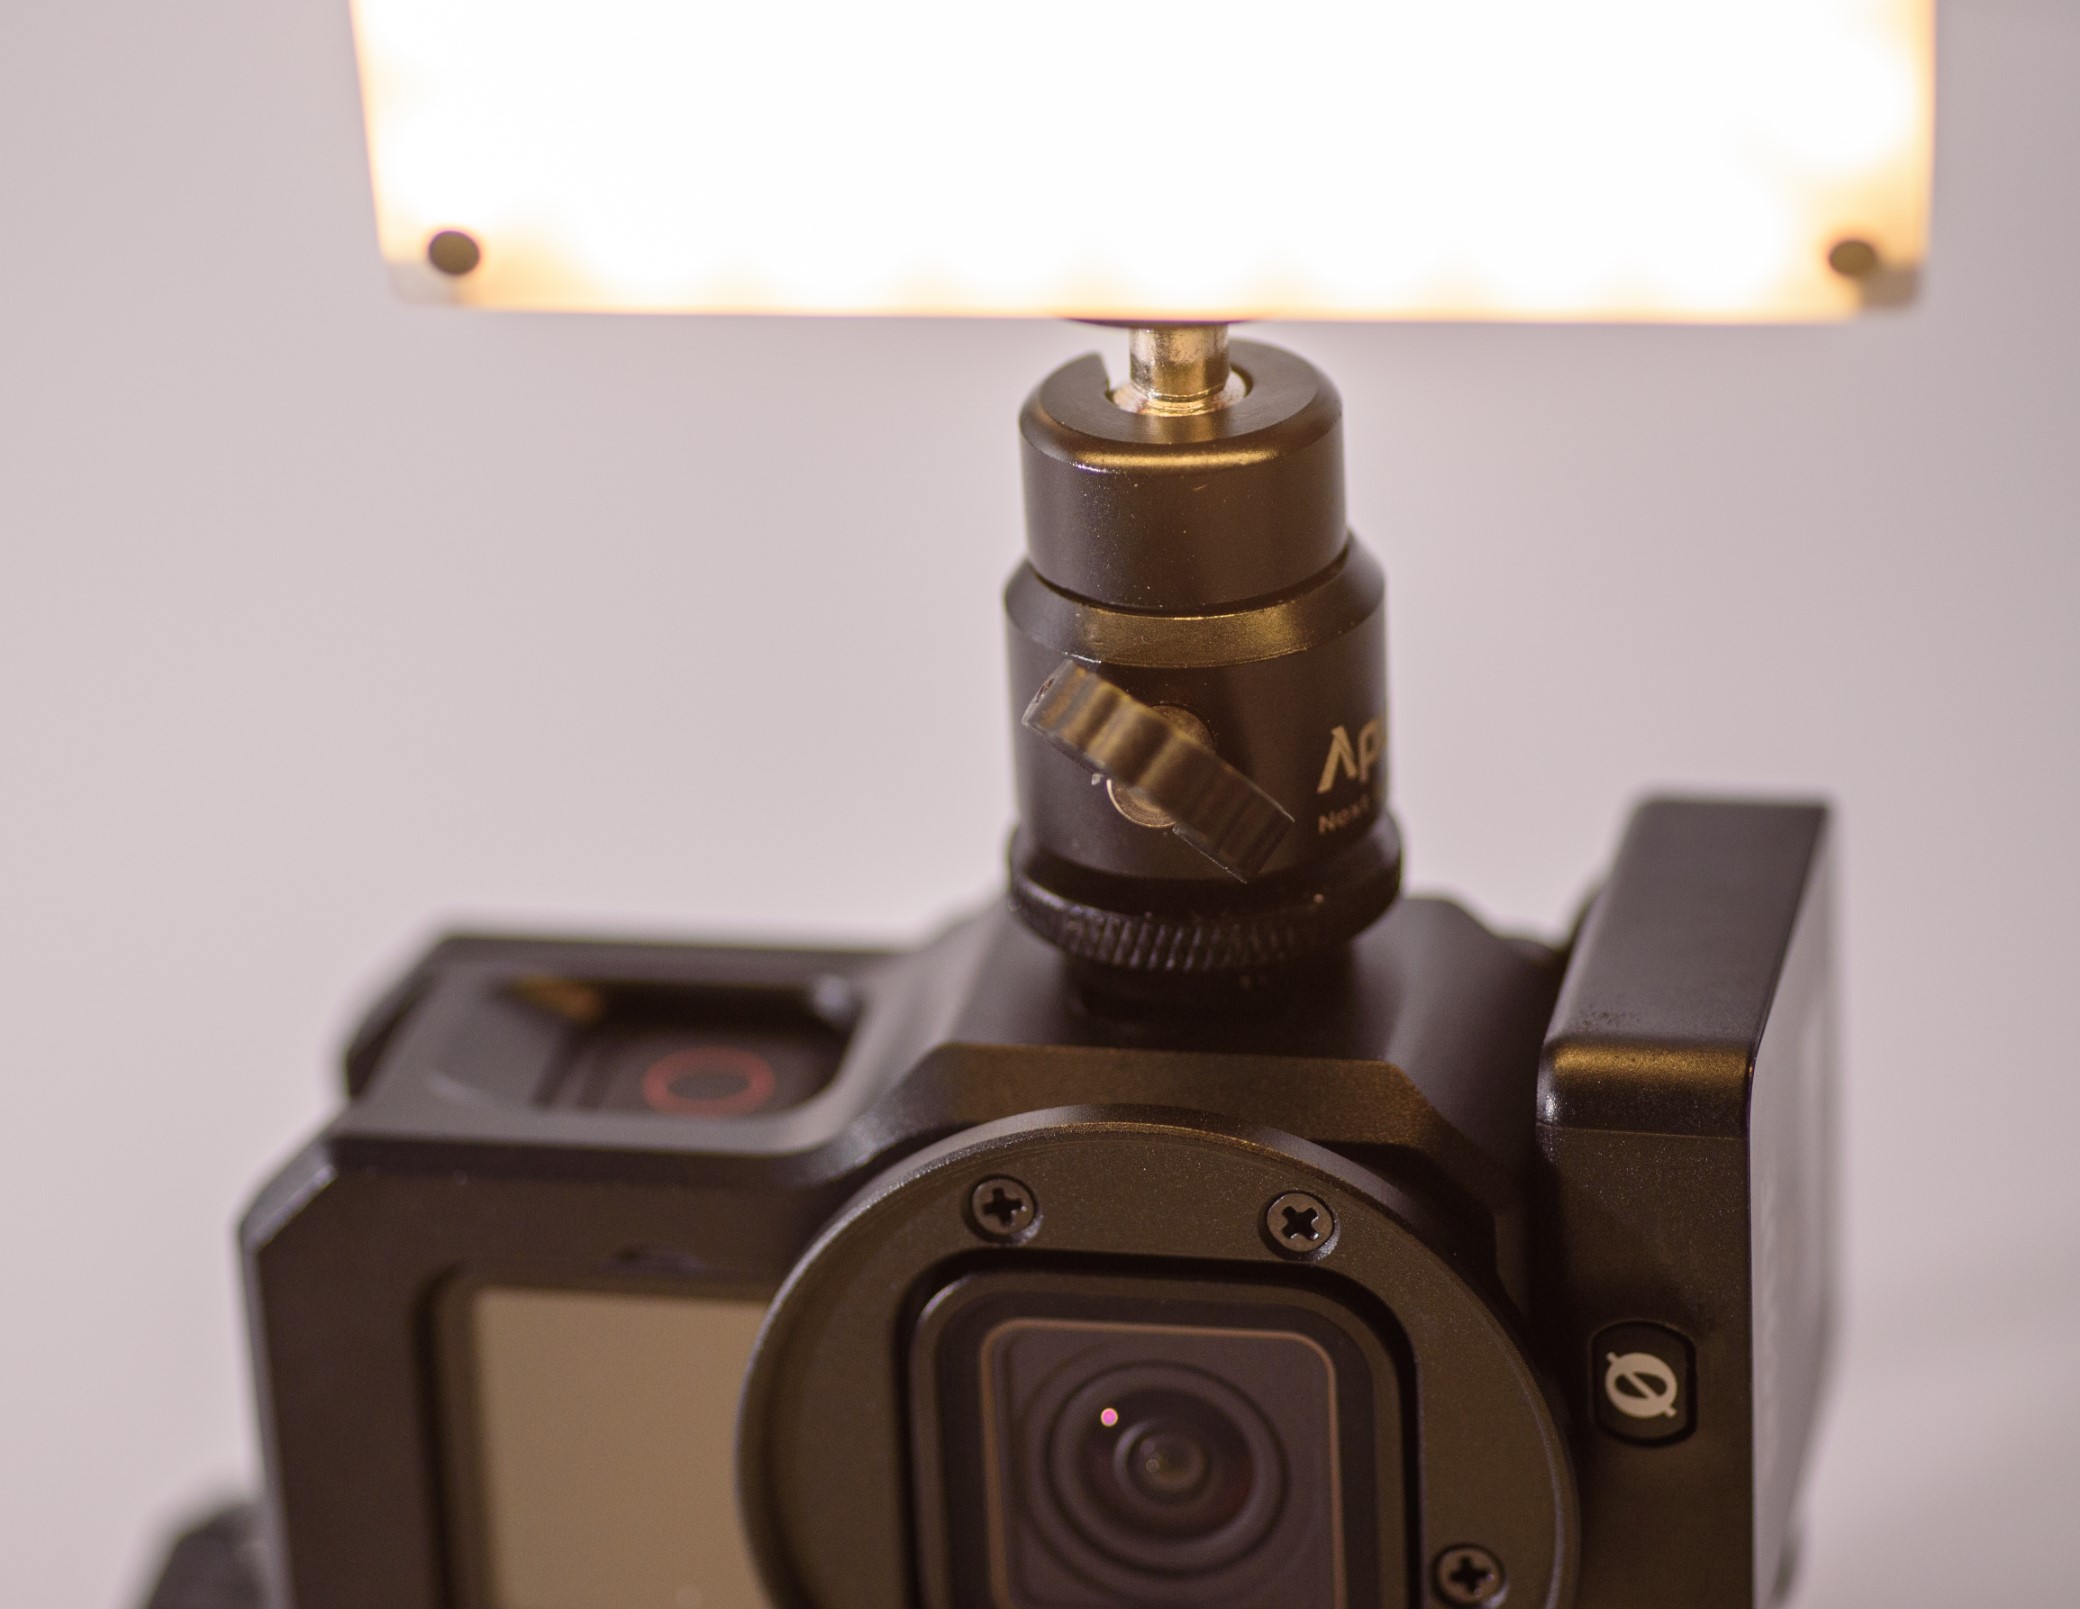
Mounting the GoPro in the cage is very easy and after closing the sliding door on the rear, the GoPro is well protected. The lens is protected from the side by a metal ring, but unfortunately this metal ring also blocks a little of the view to the front LCD, which is a bit annoying, but not a showstopper in any way. The metal ring around the lens has a thread to mount filters in front of the lens.
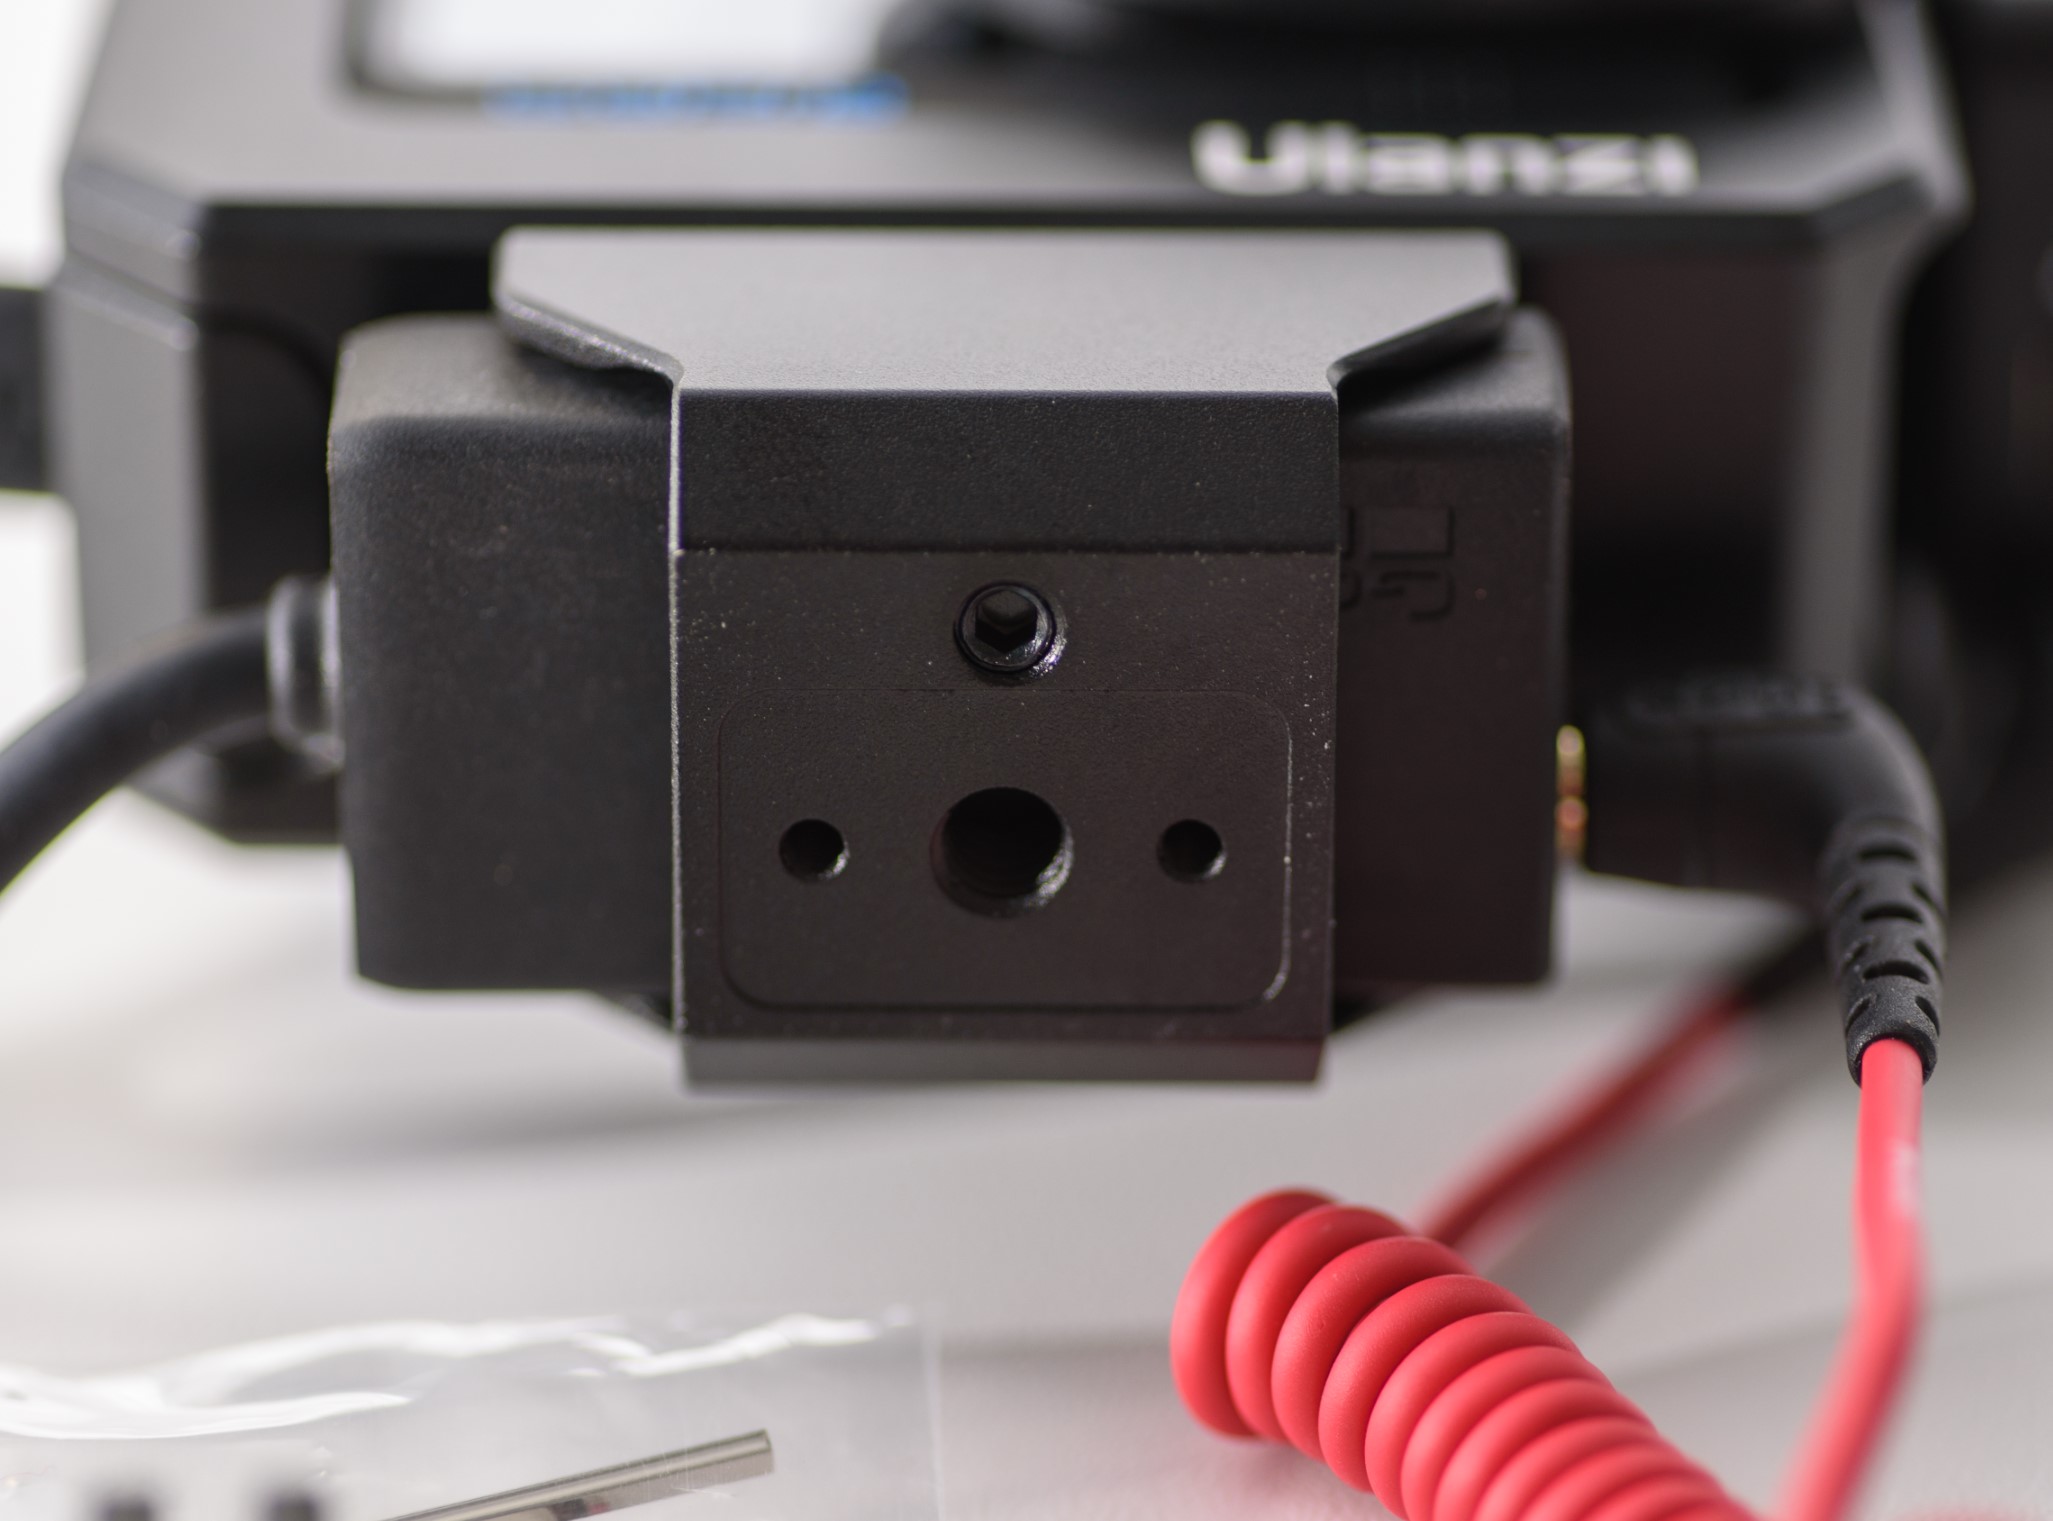
One very important feature of the Ulanzi cage is that it holds the sound adapter for the GoPro, that would otherwise be dangling down the side of the GoPro, at risk of being accidentally pulled out. The adapter simply slides sideways into position as in kept there by a little bit of friction – this also works well and I think there is little risk that the adapter by accident will be pushed sideways out of the cage.
The cage comes with a metal door that has a small hole to give access to the USB-C connector on the side of the GoPro. This door cannot be mounted together with the GoPro door, so you have to choose between GoPro door (waterproof) or the cage door (access to the USB-C connector).
If you choose the GoPro door, then be aware that it cannot be opened while mounted in the cage – you have to take it out of the cage to get access to the battery, SD-card and USB-C connector.
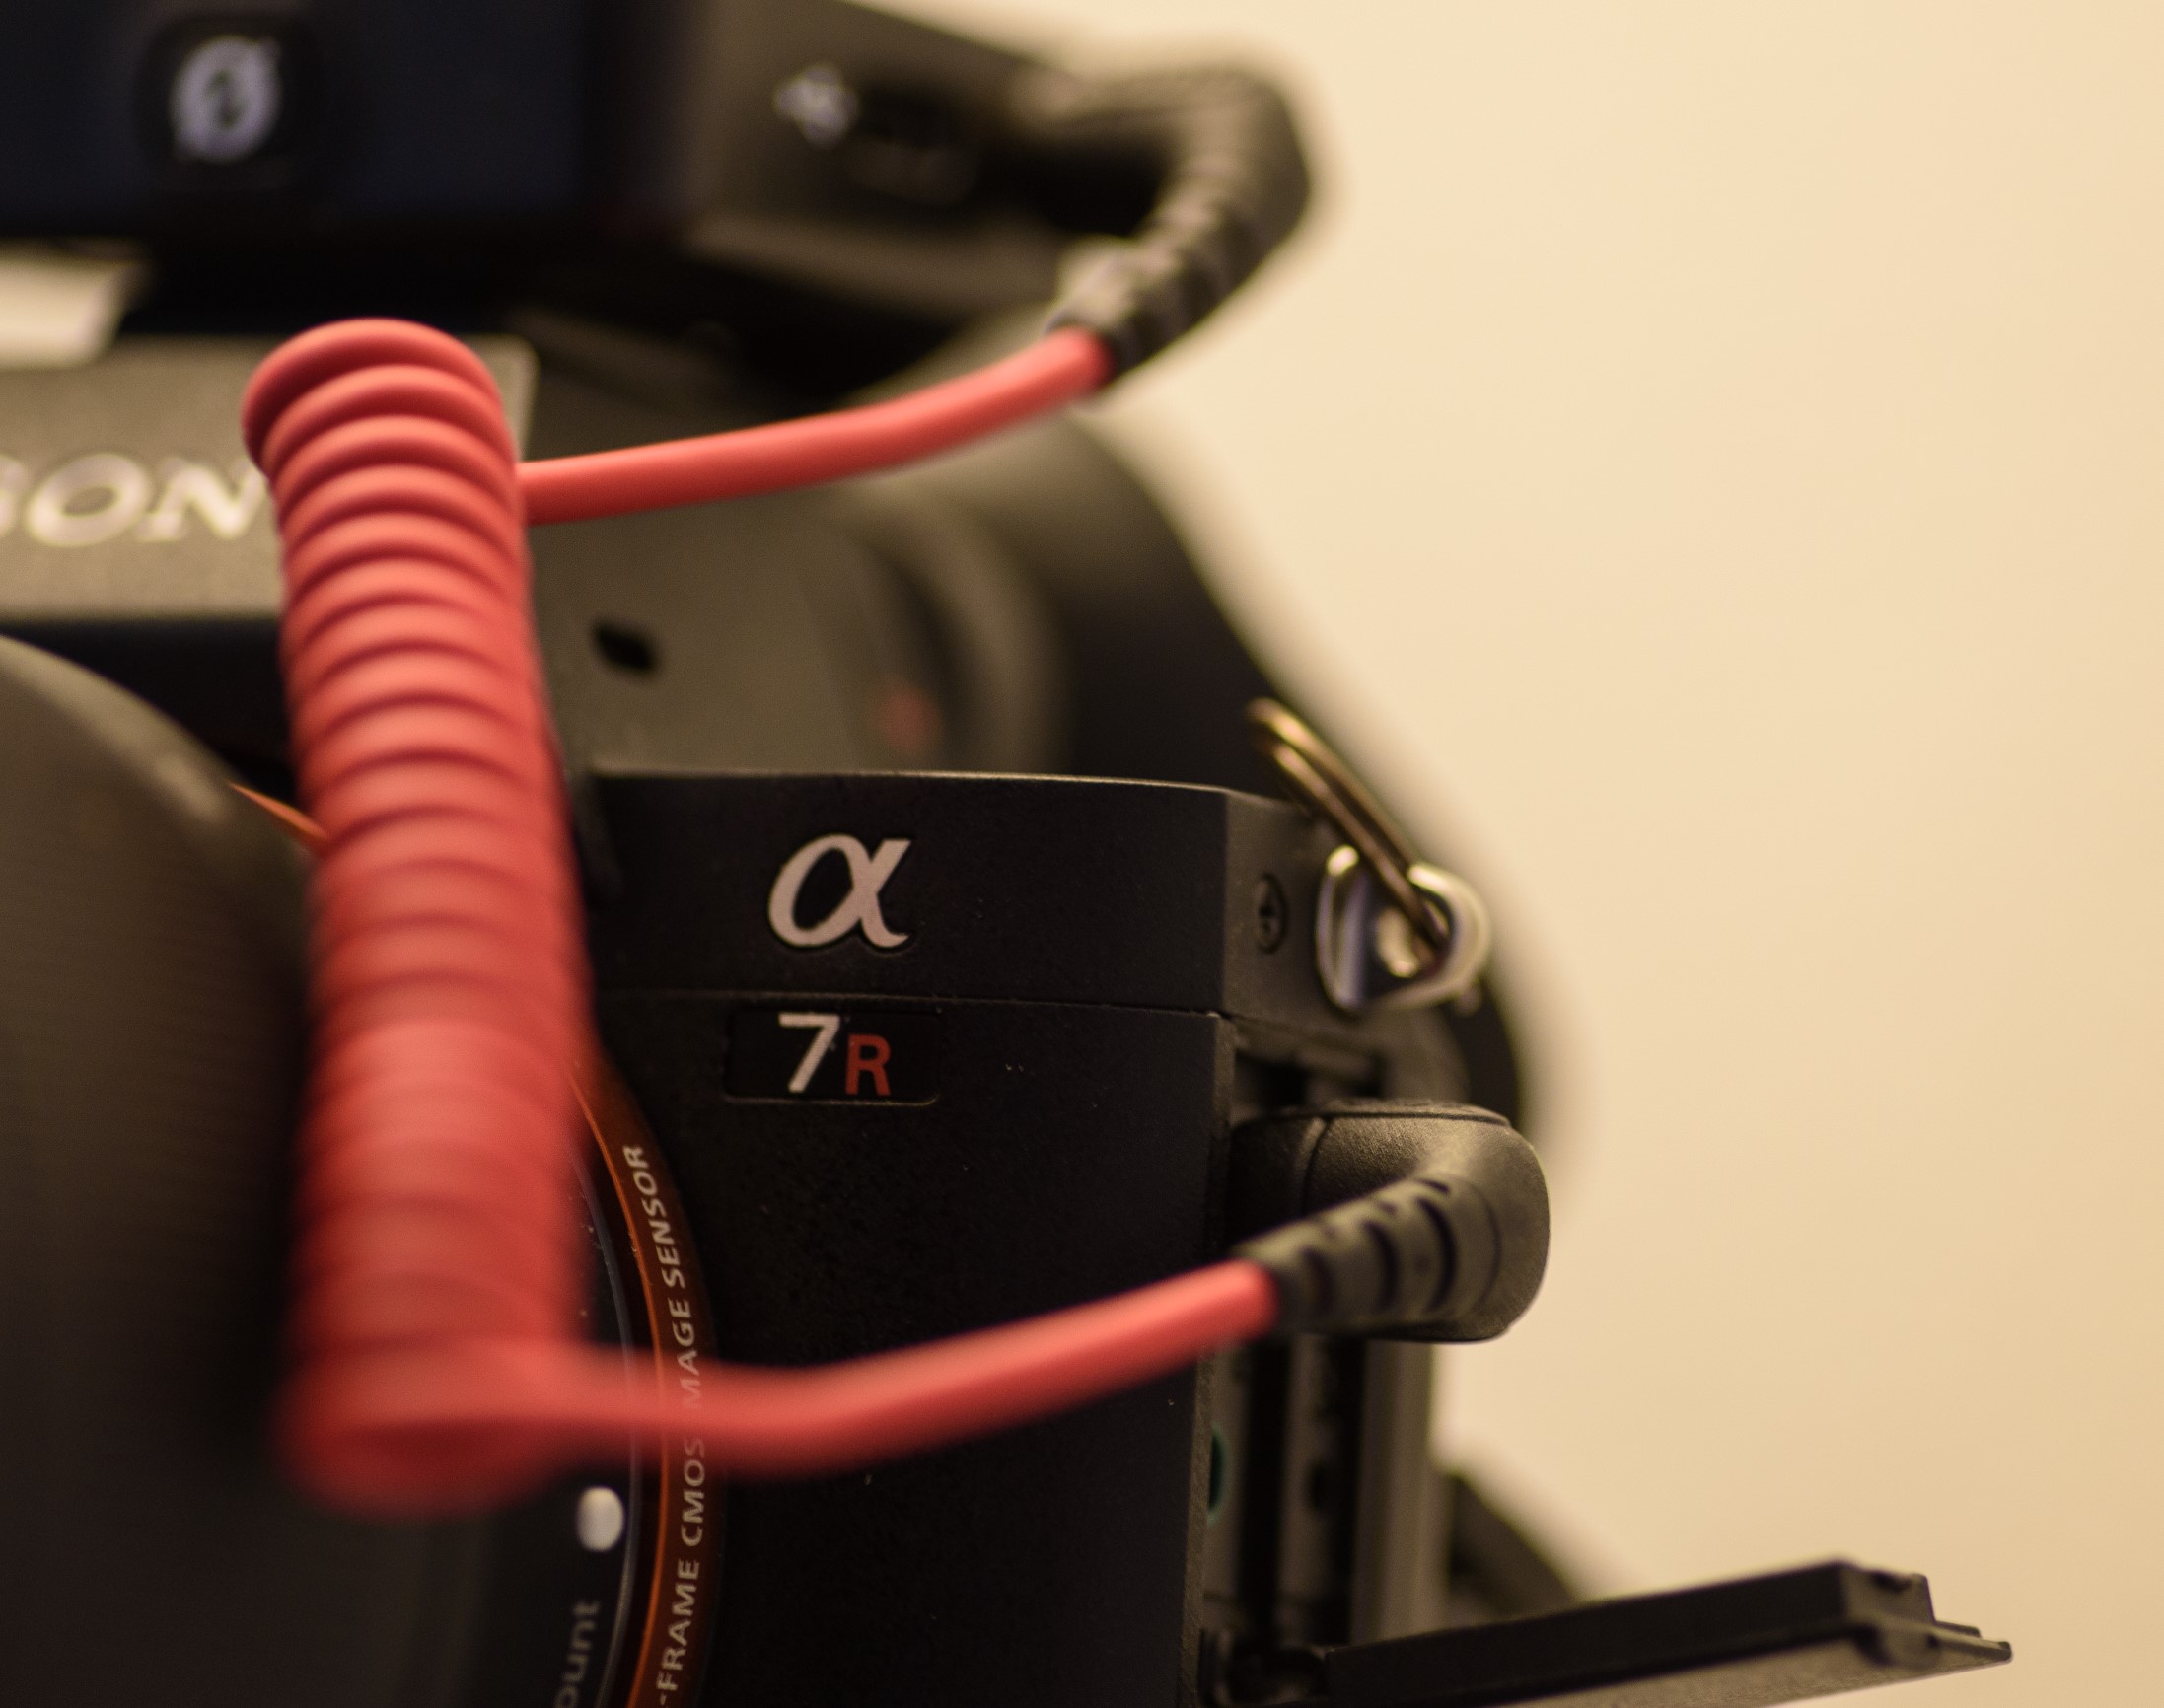
As I am very dependent on access to the USB-C connector, the choice is easy, but I have to be careful with water and dust.
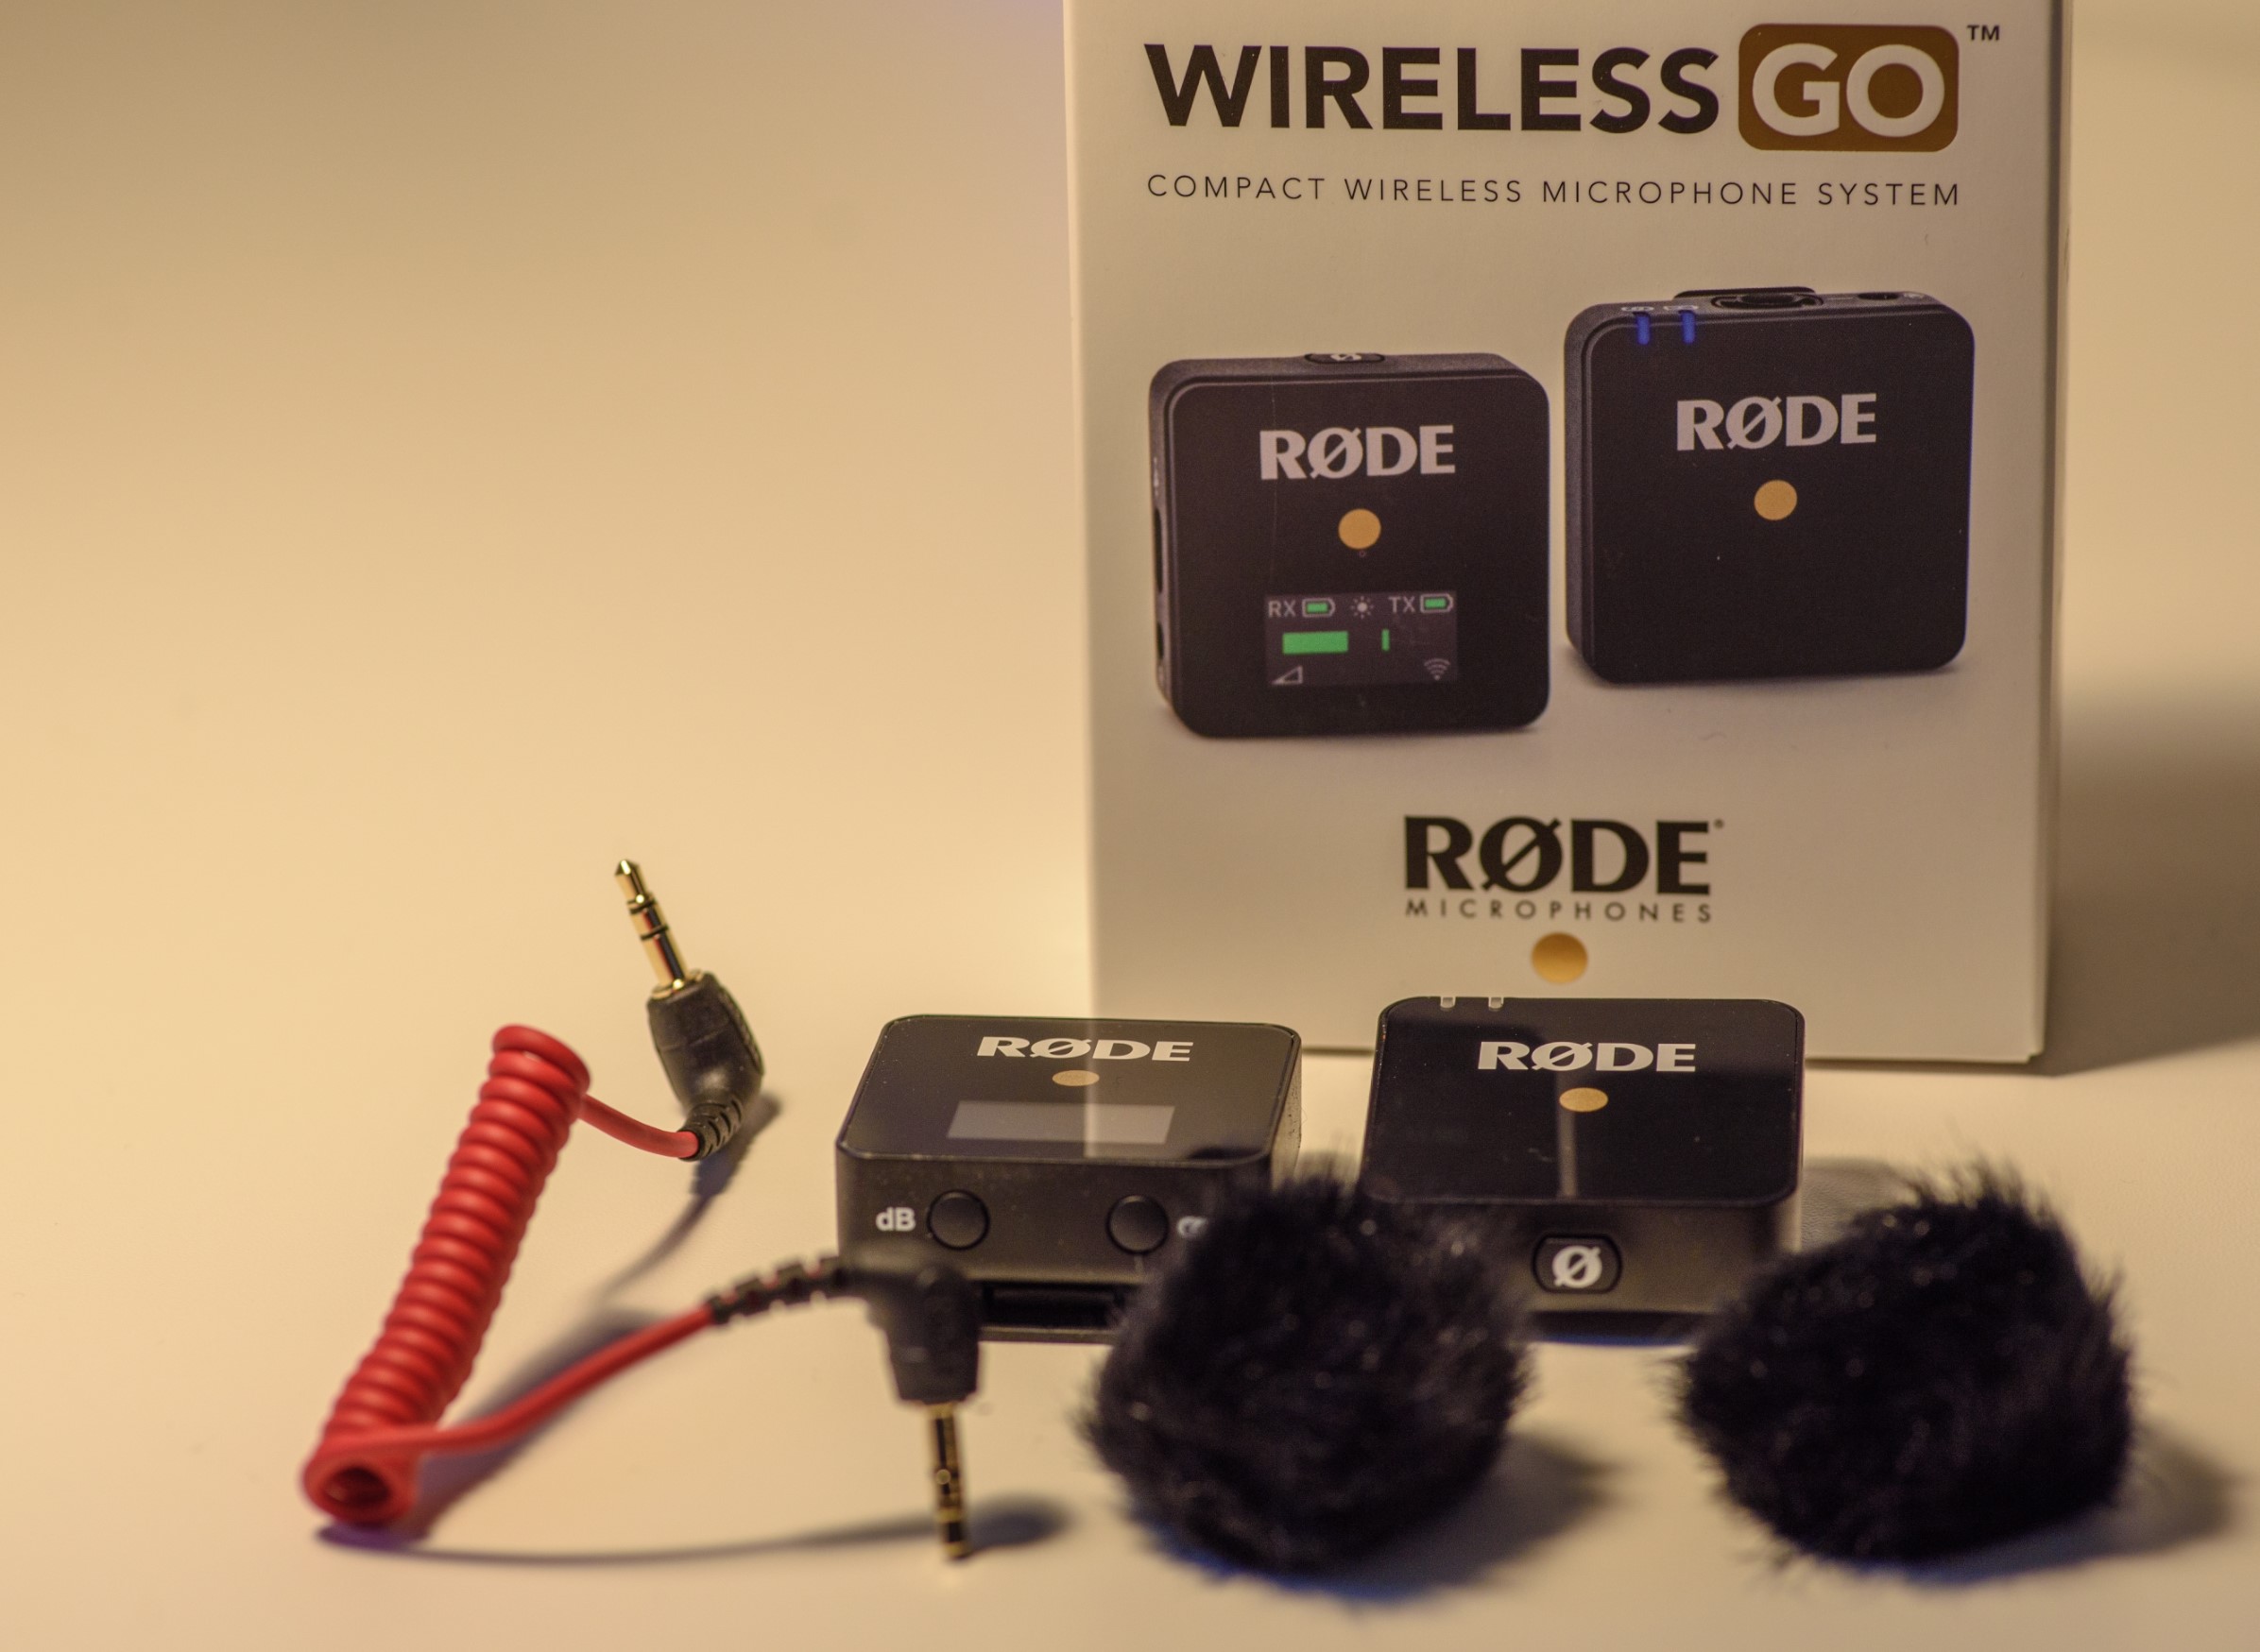
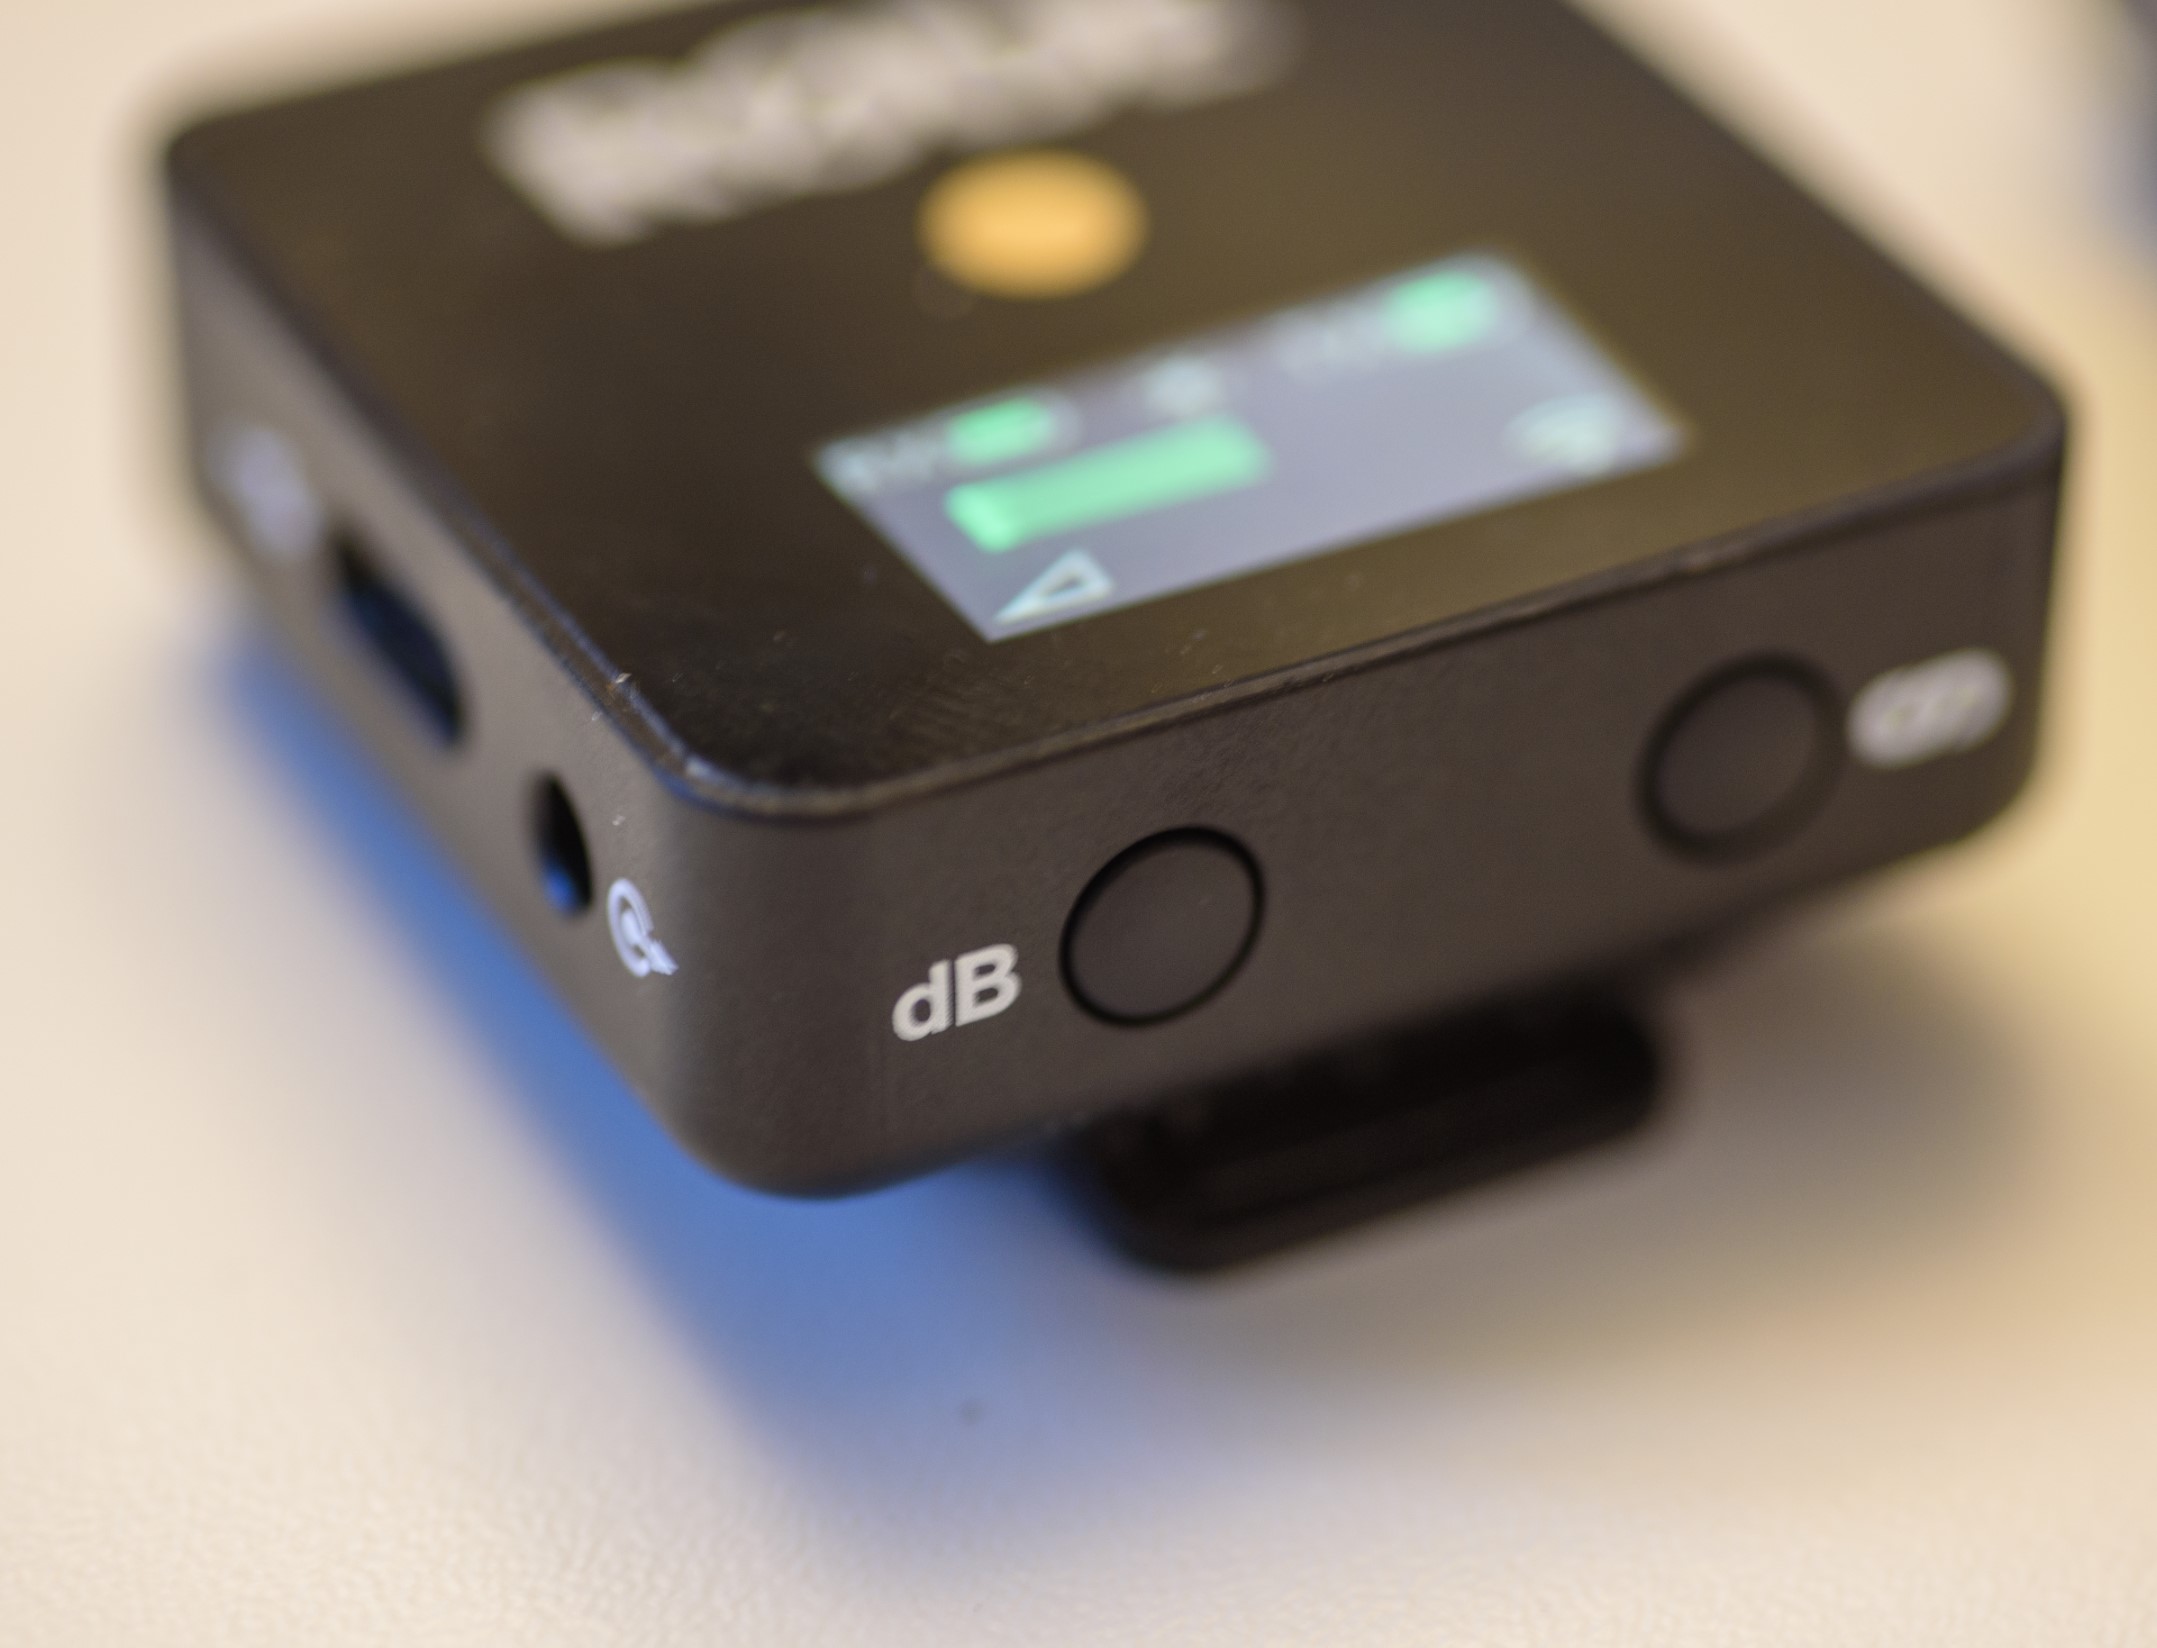
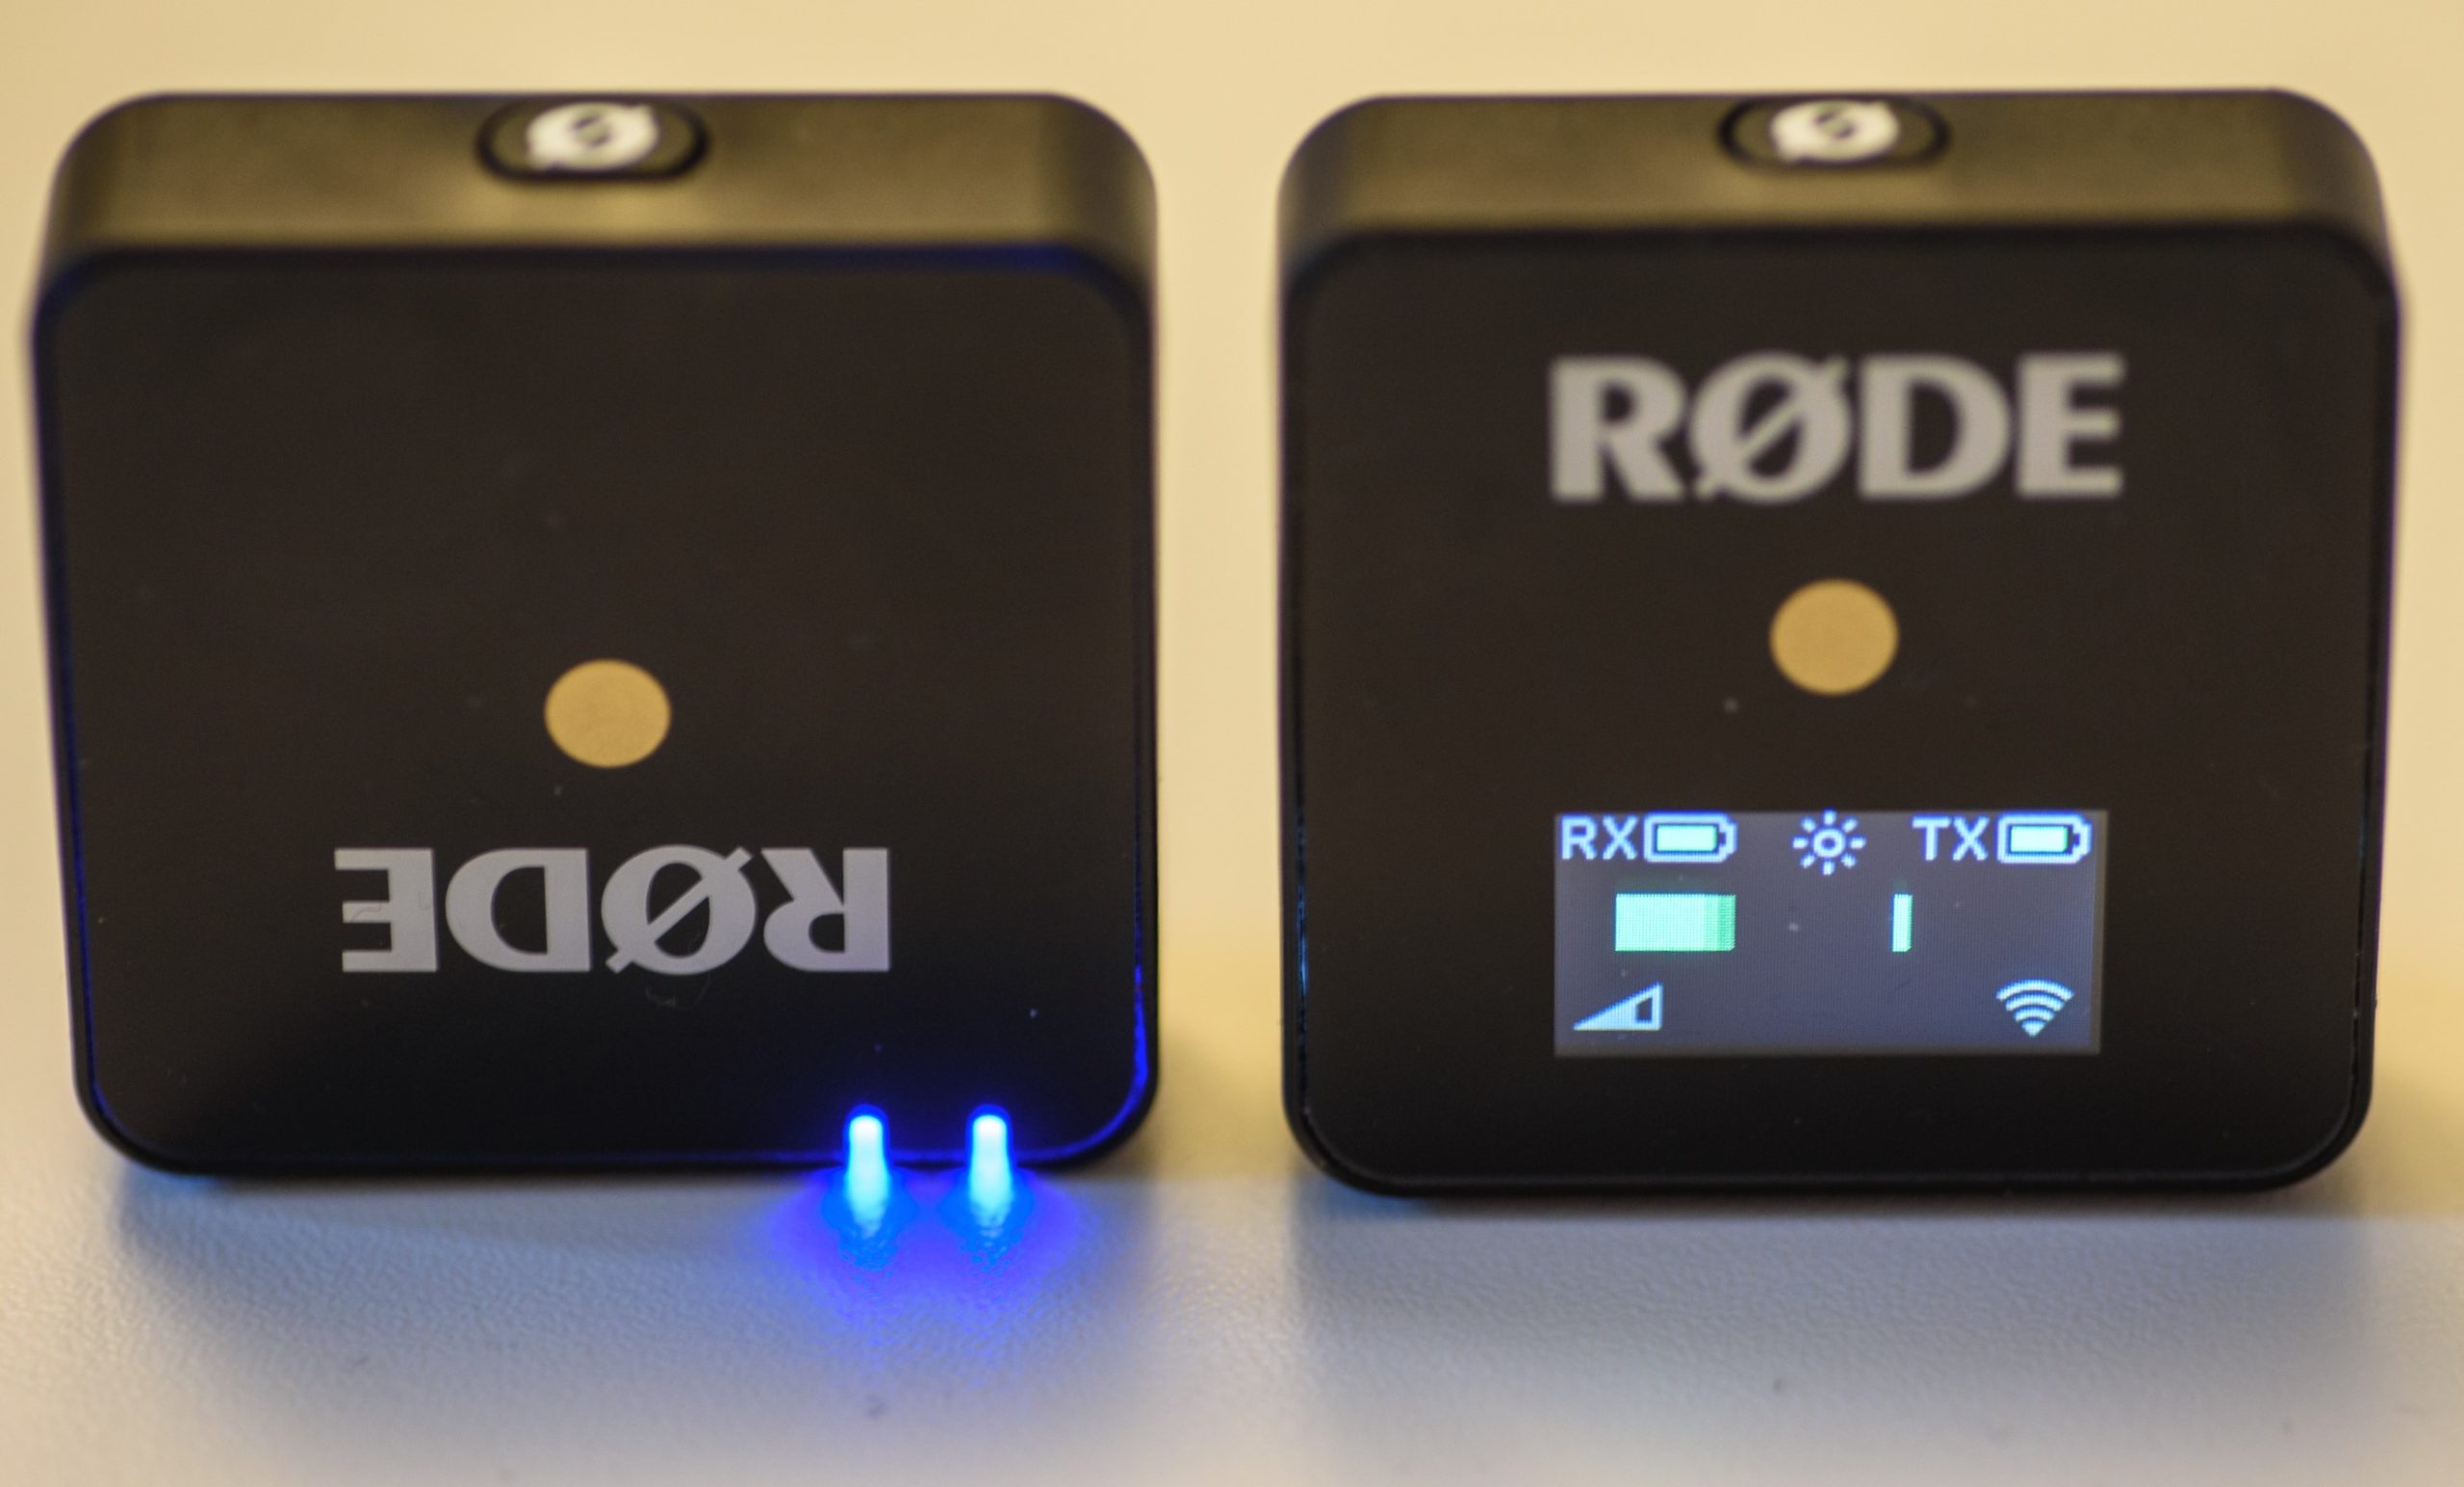
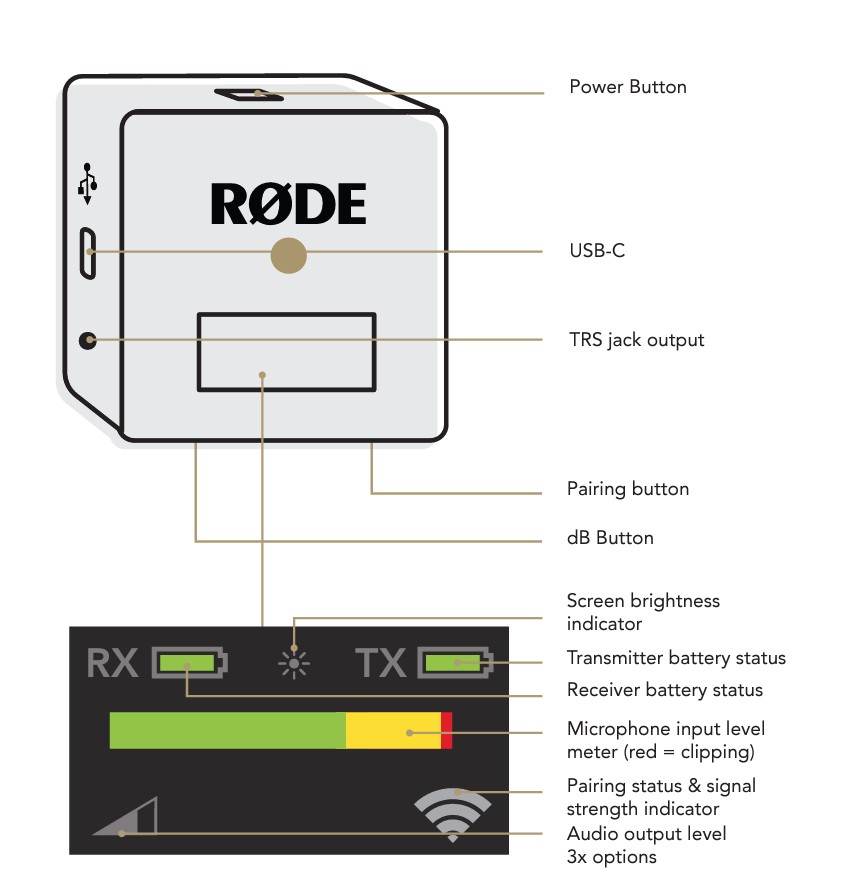
Another item that I am keen to keep track of is my Røde wireless recever (sound), that needs to connect to the adapter at the bottom of the cage. You can find a review of the Røde wireless Go here.
There are two cold shoes for mounting the Røde sender, either at the top or the side. If you mount it on the side, then access to the power button is blocked, so I prefer to have the Røde on top of the cage instead.
The black box on the top of the cage can easily be removed – I think it mainly serves to give some distance between the camera and the microphone, in case you want a microphone to be mounted on the top.

I have not really used the 2nd cold shoe, but I would imagine that a small light could go here to help out in case the ambient light does not suffice.
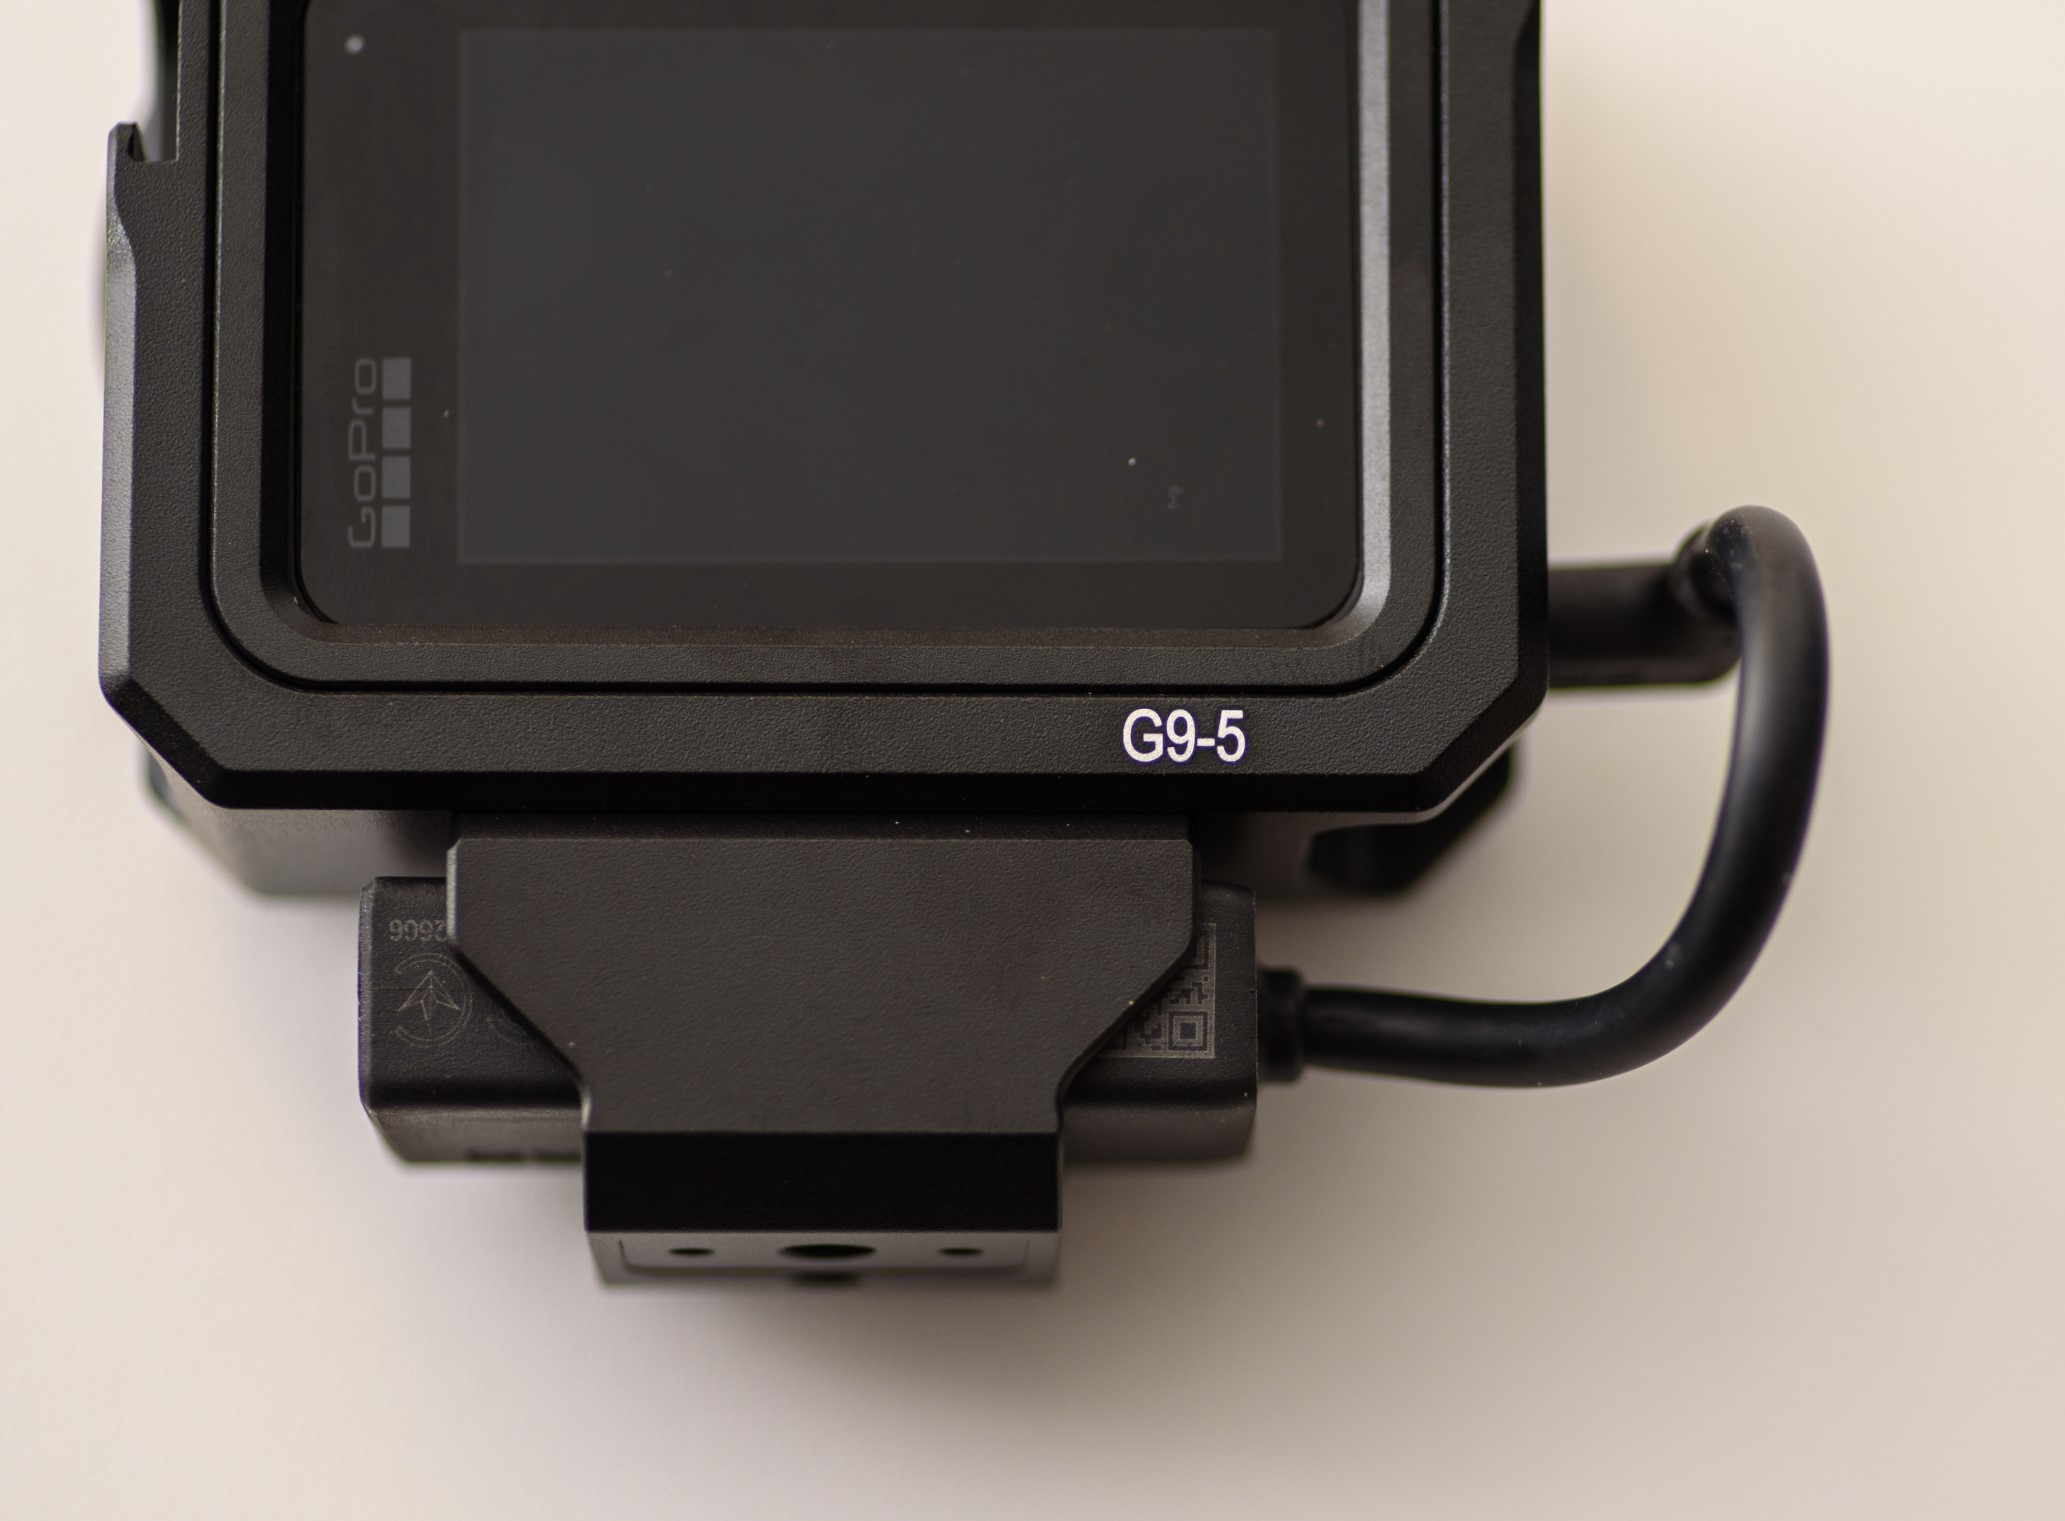
The final thing to do is mount the cage on a tripod or the like, and for this purpose there is a thread at the bottom of the cage, or more precisely at the bottom of the holder for the sound adapter.
So with both the Røde and the sound adapter mounted on the cage, and the cage on a tripod or the like, you are ready for vlogging with all your bits and bobs well under control and your GoPro well protected.

Conclusion
I really like this little no-nonsense product. It does exactly what I had expected it to. It protects the GoPro well, it gives access to vital buttons and contacts and it keeps track of the additional items that I need for sound and light. And then it enables you to mount filters in front of the lens and put the GoPro on a tripod out of the box.
The only problems that I see with this product is that it partly blocks the view to the front for LCD for vloggers that need to frame what they shoot while in front of the camera. And then the cage is not water or dust proof when you want to have access to the USB-C connector like me. But in all fairness, this is more due to GoPro that insist both an adapter and a connector is necessary to get the sound into the GoPro.
Price wise I find this product to be a bit on the steep side, but it is very well made and keeps a much more valuable product well protected. So I guess it is ok, but a bargain it is certainly not.
Shopping link
Buy the cage on Amazon here.
Related reading
XTAR Camera Battery Charger Review