More than panoramas
A panorama is typically a photo stitched together of a series of photos, either purely horizontally or vertically to produce a picture with dimensions out of the ordinary. Below is an example of a very wide photo created using the panorama function in the Sony RX100M3:

Lightroom panorama function
Lightroom enables you to stitch together a photo from a puzzle of photos provided that sufficient overlap is secured. Good news is that the photos can be combined horizontally and vertically at the same time, i.e. in the same photo, which enables you to increase both width and height in the same photo, much like you would see with a wide lens. Hereby the panorama function in Lightroom is more advanced than the panorama function you would typically find in a smartphone or the in camera function of the Sony RX100.
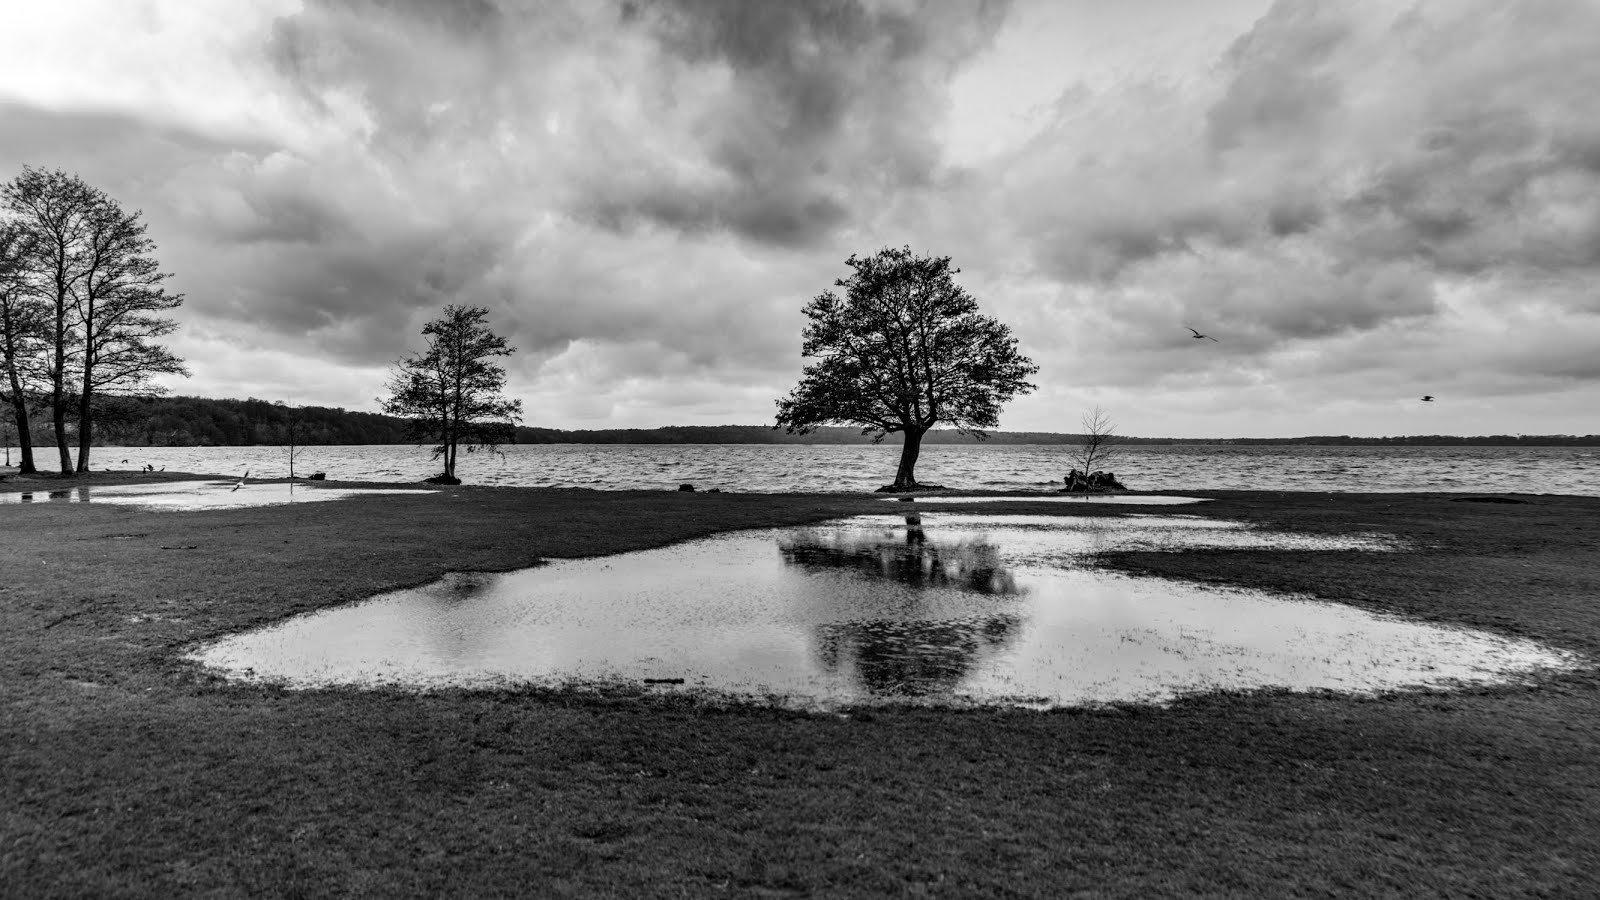
As far as I can tell, there is not requirement to have the photos in a certain order, but of course for your own administration it is probably useful to have some system in the order of the photos. In the example below, in total 8 photos have been stitched together via two columns of photos: The left hand side is built up of pictures moving the camera from bottom to top, and the right hand column follows the same logic but with a solid overlap to the left hand column. This is illustrated in the light blue graphics to the left where the darker areas are the overlap. You probably need more overlap than what the graphics indicate (1/3rd is a safe margin), but it also depends if there is some easily identifiable objects in the overlap zones:

The resulting photo looks like this:

Ease your administrative work
When you are in the field and shooting the photos, you can help your work back at the desktop stitching pictures together by following a few tips. When you are out and about it may seem very uncomplicated and straightforward when you shoot the photos, but not so much when you look a them in the Lightroom grid view. It can be difficult to figure out when your series start and stop and which pictures are “normal” pictures and which ones are part of a series. Therefore I recommend that you find a hand signal to start and stop the series, so that you via a scrap photo can easily identify the start and the top of the series. I usually point to the direction I will move the camera to open the series, and to end the series, I simply hold up an open hand:


These photos are of course not to be used as input to the combined picture but are simply for the benefit of easing your administration of the pictures in Lightroom. Here you an see the overwhelming view in Lightroom and how these pictures help you getting an overview – I think the two “handsignal” pictures gives some guidance:

In the field
In my experience you get the best results using a tripod. I know, they are a nuisance in terms of weight and size to carry around. But a tripod gives you the least variance between pictures – you want the height to be the same between photos and you want the pictures to be without camera shake. And a tripod is the most save route to those objectives. You can also give it a try to kneel down and use your knee to support your elbow and that way get a very solid foundation for the camera if the tripod is at home.
In terms of camera settings, my recommendation is that you shoot in manual mode ideally, because you then have the least variance between shots in terms of ISO, Aperture and shutter speed. In automated modes, the camera will change the settings based on changing light conditions and any variance will complicate the merging process.
Also, unless you have a specific plan with varying the focus across the shots, my recommendation is that you disengage the auto focus with the shutter half pressed and go for back-button focus, or instead that you shoot with a manual lens where you actively have to change the focus. You can, however, re-focus every photo and create some amazing pictures with a depth of field a single shot cannot deliver, but you may find that Lightroom is struggling to merge the pictures if the overlapping parts of the pictures are not sufficient similar. A varying focus may be a complicating factor that could make the picture merge process fail.
Post processing – how to
In lightroom, in the grid view (press “G”), simply select the photos to be stitched together by holding down the shift key and marking the photos in scope. You can either mark them individually or point to the first and the last photo – Lightroom will know you want to include all in between.
After selecting the pictures, right click, and a small window with a menu appears, select “Photo merge” and then menu item “Panorama”. You can also simply press ctrl-M to achieve the same effect, and a picture with a preview and some options appear:

You can try the different projection options, but I find that for landscapes the “perspective” option works best. If you remove the “auto crop” check mark, then you can see the full picture including the parts without coverage:

If you use the “boundary warp” slider, you can get Lightroom to stretch the existing pixels into the areas not covered, so you get a picture with no bare spots, but of course the dimensions may be seriously skewed.
After playing with the parameters, simply press the “merge” button at the bottom right of the screen and Lightroom starts a batch process to merge the pictures. You can follow the progress via the little bar in the screen top left. Unless you have a VERY powerful PC, I recommend that you leave the PC alone while this process is running, as it is demanding, both in terms of memory and CPU capacity. If you press Ctrl-Shift-Esc (Windows), you can monitor the “stress level” of your PC while the process is running.
Once the process is complete, Lightroom will add the picture to the current folder and name the file the same as the last photo in the merged series, with the addition of “-pano” to the file name for easy identification.
Pros and cons of this approach
Pros
- More wide and tall pictures simulating a wide angle lens
- Two dimensional stitching beats traditional panorama function
- Great fun when the result surfaces in the panorama preview – more rewarding?
- More resolution – I think…
Cons
- Cannot be used for moving subjects or changing light conditions
- More work, more pictures, more disk space, post processing, etc
- No in-camera result
- Best result requires a tripod
- Straight lines may be ”fisheyed”, i.e. look strange
- Very demanding on your PC if shooting in RAW
- Access to picture processing in Lightroom or the like is a prerequisite
A few tips
- As shown above, mark the start and end of a panorama series with scrap pictures to easily be identified in grid view
- Keep all settings the same for all pictures
- Ideally shoot manual mode, or try to keep the setting the same across all pictures
- Use back button focus so your focus is the same (again, to keep settings the same)
- Use a tripod and ideally also a L-bracket if shooting in portrait mode
- Make sure you have solid overlap between pictures – best to have some easily identifiable objects in the areas that overlap.
- Keep the number of pictures low if shooting in RAW
– maybe start with JPG to see how your PC is dealing with the task
Questions and comments
Questions and comments are more than welcome – please post below. Hope you found this blog useful. Thank you for reading!
