Does low light photography make any sense?

Write with light

Although Latin will never be my forte, I seem to remember that photography stems from the words “writing” and “light”, i.e. writing or creating with light. So bearing this definition in mind, does low light photography then make any sense? In a word: Technically: no, emotionally: yes.

Signal to noise

Signal to noise. Sounds complicated, right? And it is, if you want to be an engineer and dive into this interesting concept. Lots of math and complexity. But for us photographers, all you need to know is that light is a signal and that your camera is a system that inherently holds or produces noise. So there is a balance between the input in the shape of light and noise during the production of the output, the image. That balance is signal to noise. And the stronger the signal is relative to the noise, the better, i.e. the more clean the image will appear.

When shooting in low light, the signal to noise ratio is appalling! Your camera struggles to “see” if there is light or darkness, and it makes mistakes! And the mistakes show up in the shape of grain and noise and washed out colors. The camera sensor simply gets so little light, that the noise is as strong as the light, and hence the sensor starts mistaking noise for light. And that is not good.

Low light photography
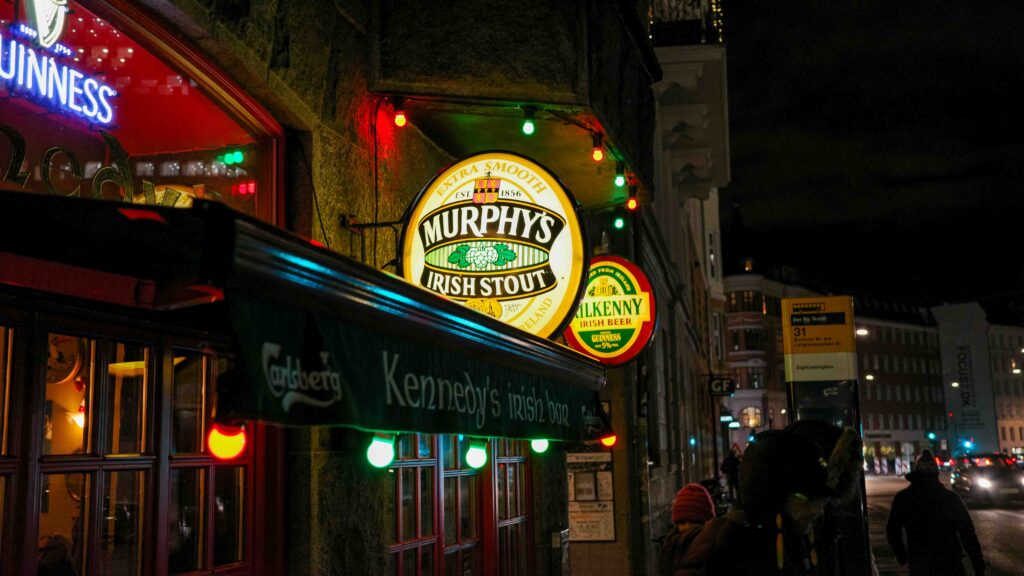
A night out.

So the obvious solution here is to add light – a big fat flash that will lighten up half the city and take out the noise, right? Well, right from a technical perspective. But people sitting in a dimly lit restaurant may find that this is exactly what will break the cosy atmosphere and you will not capture the emotion of the scene, as the added light ruins it all.

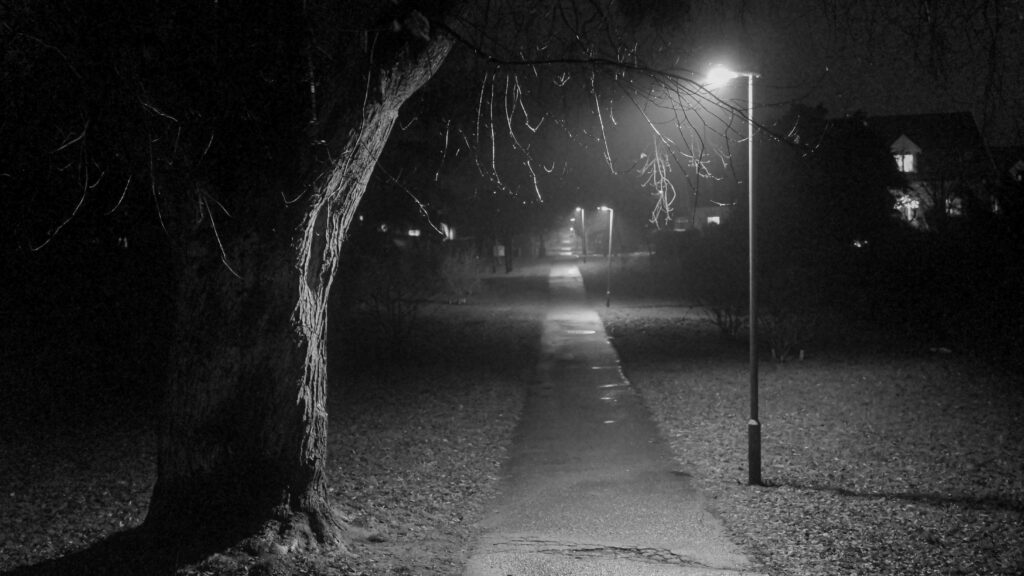
Low light photography
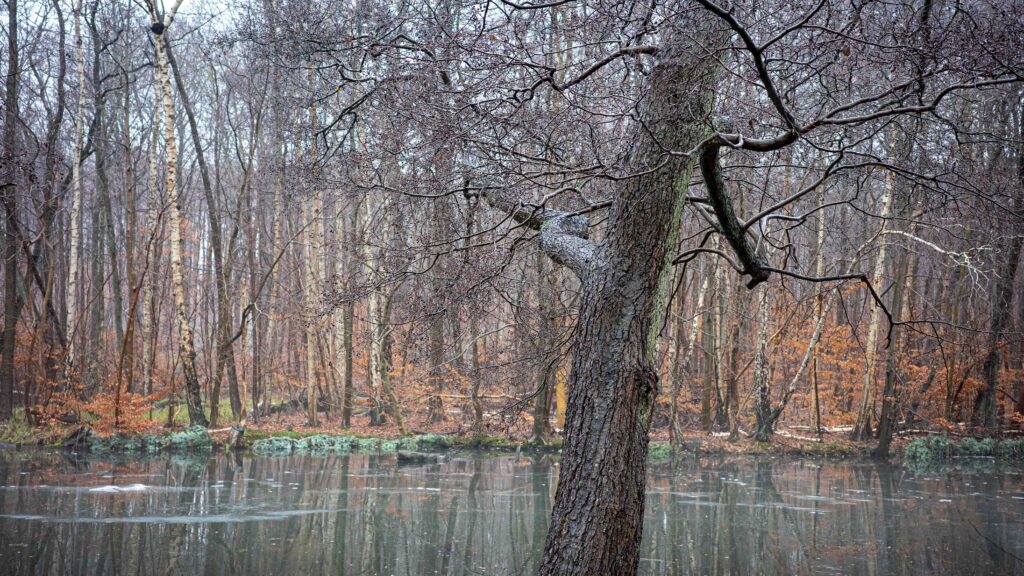
A rainy evening during winter time. Not much light here.

So the way forward is to find a way to capture the scene with very little light, and as with so many other aspects of photography there is no silver bullet. You have to find the optimal compromise.

What to do

First of all you need to make sure you get as much of the ambient light in the scene into your camera, so the faster your lens is (larger aperture) and the larger the camera sensor is, the better. Just like a big bucket gathers more water when set out on a rainy day than a small bucket, your camera will gather more light the larger the surface to gather it. And here the “size” of the (fast) lens and the size of the sensor is a remedy. But it comes literally with a price, and full frame glass is a lot heavier than say APS-C glass.

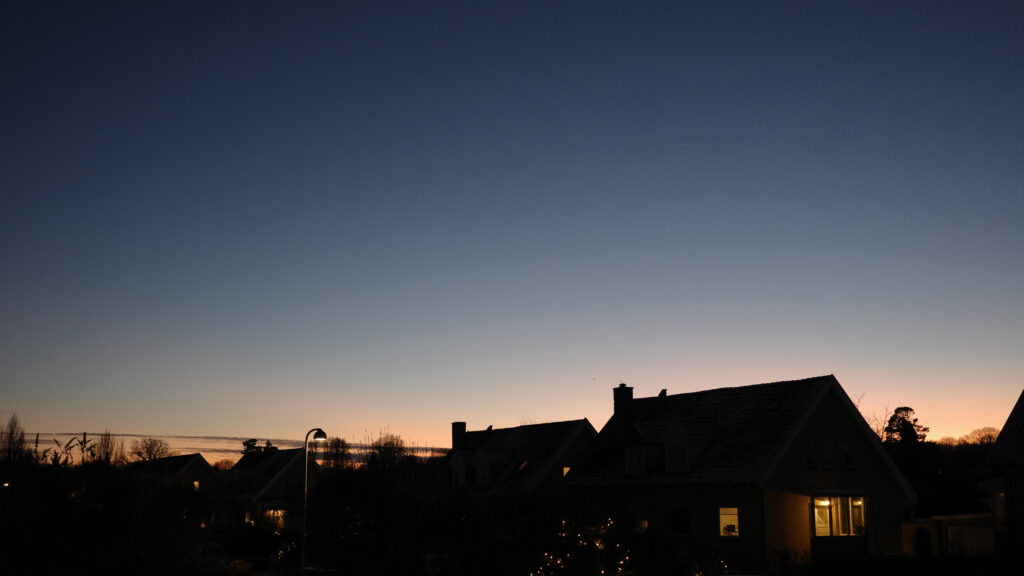
Low light photography
Here a flash cannot help much and would ruin the scenery!

Your next friend when there is little light available is time. The longer you can let the shutter stay open, the more light will be gathered obviously.  But with time comes two new enemies: camera shake and motion blur. You can use both camera shake / movement and motion blur for artistic purposes, but if not, movement while the shutter is open is not your friend.

Camera shake can be countered with a tripod or maybe just leaning the camera towards something stable. When I am in town at night, I often use lampposts or other stable objects to give some level of stability to the camera. Next, you can invest in a camera (or lens or both) that has image stabilisation. This helps a lot and has made it possible for me to shoot sharp handheld images with shutters open at 1/4th of a second – something that would be completely impossible without stabilisation.

Low light photography
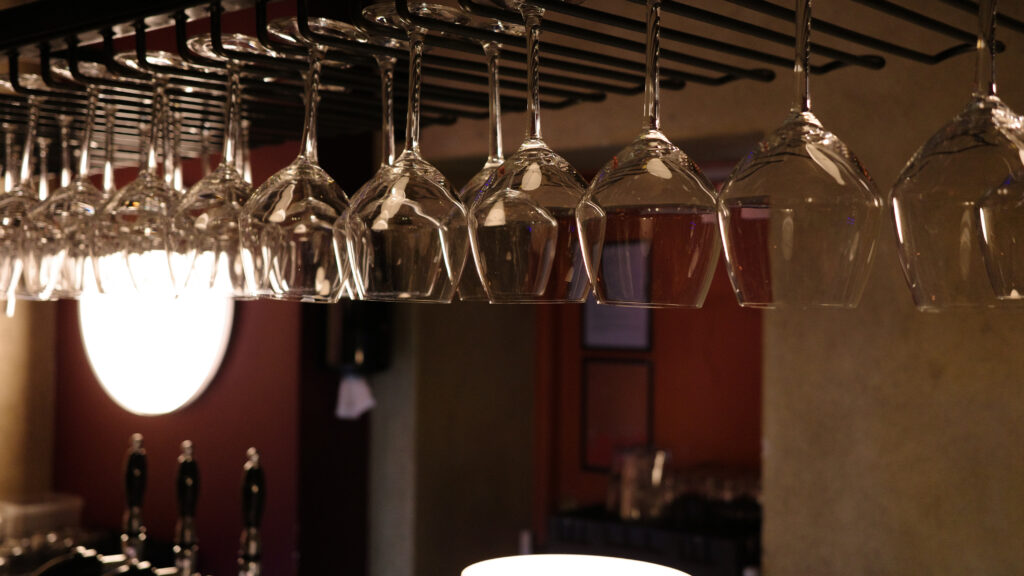
Restaurant at closing time.

Motion blur is when your subject moves while the shutter is open. It can be hard to avoid when you are shooting fast moving objects at night e.g cars on a highway. One technique is to follow the subject with the lens (panning), so the subject is kept in the same position in the frame and everything else gets blurred. This requires some training, but is great fun when you succeed! If you just want to take pictures of people in a restaurant, keep an eye out for an arm moving or a glass being lifted – maybe that is not the right time to hit the shutter!

Cranking up the ISO is what many do! If not deliberately, then because the camera is in some automated mode where it struggles to find a way out! Shooting at high ISO is often necessary in a low light scene, but be aware that in digital photography the sensor has the sensitivity that it had when it left the factory! When you turn up the ISO value, it is factor applied to the readings of the sensor. You can see this as camera internal post processing being applied. So both signal and noise will be amplified. It is just like an old tired analogue radio with a muffled sound and bad reception of the signal: turning up the volume will not make it sound better, as both music and noise is amplified. So try to limit or cap the use of ISO – I normally do not go beyond ISO 3200, but a “max acceptable level” varies from camera to camera.

Finally, it is not only the exposure that struggles in low light, also your focus system will struggle. You may find that your otherwise super stable and fast (daytime) auto-focus system starts hunting and acting weird. And images out of focus may result. The remedy here is manual focus. Yes, I know, if you rely on auto-focus in your daily work, switching to manual focus is not what you hoped for.  But it may be the very thing standing between you and some great low light images. So use all the focus aid systems available in your camera: zooming in in the viewfinder or focus peaking highlights or focus confirmation dots. Take all the help you can get as you take control of the focus.

Next step

I know that photography can be a pain: you were hoping for a quick fix only to learn that photography as per usual is about finding the best compromise. But don’t give up: low light images can be very rewarding and capture a tranquil scene or sentiment that no other type of photography offers. So I hope you will take up the low light challenge – the rewards on the other side is worth it.

Related reading

Flash photography – why bother?

Review: Ricoh GRIIIx camera


What is fill light in photography?

The main character and….

Remember Tom Hanks’ performance as Forest Gump? Outstanding! Remember the supporting actors? Robin Wright as his girlfriend and later his wife? Gary Sinise as his commander and later his friend and best man? Although Tom Hanks clearly steals all the light, the supporting actors are just as important to make a great movie.

Light is a bit the same way. The main light or the key light is of course the starring role. But the fill light is also important to make the leading character shine.

Message from the dark side

Where the light is the brightest, the shadows are the darkest. Wise words that I think are intended to give us hope in troubled times, and not fly too close to the sun either. But it is also very true in photography. When you have lots of light hitting your subject from a specific angle, it will – unless the light source is extremely big like the clouds on an overcast day – give shadows in the opposite direction from where the light originates.

Every time a scene is lit with directional light you will be met with this simple fact: bright areas and dark areas go hand in hand like horse and carriage.  This is where fill light comes to the rescue: it is simply light sent from the opposite direction of the main light.

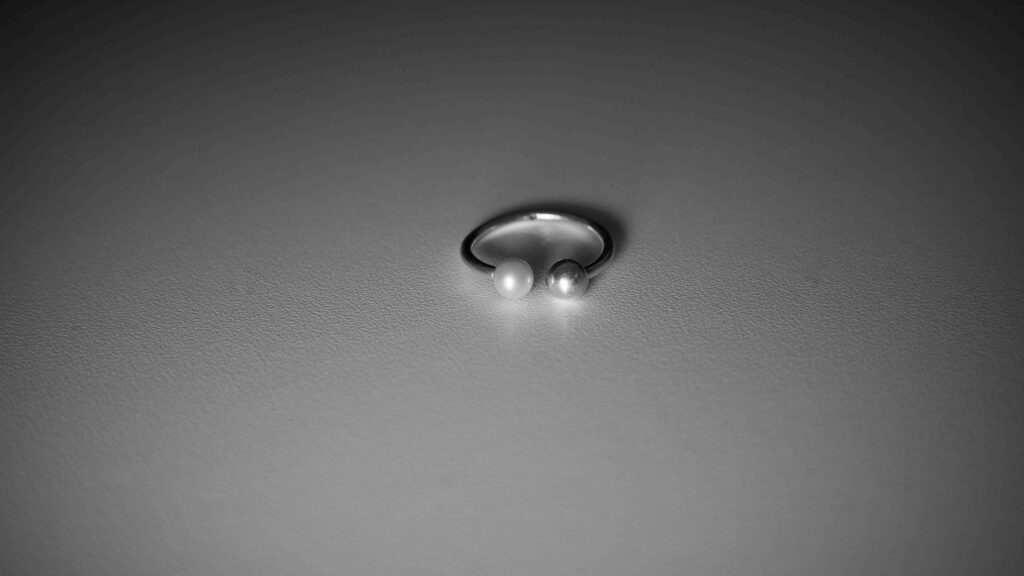
Single light source on a ring. Notice the shadow top right of the ring that reveals the direction of the light.

Mood

When you have a high contrast image with bright brights and dark darks, your viewer may find the image to be a bit unsettling. The fill light can fix this: it reduces the dynamic range so the histogram of the image  is more centered than without the fill light. Many focus on the fill lights role to reduce or eliminate shadows, but it actually has a major impact on the expression the image gives – it has a more positive or uplifting vibe. And especially when it comes to portrait photography, this is a key feature.

How to?

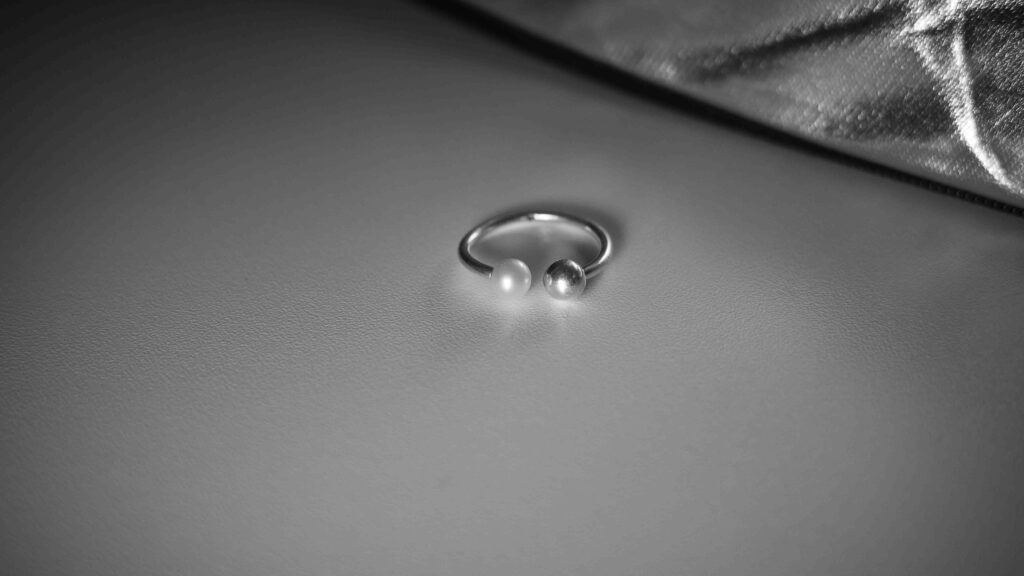
The simplest remedy for creating fill light is to place a reflector or just a white plate in the opposite direction of the key light. In the example below you will notice how the shadow top right of the ring has been significantly reduced due to the reflector introduced. Notice that the key light can be daylight coming through a window.

Adding a reflector helps reducing the shadow from the ring, but the challenge with using a reflector is that it can be difficult to control the strength of the light (you can move it closer and further from the subject, but it is not always an option if in a small room).

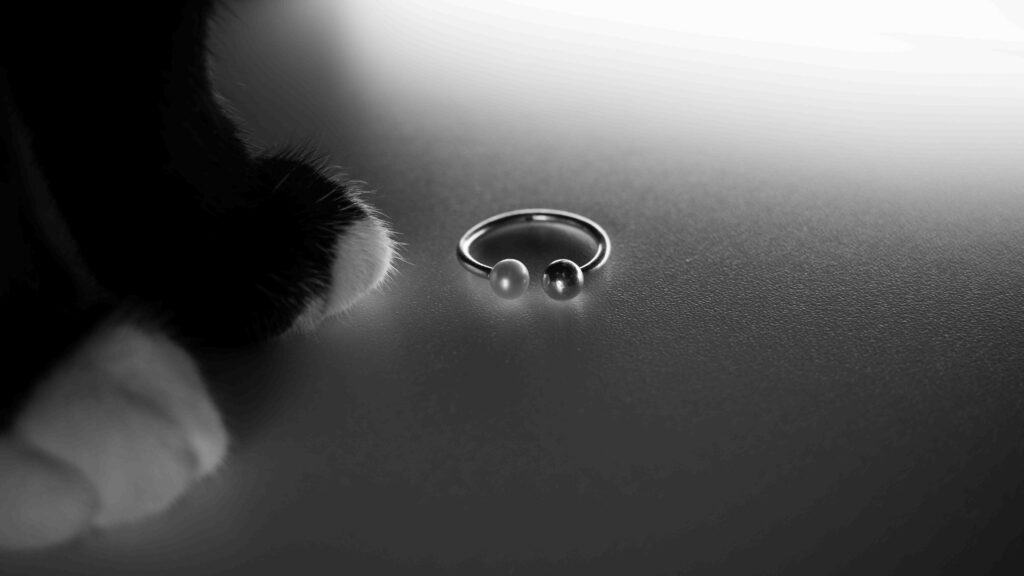
The challenge with fill light is to find the balance between the fill light and the key light – if the fill light is too strong, it will introduce a new set of shadows which is certainly desirable. To balancing the key and fill light is – well, key!

Adding a second light source helps. You can see the shadow of the ring top right is now gone. The light is so strong that it now causes the ring to reflect in the table, so turning down the volume could yield a better result. My assistant came to the scene and did not allow me to pursue that idea!

If you fill light can be controlled precisely by you, either the strength of a flash or steady light, I find this to be the easiest way to find a good balance between key and fill light. With a reflector or reflecting surface, you may need to experiment with the distance to the subject to find the right balance.

Related reading

What is hard light vs soft light?

What is a light diffuser?


What is pop and blur in photography?

Flash and ambient light combined

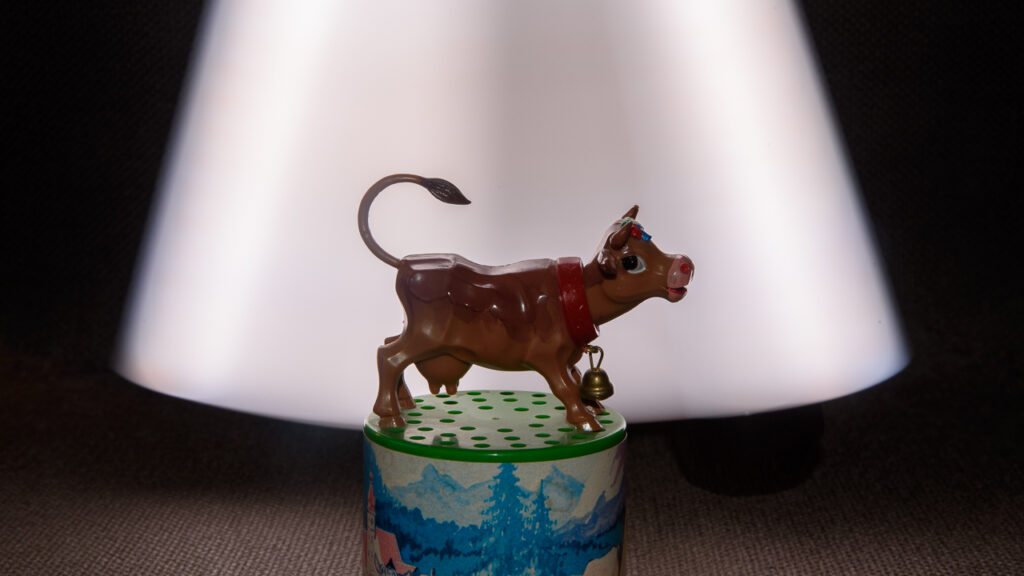
When you shoot with a flash, there are two exposures going on at the same time: one originating from the ambient light, the other to the flash firing. The pop in “pop and blur” is the flash firing, and the blur is the shutter being open for sufficiently long time to let in the ambient light. So pop and blur is combining flash and ambient exposure in one and the same image.

Behind the cow here I am waving a stick of light like a pendulum. The long exposure makes it look like a white background. The flash lights up the cow – had it not been for the flash, the cow would have been a black silhouette. EXIF: 0.8 Second at f/22 and ISO 100.

If something in the frame gives off light, like the headlights of a car or a flashlight, any movement made will be captured by the long exposure. This is in stark contrast to objects only being lit up by the flash. It is this combination of things moving and things standing very still that makes pop and blur so fascinating, if you ask me.

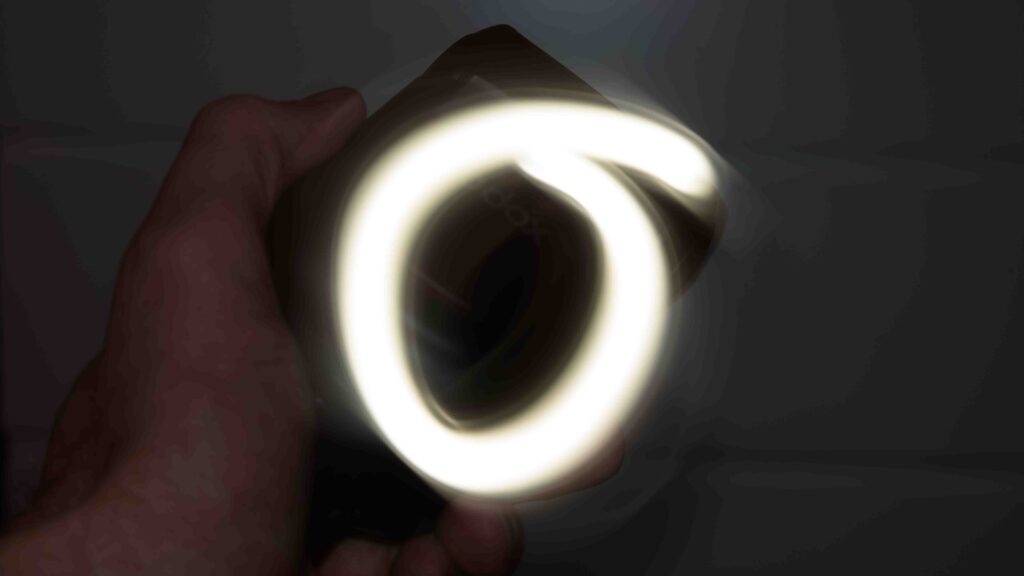
Here I am moving a constant light in a circular motion captured by the ambient light. My hand is lit up by the flash and is hence absolutely still despite the movement.

If you let your subject be lit up by both the flash and the ambient light while moving, then you get a “trailing” look – you may have seen photographers use this for catching people dancing as this gives a very sharp image and illustrates the movement at the same time.

If your subject is moving and is hit by both ambient light and the flash light, you get this trailing look – the pop and blur classic!

Your cameras default setting is most likely to activate the flash at the beginning of the exposure – also known as first curtain synchronisation. Most cameras allow that you change this to be flipped upside down, so the camera now fires the flash with second curtains synchronization. This way you can control the order of the flash and blur. With first curtain sync the flash fires at the beginning of the exposure, with second (or rear) curtain synchronization, it fires at the end of the exposure.

Related reading

What is a camera’s max flash sync speed?

Flash photography – why bother?

What is the guide number (GN) for a flash?

Power

The guide number is an indication of how powerful the flash is, i.e. a high guide number indicates that the flash can illuminate a subject far away when shooting at a closed down f-stop. But you may not need all this power, if your subject is close to the camera (product shoots for example). So there is an element of marketing hype involved in the guide number, a bit similar to the marketing hype related to megapixels.

Back in the days when you were shooting film, the feedback cycle from shooting to seeing the result was pretty long and involved a darkroom and lots of chemicals. Back in those days, it was pretty important to calculate how far away from the camera the subject could be and still be illuminated by the flash firing. And hence the guide number was very much needed. Today, where the feedback is instantly available in the rear screen on the camera, the math involved in setting the flash power is less relevant and has been replaced by simply trial and error. Or automation in terms of TTL.

However, the guide number (often abbreviated GN) gives an indication of how powerful the flash is. Unfortunately the way to measure it differs from vendor to vendor – some shoot at ISO 100, others at ISO 200, some use reflectors, others not, and then it is not comparing apples and apples. And  to confuse matters more, some give the guide number based on feet, others on meters, and this gives some significant differences obviously. But within spec sheets from the same vendor, the numbers can be compared. And as such this could be a parameter in your choice of flash, subject to your needs and preferences.

Related reading

What is stroboscopic flash photography?

What is flash duration? And should you care?

What is a shoot through umbrella?

What is flash exposure compensation?

FEC

Flash Exposure Compensation (FEC) is very similar to exposure compensation that you may know already from shooting with ambient light.

When you use a flash, the flash is typically the dominating light source and if you find that the flash light is either too strong or too weak, the remedy is to adjust the light via flash exposure compensation.

Why not set the flash power manually? Indeed, that is an option, but if the lighting conditions change, then the manual settings need to be adjusted accordingly, and that requires a bit of adjustment. If you have the flash exposure compensation engaged and the light conditions change, the automated reading of the light will factor in the change. Just like exposure compensation, FEC pushes the automated reading of the light either above or below the automated reading.

Flash exposure compensation.
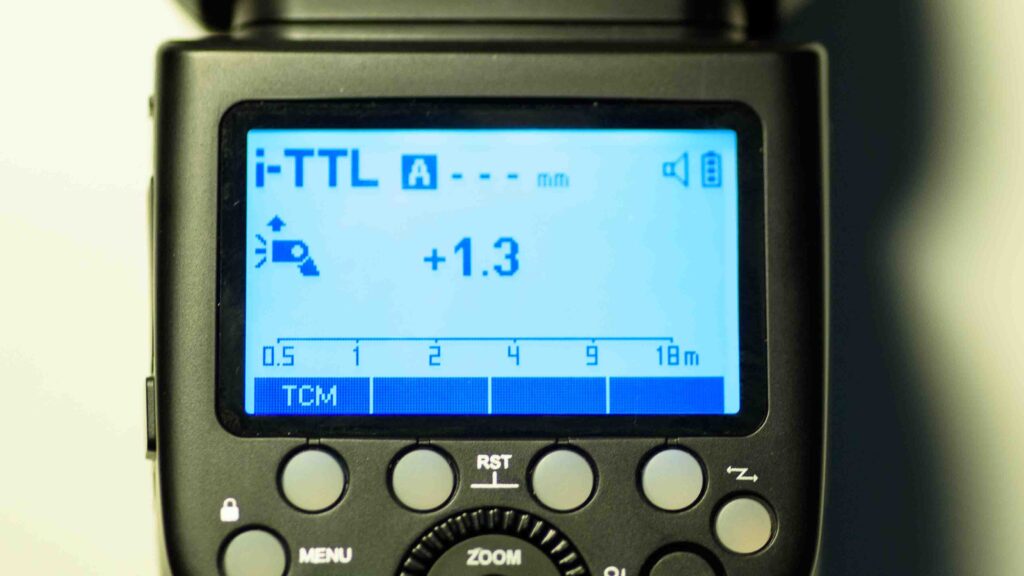
The FEV on my Godox V860iii is here set to 1.3 stops of light.

You set the flash exposure compensation in stops of light. My Godox V860iii allow that up to 3.0 stops of light are added or subtracted.

You will typically use FEC when you are not happy with the automated exposure, but don’t want to switch to manual flash power. It can also be that you are happy with the exposure or find that it is just right, but want to make say a high key image where the exposure is deliberately adjusted.

Related reading

What is a camera’s max flash sync speed?

Can a flash zoom? And what is the point?

Review: Godox V860 III Speedlite flash


What is a camera’s max flash sync speed?

Get moving

Most cameras have a mechanical shutter consisting of two curtains. One that exposes the sensor and another that covers it (rear curtain).

If you go to a theater and see a show, the first thing you will see is also the last thing to see: the shoes of the actors (provided they are on stage!). That is not so smart in photography, as one end of the sensor would be more exposed than the other. By having two curtains – one that goes up like the curtain in the theater, and another that – in this metaphor – comes up the floor, you are certain all of the sensor gets the same amount of light.

The curtains move fast, but no matter how good technology you apply, it will take a bit of time to move the curtains. When we are talking shutter speeds at 1/8000th of a second for example, it takes – in relative terms – a long time to move the curtain. So to secure that the shutter is fast, the second curtain starts moving before the first curtain has revealed all of the sensor. And the faster the shutter speed, the closer to each other the two curtains will move. At very high speeds the curtains cover most of the sensor at any point of time and only a small crack of light is between them.

The max sync speed is the highest speed at which the camera at some point in time during the exposure reveals all of the sensor. Beyond that, the second curtain starts to move before the first curtain has revealed all of the sensor.

The max sync speed is a vital part of a cameras spec sheet if you want to use it for flash photography. When you go beyond the max sync speed, the flash needs to fire a series of flashes as the two curtains move across the sensor., also known has High Speed Synchronisation (HSS). If you shoot beyond the max sync speed without using HSS, you will get black bars or black areas in the image. The black areas are caused by the curtains on the move. HSS is very taxing on the flash and its battery as the flash has to fire several times in a very short while.

Related reading

What is flash duration? And should you care?

What is HSS in Photography?

What is stroboscopic flash photography?

What is stroboscopic flash photography?

Multi flash – one image

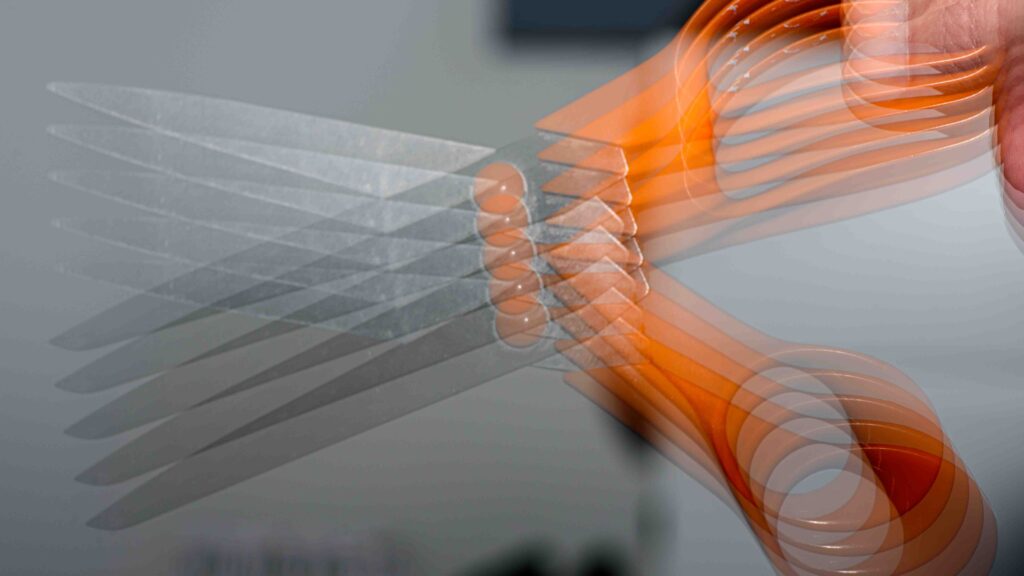
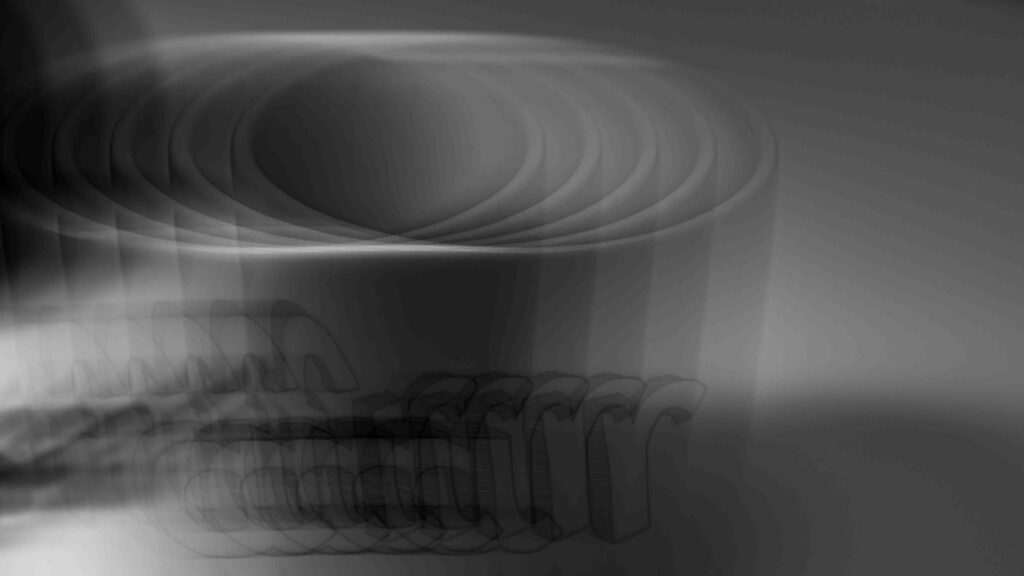
You can use your flash in stroboscopic mode to get several exposures in one image in one go. The flash fires a series of flashes while the shutter is open and this can capture motion and change in a way that illustrates how the subject is moving across the frame.

Here a pair of scissors are moved vertically while the shutter is open at 1/10th of a second and the flash fires 5 times.

Flash setting

The setup of the flash involves two parameters: the number of shots and the frequency of the shots, i.e. how quickly after each other they are fired. This needs to match the shutter speed so all the flash bursts are used in capturing the image.

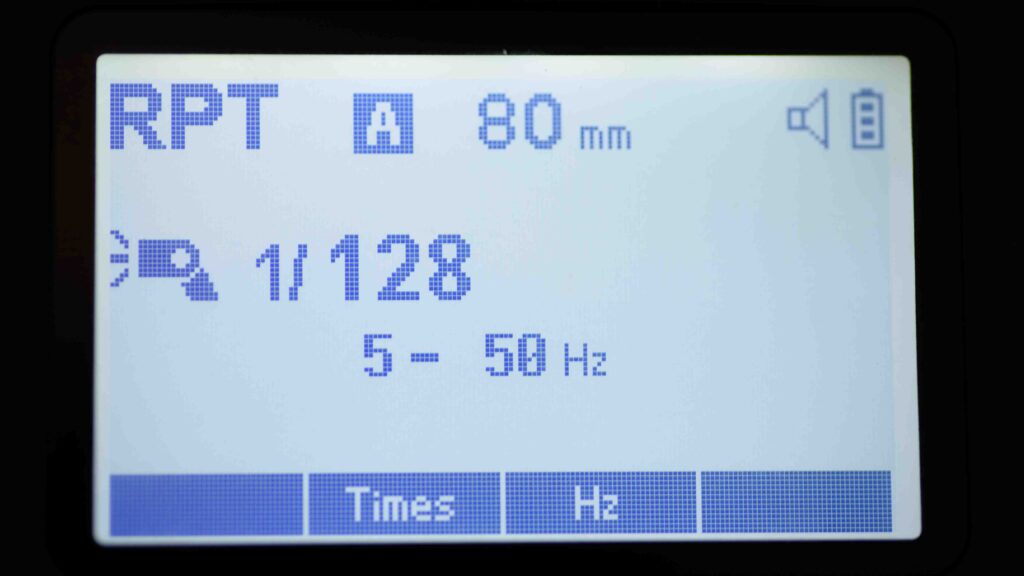
Top left “RPT” is Nikon language for stroboscopic. The flash will here fire 5 times at a frequency of 50 flashes per second. And the flash power is set to 1/128th of full throttle.

Your flash will typically ask for these two parameters as “Times” and “Hz”, where the first is the number of times the flash is to fire. The Hz is less intuitive, but means the number of flashes fired in a second. So 50Hz would mean 50 bursts of the flash in a second. You can find the appropriate shutter speed by dividing “times” with “Hz”: In the example in the image above, the flash is instructed to give 5 flashes at 50Hz: 5/50 = 0.1 second shutter time.

Stroboscopic photography requires the flash to be in manual mode, so you determine the flash power. In terms of how much power the flash is to give, my advice is: as little as possible – around 1/128th is a good starting point and then you can work a bit up or down from there.

Camera settings

I usually shoot with my camera in manual mode and have camera settings so that the ambient light does not add to the exposure. In other words, if it was not for the flash, then the frame would turn out completely black. My camera settings are:

  • Base ISO, typically 100, but subject to the camera
  • Shutter speed: 0.1 – 1 second (but you can go much longer if you want to)
  • Aperture: Well closed down, say f/8 or higher.

You need to experiment with the settings – I typically adjust the aperture to get the right balance between eliminating ambient light and the power of the flash. Mind you that if the subject is far away from the flash, then the flash power needs to be increased significantly. My advice is to start out with simple cases like the examples I have shown in this post and then work your way towards more advanced scenes. You will find that shooting stroboscopic involves a lot of trial and error and that you will see a lot non-keepers. But keep going – it is a great feeling when you succeed!

Take care of your gear

Shooting stroboscopic is very taxing for both the flash and the flash battery, so you may find that the flash will stop working because a overload safety mechanism starts to engage. I recommend you consult the manual for your specific flash to see how many strobes it can handle before it needs to rest. And stay well below that limit just to protect your gear. Better safe than sorry.

Intentional Camera Movement

Many use the stroboscopic effect to capture motion, but as a twist you can also use it to capture intentional camera movement. In the example below I move the camera while the subject is very still!

Maybe difficult to see, but here the coffee mug is very still on my table while I move the camera during the burst of flashes.

Related reading

Can a flash zoom? And what is the point?

What is the wide-angle diffuser in your flash?

What is flash duration? And should you care?


What is HSS in photography?

High Speed Synchronization

High Speed Synchronization (HSS) is an automated feature whereby the flash fires a series of bursts to expose a single image. It is rather taxing for the the flash to work in HSS mode, as several bursts are needed per image and this puts a big demand on the battery in particular.

In many cases HSS is not necessary. If you are shooting at shutter speeds up to around 1/200th of a second or slower, then all is good. The problem comes when you go beyond the camera’s flash sync speed. You need to check the flash sync speed for your specific camera, but it is typically around 1/200th of a second.

HSS turned on.
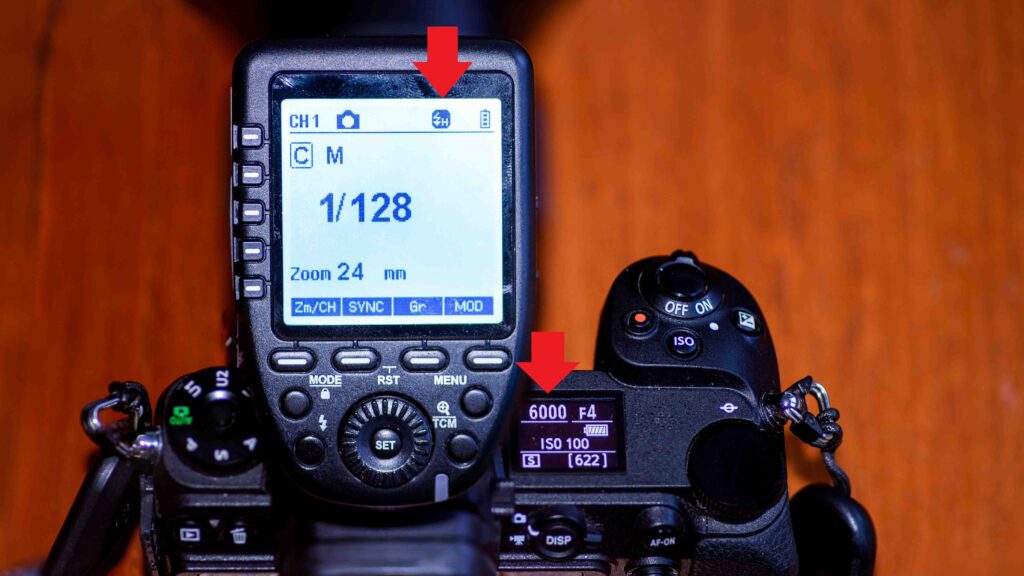
Top red arrow: HSS is turned on as the transmitter shows. Lower red arrow: 1/6000th of a second shutter speed is only possible because HSS is turned on. When shooting with a transmitter, my Nikon Z6ii blocks shutter speeds beyond 1/200th if HSS is not activated.

When you shoot beyond the flash sync speed, the mechanical shutter in the camera will not expose the entire sensor at any point in time. The camera has 2 curtains, one that exposes the sensor and another that covers it (rear curtain). For slow shutter speeds, there will be a point in time when the first curtain has exposed the full sensor, but the rear curtain has not started to move yet. When you go beyond the flash sync speed, the rear curtain starts moving before the first curtain has revealed all of the sensor. So the first and rear curtain move in parallel across the sensor, and only expose a small fraction of the sensor at any given time.

If the flash is fired only one time when shooting beyond the flash sync speed, the light of the flash will only make it through to a fraction of the sensor and you get black bars in the frame. HSS makes sure to fire the flash several times as the two curtains move across the sensor and this way all of the frame gets light from the flash.

My Nikon Z6ii blocks me from going beyond 1/200th of a second in manual  exposure mode when using a transmitter mounted on the camera, even when shooting in TTL mode. Only if I switch on HSS on the transmitter, will it allow me to go beyond 1/200th of a second. When the flash sits directly on the camera, the flash and camera based on the shutter speed figure out if HSS is needed and turn it on/off as appropriate without involving me in the decision.

Related reading

What is the wide-angle diffuser in your flash?

What is flash duration? And should you care?

Can a flash zoom? And what is the point?

Follow the lens…

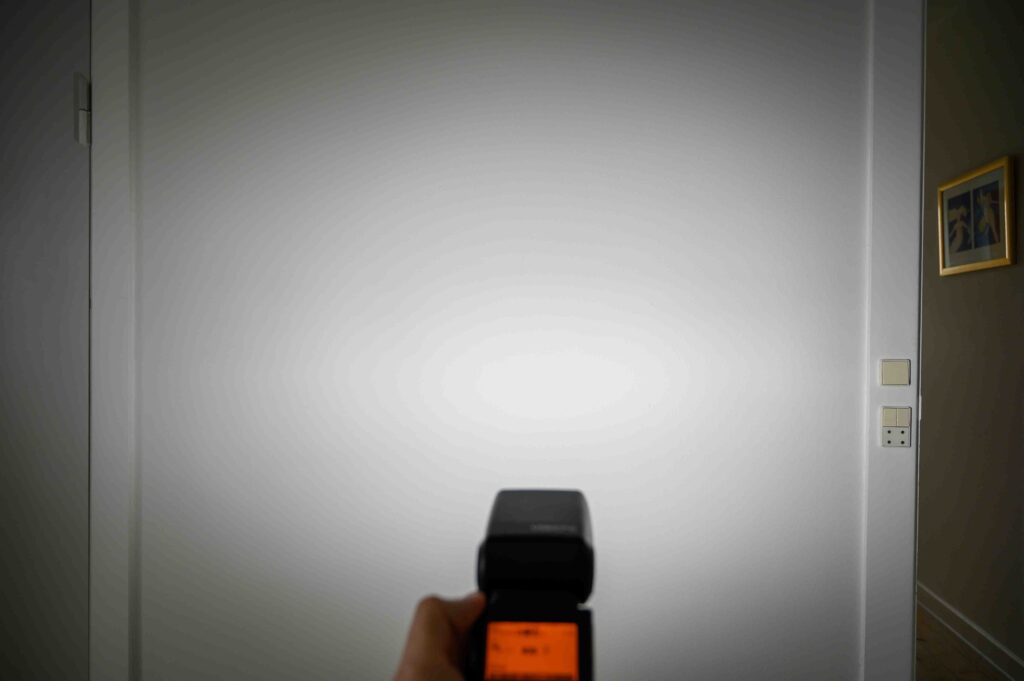
Not all flashes has the ability to zoom, but some do, like speedlites from Godox or Yongnuo. The point is to send the light in the same direction as the lens is “looking”. Sending the light wide if the lens is zoomed in at a narrow field of view does not make much sense, and vice versa.

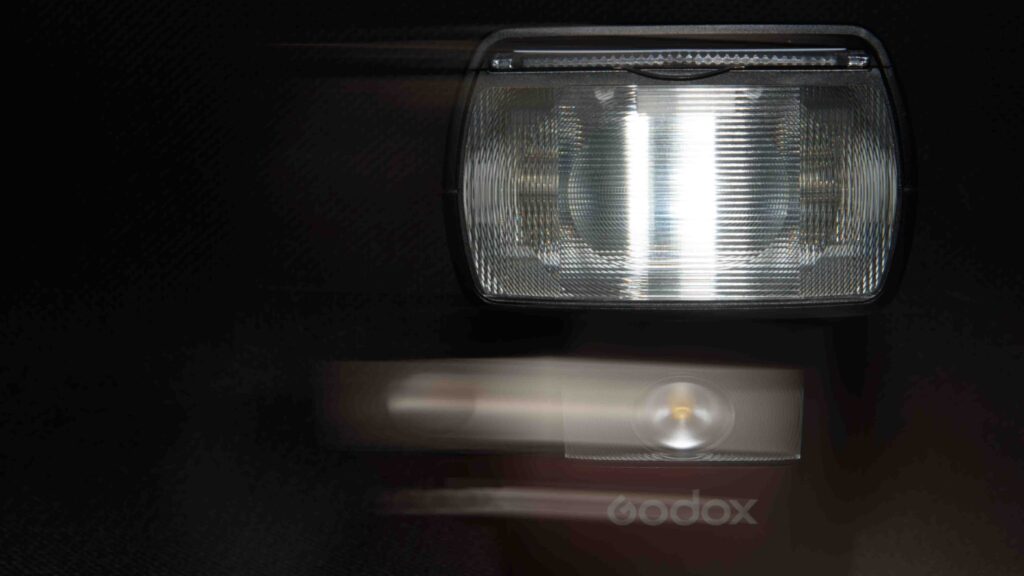
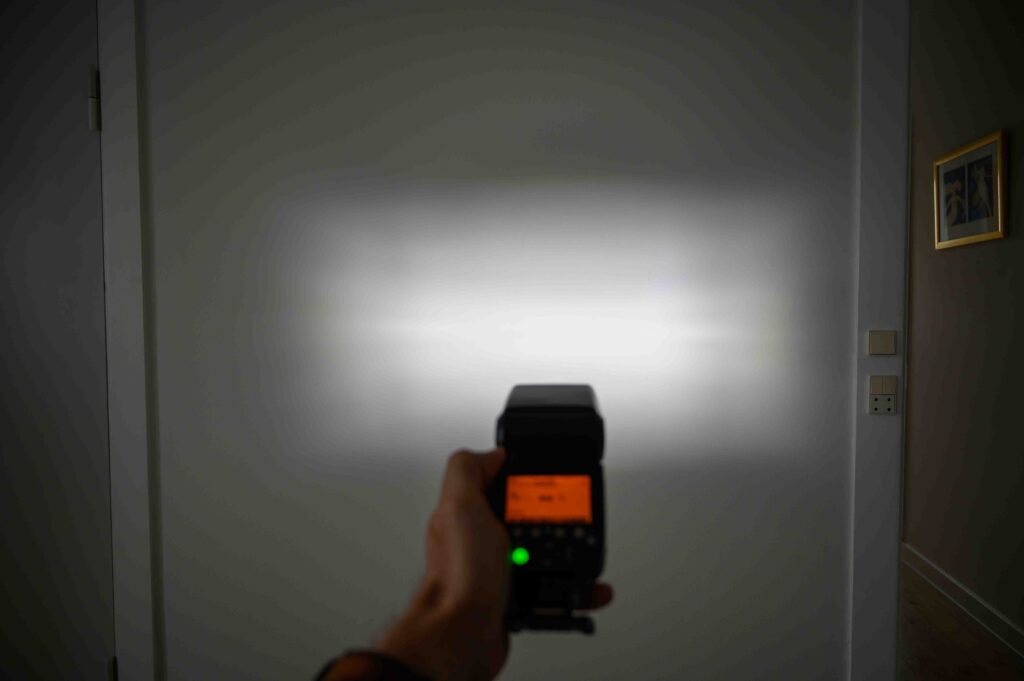
Here the flash is zoomed in at 200mm and the light only covers a small area of the wall.
Here the flash is at 24mm and the light covers a good part of the wall.

The flash can follow the lens on the camera if in TTL mode and adapt the same zoom as the lens, provided it stays within the range the flash can follow (typically 20-200 mm). Notice that if the flash has the built in wide angle diffuser engaged, then the zoom is locked in its widest position.

You can also set the zoom manually just like you can set the flash power manually – in the images above I did just that to illustrate the difference between the two flash zoom positions without changing the zoom on the lens (the Nikon 24-70/4 S by the way).

Related reading

Flash photography – why bother?

What is the wide-angle diffuser in your flash?


What is SOOC in photography?

The real deal

SOOC is simply an abbreviation meaning Straight Out of Camera in relation to digital photography. It signals that the image has not been edited in any way and is as close to the original as you can get.

Many think of SOOC as meaning no editing in software designed for the purpose like Lightroom or Photoshop. However, most cameras allow a profile to be applied to the image (standard, vivid, B&W, vintage, etc) and  then it is debatable how unedited the image actually is. From the camera picks up the information from the sensor and until the information is written to the memory card, there is a bit of processing going on, so the completely unedited image is probably difficult to find.

The closest is a RAW image format, but even here the ISO settings influence the processing of the image. Many think that the ISO setting influences the sensors sensitivity to light, but the sensors sensitivity is constant. Instead the ISO settings governs a gain applied to the light readings from the sensor, and this camera internal processing can – with a bit of good will – also be seen as a sort of editing.

So I see SOOC more as an ideal that some like to get as close to as practically possible. Many professionals do what they can to get the images right in camera i.e. make sure the framing is spot on and no tweaking to e.g. the exposure settings is necessary in post to make the images look their best. They do not do so out of idealism, but simply because it saves time, and as you know: time is money. A school photographer taking several thousands of headshots over a year can save a lot of time if there is no editing needed but the result can be printed and delivered to the clients as is.

So my advice is that you should not put too much into the SOOC term. See it as an ideal and just know that when a camera reviewer says he /she presents the images SOOC, it is just another way of saying that the images could probably be even better with a bit of time spent editing.

Related reading

Is JPG a bad format for photography?

What is BSI in photography?