Should you get a teleconverter?

What if I told you that there is a magic little gadget you can buy and install between your lens and camera, and all of a sudden the lens is significantly longer and has more reach? Does that sound too good to be true? Well, it is not. The name is teleconverter, and it comes in different variations but they all do the same: make your lens longer.

Teleconverters for Nikon comes in 1.4x, 1.7x and 2.0x meaning that the length of your lens is extended with 40%, 70% and whopping 100%! And good news is that the teleconverter is a relatively small device that does not add much weight to your setup. But it is not a free ride.

First, extenders are expensive. In order for the converter to work well and not deteriorate image quality, the glass in the converter has to be of super high quality. In addition the converter has to be 100% transparent in facilitating the communication between the lens and the camera in order for the auto focus system to work as efficient and fast as without the converter. That is a demanding challenge for the engineers. So good converters are expensive for good reasons.

Second, getting a teleconverter that works with your lens and camera may be a bit of a pain, especially if you say shoot with a Nikon body and a Tamron lens – should you then go with a Nikon teleconverter or a Tamron teleconverter? Difficult to say if you ask me. You can get third party converters that are more reasonably priced than the main brands, but make sure you study the spec sheet to see if your combo of lens and body is supported.

Third, the speed of your lens is affected negatively. How much depends on the specific model, but you can rest assured that if you have f/2.8 as your current widest aperture, then that max aperture will drop as a consequence of adding a teleconverter. So if you are shooting fast moving subjects, this could be a negative impact you seriously need to take into consideration before making the buy decision. And in addition most teleconverters will also give rise to a slight decline in image quality although the very best teleconverters will keep this decline at an absolute minimum.

And finally, if we are talking Nikon, the teleconverters only work on full frame lenses with built in auto focus motors. So AF glass will not do. Nor will APS-C glass.

So, as you have maybe guessed, I am a bit sceptical when it comes to teleconverters. I know many professional wildlife photographers use teleconverters with great success, but I just want you to understand all the down sides of the teleconverters before you go for it. Alternatively, of you have an APS-C camera lying around, try mounting that to your full frame lens – that will give you 40-50% more reach for free. Of course you then run around with a lot of glass you don’t use, but at least you are using the best part of the glass in the lens – the centre part. I have had my Nikon Z50 mounted with my 200-500 Nikkor lens and that gave a wonderful boost to the reach.

Related reading

What is a lens reproduction ratio?

Should you buy a fast lens or not?

What are depth of field indicators on a lens?

Not all lenses have a depth of field indicator! It seems like it is a thing of the past, so you need a good old lens to find a DOF indicator! And that is not necessarily a good think, as it can be very useful!

The Nikon 70-200mm f/2.8
My beloved 70-200 mm lens has a distance scale, but no DOF indicator.

On older manual focus lenses there is a distance scale where a – typically – white marker shows what distance your are focusing at. The scale is often very detailed for close distances, and as you increase the distance the jumps get bigger and bigger: 5 meters, 7 meters, 10 meters, 20 and infinity. So it is like a hockey stick – when you get to the far end, things happen very fast!

In addition to the distance scale, you also select the aperture on an older lens by turning an aperture ring. Each of the f-stop values are color coded – if you see the image below, the f/16 value has a pink (?) color coding.

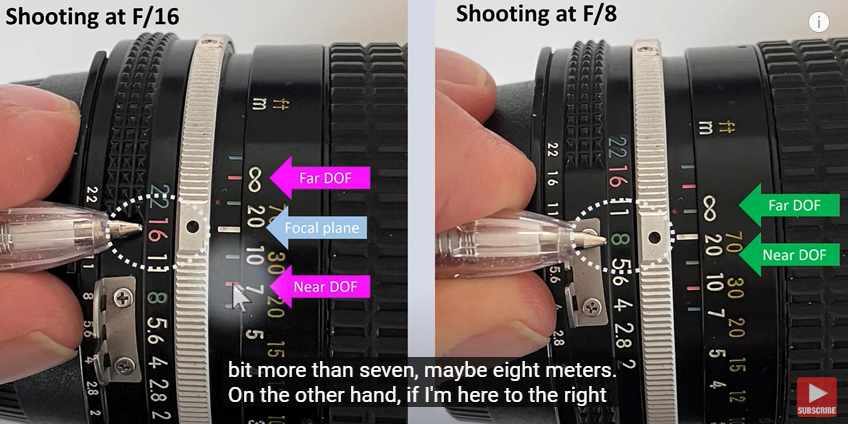
Depth of field indicators for two different apertures.

Now here’s the trick: On both sides of the white marker that shows the focus distance, there is a pair of colored markers that shows the near and the far end of the DOF. In the example above to the left at f/16, you can see the two pink arrows showing the DOF markers and in the example to the right it is green arrows doing the same for f/8. The image above is from the video that I have linked to below, in case you are interested in more details about manual focus.

As you can see on the colored pairs, the blue markes give a much wider DOF than the green markers, which is not a surprise as the blue corresponds color wise to f/22 whereas the green corresponds to f/8.

The DOF scale can be super useful to determine the circle on confusion, i.e. the range in which the image appears to be sharp. This for example enables you as a landscape photographer to put the focal plane so that the far end of the DOF just touches infinity on the distance scale, and hence you make the best use of the DOF at a given aperture. It can also be a group portrait where you want to select an aperture so that everyone in the image will appear to be sharp, and not just the front row!

Related reading

What is manual focus in photography?

Using a grey card and histogram to exposure correctly in Manual mode

Video link

What is a lens reproduction ratio?

Projection

When a subject is captured by the lens and projected onto the camera sensor, the ratio between the subject and the projection is the reproduction ratio. So if you shoot a small ant that is 0.2 centimeters long in  real life and it is projected to the sensor as being 0.2 centimeters long on the sensor as well, the reproduction ratio is 1:1. Had the ant been only 0.1 long on the sensor, then the reproduction ratio had been 1:2. Some also write this as 0.5x.

So why should you care? Well, unless you are a macro photographer in search for a lens that will zoom in on your tiny, tiny subjects as much as possible, I think you can lead a great life as a photographer happily ignorant of the term reproduction ratio!

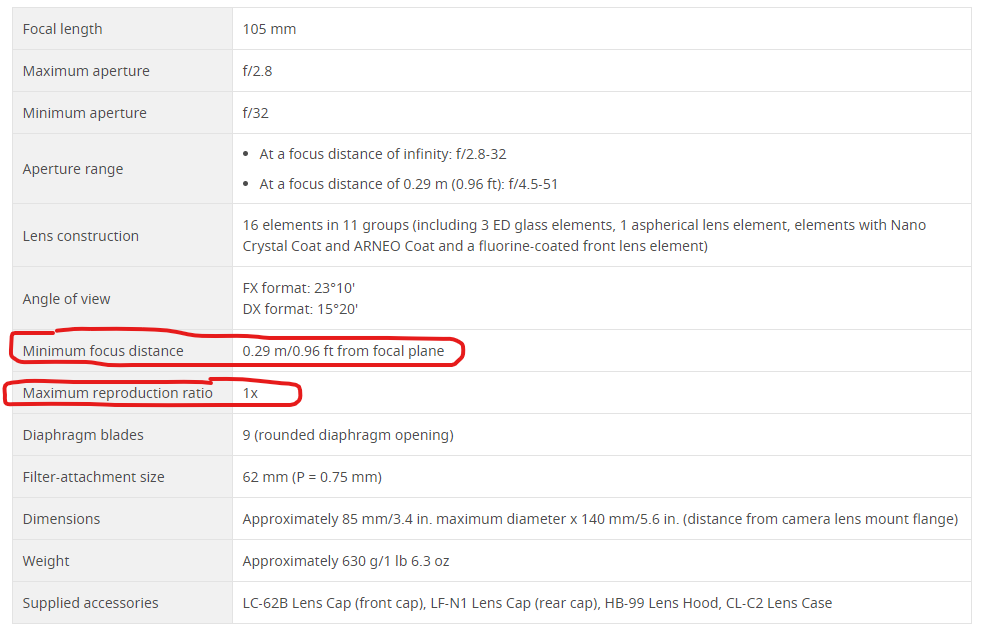
The reproduction ratio is influenced by the distance to the subject, and the distance to the subject is limited by the minimum focus distance of the lens. If you cannot get the lens to focus on something very close to you, try to take a step back and see if it gets better. If it does, you have tried to focus closer than what the minimum focus distance allows. When you focus as close as the lens allows, you have reached the maximum reproduction ratio of the lens. You can find both the reproduction ratio and the minimum focus distance in the lens specification list.

Above is the specifications for the Nikkor MC 105 2.8 S macro lens. The circled in lines show that the closest it will focus is 29 centimeters, and the maximum reproduction ratio is 1:1 or 1.0x.

You can get some very specialized lenses that will yield a reproduction ratio of more than 1x, but I think they are rare. In the case above, I think it is more than fair that Nikon calls this a macro lens.

As a fun fact, even though the minimum focus distance allows you to go crazy close to the subject, then this is no guarantee for a large reproduction ratio. The Nikkor 20mm S lens has a minimum focus distance of 20 cm (!) but still only has a reproduction ratio of 0.19x.


What is a prime lens? And why use it?

Fixed focal length

A prime lens is simply a lens with a fixed focal length. You cannot zoom in or out – you only got one length to work with. It can seem strange to limit yourself to one focal length when zoom lenses that offer an interval of focal ranges have been around for a long time. But there are benefits of a prime that still today makes primes a preferred tool amongst photographers.

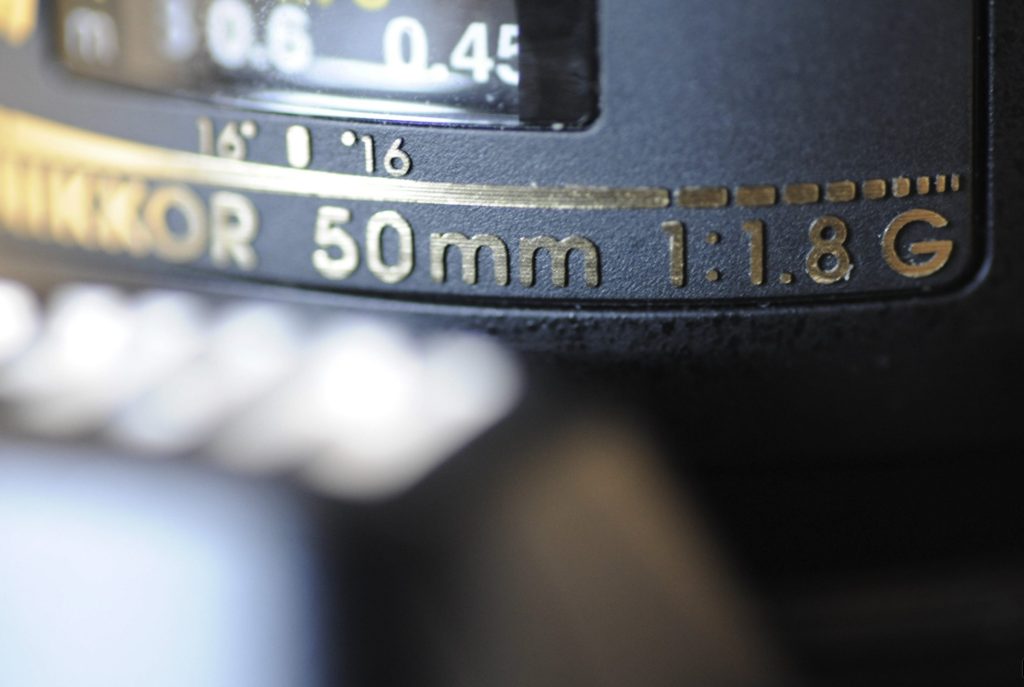
The Nikon 50mm prime lens 1.8G – a general purpose focal length.

First and foremost, a prime lens is a much simpler construction than a zoom. In a zoom lens there is glass moving as you zoom in and out. None of that in a prime, and that brings us to the first benefit of a prime: it is typically much lighter and more compact than a zoom. If you want to travel light, then a few well chosen primes can be a much more backpack friendly solution than a prime.

Secondly, as the zoom lens has more moving parts that need to align perfectly and move at the same time, some say that primes are sharper than zooms. I think this argument was right in the early days of the zoom lenses, but this day and age they are very close, and if you notice the lenses photo journalists uses, you will see that zooms are the preferred lens type. That would not be the case if zooms had sharpness issues. So for vintage lenses this argument is probably true, for modern lenses less so.

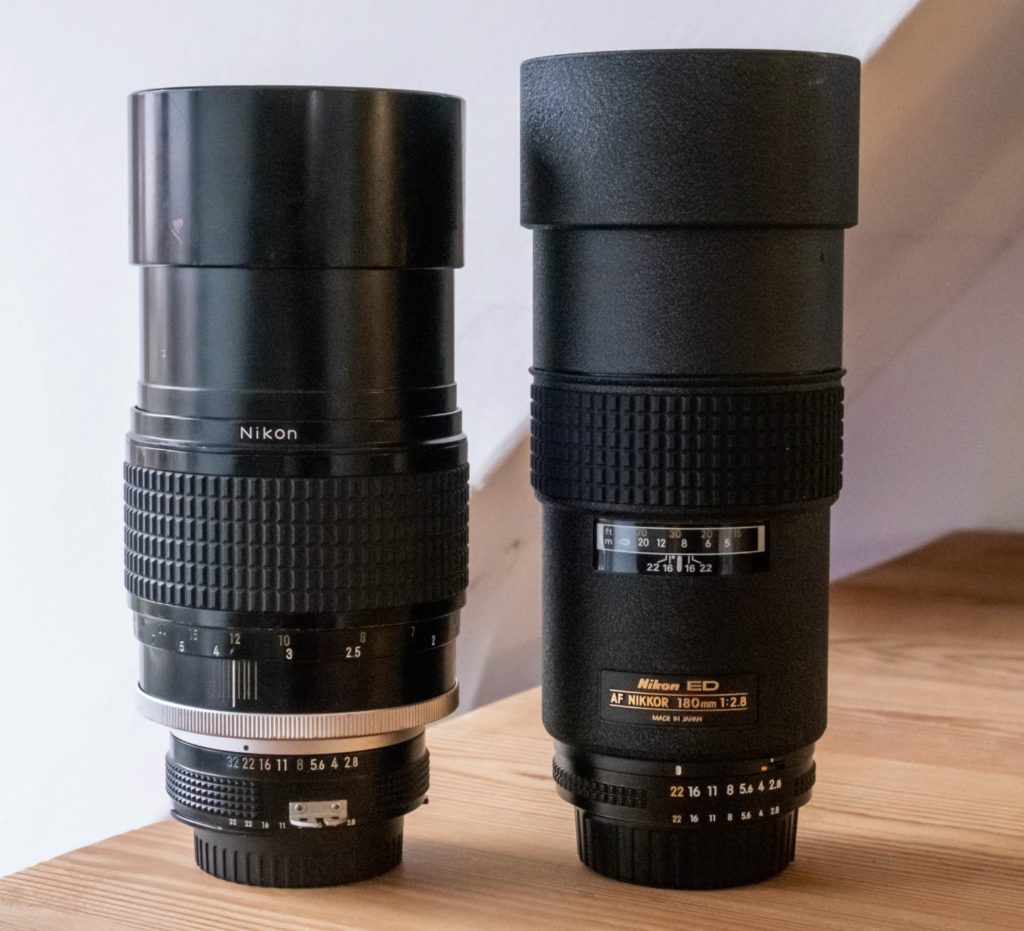
Two primes at 180mm – old version to the left, newer AF version to the right.

Thirds, as the primes have a more simple construction they are also cheaper to produce, and hence the price is lower. Of course, if you need to buy several primes to have the same access to focal ranges as a zoom offers,  then the price difference of course diminishes as you dig into more and more primes. However, a portrait photographer may actually only need a 85mm prime and that’s it and then buying a 70-200mm zoom may not be relevant at all.

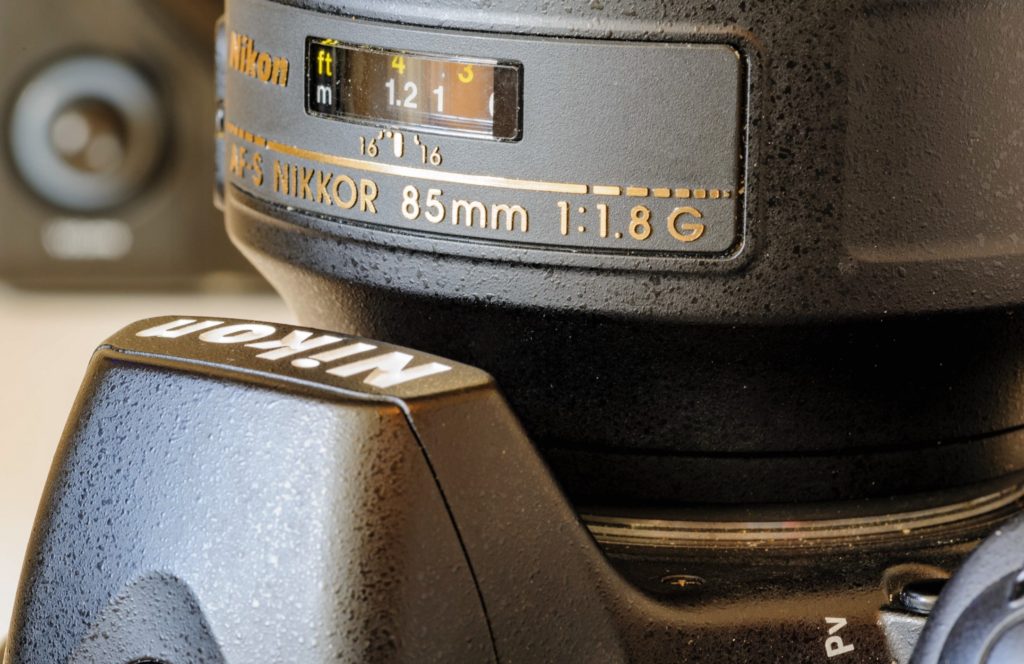
A classic portrait focal length is the 85mm, although the 105mm and 135mm is also popular for this line of work

Fourth, and maybe the most overlooked argument of them all, is that primes can let in a lot more light. Most fast zooms can “only” go to f/2.8 in the wide end, whereas a prime often can go to f/1.8 without breaking the bank, and if you are willing to break the bank, then f/1.4 is often seen. The fastest lens I got is my portfolio is the Nikkor 50mm f/1.2, but there are primes that will go even faster, actually below f/1.0!!

If you need the lens to take in a lot of light, for example because you shoot in low light or fast moving subjects, then a prime will enable you to capture much more ambient light than a zoom. And every time you go one stop faster, you double the amount of light, so in some situations with very little light and no options for adding light (flash etc), primes may be the only workable option.

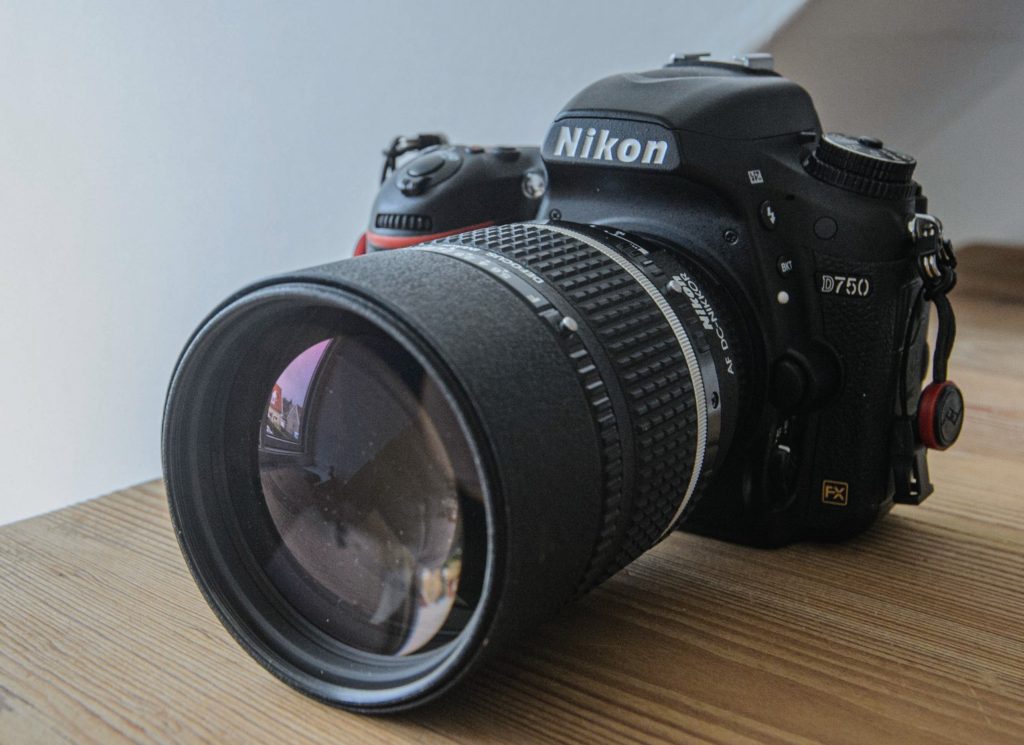
One of my favorite lenses: The 135mm DC from Nikkor. Also comes in a 105mm version,

Finally, some say that if you shoot with primes, you volunteeringly limit yourself. In this way, you stress your own way of working and step a bit out of your comfort zone. This is probably more related to developing as a photographer than a heads to head compare of primes versus zooms, but you really force yourself to think differently or position yourself differently relative to the subject, in order to get the result you are after.  I assure you, it can be super frustrating when you are used to the comfort of a zoom lens, but give it a try and see what happens. You may find you like your new way of shooting.

Related reading

What is the holy trinity of lenses in photography?

Can you zoom with your feet in photography?


What is angle of view in photography?

Angle of view

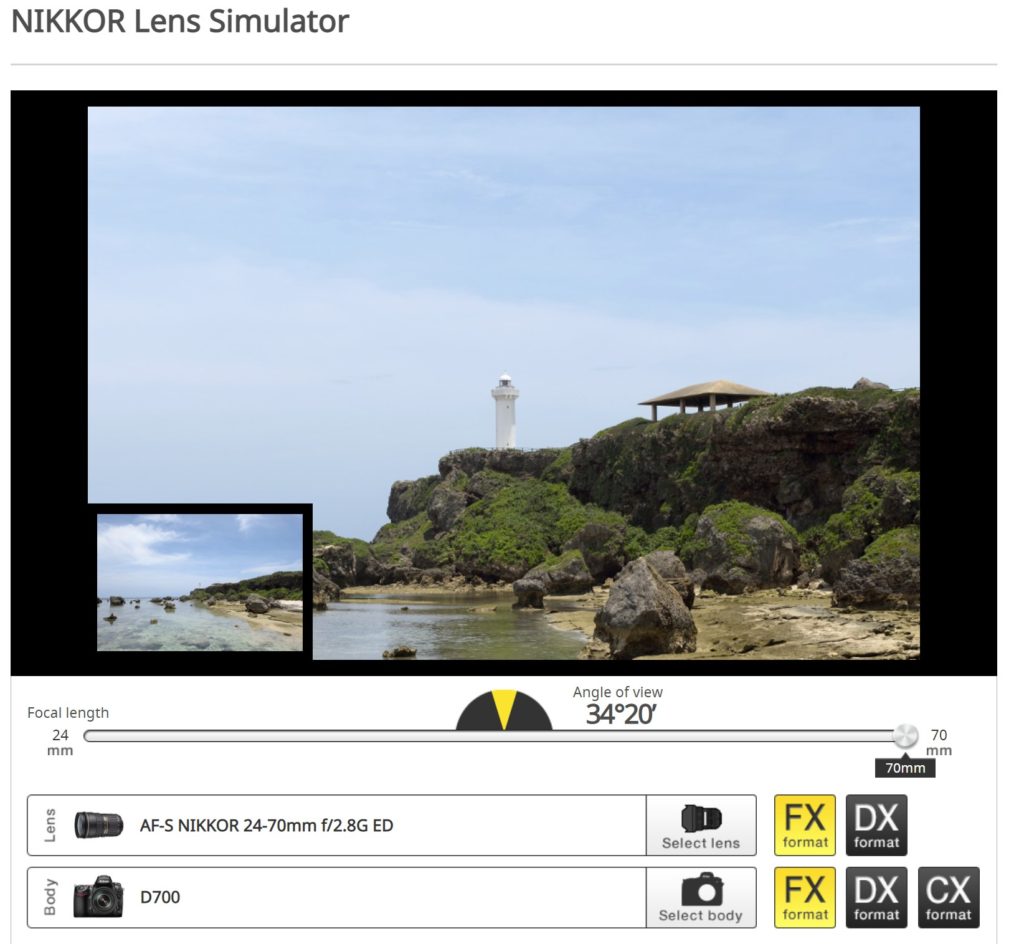
One of the best ways to see how different lenses gives different angles of view is to head over to Nikons homepage and spend 2 minutes with their lens simulator. You can find the link right here (credit: Nikon).

Lenses comes with a focal length expressed in millimeters. A very wide lens that takes in a lot of the scene (e.g. 150 degrees) is typically very short, say 12mm. A long lens that takes in a very small part of the scene is much longer, say 500mm. The benefits of a long lens is that you can get your subject really close in the frame despite it being far away in the real world, so naturally bird and wildlife photographers love long lenses as they can observe and photograph wildlife from afar. But the down side is a bit like a horse with blinders: you can’t really see all that much to the left and right – only straight ahead!

There is a direct correlation between the lens focal length and the angle of view: longer lenses yields more narrow angle of view. Actually, the angle of view with a long lens can be just a few degrees, and you will notice this when you try to hold a camera with a long lens in your hands: you really have to hold the lens still in order not to make you feel seasick! The slightest movement of the lens will make what you see in the viewfinder jump a lot! So wildlife photographers often have their long lenses on a tripod, not only because the lens is heavy, but also because there is a strong incentive to hold the lens still!

Now, instead of being bugged down by all this, I suggest you head over to Nikons lens simulator. You can find the link right here (credit: Nikon).

Here you can select a lens and a camera body, and see how it works on a given scene.  In the example below, I have chosen a zoom lens that ranges from 24-70 mm and gone all the way to 24mm by pulling the slider all the way to the left. In the middle of the slider, the yellow part of the half circle shows that the angle of view here is approximately 84 degrees.

When I pull the slider all the way to the right, the simulator shows what happens at 70mm: the angle of view is now reduced to 34 degrees (notice how much more narrow the yellow part of the half circle is). And the lighthouse has now moved much closer.

If you look carefully, you will see that the bright part of the beach just to the right of the dark stones, is gone when zoomed in. This is a consequence of using a longer focal length: the angle of view is narrowed and parts of what used to be visible in the edges of the frame is now cut away when zooming in.

Some say that it would be much more useful if we instead of talking about lenses in terms of their focal lengths, rather talked about their angle of view. But it has become a standard now, so I guess we have to live accept it. And as if this was not sufficient confusion, hear this: the size of the sensor changes the focal length of the lens! A lens that on a full frame camera is 50mm  is on a cropped sensor (APS-C) the equivalent of a 75mm lens. You can also test this in the lens simulator from Nikon.

Related reading

What is lens vignetting?

What is lens distortion?

Can you zoom with your feet in photography?

Zooming by walking

If you have brought a prime lens that is not long enough, you often hear the argument that you should zoom with your feet instead, i.e. walk closer to the subject to get the effect that you want. But does it actually work zooming with your feet? Both yes and no.

When you walk closer to your subject, you can make the subject take up more space in the frame as if you had zoomed in. So in that regard, you can zoom with your feet.

However, when you zoom in, two things happen: One is that the subject takes up relatively more space in your frame, but at the same time the angle of view is reduced as you zoom in.  As you zoom in, you more and more become a like a horse with blinders: you can see less and less to the sides. This effect you cannot recreate when you zoom with your feet. A prime lens has a fixed angle of view.

Let me illustrate.

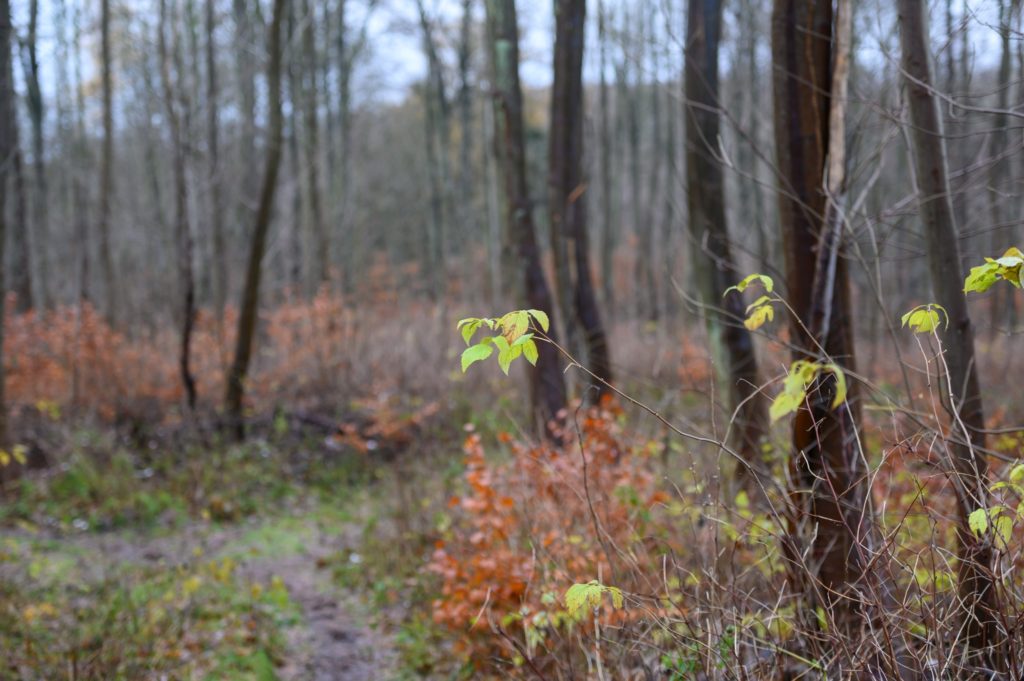
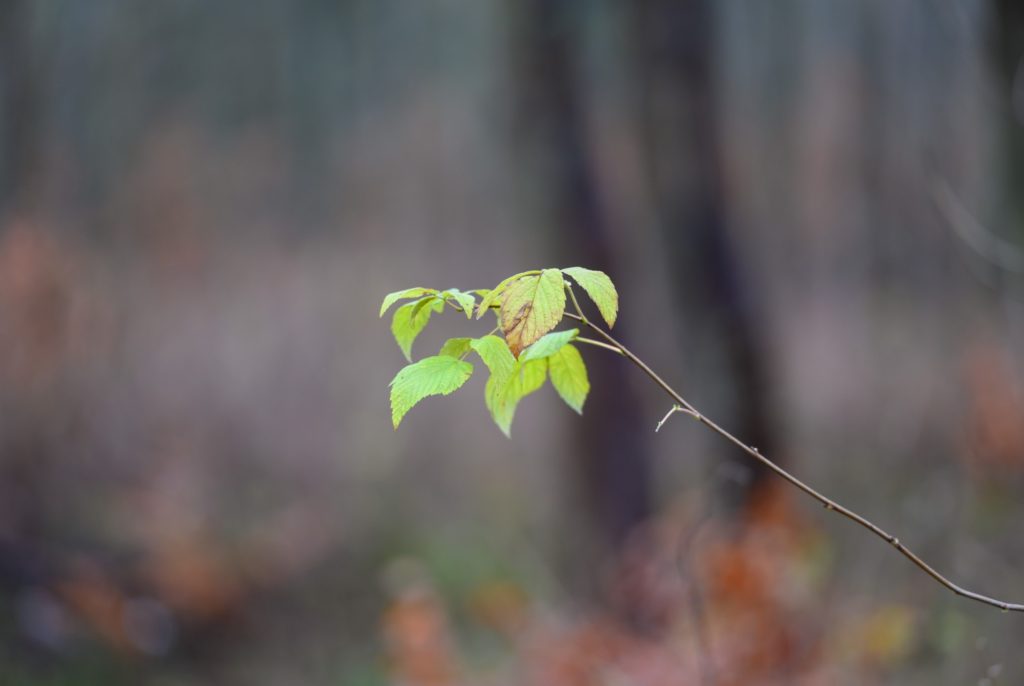
The first image below is shot at 70mm:


In the next image here, I have zoomed in at 200mm, but not moved an inch. All the change you see between the image above and the image below is due to zooming from 70mm to 200mm. I promise you, I did not move an inch, nor a centimeter. Notice how the field of view is significantly reduced, i.e. you cannot see as wide in the image below as you can above.

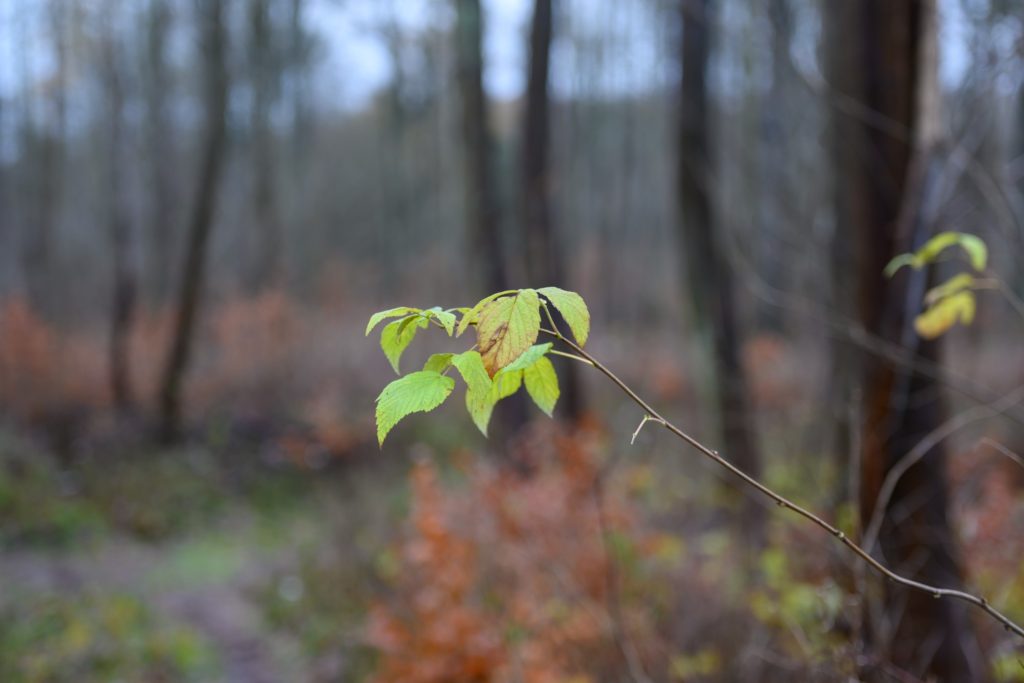
So, finally, I zoomed back out to 70mm and walked closer to the subject. I was here exercising the advice to zoom with my feet. I am not to praise myself, but if you compare the green leaves above and below, I did a fair job of getting the subject to (roughly) take up the same size in the frame. So I zoomed with my feet.

But notice how much of the woods you can see to the left and the right here in the third image, and compare that with the image in the middle above. When you walk close to the subject maintaining the focal length, you also maintain the angle of view, and even though the subject takes up more space in the frame, you get a lot of the background as well.

So zooming with a zoom lens is smart if you really want to focus on your subject and not have too many distracting elements, whereas zooming with your feet works best if you also want to include the surroundings or the scene the subject is located in.

Related reading

What is lens flare?

What is lens distortion?

What is F-stop versus T-stop in photography?

Output

You have probably heard about F-stops, a value that indicates how much light a lens can take in relative to the length of the lens. So a short lens with a large diameter has large maximum aperture (low F-stop number).

A good example is the 50mm f/1.8 G lens from Nikon – it has a maximum aperture value of 1.8 and hence a lens opening of around 50/1.8 = 28mm. Had the lens been shorter, say 35mm, with the same lens opening at the front, the maximum aperture would have been 35/28 = 1.25.

However, then light travels from the front of the glass to the rear, some light is always lost. There are many reasons for this – coatings is one – but lets for now just accept that as a fact. And then the F-stop changes in upwards direction as the lens lets in less light.

Where F-stop describes the theoretical light a lens takes in, the T-stop is at the far end of the lens, measuring the actual lights that gets through the lens. So T-stops has to be measured – it is no longer a mathematical relationship between lens opening and length.

If we take the example from before, the 1.8G 50mm lens from Nikon with an F-stop value of 1.8. When you look at DXOMark and their measurements of that lens, they report the T-stop value to be 2.0. In other words, from front to back light equal to 0.2 F-stops is lost.

Why should you care about this? First of all, if you buy a fast lens with a large maximum aperture, then my guess is that you do so also because of the ability to take in a lot of light to help you out in low light situations. If the benefit of a fast lens is diminished as the light passes through the lens, then my guess is that you want to know about it?

Photographers in general do not pay much attention to T-stop values. Videographers much more so. The reason being that when you shoot film or video, you often change lens during the same scene, and you don’t want to do a lot of post processing to even out the exposure, if the lenses you use have different T-stop values. So videographers naturally look for lenses that have common T-stop values. And in my view, the less light is lost from front to back, the better lens. I guess that is also why DXOMark has this as one of their key performance indicators when they present their findings.

Related reading

What are aperture blades?

What is aperture? And why important?

What is a stop of light in photography?


What are aperture blades?

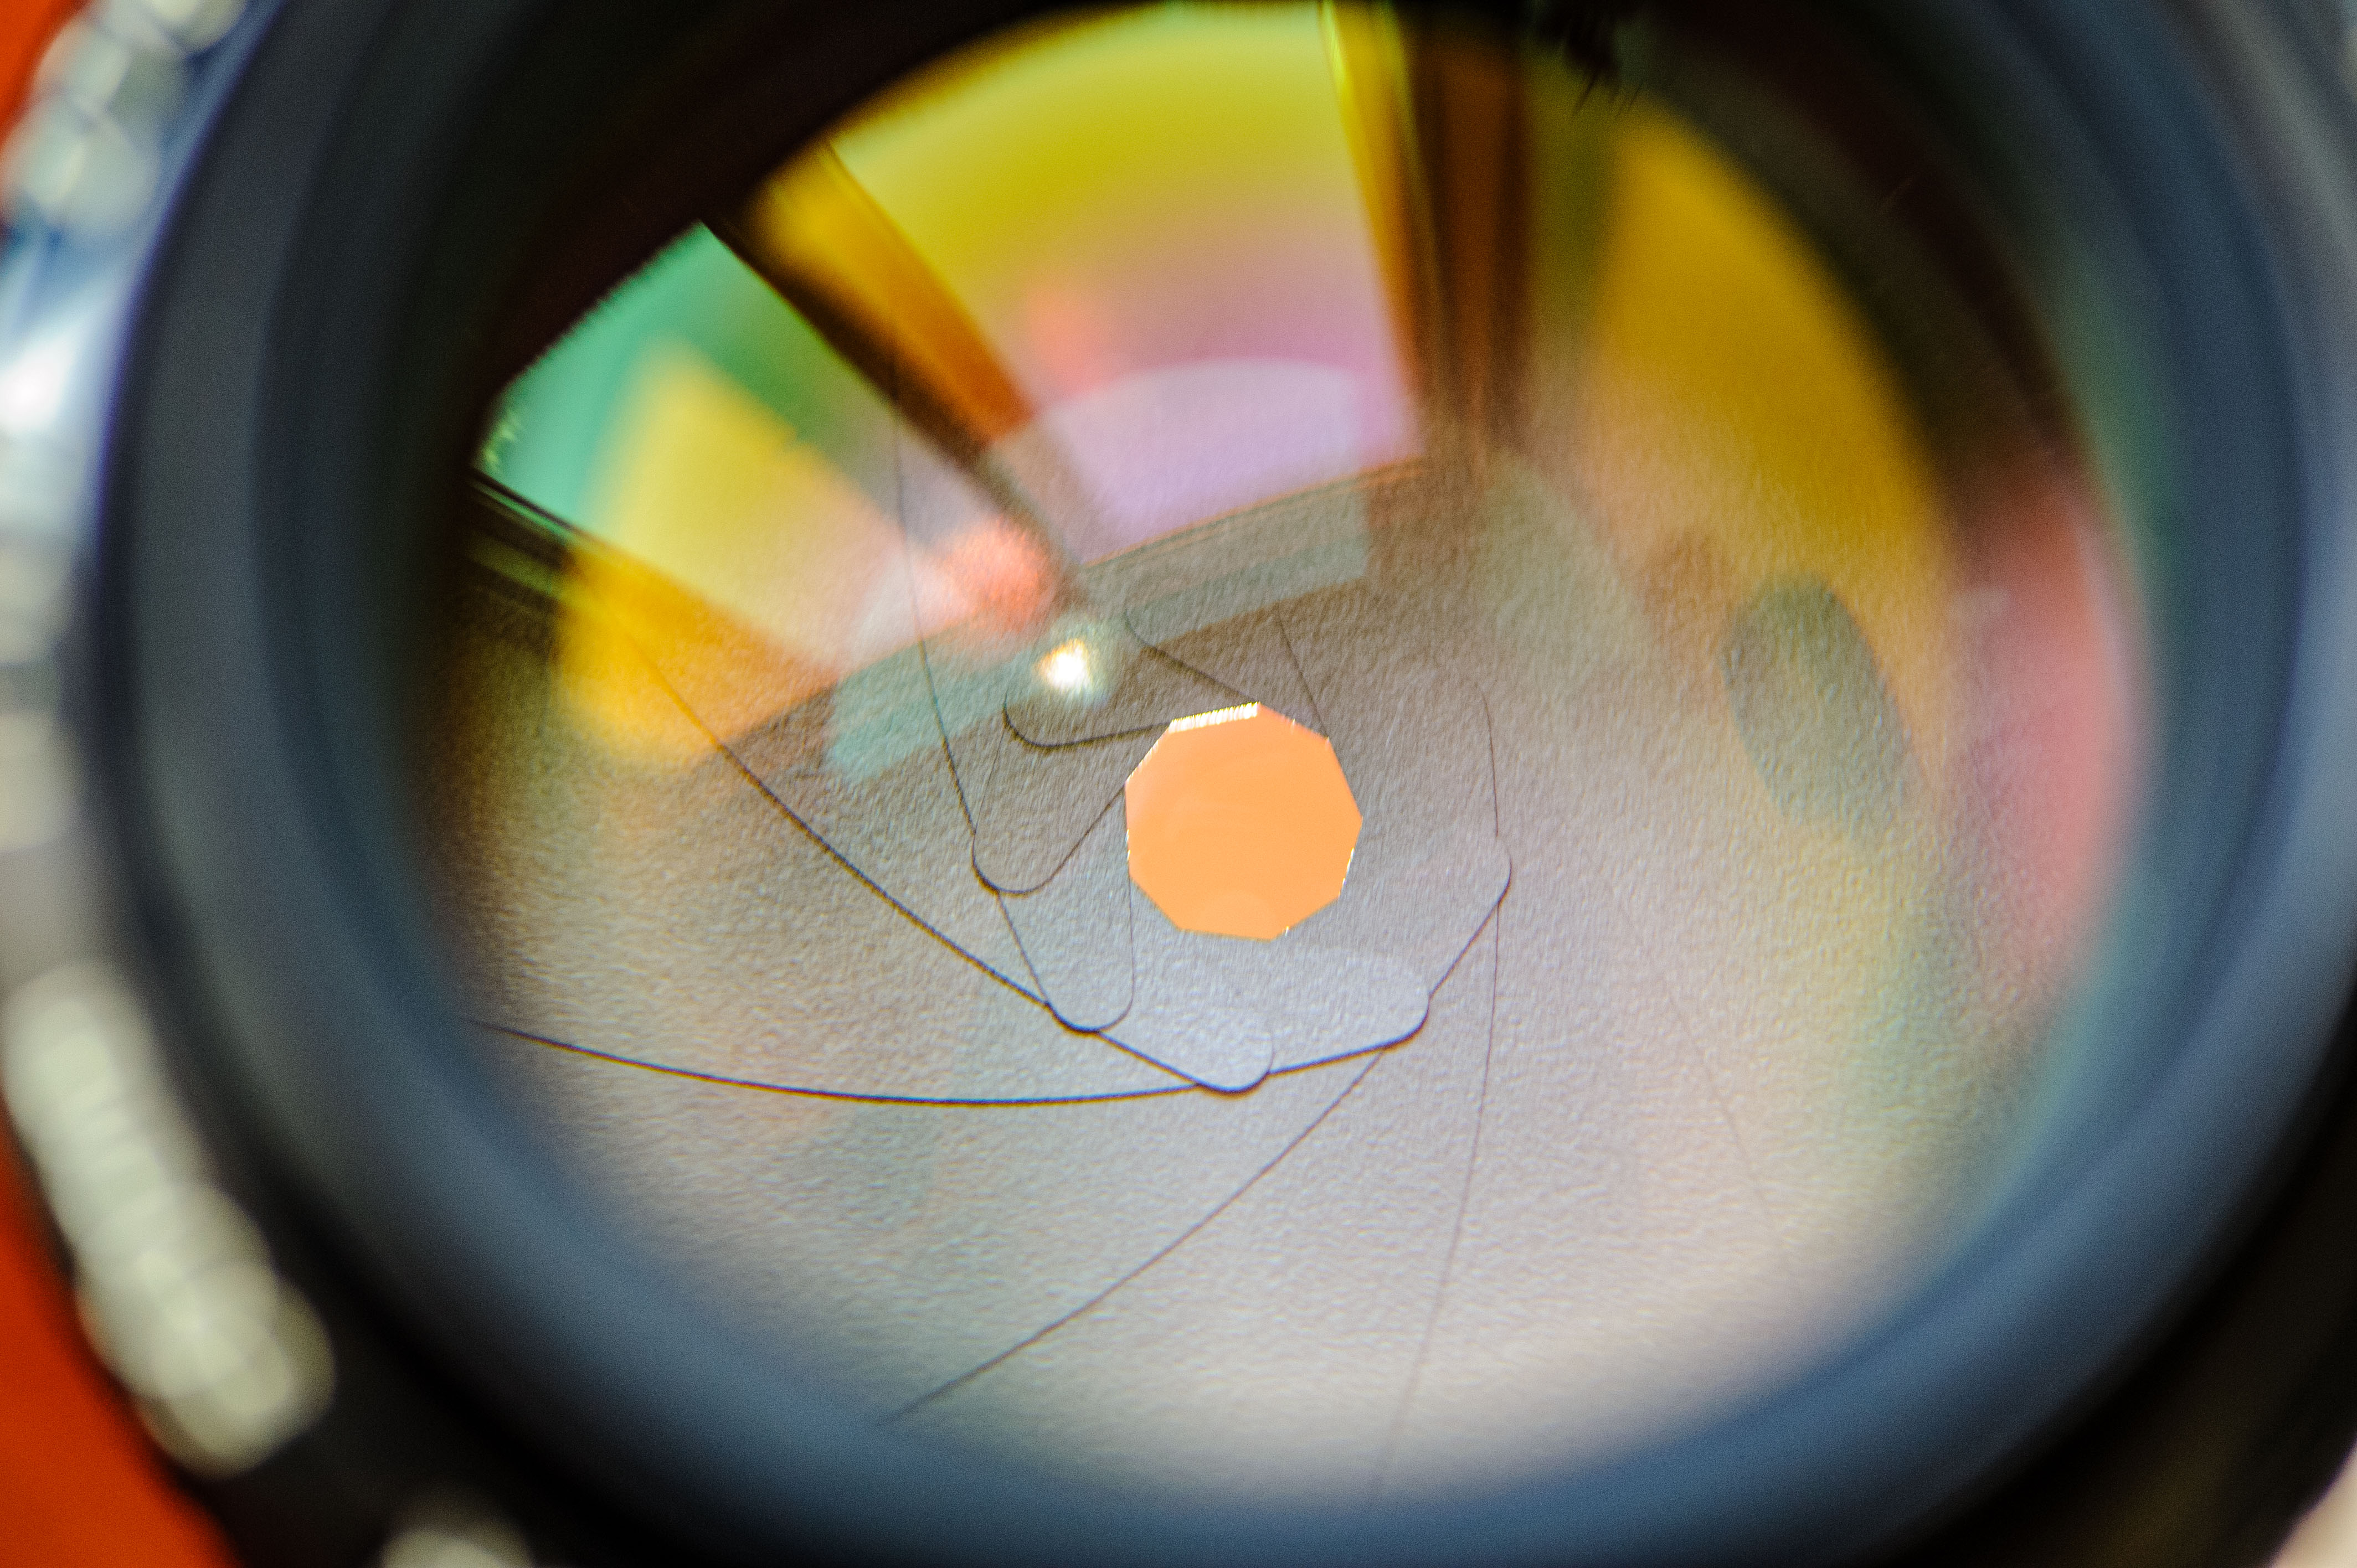
Aperture blades sit inside the lens and are small pieces of fabric that move to reduce the size of the area that lets light pass on to the senor or film in the camera. The aperture blades and their position determines the aperture setting of the lens. In the picture below, you san see how the blades form a small circle:

On many lenses you can actually manually move the aperture ring back and forth and see how the size of the aperture changes. Take the lens off the camera and look into the lens the same way the light travels, as you move the aperture ring from min to max aperture. This is probably one of the best ways to understand how the blades work and what they do.

It may seem silly to not use all of the lens now that you have it available! Why reduce the amount of light that travels through the lens? The answer is can be that you want to control the depth of field that the lens produces: reducing the aperture size increases the depth of field. Or maybe you are outside on a bright day, and simply have to reduce the amount of light that the lens takes in to avoid over exposing the  images. The pupil in your eye does exactly the same!

Blades come in 2 versions basically: straight and rounded. In the image above, the lades are straight, as this is a very old lens design – the Nikon 50mm 1.2 AI lens. Straight blades gives great sun stars but may also give bokeh balls that are not round – rather they have small edges. Rounded blades have the opposite effect – great bokeh, but less great sun stars.

When a lens is at is maximum aperture (lowest f/stop number) it is termed to shoot wide open. When a lens is wide open, the aperture blades are not engaged, and the bokeh shape is the same irrespective of straight versus rounded bladed.

When a lens is at its minimum aperture (highest f/stop number) it is closed down. Some lenses can close down to such a degree that the light almost find is troublesome to travel through the small hole that the blades leave open. When that happens, the image appears a bit out of focus (soft) and this is due to diffraction. So be careful not to close down the lens too much (f/16 and higher f-stops is typically where you see diffraction to set in).

The number of blades also varies. Typically older designs had fewer blades than what we see today. You can find the number of blades in the lens specification. In the image above there are 9 blades, which is quite high for a lens that old.

Related reading

What is aperture? And why important?

What is lens vignetting?

What is bokeh? What is OOF?

What is diffraction?

What is bokeh? What is OOF?

Bokeh is just another word for out of focus, often abbreviated to OOF!

But why is that suddenly important in photography when everybody talks about sharp images and getting the subject in focus? It has to do with the isolation of your subject – to make sure that the background does not steal the attention from your subject,  be it a flower, a tree or a model just to name a few examples. Just like in a movie where you want the main actors to stand out and shine, your supporting actors should be support the main actor without stealing the limelight.

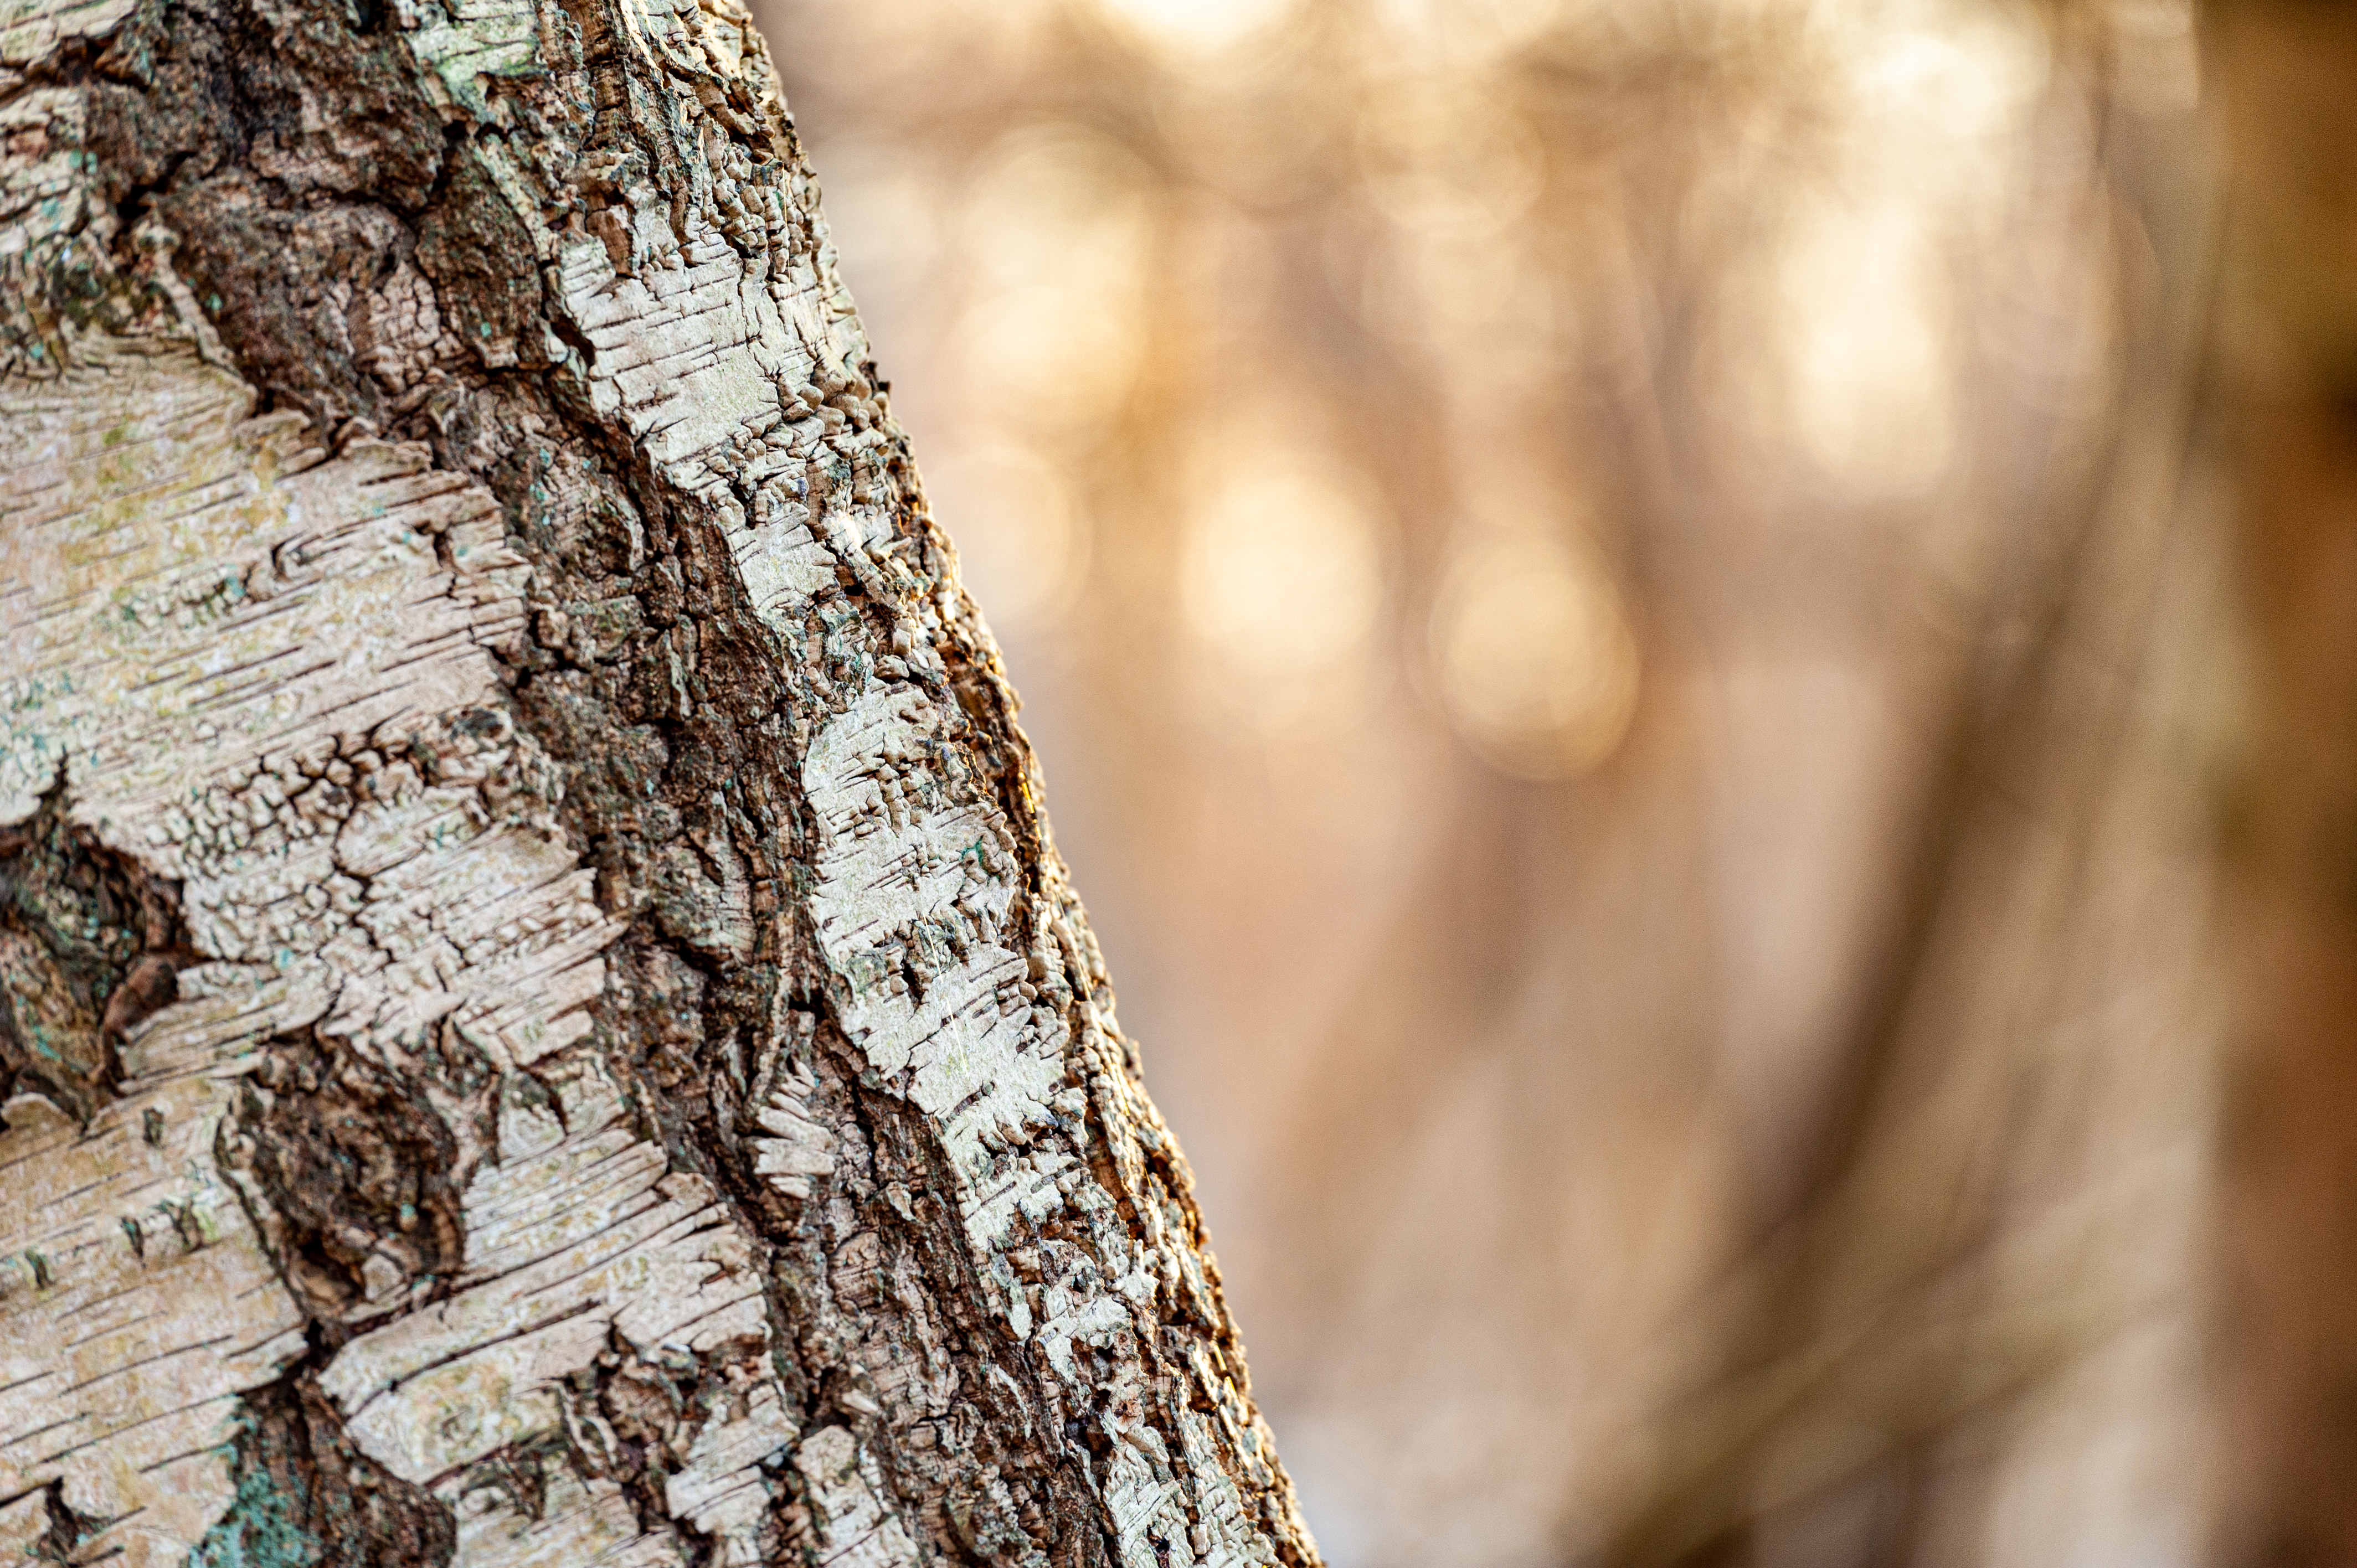
In the example below the birch stem is the star, albeit not a very interesting one, but it illustrates background blur or bokeh very fine. What you see to the right of the birch stem is actually sun lit leaves, but because of the strong element of bokeh, it appears to be just a soft backdrop of white and brown colors.

There are several factors that determine the bokeh, but most notably the aperture you shoot at and the distance from your subject to the background. Larger apertures (smaller f/stop numbers) gives a more so called depth of field, i.e. the depth of the interval that appears to be sharp. So if you shoot at a very wide aperture, the depth of field is narrow and if you have focused correct on your subject, the background is more likely to be OOF Similarly, if there is a big distance from your subject to the background, then it is more likely the background is OOF as the depth of field cannot reach so far.

Photographers can study out of focus elements for hours and comment on their shape and size. In the example above the light behind the coffee mug is certainly out of focus, and the light appears as round balls. You can see that the rightmost ball is very round whereas the ones to the left are more oval – it has to do with how close you are to the corner of the image. Also, sometimes bokeh balls like these appear square rather than round – that is because the aperture blades are in use and determine the shape of the bokeh.

As a rule of thumb you want the bokeh to be creamy and pleasing to look at. In other words, the edges of the bokeh balls should not have rings or hard transition to the areas outside the bokeh.

Related reading

What is aperture? And why important?

What is lens vignetting?

What is lens flare?

What is lens vignetting?

Vignetting is simply that the corners or edges of your image are darker than the center. It is caused by the lens, but can also be created artificially in post processing software. The term light falloff is also used for the same.

Some use vignetting to draw attention to the center of the image and hence find it useful.

Most lenses exhibit some level of vignetting and it is most common for lenses that can open up and let in a lot of light (say f/1.4 or f/1.2). Some cameras are able to correct the vignetting as part of the cameras processing of the image, so it is never visible to the photographer.