Review: Asus TX-AX58U router – Smart WiFi 6

Back in the day…

I like Apple products. They are perhaps over-priced, but very nice in design and for me easy to understand. So when my trusty router, the Apple Airport Extreme finally gave in after many years of service, I was ready to make a replacement purchase. But I was to learn that Apple stopped producing routers back in 2018! I felt very alone all of a sudden, but also the pressure from the family missing the router for both work and streaming!

So there was nothing to do but consult the homepage of the local IT hardware pusher to see what I could find. And as I feared, the list of routers was long and intimidating, leaving only network engineers happy: routers of many different manufacturers with strange names and prices that range from next-to-nothing to crazy expensive.

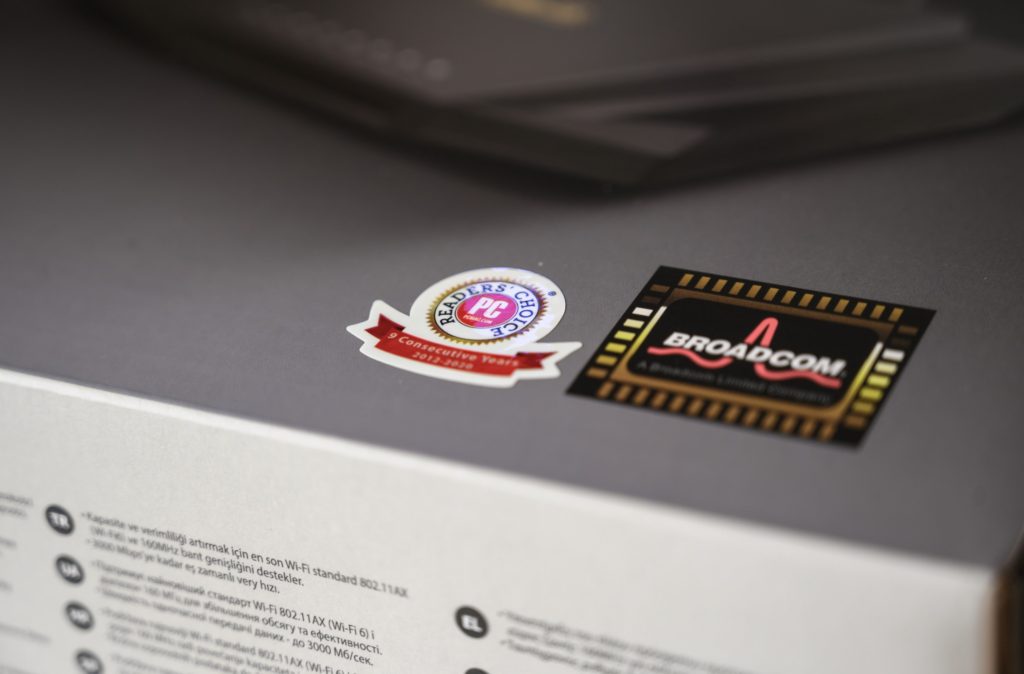
I would love to claim that my purchase of the router was a rational man decision after scanning the market for all available options. It was not. This little label pushed me in the direction of the Asus router.

I know from experience that buying the most expensive gear is seldom worth it, and the other end of the scale is also to be avoided. So a good middle-of-the-road alternative is what I was looking for. Me eyes fell on the Asus RT-AX58U for two reasons: it was on sale, and it had a little “readers choice” award that lifted my confidence from zero to just a little bit. The name itself (RT-AX58U) meant nothing to me, other than sending a strong signal that Asus has hired more engineers than marketing people!

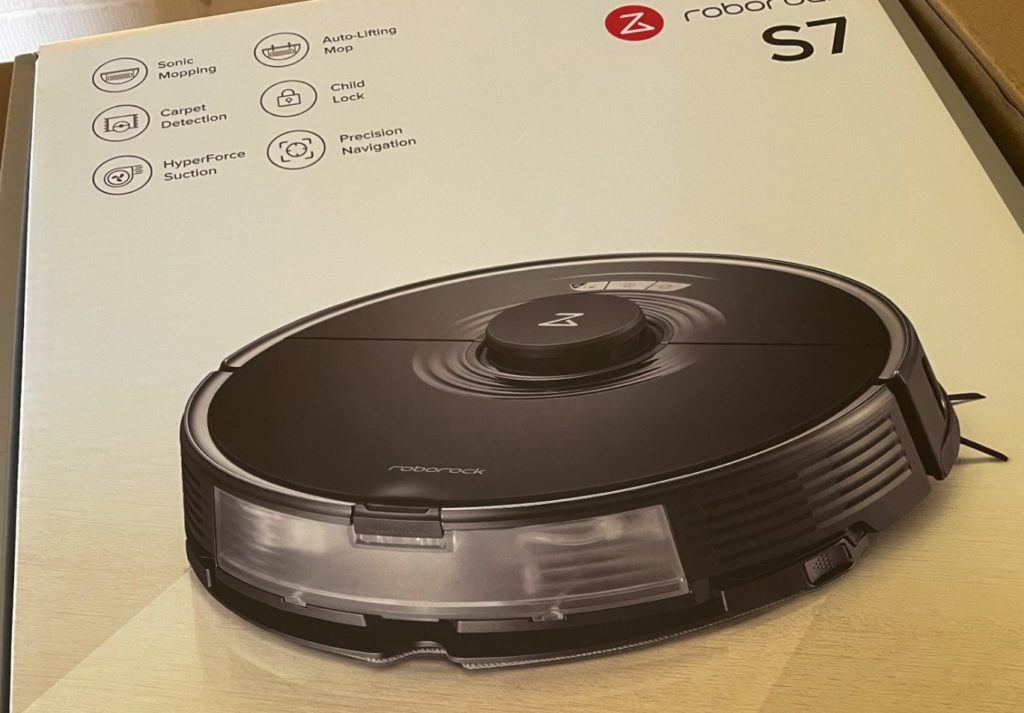
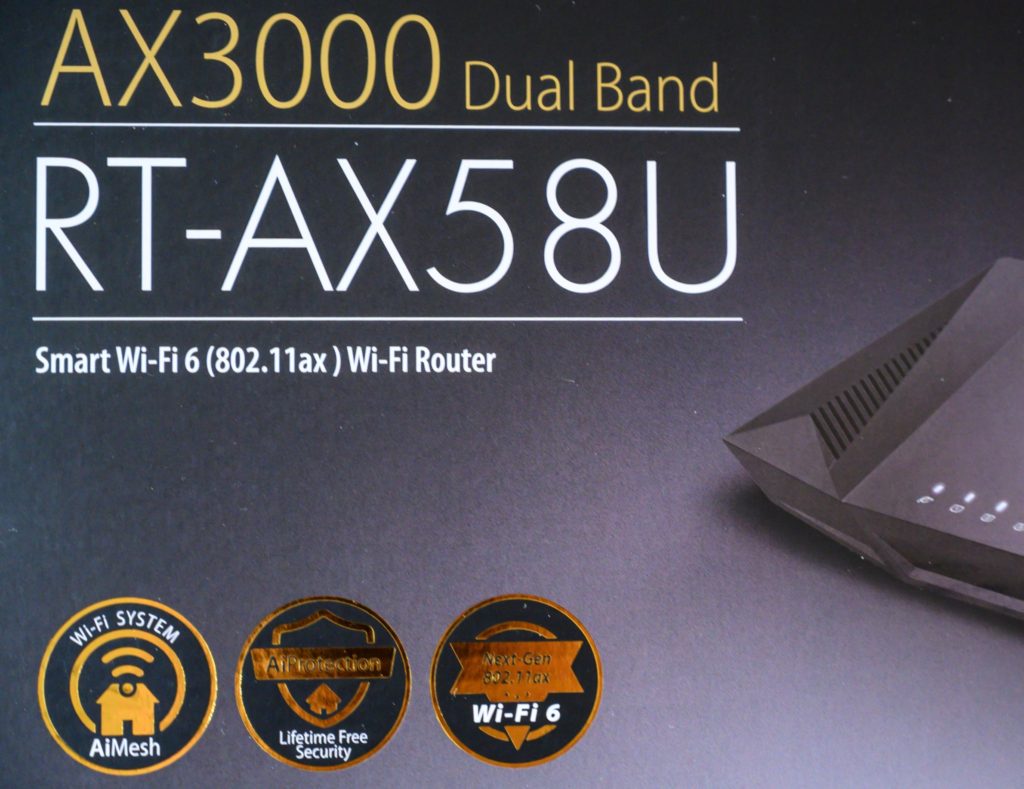
From the tin. Lots of things I don’t understand!

The “key selling arguments” on the tin meant next to nothing to me, but I have later learned that the AiMesh is a way to connect several units into the same network in a smart way. So with only the worst of expectations, I pushed the purchase button and started to wait for the parcel to arrive at my doorstep.

Setup

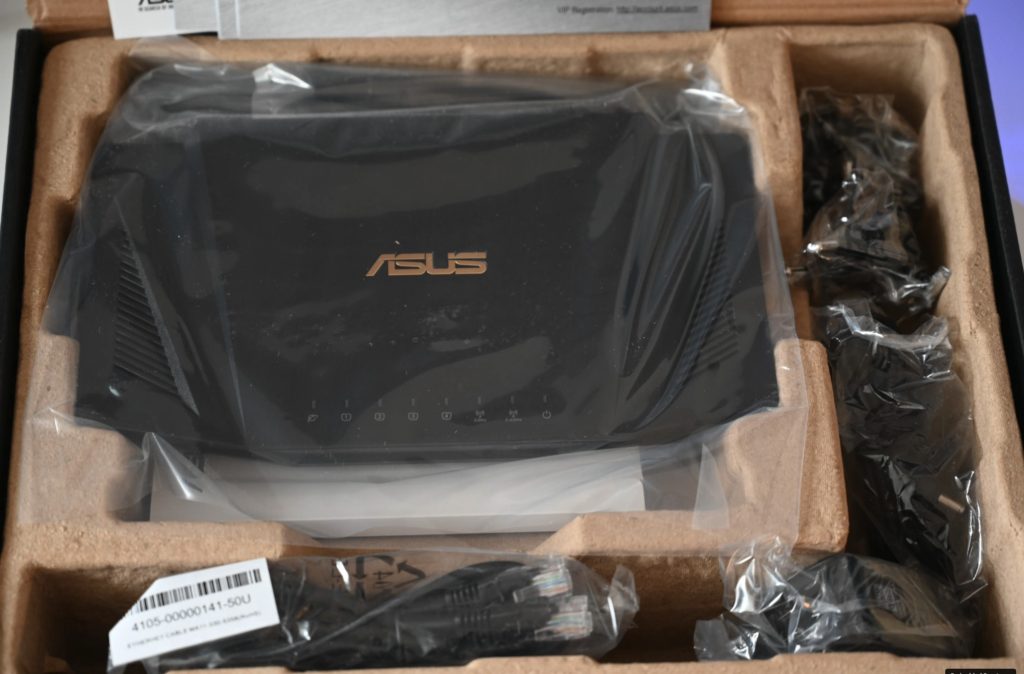
When I opened the box, this is what met my eyes. Intimidating for a non-engineer. But it turned out to be not bad at all.

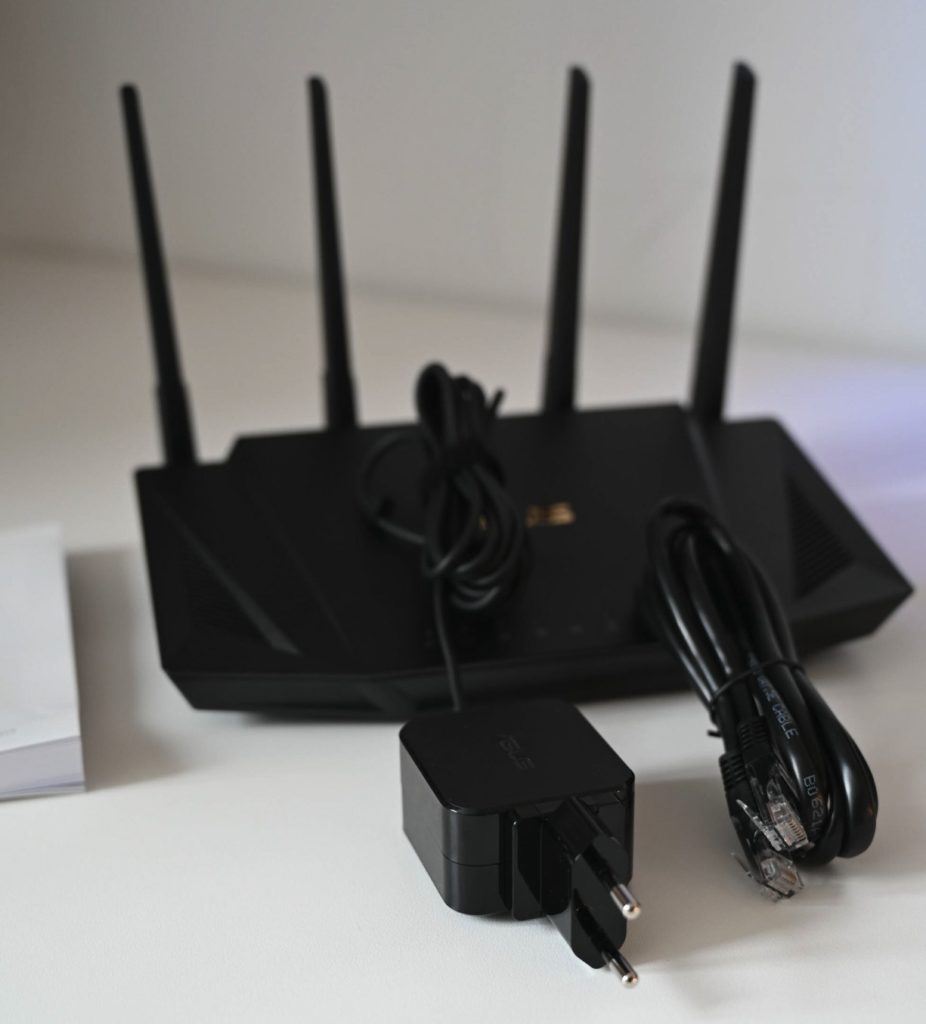
Opening the parcel, I found what I feared the most: a complex looking compilation of items to be assembled – my IKEA complex started growling in the distance. But I quickly learned that it essentially was the router itself, a power supply and a network cable! What a relief

Power supply and a network cable. That is all that is required other than the box itself. The intimidating booklet named “Quick start guide” to the left.

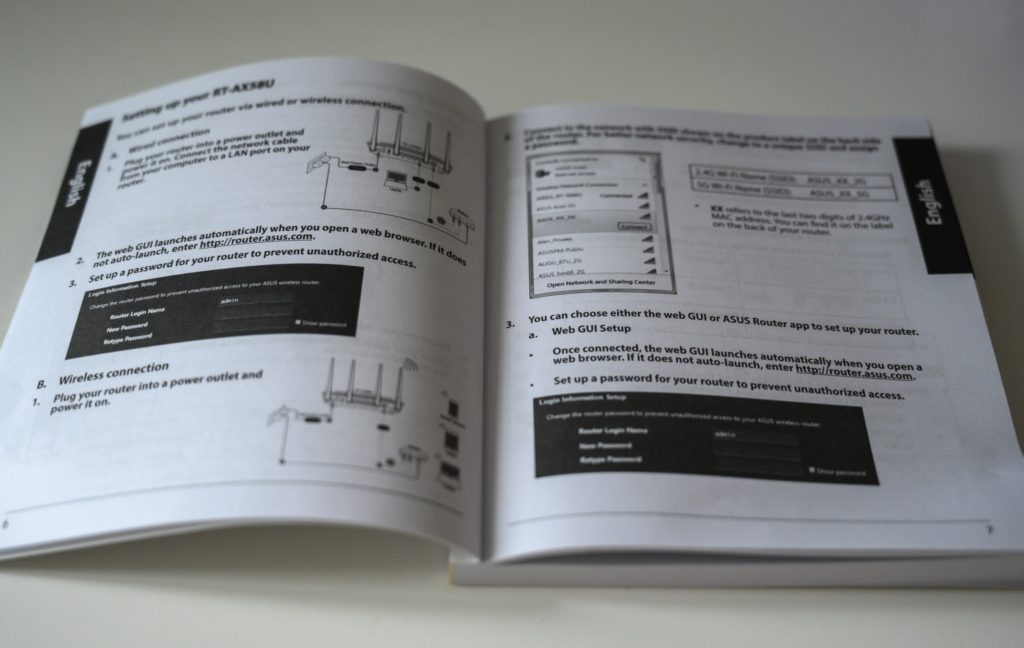
However, the “quick start guide” quickly reversed that: it was a thick booklet! What! Apple’s quick start guides can fit into a single A5 paper!

The user guide is a book! But the reason is that it comes in a large number of languages. The relevant section is only a few pages – phew!

But it turned out that the size of the booklet was related to the number of languages involved, and that the relevant pages were only a few! I was back in business!

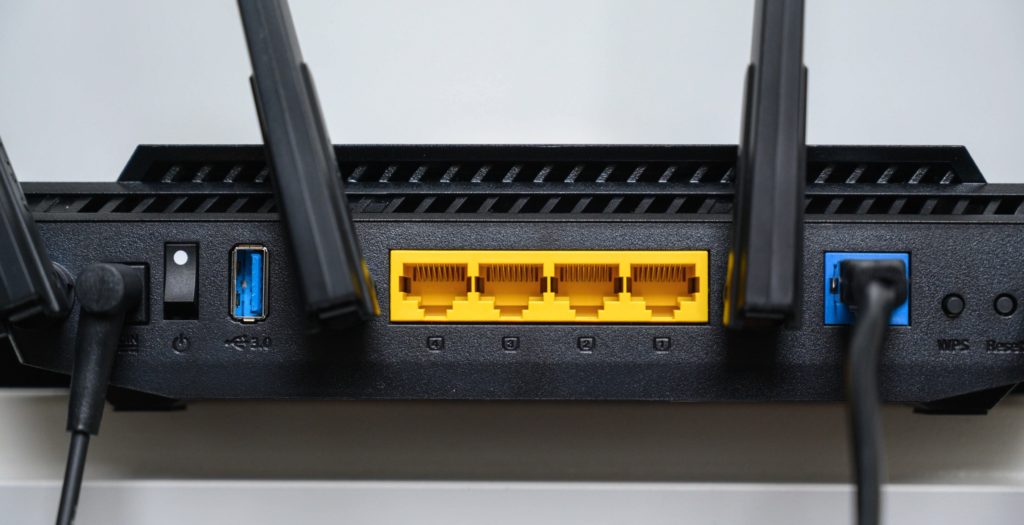
Router rear. Leftmost the power supply, then the power on/off switch, then a USB plug that I have never used, 4 physical network connectors in yellow, the network connector for the internet, a WPC button and rightmost a reset button.

So I plugged the power supply cable into the rear of the router along with the supplied network cable, which I connected to my LAN. My ISP has provided another router that connects to the internet so the role of the Asus is to give WIFI on first floor where the ISP router has insufficient reach.

You can setup the router two ways I learned from the guide: using a browser and a URL, or by downloading the Asus app and take it from there. I chose the latter, and was asked for two things during the setup: A SSID plus password, and an ID and password for logging onto the router. That’s it! After that the network just worked!

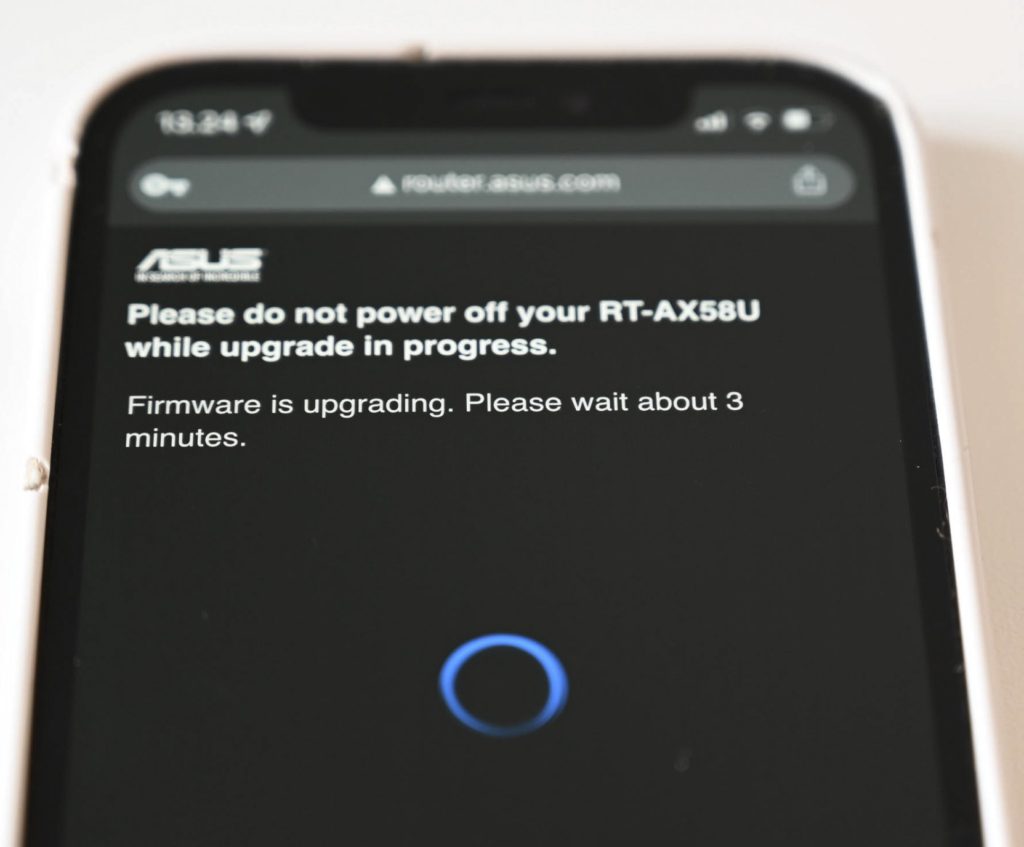
Everything I buy seems to be in need of a firmware upgrade. This one is no different. Luckily it was a fast and hassle free experience.

Of course I cannot buy a gadget without the first thing that happens is that it demands to have the firmware updated! It seems to be a thing that haunts me, and this one was no different. But it was both quick and easy.

And then – of course – I misspelled the SSID! I found that the easiest was to reset the router to factory settings and re-do the installation process, this time with the correct spelled SSID. Although there is a “reset” button on the rear of the router, the way to reset it is to turn it off, hold the “WPS” button and then turn it on. I tried to do that holding the “reset” button instead and that led nowhere, so remember that reset to factory settings involves the “WPS” button and not the “reset” button.

I love this: you push a button in the app and the network optimizes itself. It could be a big make believe button, but it feels great that I don’t have dive into technical details to have a optimized network!

The app is easy to use and hold a lot of good information, for example a list of the units logged on to the WIFI, and you can rename them from mumbo jumbo to something useful like “Frederiks Ipad” or the like. Great! Also the app has features like network optimization and allows you to give priority to certain types of network traffic over others. I have no idea if this works or not, but it seems smart.

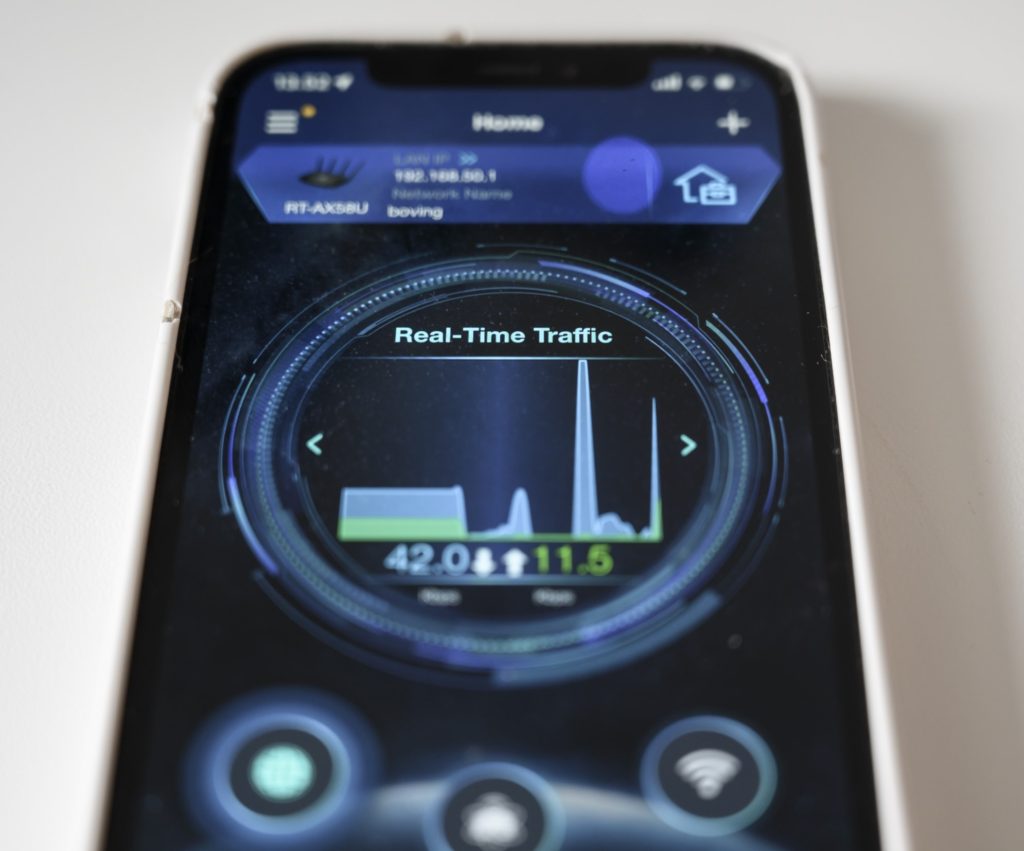
The app has lots of interesting screens and metrics. Here a real time traffic overview. Another useful screen is one that lists all units logged onto the WIFI.

Conclusion

I found this little router easy to set-up and install, despite my track record of messing up even the simplest network things. The app gives useful information in a not-too complicated user interface.

In terms of alternatives to this router or if the price around 120 EUR is fair or not, I have no idea or baseline to assess. There are cheaper alternatives out there, and maybe they can do the job as well, but I just wanted a hassle free solution with quick installation, and that I got.

I am glad the router is in a location in the house we seldom visit. It is a little black plastic thing with 4 antennas, and the design immediately makes you want to wear a silver hat and talk to UFO’s. I have no idea if the antennas play an important role or not, but this router has no better reach than my deceased and beautifully designed Apple router, unfortunately.

Related reading

Apple AirTag Review

RAVPower PD Pioneer Power Bank Review


Review: Waycap refillable capsules

Save the planet, save Money

No, I did not make up the headline above – it is a quote from the Waycap cardboard box! And it certainly does sound promising! I am not sure your coffee capsules can save the world, but moving from disposable coffee capsules to re-usable ones sounds to me like a small step in the right direction in terms of doing something positive for the environment. If you then in addition can save some money and on top of that have better control of what coffee goes into your capsules, then I think we are approaching something that sounds like good answers to the “why?” question: (1) Eco-friendly, (2) saves you money and (3) potentially gives you better coffee.

The promise on the tin.

I must admit that I recycle also my disposable coffee capsules from Nespresso, so maybe the gain in that light is less, but saving money and making better coffee also sounds attractive to me. The review here is using a Nespresso coffee machine, but it works with many other brands according to the tin.

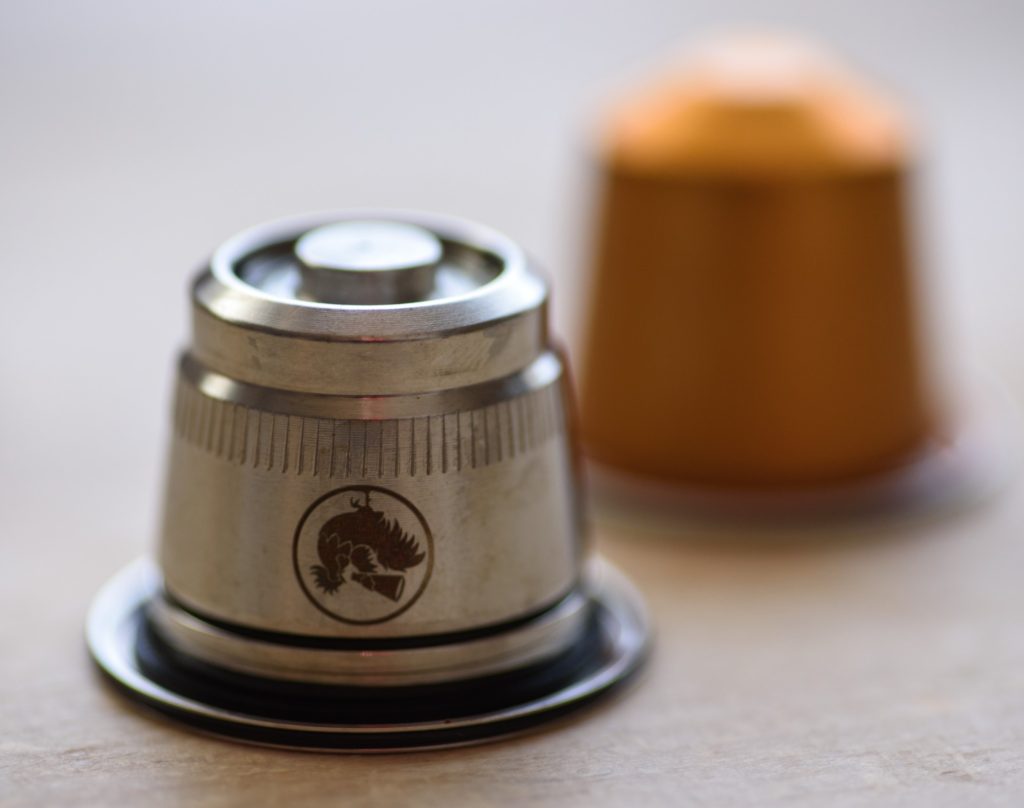
Waycap in the front, more traditional disposable alternative in the back. Notice the hollow ring where the needles from the coffee machine will go to.

The content of the package is two capsules, a tamper, a dispenser and a set of rubber rings to replace the ones mounted from the factory.

Content according to the tin, but you also get a range of plates to control the water flow and spare rubber bands to seal the capsules.

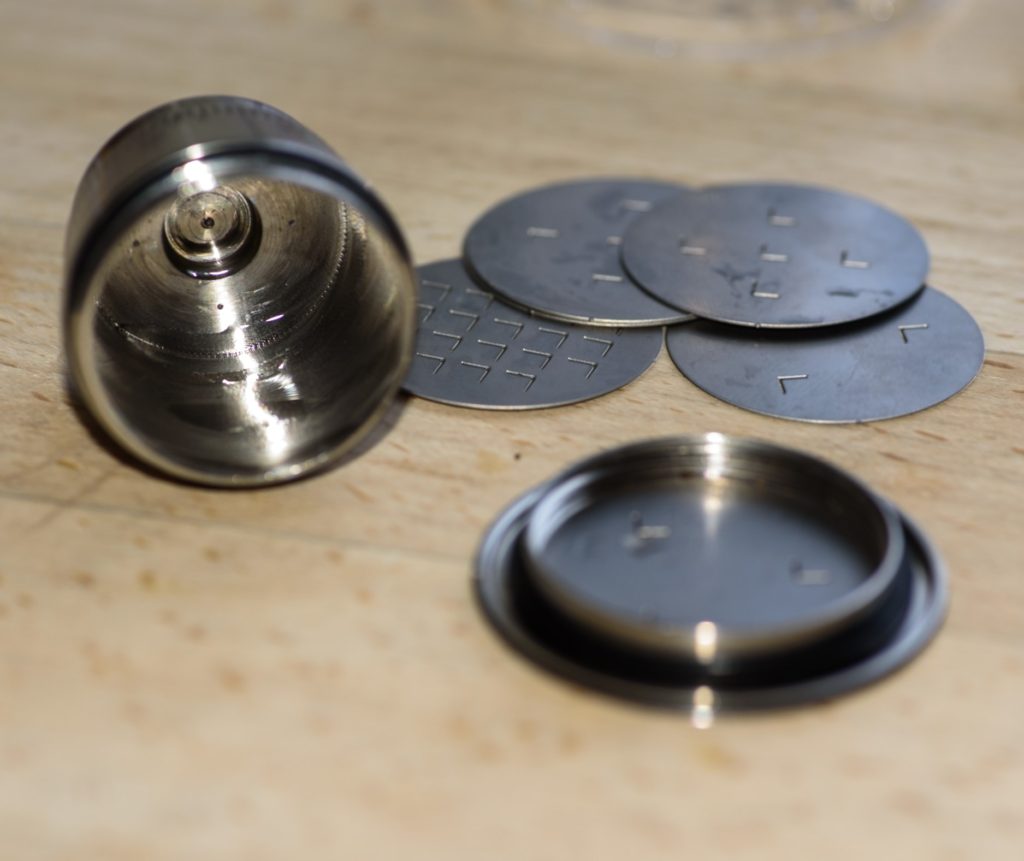
In addition to this a few plates with L-shaped holes in it is supplied. The point is that you can vary how long the water is to flow though the capsule, and you can experiment with different options to adjust to taste.

The plates to be mounted inside the capsule. The number of holes (L-shaped) determines how long time the coffee is in contact with the water. More holes, less time.

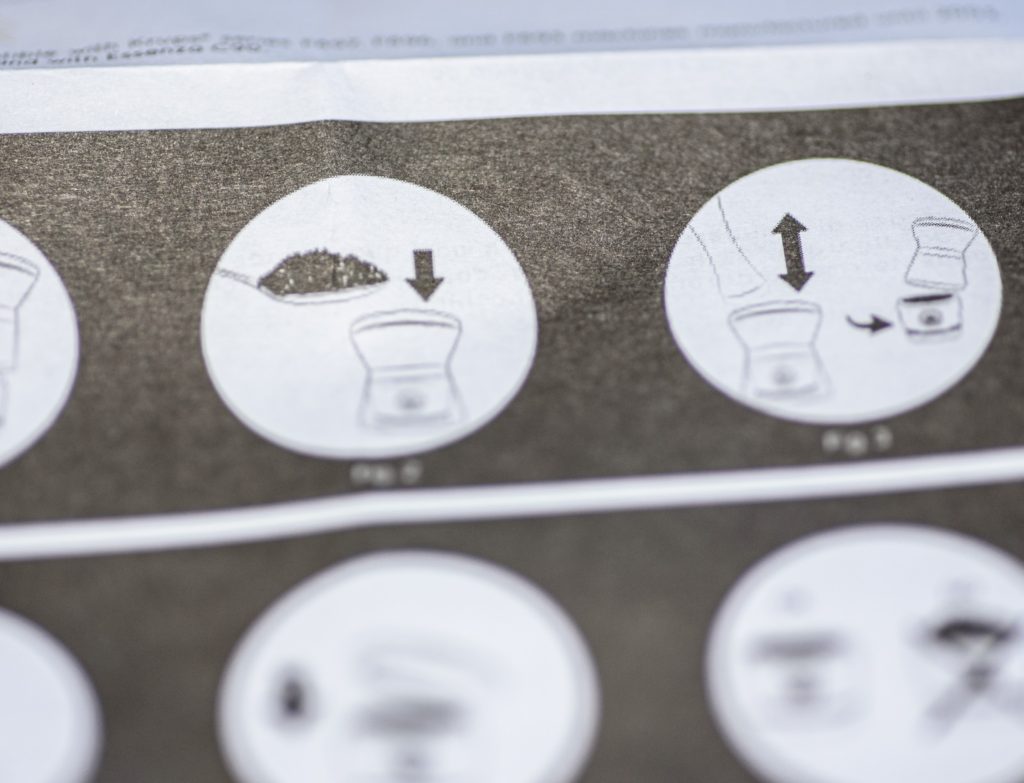
After you have mounted a plate inside the capsule, the simple process is to use the dispenser to get coffee into the capsule and after that use the stamper to pack the coffee.

The user guide is a bit intimidating at first, but once you get a hang of the system it quickly becomes a routine. But my first attempt at reading it Christmas eve was not successful. Find a quiet moment to take in the details.

The two capsules comes with a plastic tube to aid filling coffee into the capsule and a plastic tamper (right) to help you pack the coffee in the capsule.

A precision made super thin thread allows you to screw the lid on the capsule. It seems to me like really well made precision work by the Italian factory, and although I have not used the system for more than a few days, I would expect this to be a durable product that will last many years.

Also, there seems to be a solid supply of rubber rings to keep you going for many years forward, so this product should last you for many years.

The two capsules comes with a lot of rubber rings to replace the ones mounted from the factory.

I do miss somewhere to store both the extra plates and the rubber rings, but in daily use (once you have selected your favorite plates) the only thing you need is the capsules themselves, and they store neatly in the dispenser using the supplied lids for the top and bottom.

The plastic tube to aid filling the coffee into the capsules, doubles as a storage container, when the two lids (top and bottom) are added.

Verdict

Does it work? Yes, it does. I will say though that mounting the capsules, as well as removing it again, requires use of more force with my Nespresso machine than the disposable capsules, actually to a level where I in the beginning suspected that something was wrong. I am not sure if this will have a negative long term effect on my machine – time will tell, but there definitely is a big difference in the force you need to apply.

Any downsides? Yes, the time required to prepare a cup of coffee. One of the wonderful things about the Nespresso system is the ease and speed. And that you only make one cup, so you don’t waste coffee by brewing a full bowl only to drink a fraction. The latter is still maintained with the Waycap system, but it takes a lot more time to fill the capsule yourself. The speed and convenience drops. If you are willing to make this investment in going from fast-food to slow-food, then of course it is not an issue. But brewing 4 fast cups when friends drop by is not that easy. The use case is a bit different.

Any upsides? Yes, other than the gain for the environment, I can confirm that it is both cheaper and that you get better coffee. I love the Nespresso coffee, but you can afford to buy some really good coffee and still save money relative to the 1/2 EUR per cup that Nespresso charges. You will have to play a bit with the number of holes in the plates, the coffee type and how fine the coffee is grinded, but once you get that under control, it is a pure pleasure.

Any quirks? Yes, other than the capsules being a bit tougher to mount in the machine, I find that removing the plates with the holes from the capsules can be a pain. I think it is because water between the plate and the capsule creates a small vacuum that is difficult to overcome. The user guide also mentions that the capsules are rather hot just after you’ve made a cup, but I find that it gets cold much faster than the 10 minutes the guide recommends you wait.

Bottom line? I really like the Waycap system. It seems like a solid product of very high quality. And its key selling arguments are solid if you ask me. But sometimes I miss the speed of my disposable capsules. And for that reason I probably will use both, but the Waycap system will definitely make my use of disposable capsules drop dramatically. And that is not bad at all.

Related reading

Apple AirTag Review

RAVPower PD Pioneer Power Bank Review

My iPhone walking steadiness generates no data – or does it?

Walking steadiness does not work – or does it?

You can find plenty of posts related to the setup and activation of the walking steadiness, that works with more modern iPhones and more recent versions of IOS. It uses data from the sensors in the iPhone together with number of steps, step length and walking stability to calculate a walking steadiness index number, that translates onto: OK (best score), low or very low (worst score). The idea is to monitor your walking patterns and predict if you have a heightened risk of falling, as injuries from citizens age 65+ is a problem in growth. So the intention is good.

The problem however is that it appears not to work! I have followed every instruction on how to switch on the walking steadiness to minute detail, and re-done it over and over again: no result. Then I tried to google if others had the same issue, and yes! But no solution.

What to do? I waited!

I do not know how the software or the logic works, but suddenly my iPhone (a 12 with IOS 15.1) generated a walking steadiness score! It was on a Thursday. And after that? Silence. No update. Until it became Thursday again! New update!

So currently it looks like my iPhone calculates the walking steadiness  once every week!

The strange thing is, that my wife who also has an iPhone with the IOS 15.1 installed gets daily updates! Not real time updates though, but daily updates. The only difference I can spot between the two is that I have a Garmin Phenix 3 connected to the iPhone and she has a Garmin Vivoactive watch. I doubt however, that this is the cause of the difference, as the waking steadiness is based primarily on data generated by the sensors in the iPhone.

So what to make of all this? My point is that if you experience lack of data and results when it comes to the walking steadiness function in the iPhone, maybe a bit of patience is all you need. Keep walking with your iPhone in your pocket for a week or so, and see if it results in scores generated.

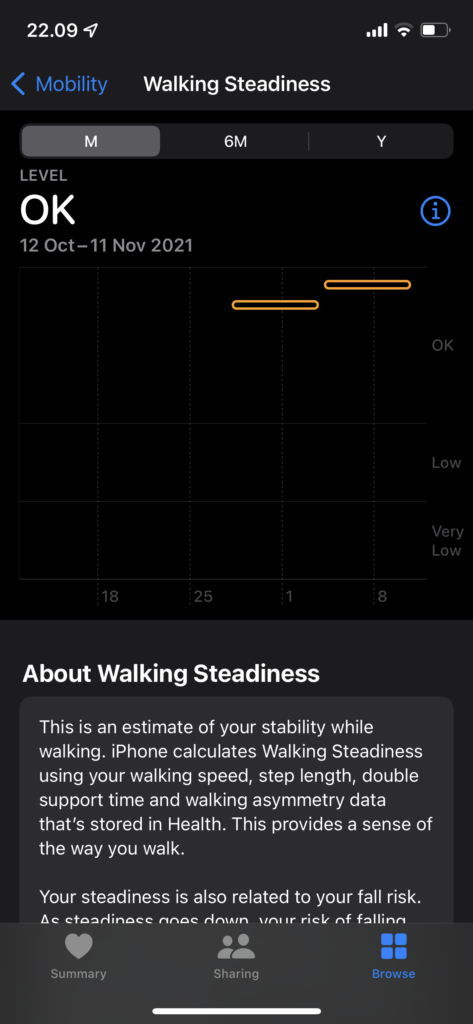
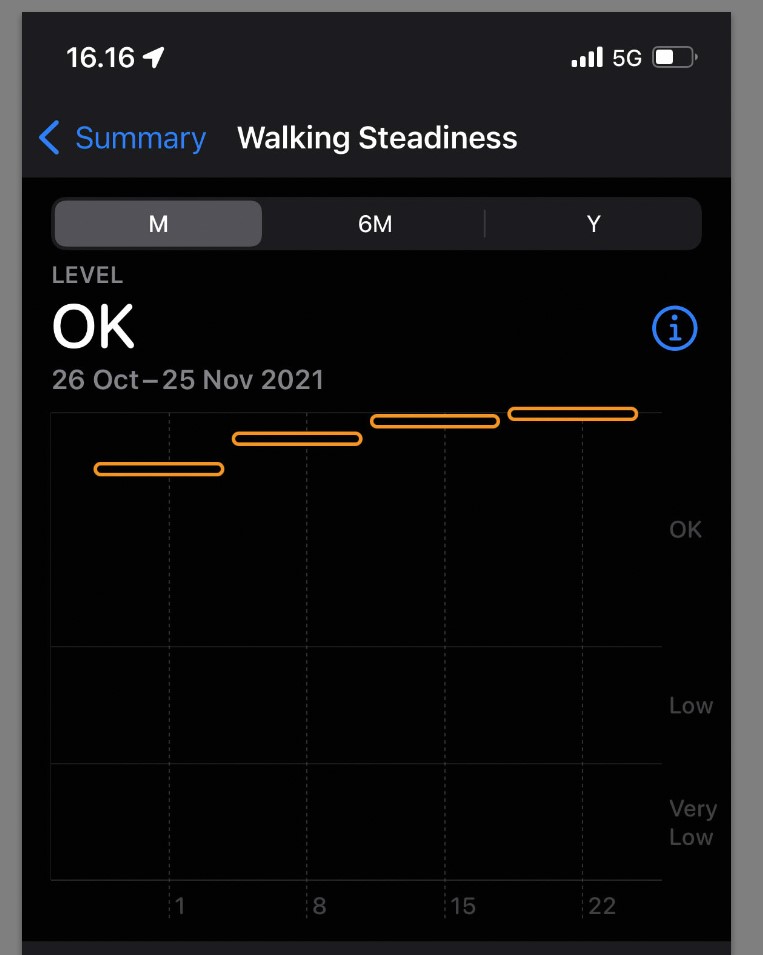
As you can see from the image below, a few weeks later, it is confirmed that the updates follow a weekly pattern. Every Thursday the data is updated. I am not sure if the Thursday is the day of updating, or of it is a coincidence that is more determined by when I started to log data. But it does confirm that when you have turned on walking steadiness, patience is key, subject to what tracker you use to collect the data.

Please let me know in the comments how you are doing and what frequency your iPhone has in updating the steadiness score – it seems to me there is very little data on the subject out there, so it would be great if we could fix that via this post.


Review: RAVPower PD Pioneer Power Bank

Review of the RAVPower PD Pioneer 2-Ports Power Bank with impressive specs.

Long name

The RAVPower PD Pioneer Power Bank actually has an even longer name: The RAVPower PD Pioneer 20000mAh 60W 2-Ports Power Bank!

The long name on the box reveals impressive specs for this no nonsense product.

And what’s in a name? Well, in this case, actually a lot! Notice the 20000mAh with can be translated to 20Ah! An impressive amount of energy, only found in batteries you would normally plug into your power tools – provided you have pro-level power tools, that is.

And further: 60 Watts! If you have ever tried to hold a light bulb back in the days long before LEDs and energy saving light bulbs were invented, you know how hot a 60 watts light bulb “classic” can get – it is an impressive amount of energy this little battery delivers!

No nonsense

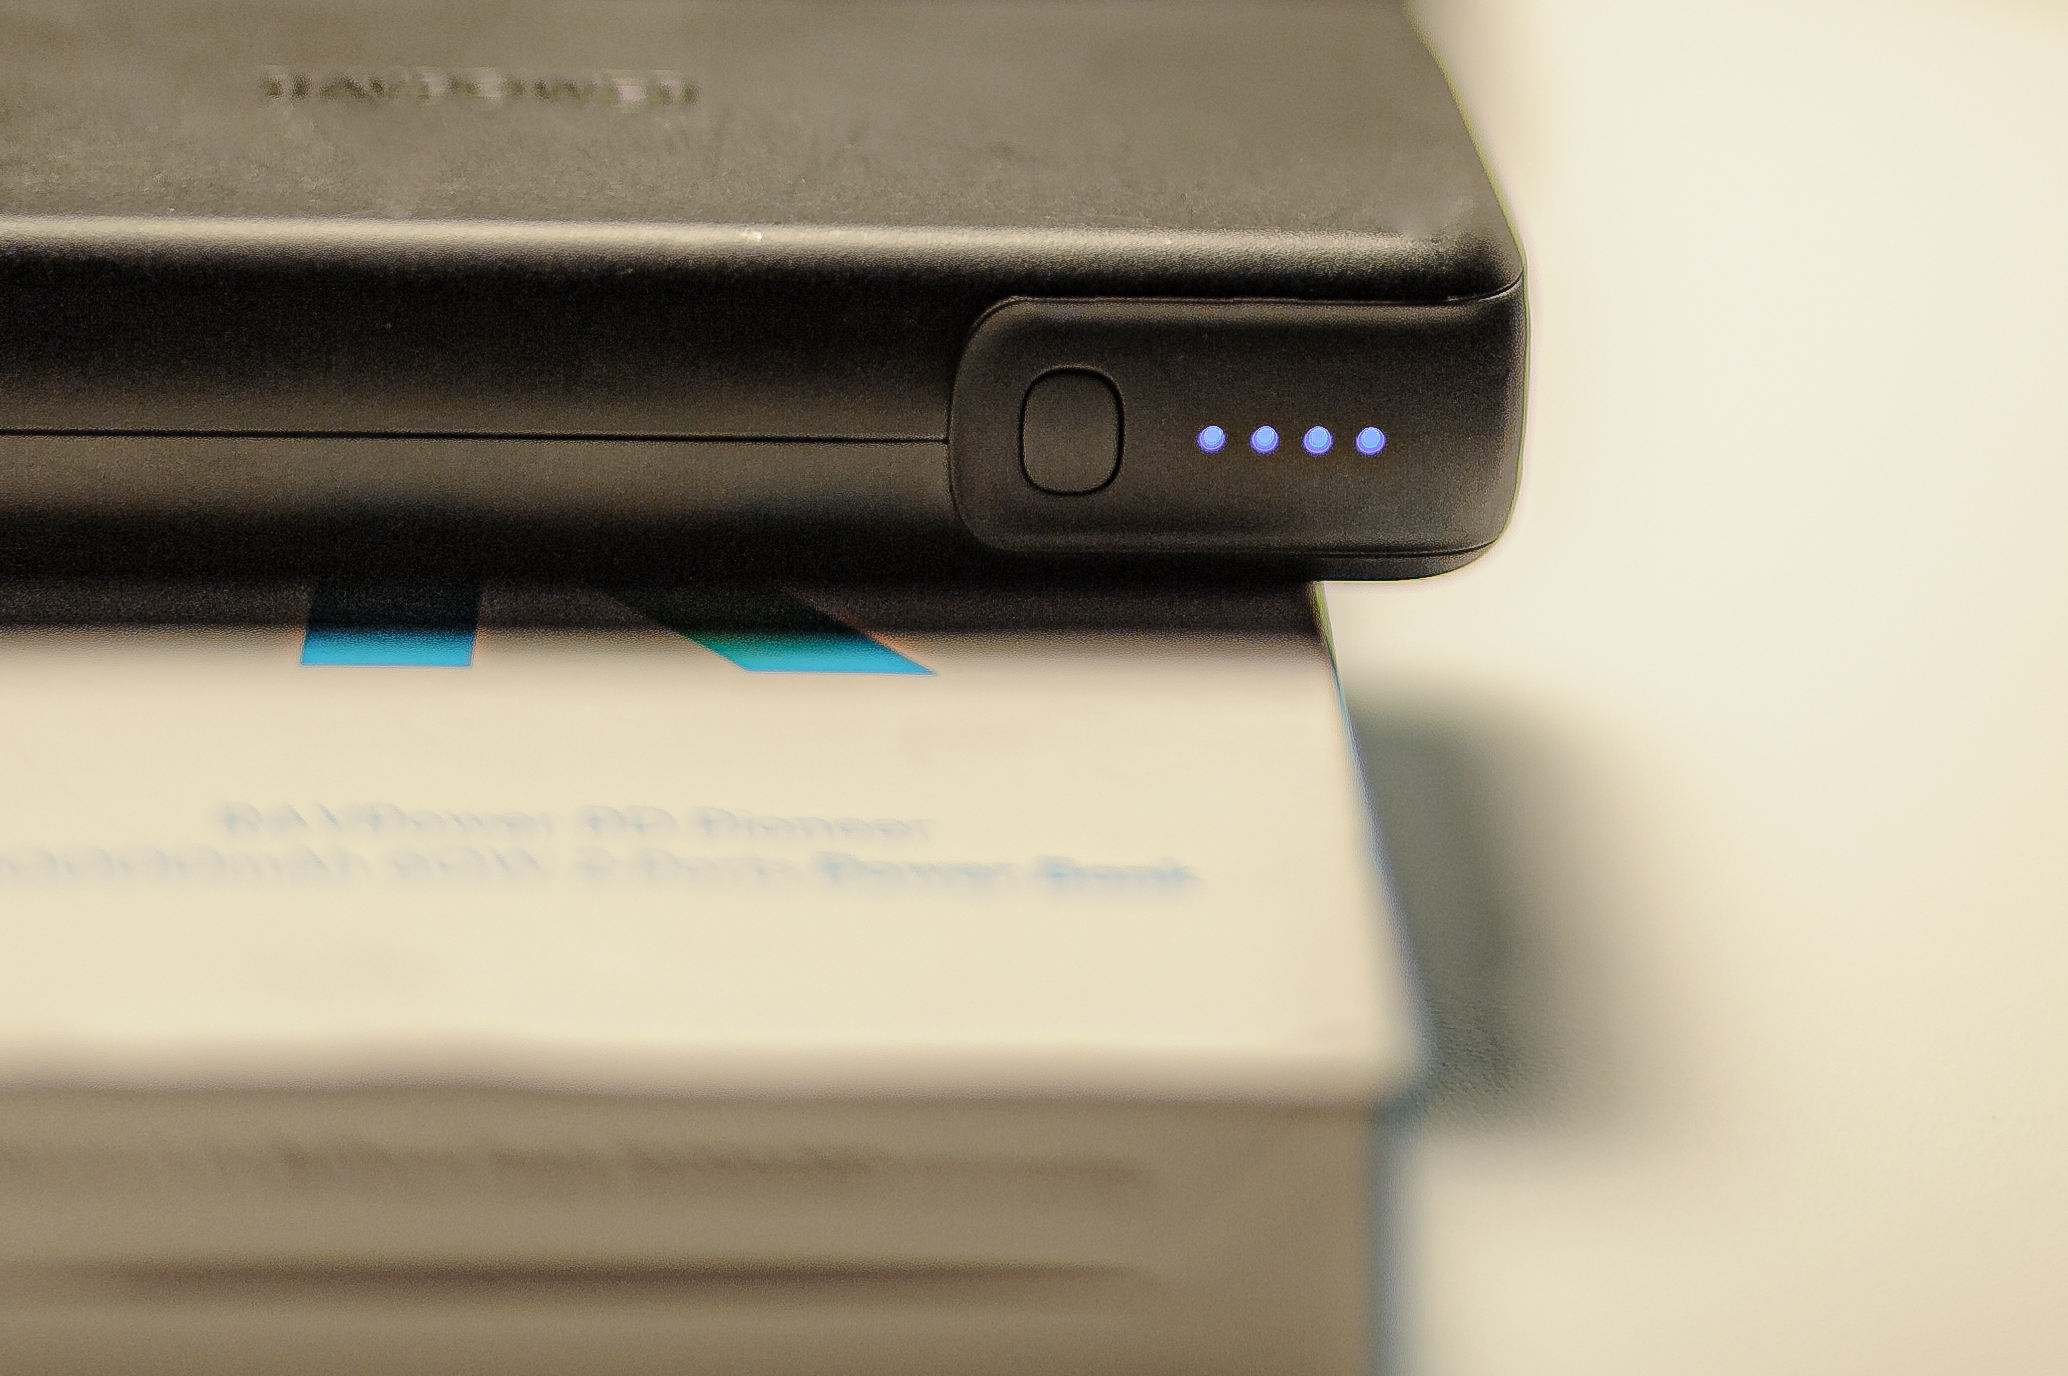
4-level power indicator with blue LEDs. Here the power bank is fully charged.

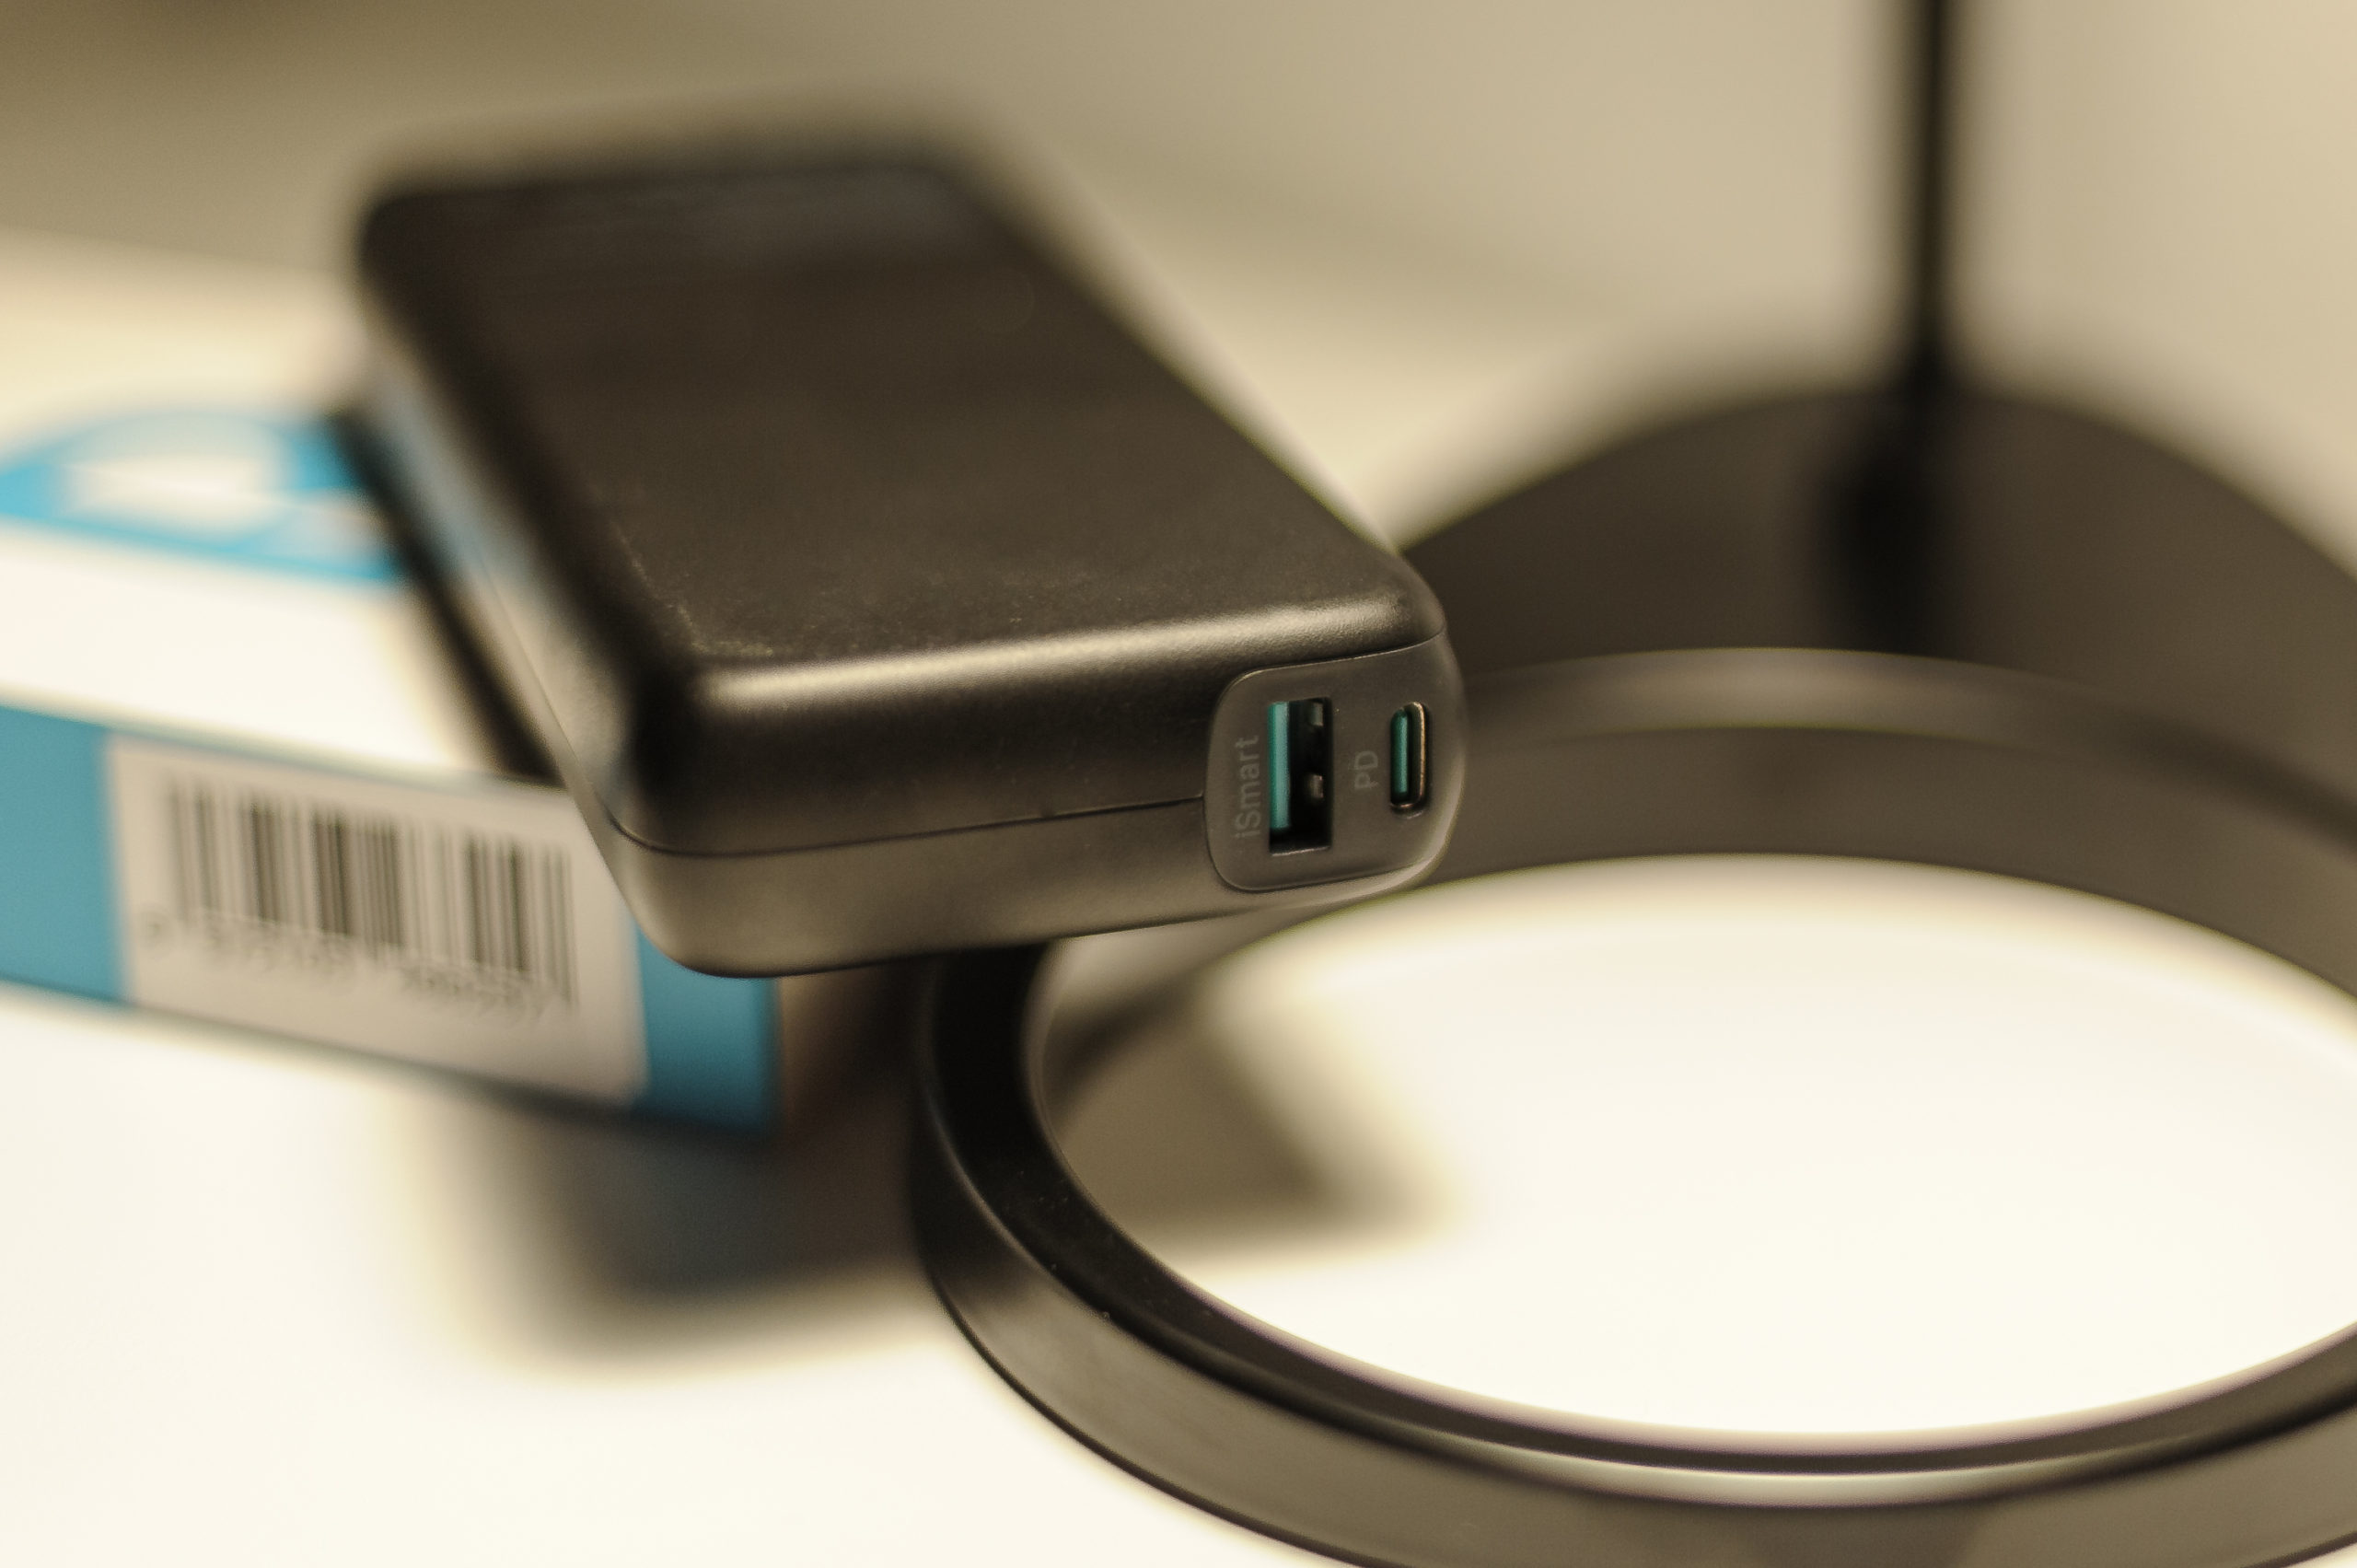
The design is not very advanced: Only one button that activates the 4-LED power indicator and two connectors: USB-C and USB-A. It only comes with one short black cable for the USB-C port. The USB-C port will deliver 45 Watts when used together with the USB-A port delivering 15 Watts. If the USB-C port is used only, it will deliver up to 60 Watts using the so called PD (Power Delivery) technology! The instructions urges you only to use the supplied USB-C cable, as older cables may not be designed for as much power as the PD technology can deliver.

Two ports: USB-C and USB-A.

The power bank body design is of the no nonsense kind: a rounded black box weighing 370 grams, and with a size of 15 x 6,5 x 2,5 centimeters. (H x W x D). It is a little less than 2 iPhone 12’s on top of each other.  So it fits nicely into one hand. You can also get it in white if you prefer, but that’s it!

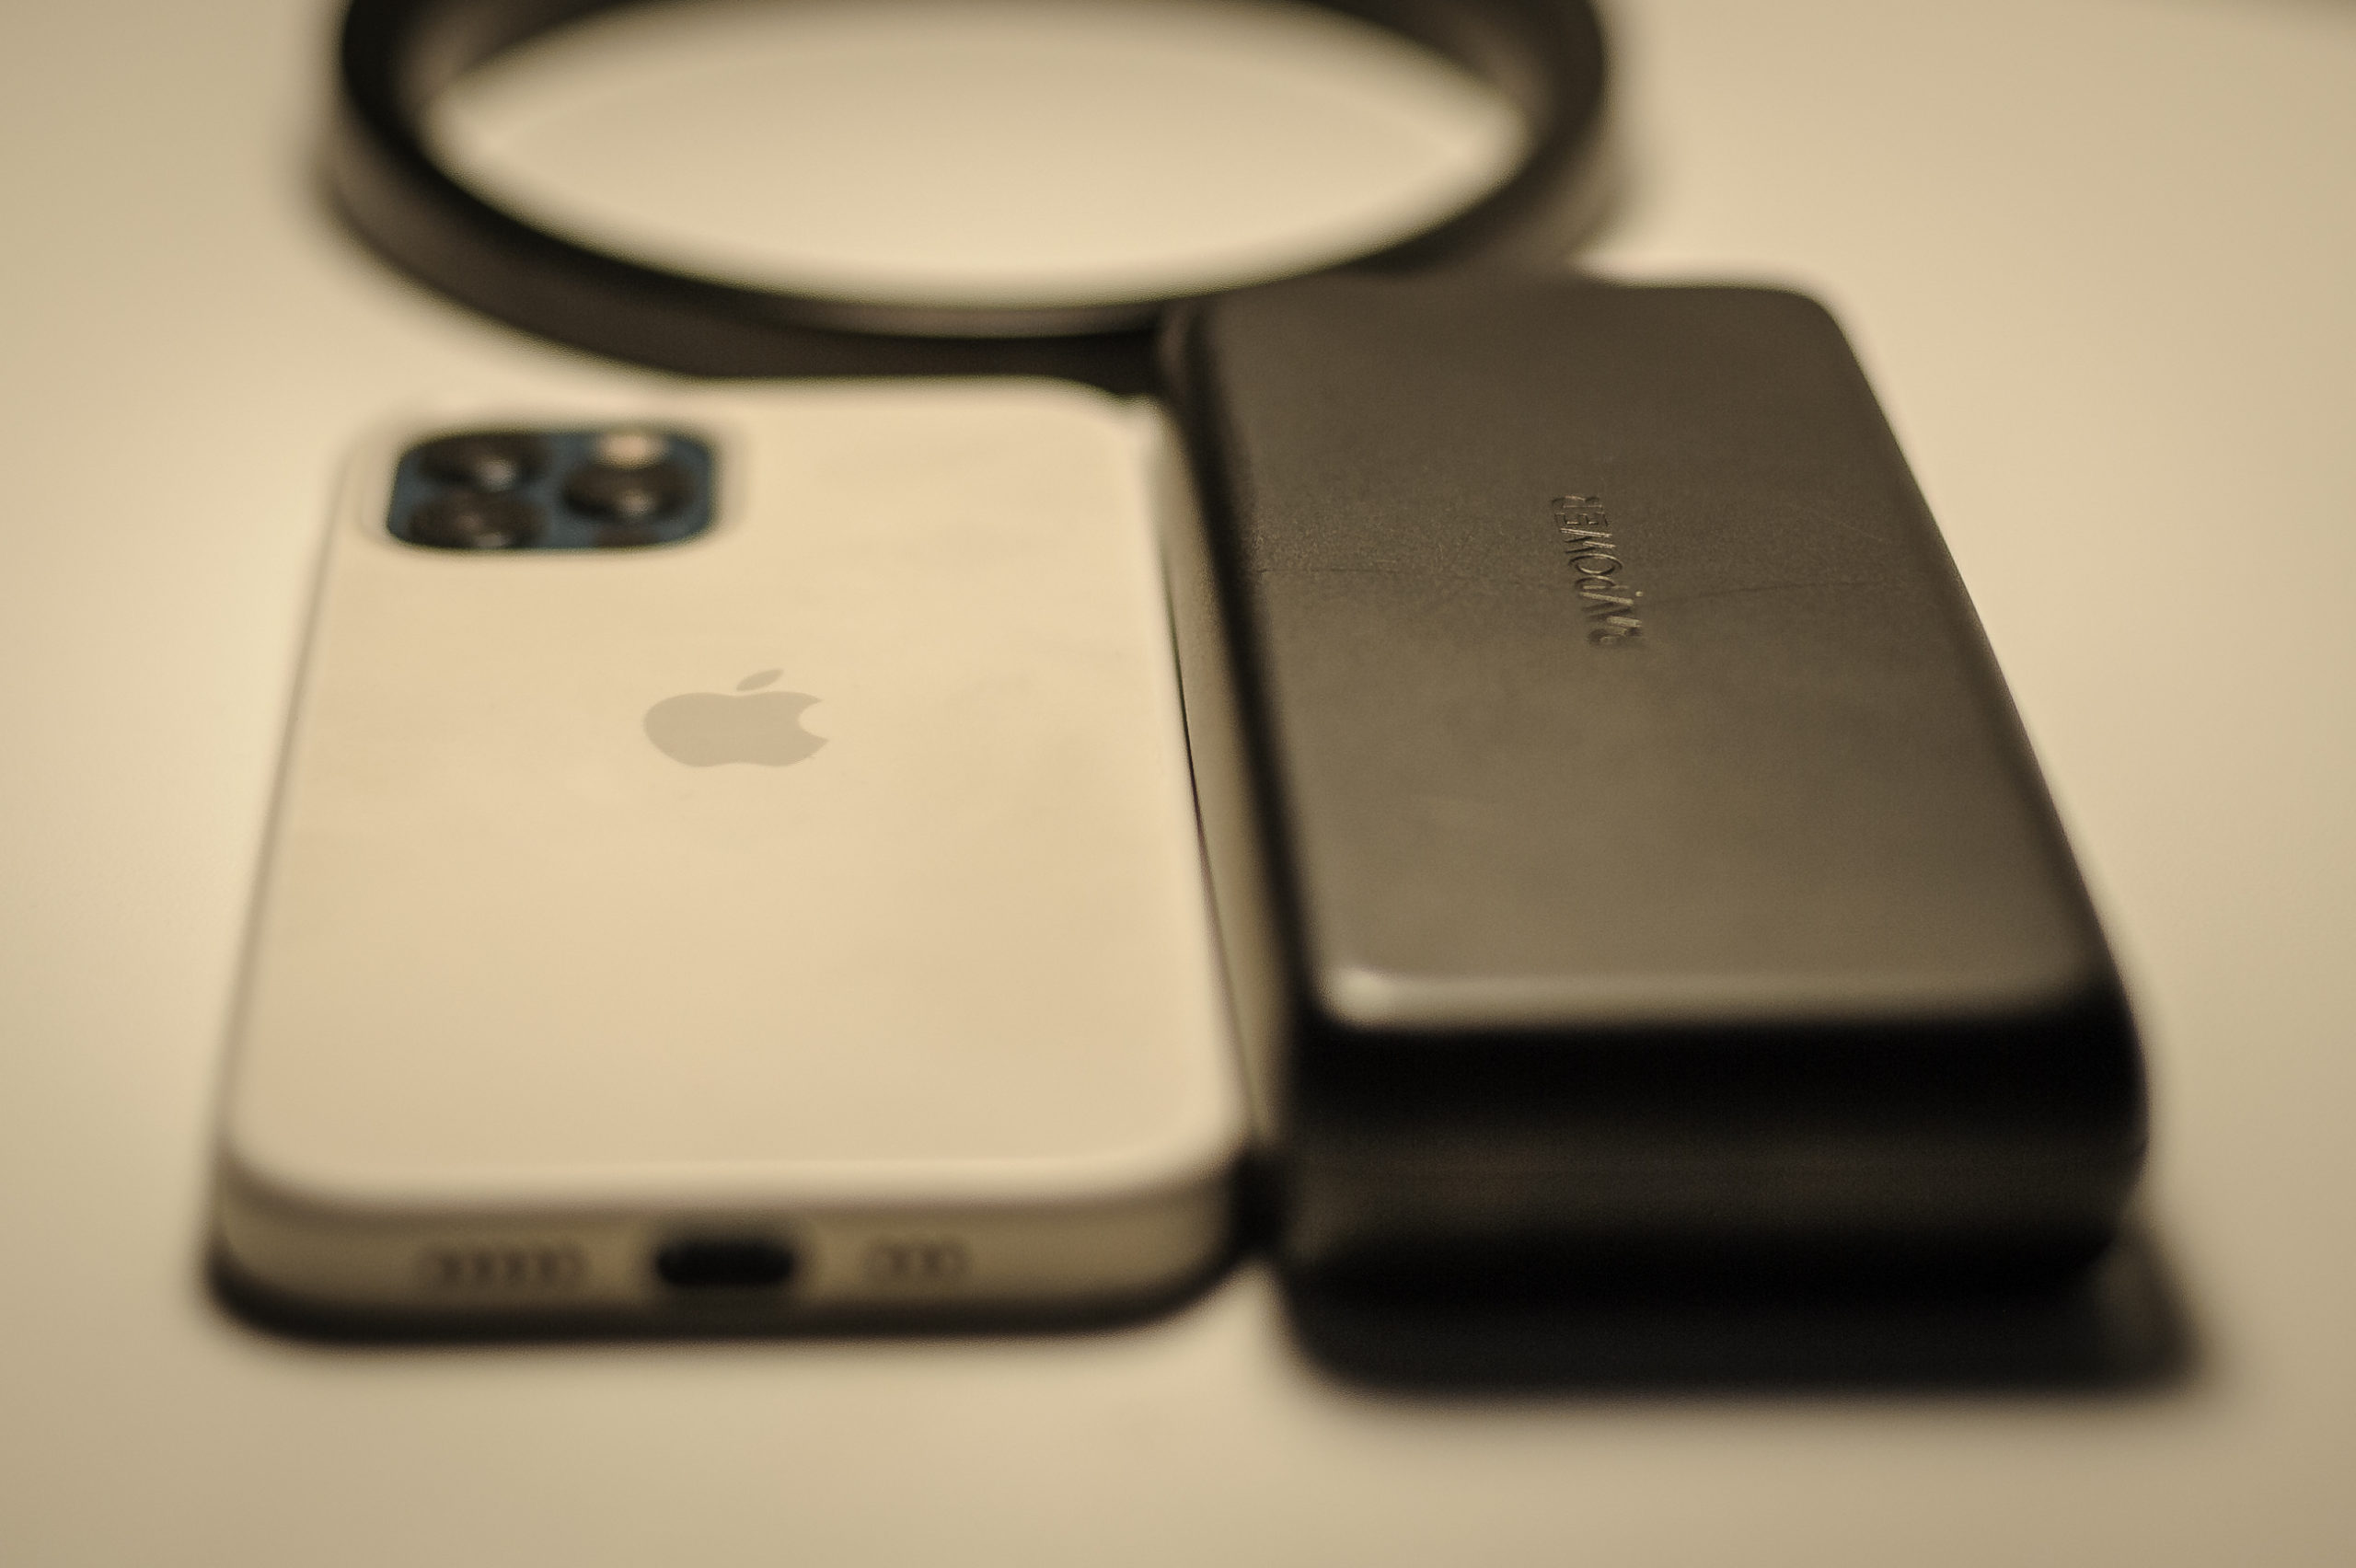
Same height as an iPhone 12, but not as wide and approx. 2 times as deep…

Real world test

I bought this product to keep my demanding PC at work happy during the late hours of the working day. It is a Lenovo Thinkpad that requires 45 Watts power input, and it will certainly make you aware during boot if you try to feed it with anything less! Normally at 3 in the afternoon, the Lenovo battery runs flat and start to go into (intensive) power saving mode, then gives me half an hour more and dies completely. With the RAVPower attached using the USB-C connector, it keeps my PC going almost a full working day, and only towards the end of the day will the RAVPower run out, and the PC starts to make use of it’s own battery! That is truly impressive! The Lenovo charger can then stay at home, and I have the freedom to move around during the day without looking for a power plug or worry about battery depletion!

According to the marketing specs, the RAVPower can charge an MacBook Pro 13″ from 0% to 50% during an hour. I have not tested this, but I find it very likely based on my own experience with the power available in this little gadget. And with my 20 watts apple charger, I have found that in 3-4 hours the RAVPower is back from close-to-flat to fully charged.

Is it for you?

The RAVPower will set you back around 70 EUR here in Denmark, and I would imagine it can be found even less expensive in both the rest of Europe and in the US (although Amazon have removed products from RAVPower for reasons unknown to me).

I have not long term tested it and cannot say if the battery will stay fresh for many years, but the Chinese company behind RAVPower started their business based on battery technology, so I am optimistic it will stand the test of time.

So if you are in the market for a powerful no nonsense power bank , I think this option should be on your short list, if available where you live.

However, if you need more thank 2 ports, there are alternatives available with 2×2 ports, and if you need even more power, there are models with up to 26.000 mAh, but then you will also need to pay significantly more.

Thank you for reading this far! Questions and comments are more than welcome!

Review: Apple AirTag

Seek … and you shall find!

The Apple AirTag is as it says, a little tag that you can attach to literally anything, but most of us probably want to start with our keys. Then comes the wallet, backpack, laptop, etc. The options are endless. Thats probably why Apple offers a package of 4 with a good discount.

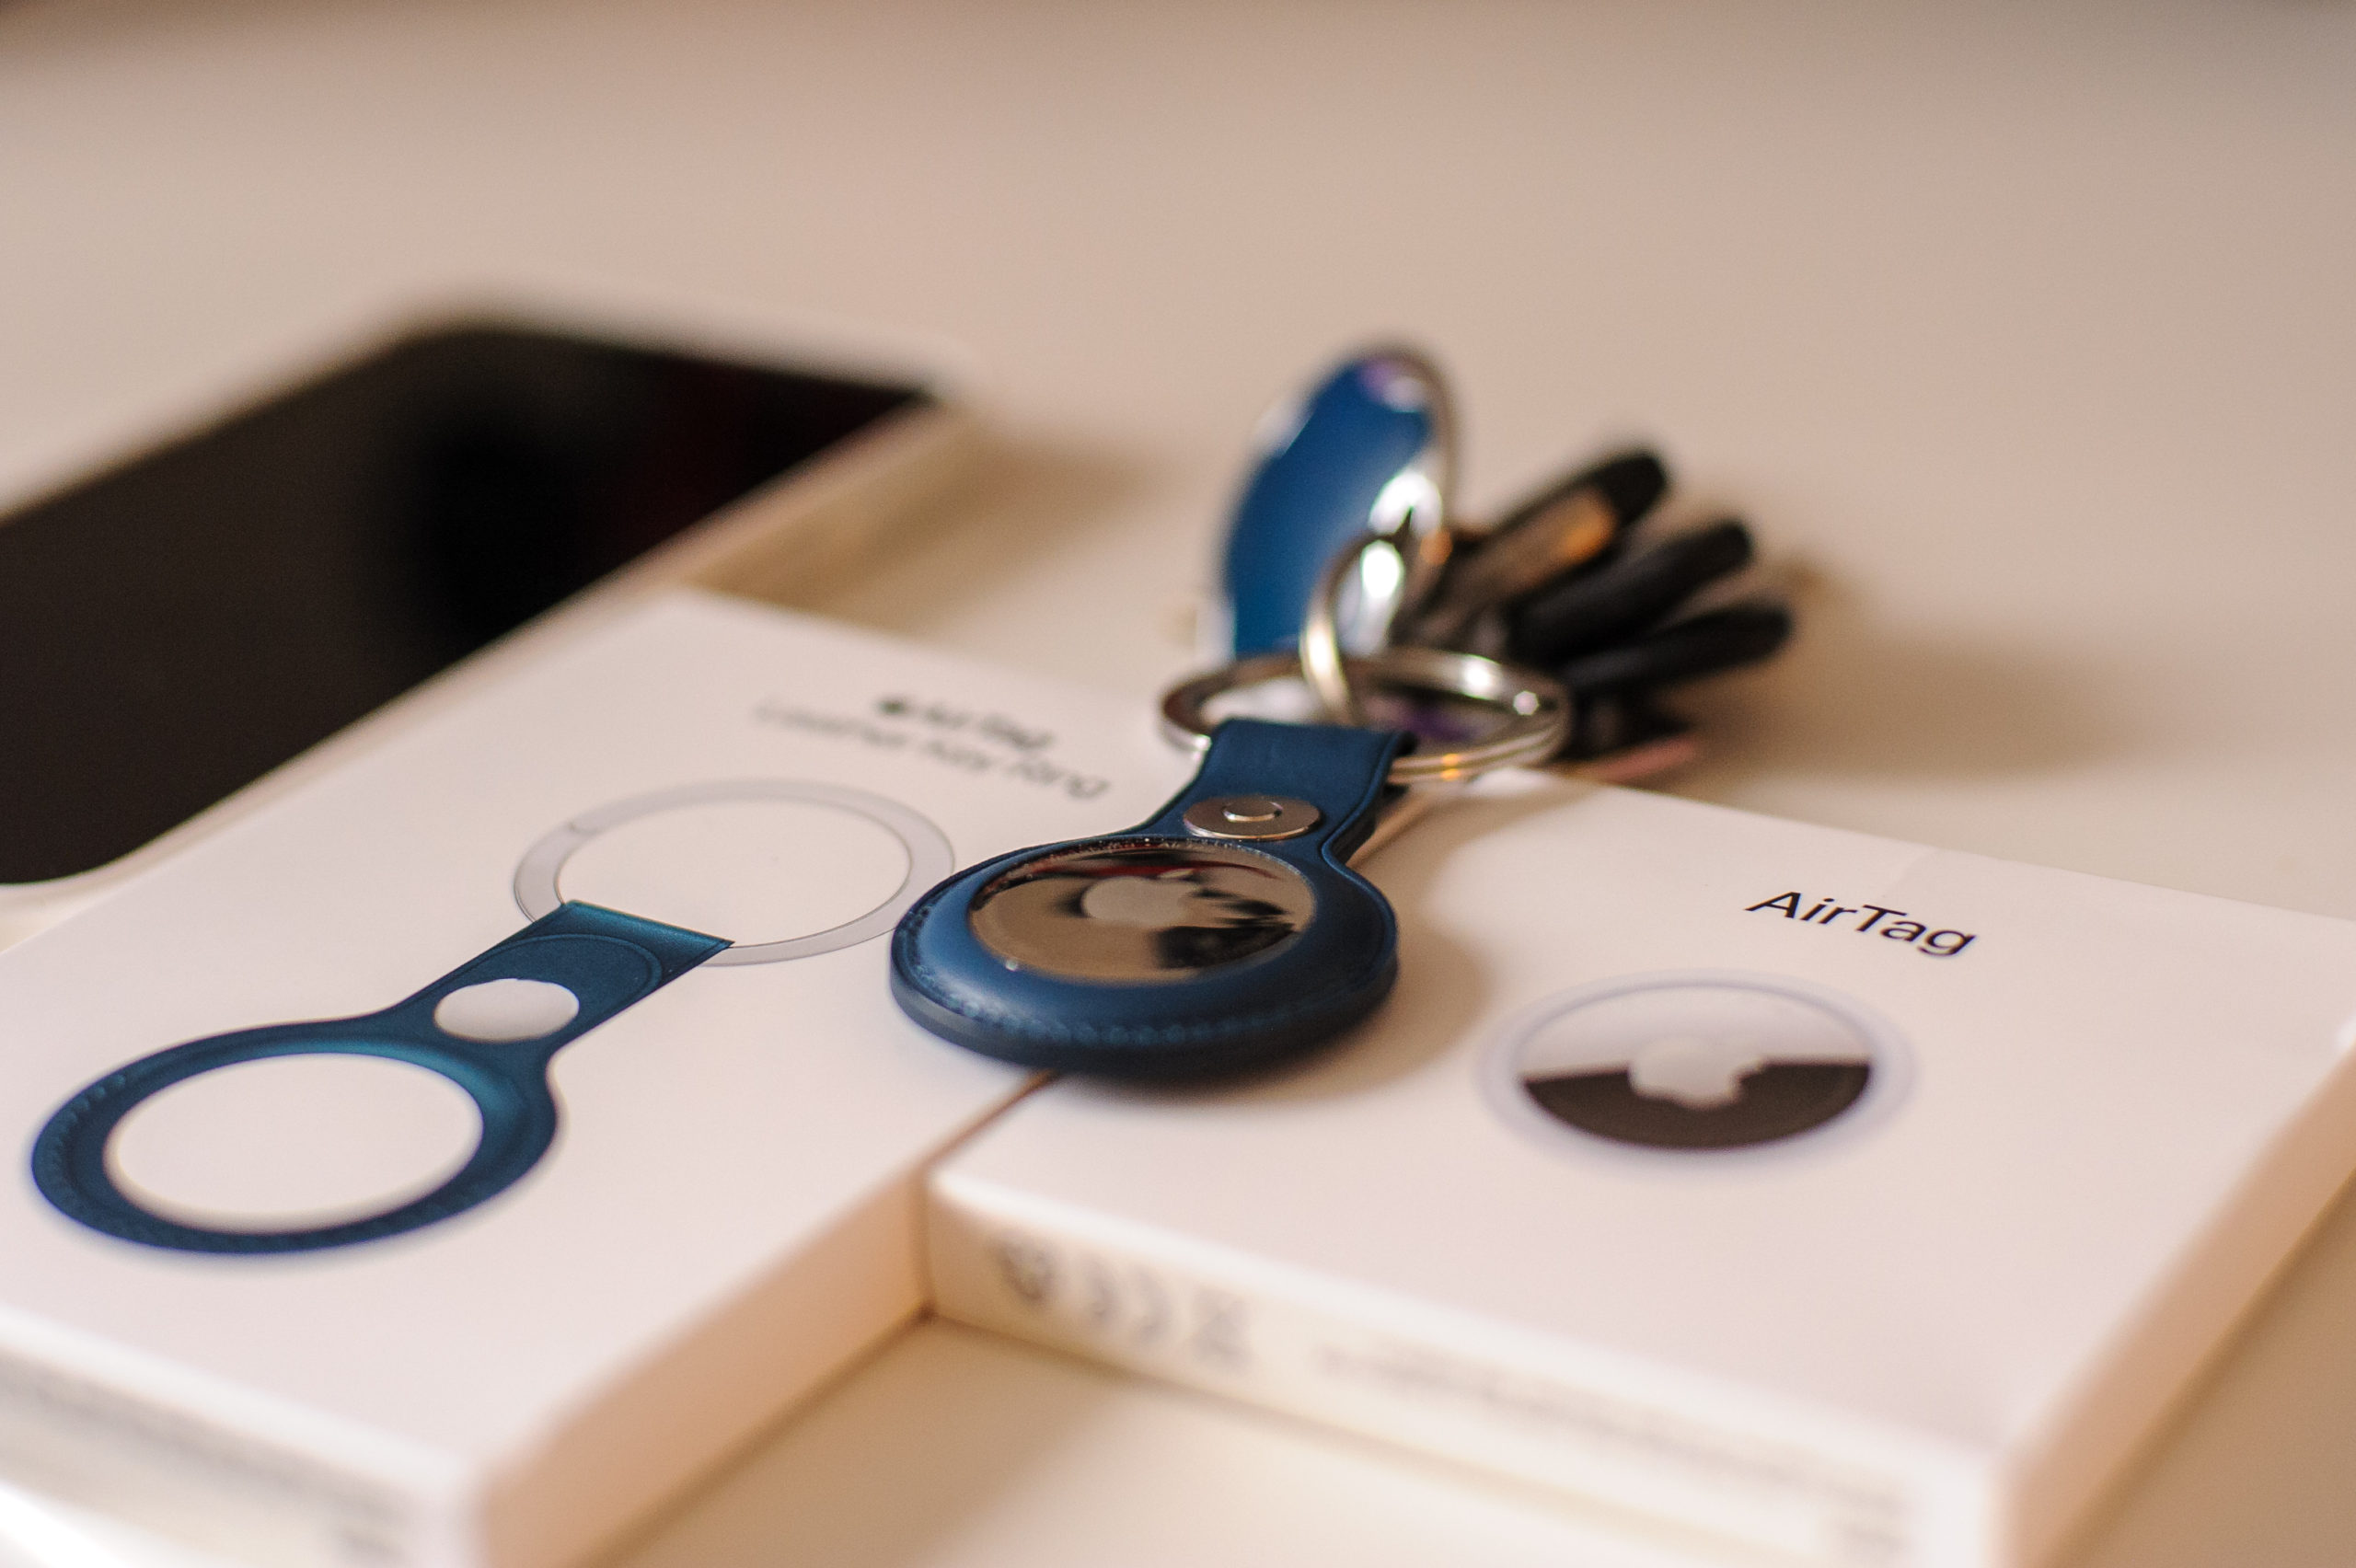
The leather key ring is designed to hold the AirTag and provide a key ring at the same time. It comes in many different vibrant colors, but as you can see I chose to go with a more conservative option:

Apple Leather Key Ring box. Apple AirTag box to the right.
Apple Leather Key Ring box to the left, Apple AirTag box to the right – combined result in the key ring in the middle.

Setup is easy

Setup is easy – hold the AirTag to your iPhone 11 or 12, and it will initiate the installation process. Select from the list of pre-defined options (in my case: keys) and you are good to go.

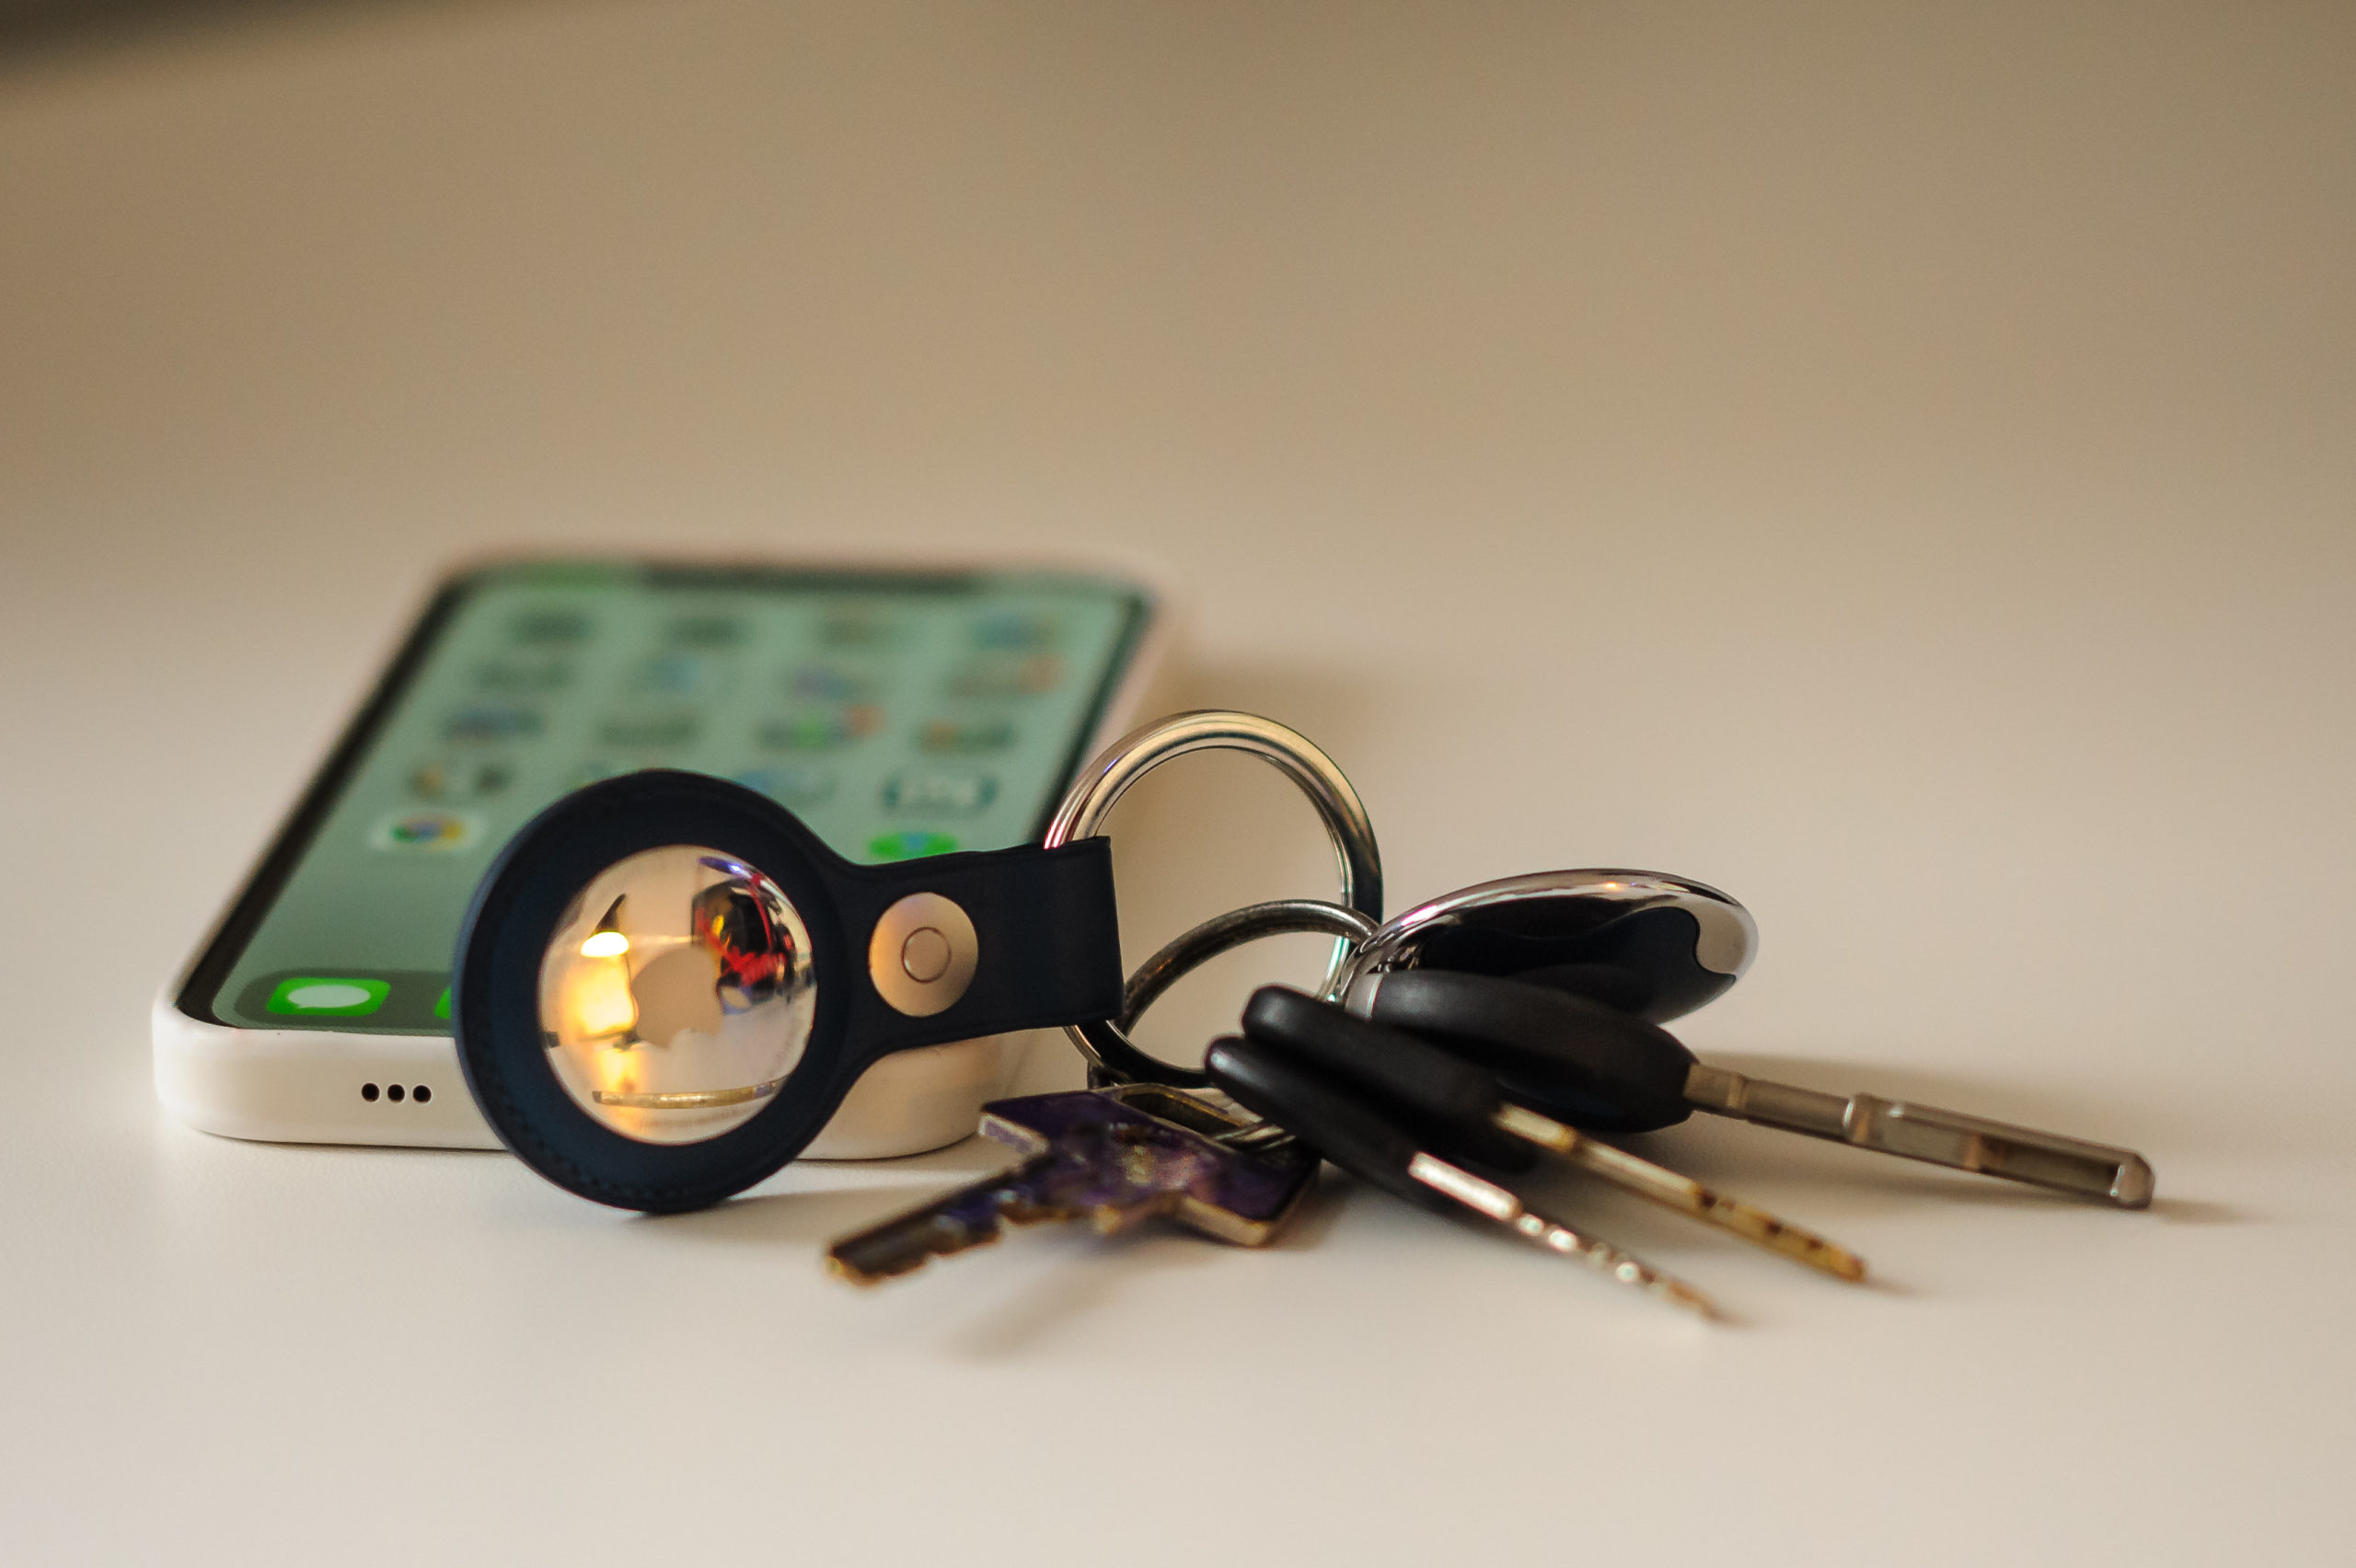
IPhone 12 and keys with the AirTag and Leather Key ring.

Use

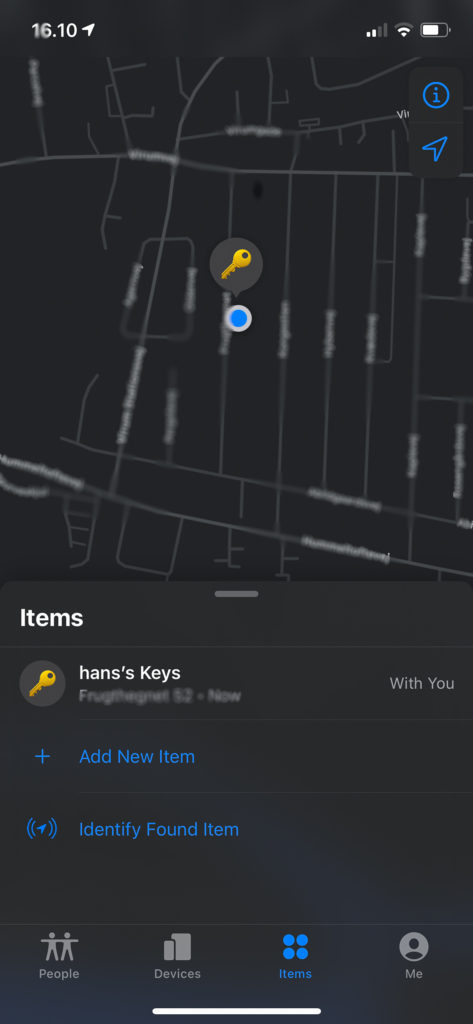
The AirTag can be followed in the “Find My” app. It took me a bit to dig it out from one of the folders, as it was not an app I have used previously.

You can also just say “Hey Siri, find my keys” and it will activate sound from the AirTag and after that open the “Find My” app. It works really well.

The sound is especially useful if know the keys are close nearby, and you just forgot exactly where you left them. If distance is greater, the “Find My” app comes in handy.

IPhone 12 and keys with the AirTag and Leather Key ring.
The location of the AirTag is shown – the iPhone knows that it is my keys it keeps track of…

How it works

If your iPhone and the AirTag are close nearby, the the AirTag communicates with your iPhone via Bluetooth. If not, then the AirTag sends out a Bluetooth signal that can be received by Apple iPhones, iPads etc. close nearby. They listen to the Bluetooth signal, and forward the position encrypted and anonymously to you via iCloud.  So provided you have “friends” nearby, the location of your AirTag can always be found. If not, then you can find the most recent location a “friend” of yours was close to the AirTag.

You can also register your AirTag as lost, and get a notification if it suddenly appears “on the grid”. It really is a clever design.

Conclusion

I cannot really find something not to like here.

Normally I find Apples prices a bit steep, but the price of 33 EUR here in Denmark seems more than fair, and you can drive the price down even further if you buy a package of 4 AirTags.

The design and ease of use is as always with Apple from the top shelf.

I cannot speak to the battery life. Apple promises that the batteries will last long as as it is an advanced version of Bluetooth that puts very little strain on the batteries, but that remains to be seen.

With regards to anonymity of the data we can only hope that Apple delivers to promise, otherwise hacking these apps would be the shoplifters dream come true! And then of course you need a lot of “friends” out there, but I guess that someone eventually will drop by your AirTag if you live in a not too desolated area of the world.

Shopping link

Apple Airtag

Related reading

Review: Apple iPod Pro (1. generation)
Review: RAVPower PD Pioneer Power Bank

Review: Worx Landroid M700

At approx. 750 EUR the Landroid M700 is certainly amongst one of the more budget friendly lawn mover robots, but will it get the job done?

Price

The Landroid M700 will set you back around 750 EUR, and hence it is one of the less expensive lawn mover robots available. You should however be aware that it comes without GPS tracking, which is an additional 200 EUR approximately. It is sold as a separate module you plug into the Landroid. You may not need it if your WIFI covers your entire lawn and if you don’t want to be able to track your Landroid,  if stolen.

How it works

The Landroid needs you to install a boundary cable that defines the area in which the Landroid is to work. It is very important that you follow the installation instructions and give sufficient room between the cable and objects, as the Landroid follows the cable when it returns home to the base.

Landroid and boundary cable.
Make sure to make room between the boundary cable and objects like stones and walls – here the Landroid cannot pass the concrete block….

Compared to more expensive robots that have a so called guiding cable, which is a separate cable guiding the robot back to the base, the Landroid finds it way back to the base by searching for the boundary cable and following this counterclockwise until it is at the base. Any object along the boundary cable that stops the Landroid will be a show stopper, as the Landroid logically follows the boundary cable to find home.

Landroid and charging.
Two metal arms stick out to the right hand side of the Landroid and connects to the base for charging. The green flashing light shows charging is in progress.

It is also important that the lawn is free from any obstacles like fallen down branches, apples and tools from the shed, otherwise it will impair the operation of the Landroid. This was a little new to me, it is just like having a toddler where you keep objects out of reach to avoid problems…

Landroid and objects.
The Landroid has decided to battle a rake and at this point it is difficult to call a winner…

The philosophy

Maybe a big word to use about a lawn mover, but it does operate somewhat differently from the Husquarna that I also have had the pleasure to test:

First, the Landroid has only one nose wheel, and this makes it very vulnerable to holes in the lawn. I had to fix several holes that I did not know I had before the Landroid would operate without interruptions. So you may want to get a lawn mover robot with 2 nose wheels if you plan to use it in less-than-perfect lawns.

Second,  the Landroid only cuts 1/2 the width of the body. You can see here in the image below that the black area is where the crass is cut (my fingers show the cut area), behind the orange area there is nothing going on! So the Landroid needs to do a lot of back and forth in order to cut the lawn, as the blade is rather small. My guess is that the advantage is that the motor is less a strain on the battery and hence the Landroid can go for much longer stints than had it needed to power the motor to drive a larger blade. And it brutally drives the battery down to 10% before returning to base – other more conservative robots do that at 30%. And the battery can be used in other power tools from Worx and the other way around. So if you have several tools from Worx, you can share battery “pool” with the Landroid.

Cutting width.
The “mouth” where the grass is cut. It is not the full width of the robot.

Third, the designers at Worx have prioritized that the robot is not to work when it rains! I have always been told that cutting the grass in rain is a waste of time, as the grass just bends and is not cut. But the much more expensive Husquarna I have tested did not have this ability.

The Landroid comes with sensors to detect rain, and if it is working, it returns to base, and if it is about to start, you can set up how long time it should delay its work, once the rain has stopped.

Rain sensor.
The rain sensor on top of the Landroid

In contrast to the rain sensor, the cutting height cannot be controlled via an app as some of the more expensive robots offer. On the Landroid the height is controlled by a large turning knob on top of the body that determines the cutting height in mm’s. It feels a bit primitive, but when I think about how few times I have changed the cutting height, this seems to be a good place to lower the ambitions.

Setting cutting height.
Cutting height is set to 50 mm here.

Operation

The Landroid is rather quiet. You can hear it working, but it is certainly not bad at all. Actually, it has several times bumped into me, as I was so absorbed in garden work that I did not hear it approaching.

The name M700 indicates that it can handle a lawn up to 700 square meters – mine is a bit smaller than that, and the Landroid seems rather relaxed maintaining the back yard of my house. In order to also handle the very small front yard that I have, I would need to install a second boundary cable, and move the robot. The front yard is simply too small for that, so my trusty old petrol driven lawn mover is still with me, and we cut the front yard in approx. 5 minutes. Notice also that the Landroid does not do corners very well, nor the area just outside the boundary wire (remember: you need some safety margin) so the good old petrol driven one also helps me out here.

The Landroid drive is pretty powerful. The two large rear wheels and a very small front wheel gives it lots of traction and it happily pushes smaller chairs around on the patio. It also detects non-movable objects such as a wall and makes recovery moves to get on with the job. In few cases have I seen the Landroid trapped, but that has been when the arms on the right hand side of the body have been caught in a branch or two, otherwise the Landroid does an pretty good job of pulling itself out of problems. But mind you that it does not like lack of space between the boundary cable and solid objects. And if holes in the lawn catches the tiny front wheel, then the Landroid gets stuck.

In terms of configuration I have simply asked the Landroid to generate a standard scheme, and made a few modifications on top of that. That works fine. You can see here in the display below that the Landroid is charging (43%) and that the schedule covers all days of the week – if no black box behind the letter of the day, then the Landroid has a day off (I’m a tough employer and it has duties all 7 days a week, but starts later in the day Saturday and Sunday).

You protect the Landroid settings with a passcode, but I am not sure how effective that is when it comes to theft – in that case you need to buy the GPS module to find your Landroid again.

The Landroid will make lines in the grass when cutting. In the image below, the morning dew clearly shows where the Landroid has been, but that quickly disappears and in general the lawn appears very neat and tidy when the Landroid takes care of it.

What is worse is that the Landroid works along the boundary cable so much that it eventually makes small tracks in the grass… Even if you ask the Landroid not to cut along the boundary wire, the Landroid will make tracks in the grass. Here I really miss the guiding cable from more expensive models…


Conclusion

What I like:

  • Price
  • Battery life / stint duration
  • Quiet operation
  • Easy setup
  • Good traction and trap recovery
  • Battery share with other Worx products

What I did not like:

  • Leaves tracks along the boundary cable
  • Does not handle corners well, nor the outside if the perimeter cable
  • Only one nose wheel – vulnerable to holes in the lawn
  • No GPS tracking (additional investment)
  • Vulnerable to boundary cable blunders
  • App does not work then WiFi coverage is missing / weak