
Best VALUE landscape lens for Nikon F-mount?
Spoiler alert: Can I recommend this lens? Yes! But the recommendation comes with 3 caveats. Let me take you through these and then review this lens with sample pictures. It will not be a scientific review with pictures of brick walls showing how soft the lens is in the corners wide open, more a does-it-yield-great-pictures kind of approach.
The lens comes in different versions. The older ones does not have distance information (hence the name 2.8 without the D) and also the manual focus ring is very thin and plastic-ish. You can see that my 50 mm lens to the right below is the right version. The one to the left is the version you should not buy:
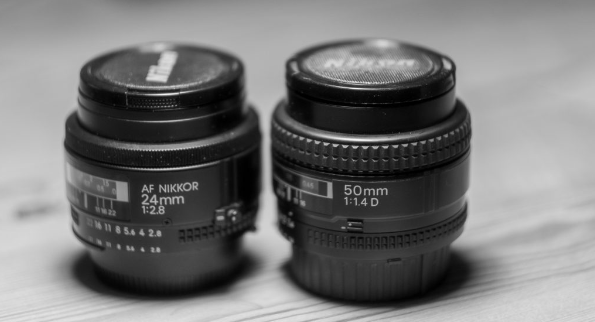
To my knowledge there is no major changes done to the glass from 1985 to now, so if you don’t mind the flimsy focus ring and do not miss distance information, the older ones may work well for you – bonus is that you may find a very cheap older copy on e-bay or amazon.
There is no need to buy a brand new copy of this lens. My copy is around 35 years old, and everything works like a charm and the glass is great. But make sure you check the glass well before you buy.
Make sure you need this lens (2/3)
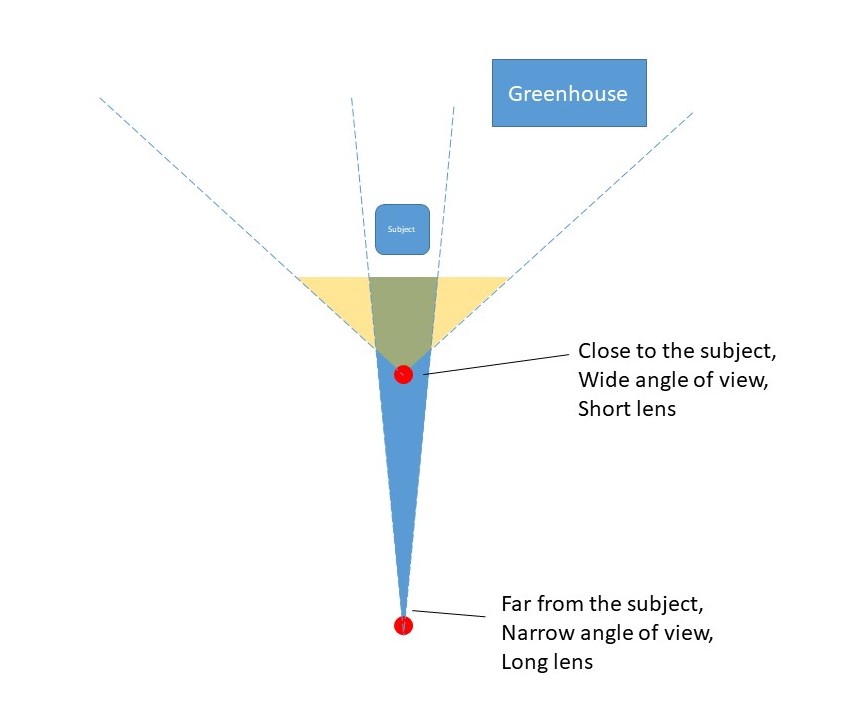
This is a prime lens. If you plan to have the holy trinity of zoom lenses then this lens may not be for you. The 24 mm sits right between where a zoom set of lenses would shift between normal zoom and ultra wide:
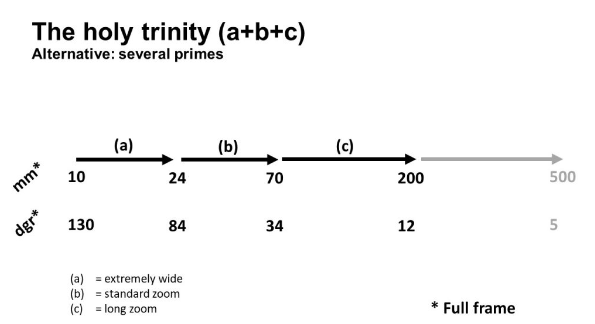
So you may find that the 24 mm replaces both the extremely wide zoom and the standard zoom, in which case you have saved a lot of money and weight. On the other hand, you may find that the 24 mm is an odd animal and that you prefer to use your zooms. In that case, the 24 mm probably never leaves your camera bag and is wasted. Here it comes down to personal preferences. All I ask is that you check if you think you really need this lens.
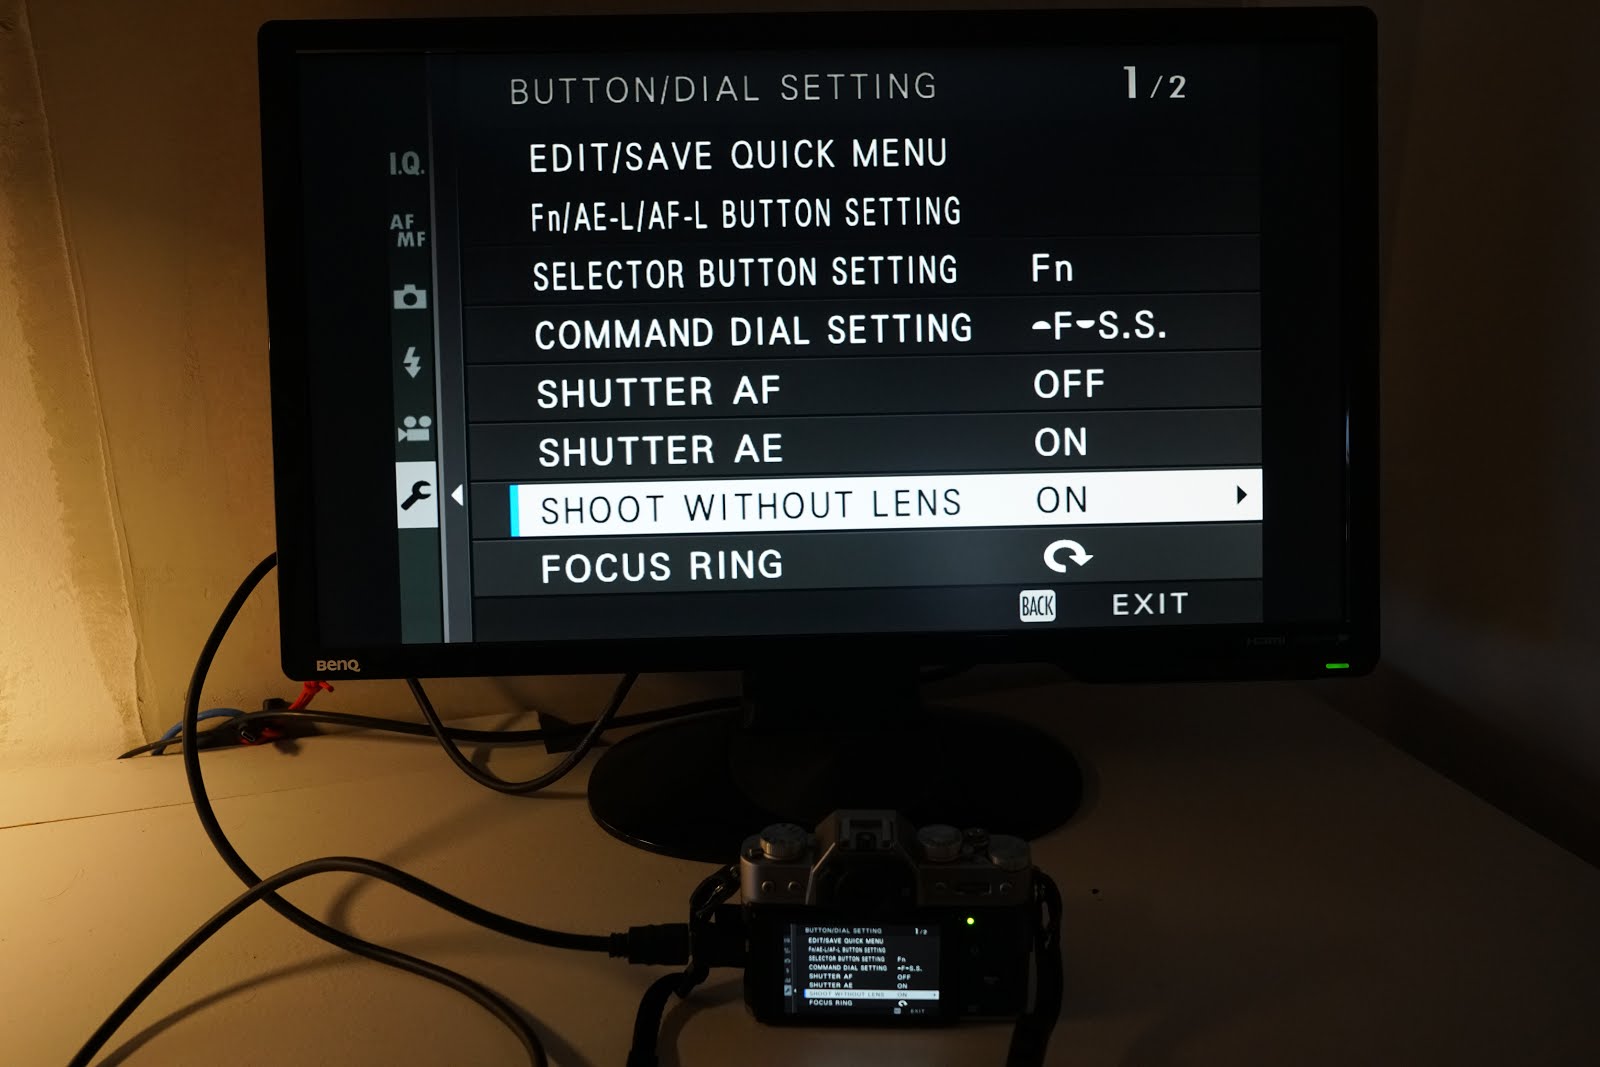
Make sure you have an AF motor (3/3)
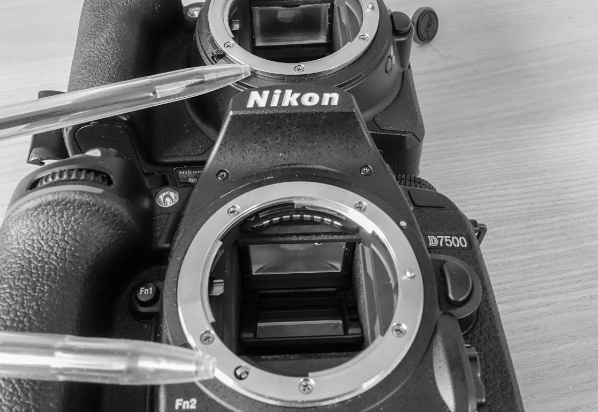
The tin may say auto focus, the lens may say auto focus, but if you have an entry level Nikon camera, then the AF will not work. The reason you see below in the picture – Nikon D5600 on top, D7500 below:
You should also be aware that some copies have a problem with the rear glass (known as the CRC) which yields out-of-focus pictures very consistently. This could be what why this lens has received some lukewarm reviews from many respected reviewers. Make sure before you buy that your copy does not have this issue (or simply ask the seller to confirm this is not an issue). Best way to mitigate a mis-aligned CRC is to test the lens before you buy.
Specs and review
Ok, with those 3 caveats out of the way, lets look at what this lens is all about. It is an old construction, so no image stabilization and no silent AF motor built into the lens. Just good glass and a mechanical AF system.
The price I paid for my 35 year old copy was 220 EUR, but I am sure you can make a better deal if you look carefully and have a bit of patience. I bought my copy in Europe, but in my experience the prices in the US is much lower. So around 200 EUR for this gem of a lens! Notice that in this price range you also find the Samyang 14mm ultra wide lens, and it is also a great lens with lots of super positive reviews, but it is also more heavy, larger and the front glass is round, meaning that buying any kind of filter could prove to be costly. But the Samyang should definitely be on your short list of ultra wide lenses to consider, before you make your decision.
It is a relatively small lens that takes up the same space as the classic nifty fifty that I showed above. At f/2.8 it is not as fast as they come, but unless you shoot indoor in low light i doubt the 2.8 will be a problem for you. The advantage of the 2.8 is that the construction is light at 275 grams. The angle of view is 84 degrees and that is more than double the nifty fifty at 40 degrees. You can really tell the difference.
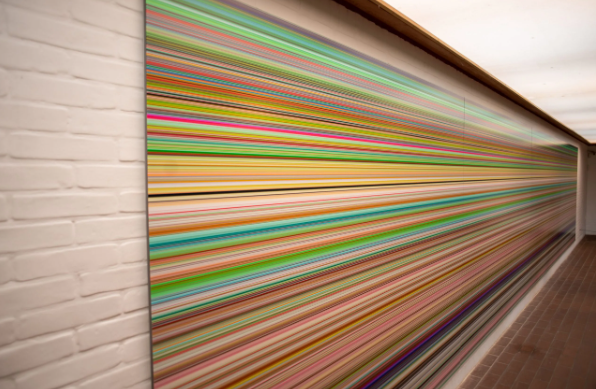
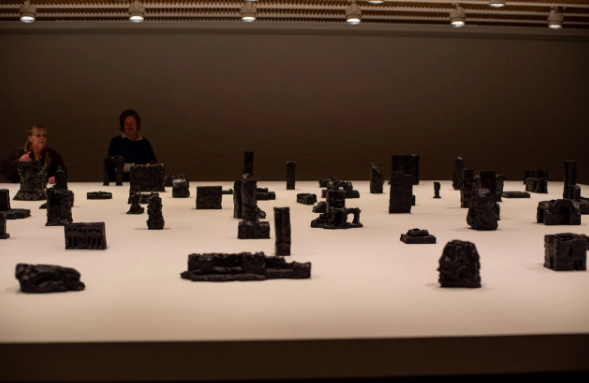
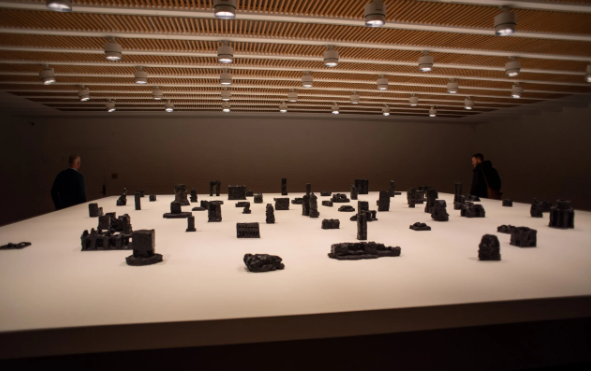
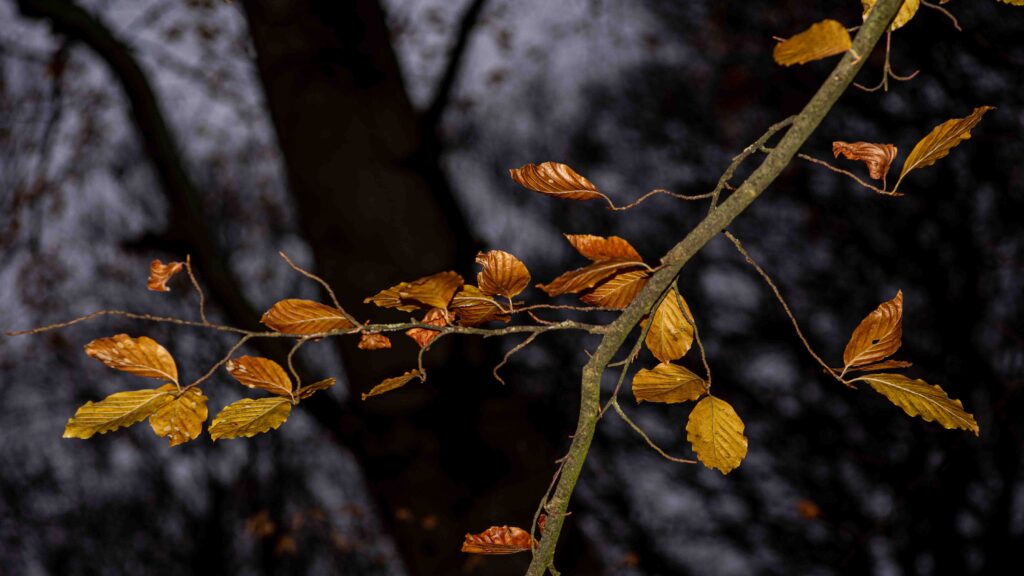
Color rendition is very much up to personal preference, but I have always been a fan of Nikon in this regard. The below pictures show a piece of art from the Louisiana Museum of Modern Art north of Copenhagen in Denmark, and the colors are reproduced exactly as I remember them. In my mind Nikons color rendition is spot on, and the 24 mm is no exception.
-

At 50mm
-
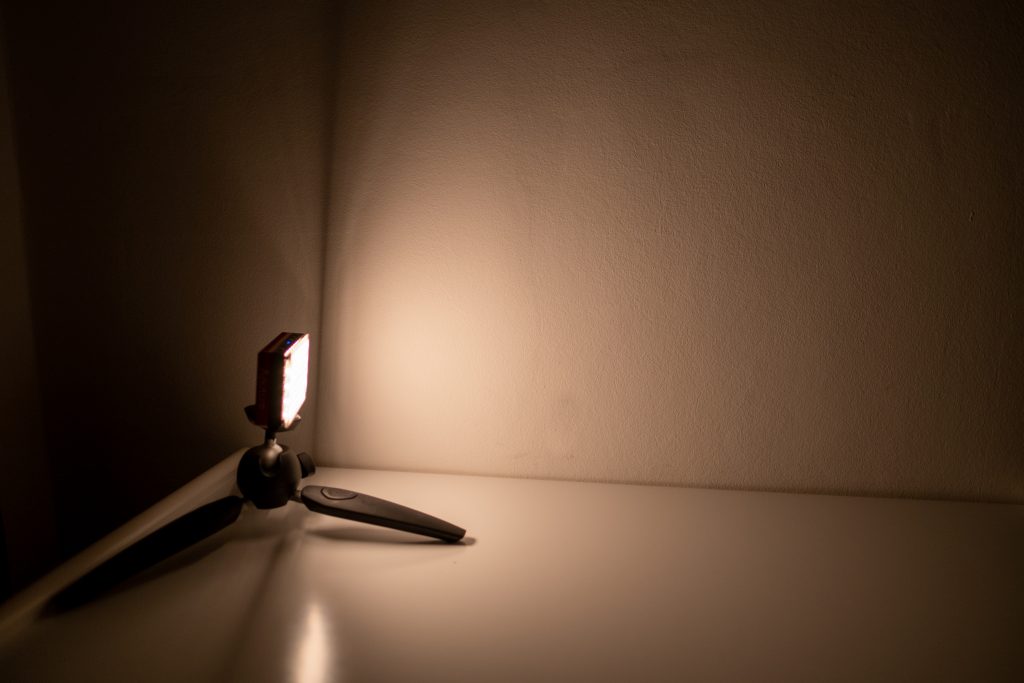
At 24mm - I have not tested the bokeh of this lens in great detail, but the example below shows that both background separation and bokeh balls are more than approved. Maybe the bokeh is a bit oval, but unless you are an enthusiastic photographer, I doubt you will ever notice:
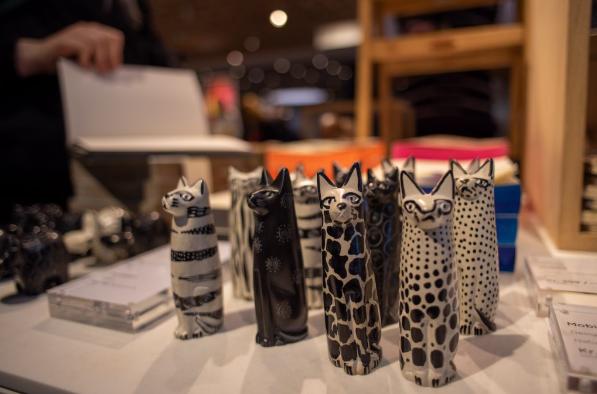
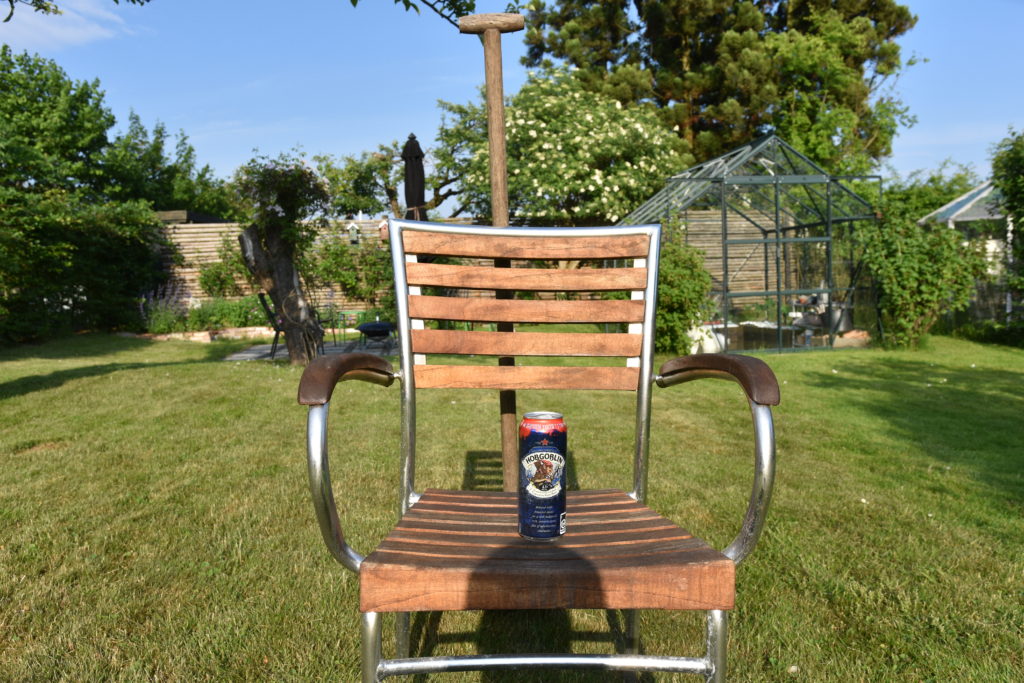
The minimal focal distance is where this lens really shines. Have a look here what you can do with this lens, where the art piece to the left is sharp and close up:
The minimal focal distance is 30 centimeters, and as you can see, you can get really close to your subject and still have it sharp:
-
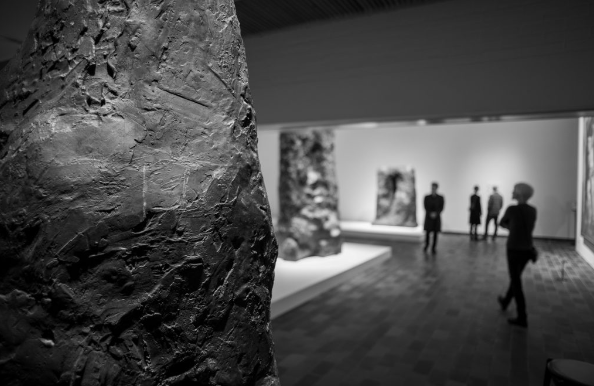
From the Louisiana Museum of Modern Art.
-

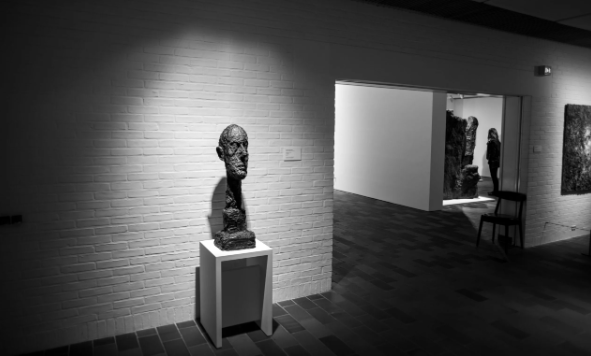
From the Louisiana Museum of Modern Art.
Another area where this lens shines how much you can include in the frame. Below an example where I have shot with both the 50 mm and the 24 mm.
Wrap up
Ok, I hope the above gave you some idea about what the 24 mm lens from Nikon can do. I have not talked about distortion because these can be fixed in post, so why worry? The sharpness is great in my humble opinion, but I have only the pictures to judge from – no studies of brick walls under microscope. I think others have done that, and concluded this is a sharp lens!
So in conclusion, if you need a 24 mm in your lineup and f/2.8 does not scare you off, then the value for money you get with this little lens, makes it very easy for me to recommend this lens with the aforementioned caveats.
-
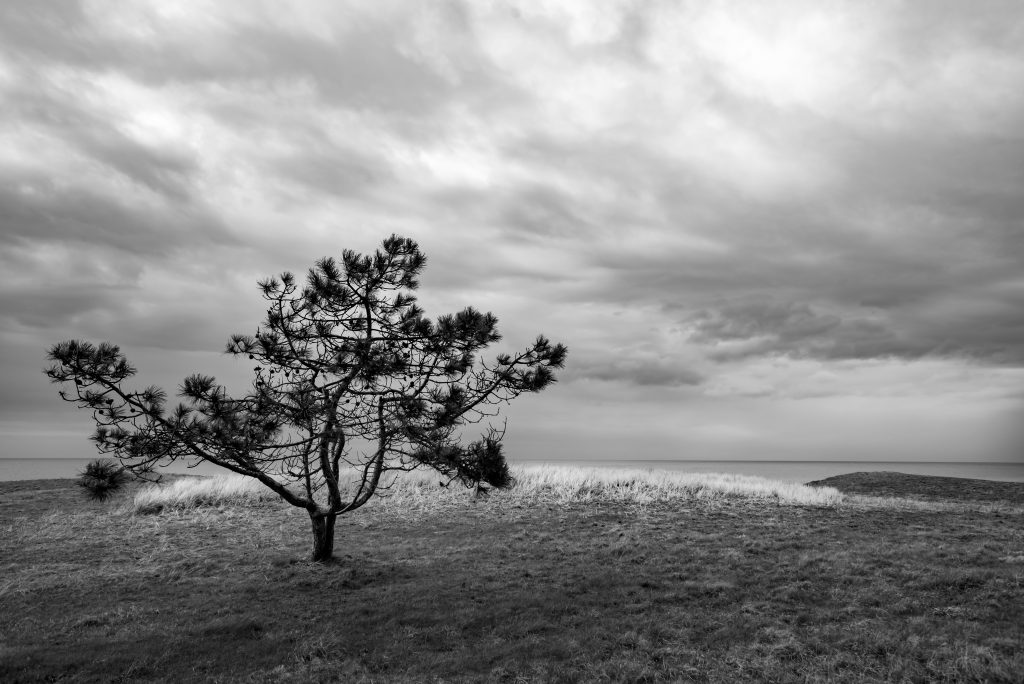
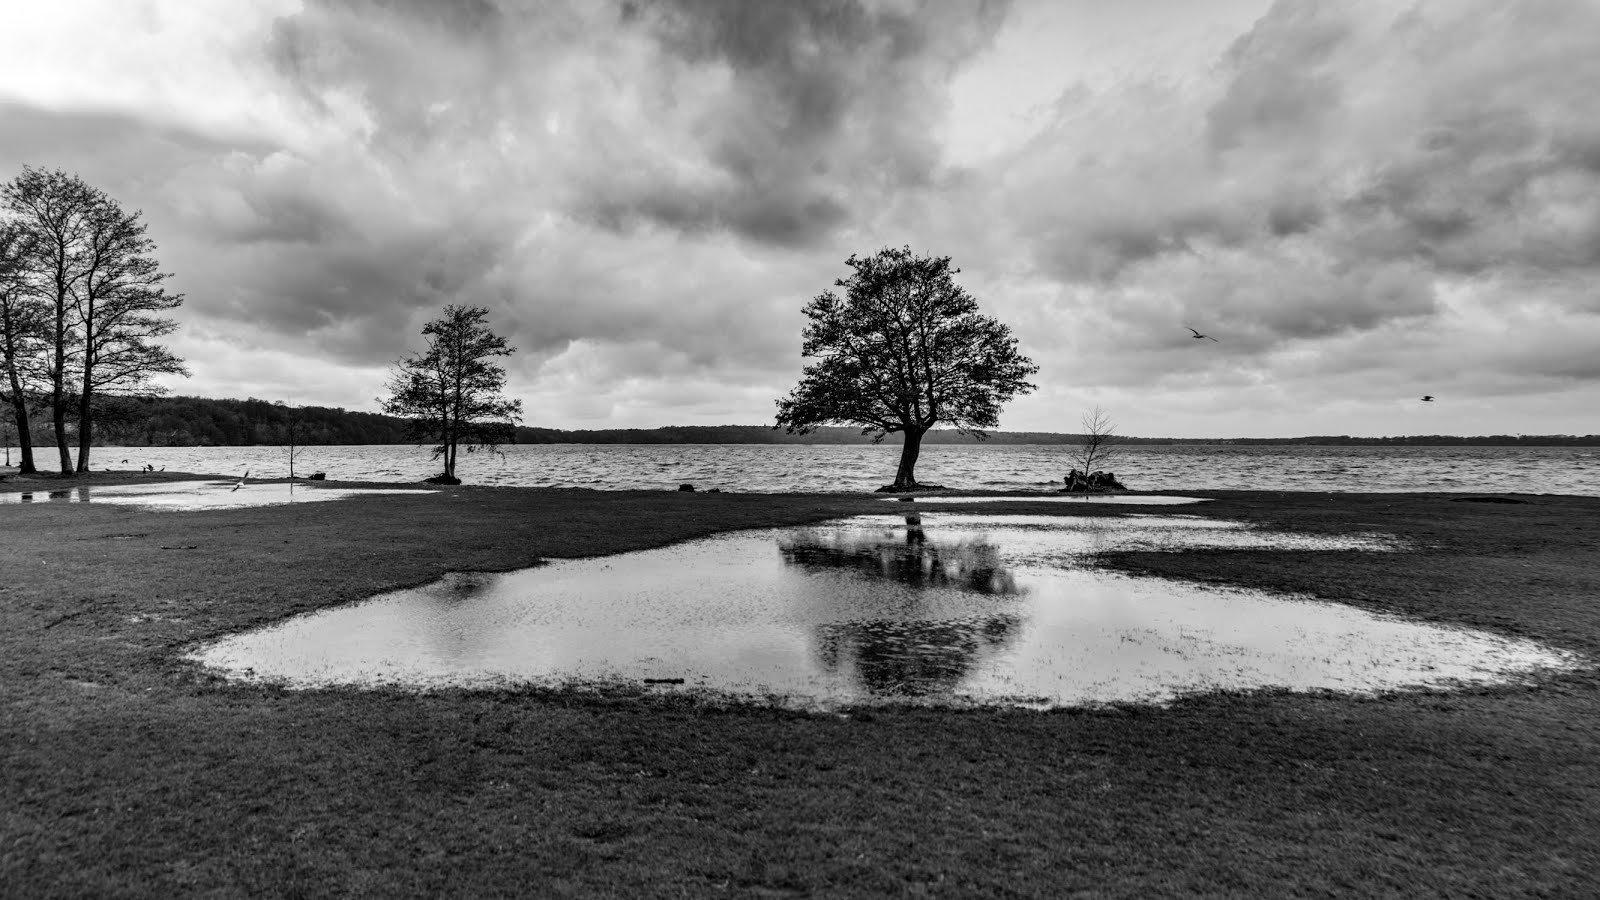
Nikkor 24mm, Nikon D750
-

Nikkor 24mm, Nikon D750 - Video link
Related reading
Nikon AF-S 16-35mm ED 1:4G lens review
Nikon AF-S 70-200mm F2.8 G VR II lens review
Nikon AF-S 50mm 1.8 G lens review


