Frederik is a photographer, blogger and youtuber living in Denmark in the Copenhagen region. Outdoor photography is the preference, but Frederik can also be found doing architecture, product shoots and stills.
A short post about what exposure compensation is and how you use it.
When your camera calculates the correct exposure in the automated or semi-automated exposure modes, the camera sets the shutter speed and aperture to achieve a technically correct exposed picture.
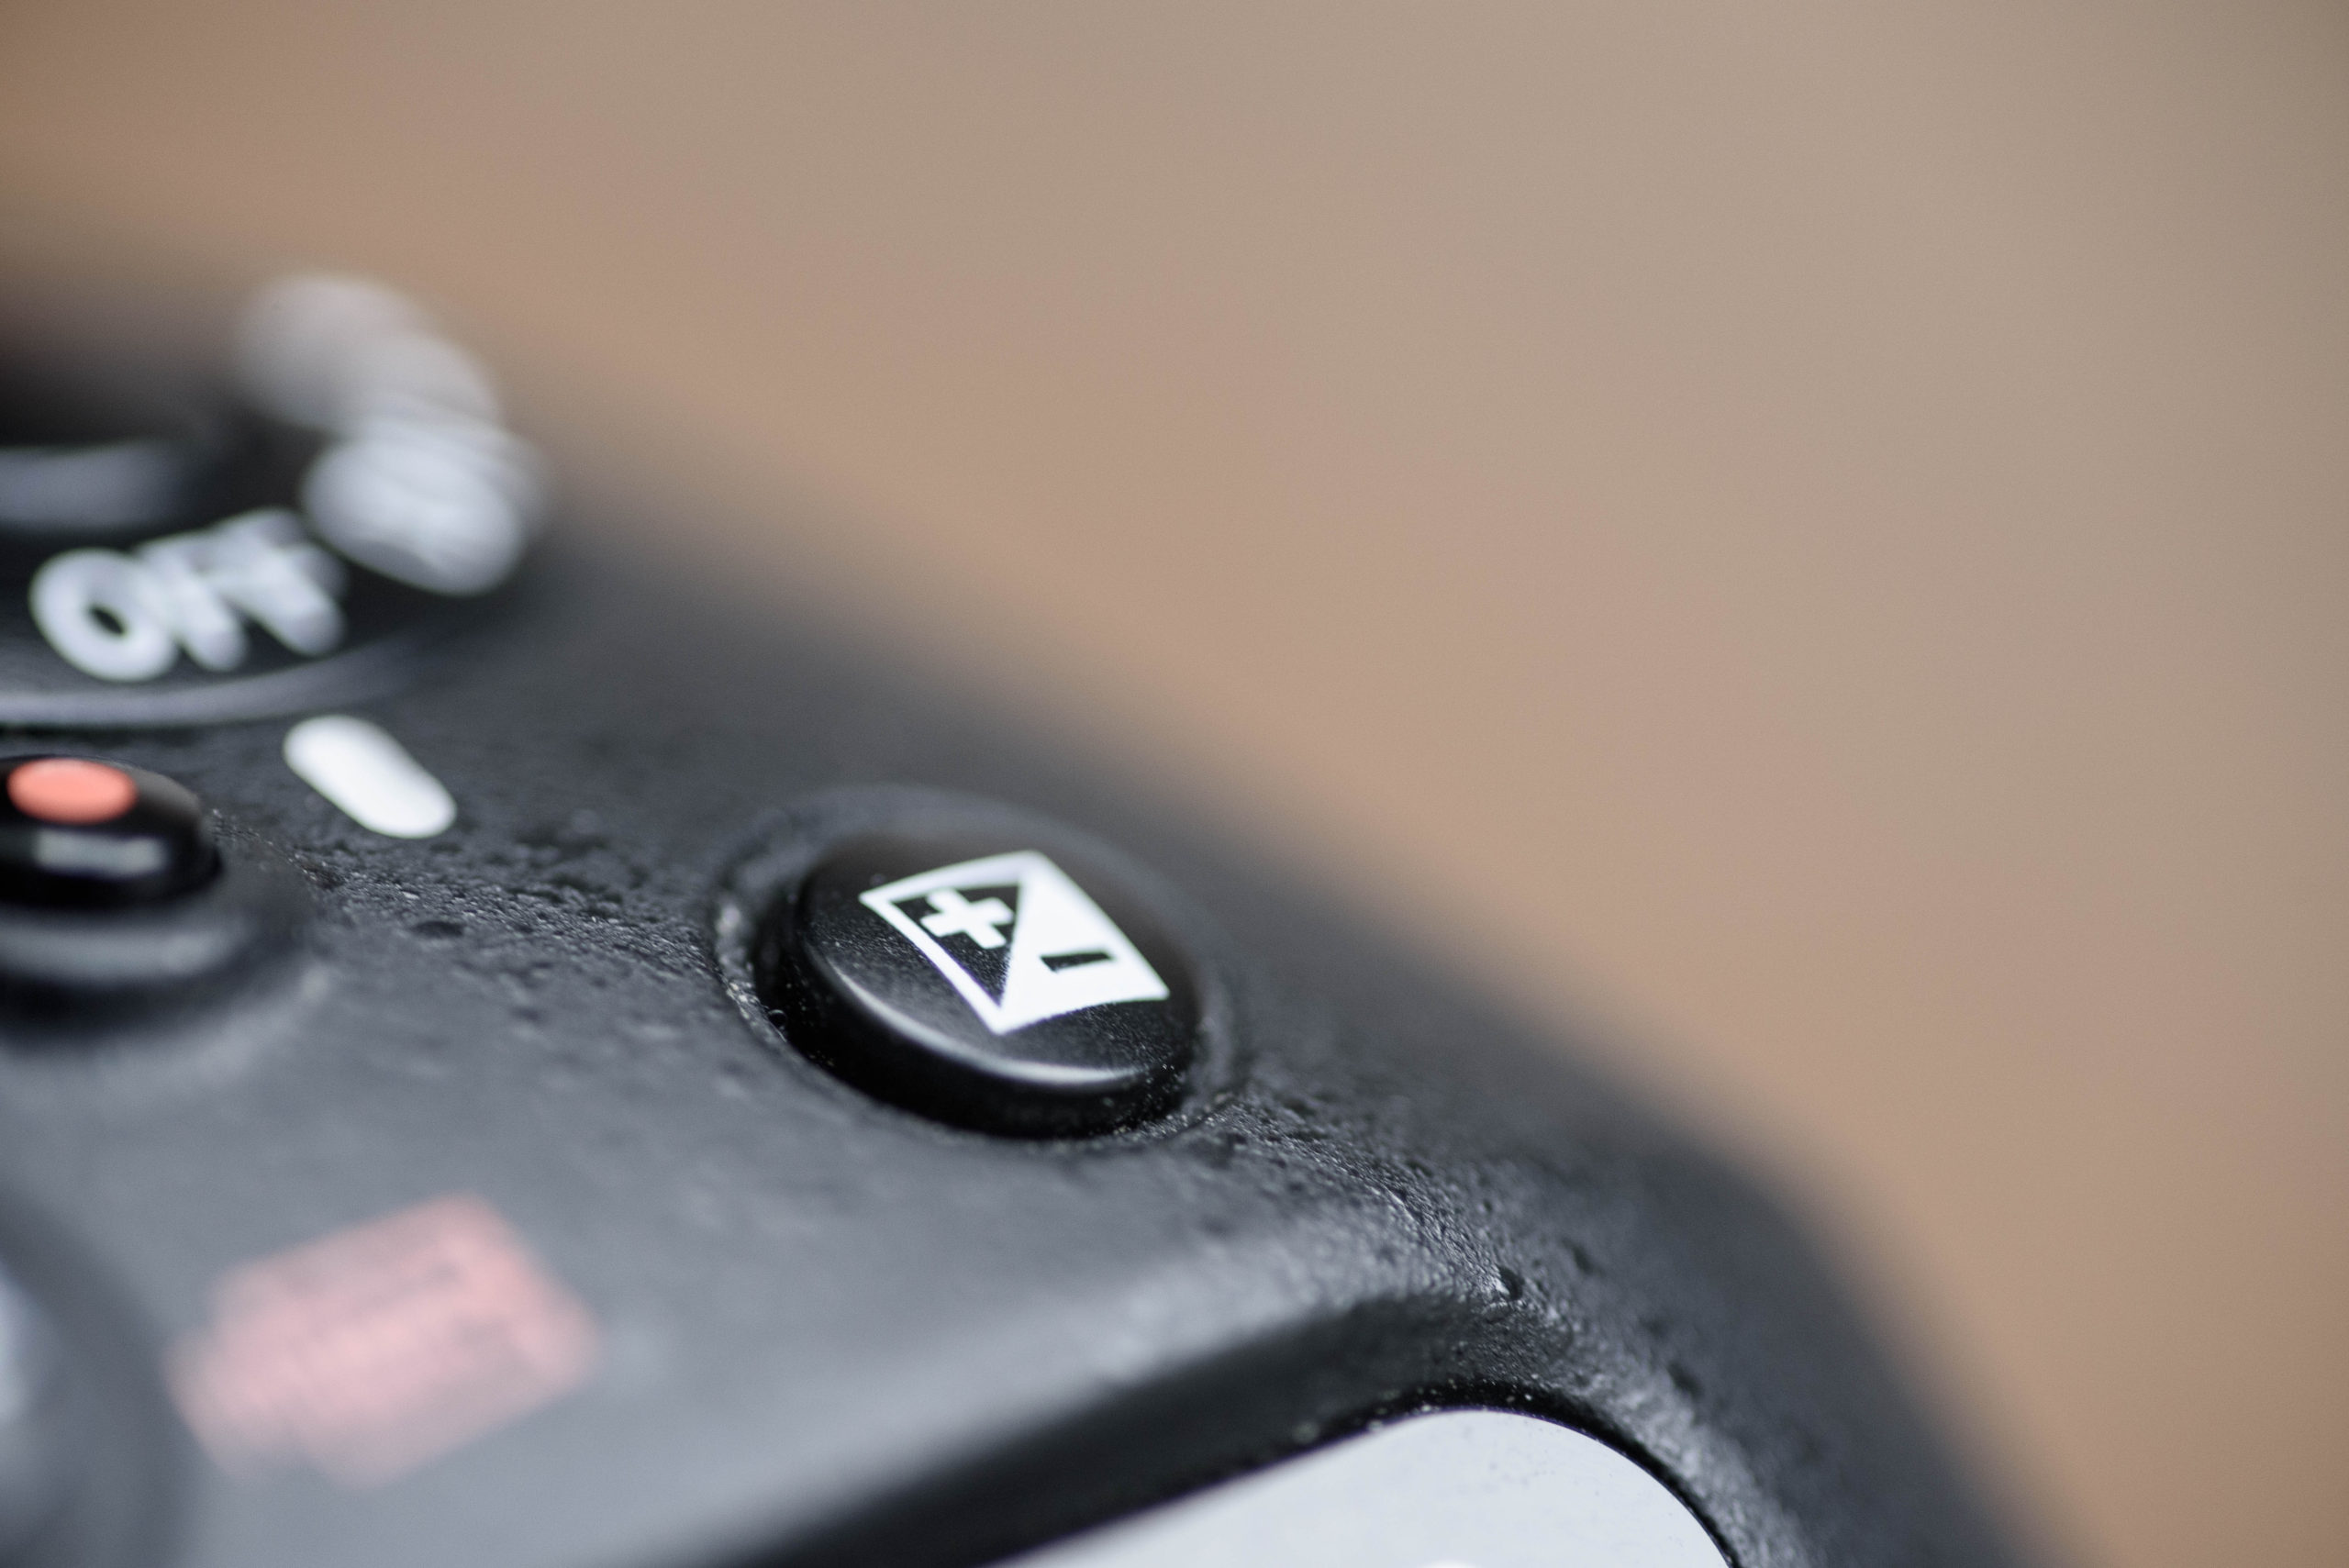
Exposure compensation is simply that you ask the camera – on top of the calculated exposure – to deviate from that exposure as per the exposure compensation settings. So if you dial in a exposure compensation of say -1 stop, then the resulting image will be slightly under exposed.
Dials
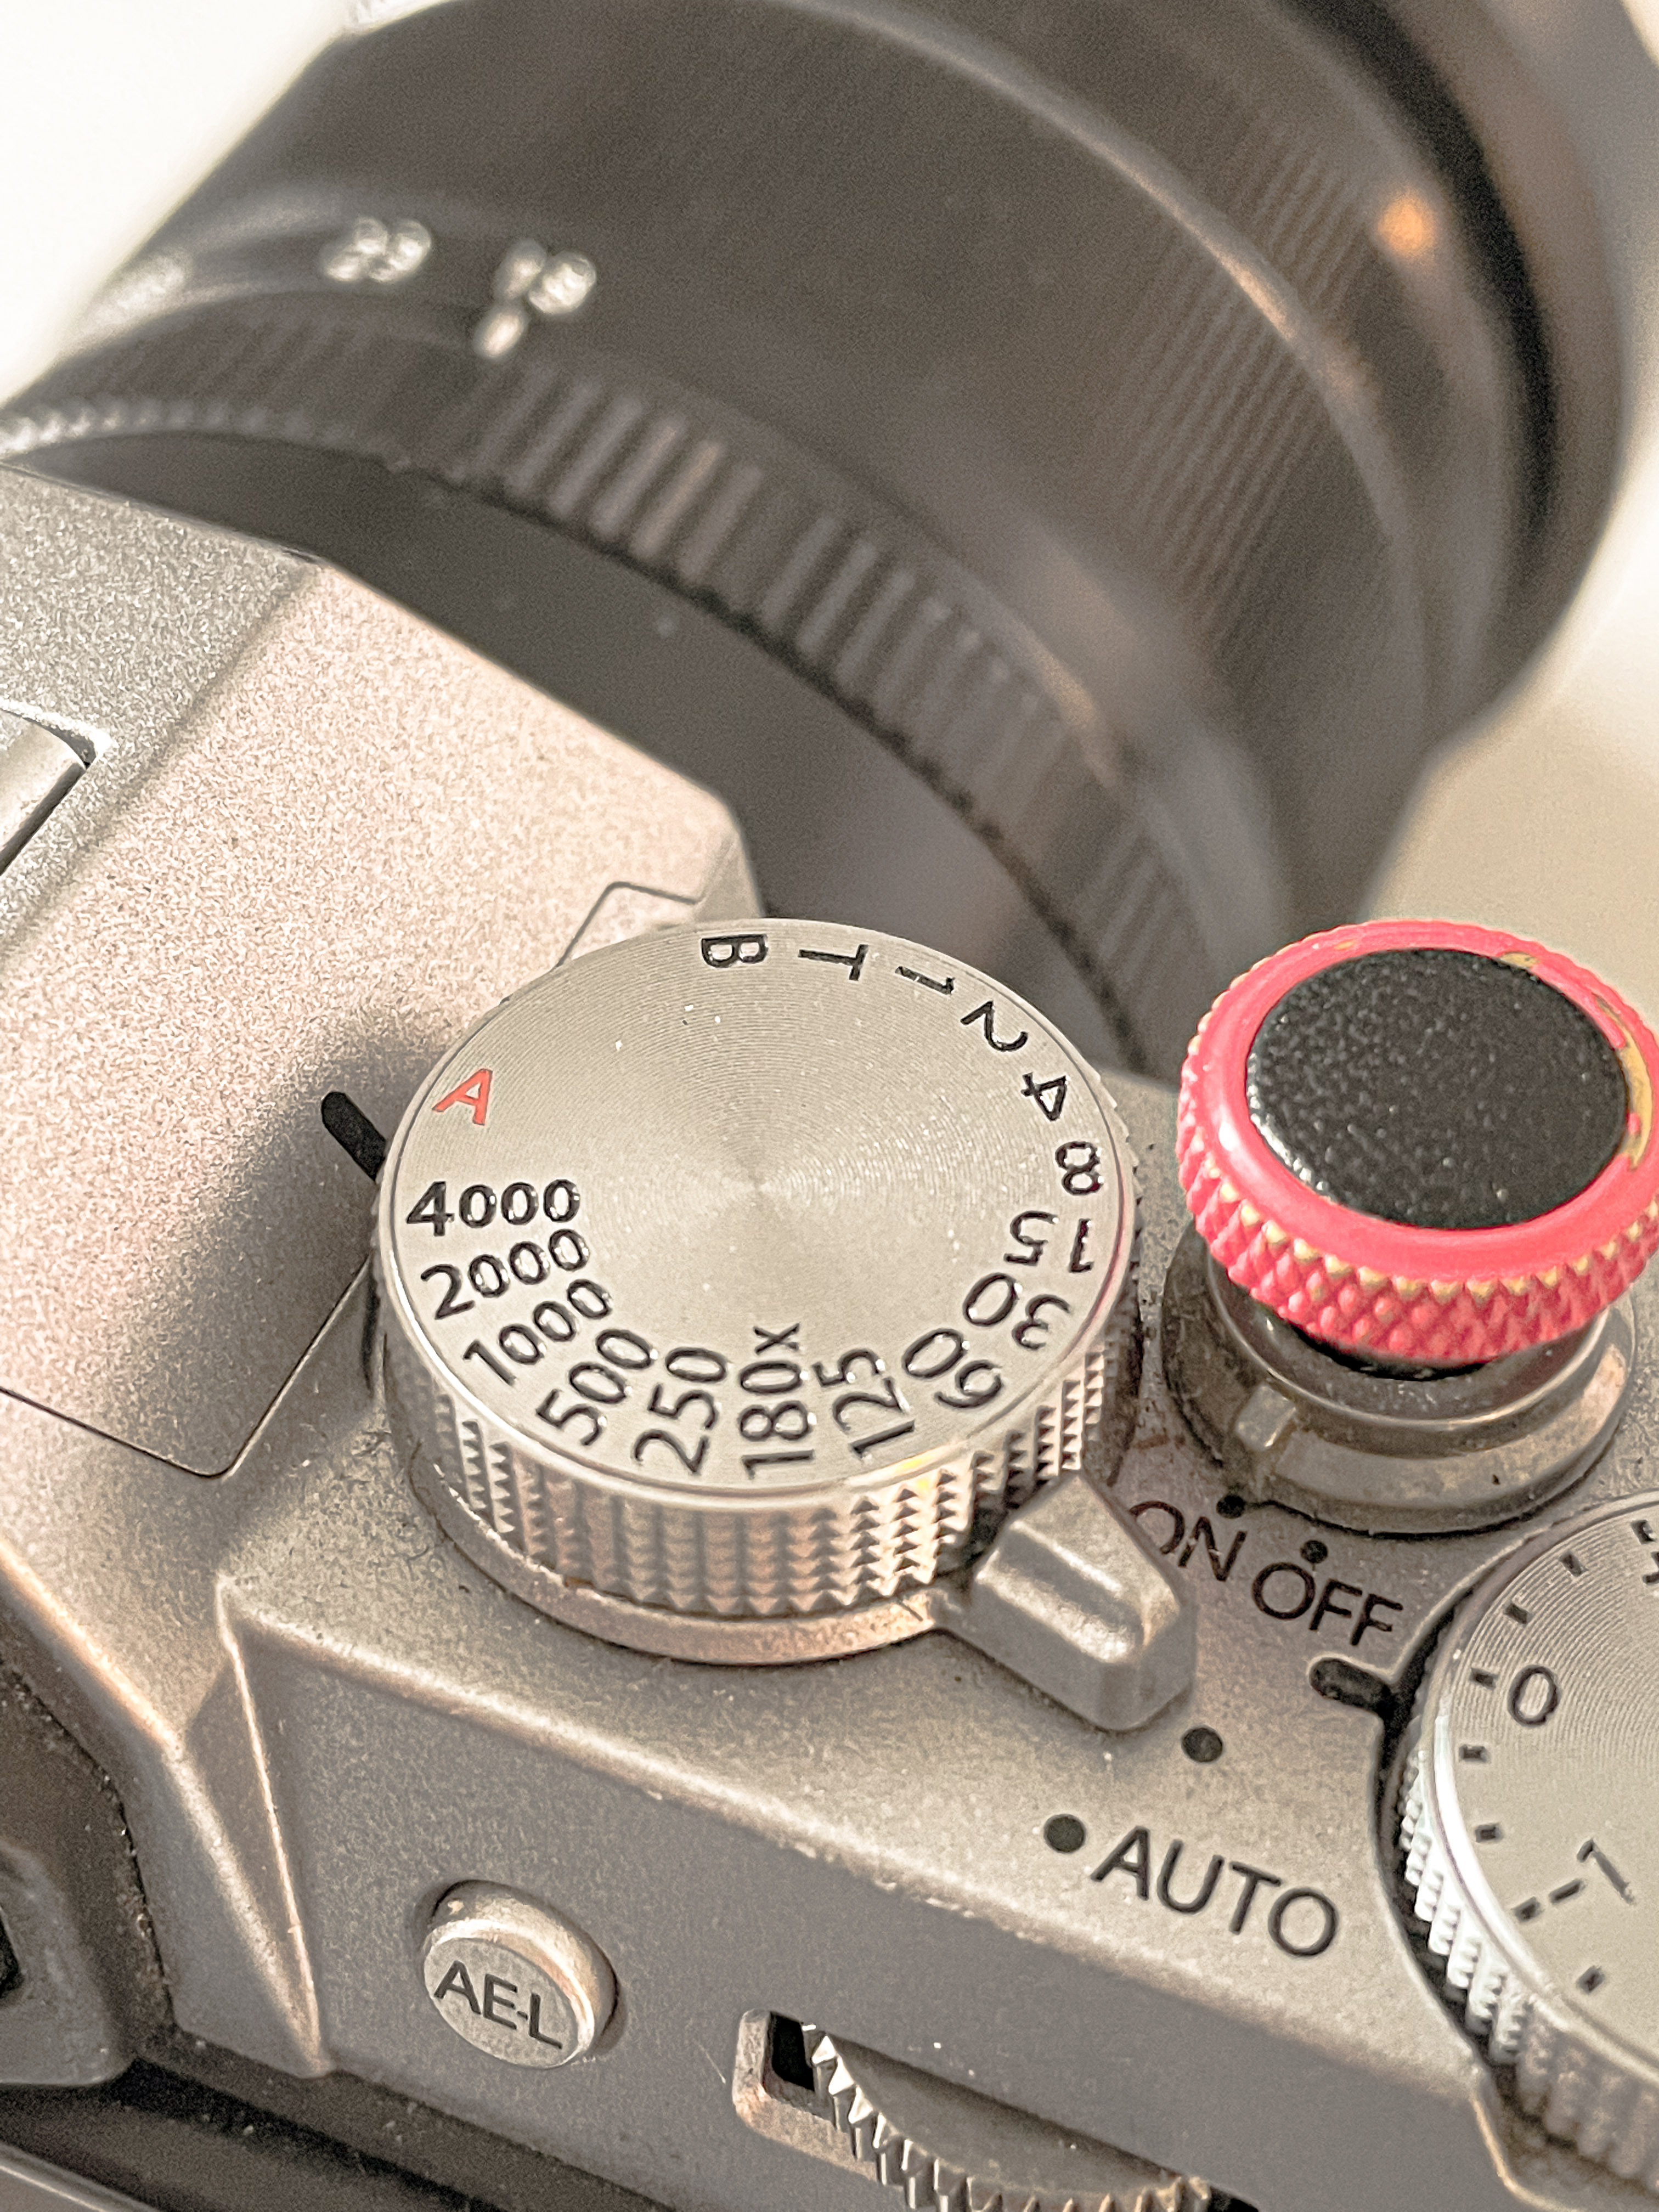
The image above shows the Fuji X-T20 exposure compensation dial where you simply turn the dial to the desired compensation. A more traditional implementation is a little push button on top of the camera with a +/- sign. When you hold down this button and at the same time turn the command dial, you can set the exposure compensation value. The top LCD will typically show you the values while you push the +/- button.
Use
You can use this a as a creative tool, where you systematically over or underexpose your images (low key and high key) to achieve a creative effect. Or you can use this to compensate for the automated exposure when you know your camera will get it wrong – for example shooting portraits in the snow, where your camera will have a tendency to under expose in attempt factor in all the white in the frame.
If you shoot in RAW format, then a lot of tweaking to the exposure can be done in post processing as the RAW format give a lot of headroom for adjusting the exposure. However, many prefer to get the exposure right “in camera” to simplify their workflow and save time.
A histogram is an illustration of how light is distributed across the tonal ranges in your frame. You have black to the left, white to the right, and shadows and highlights in between.
What is it for?
Let me first say that photographers have for many years taken excellent photos without any histograms. So you can do well without them. Some absolutely love them and others shy away from them. It is all up to personal preference.
As the histogram shows you how light is distributed across the tonal ranges, it gives you good insight to the exposure of your image: where is the “weight” put in the tonal range?
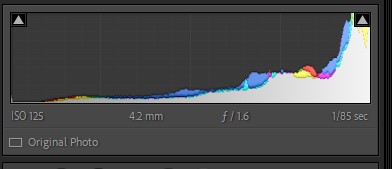
If it it under exposed, then the graph is heavy to the left (lefty as some say).
Is it over exposed, then the graph peaks to the right.
If you loose details in the dark areas, then the graph touches the left hand side. If you clip the highlights, then the graph touches the right hand side. If it touches both sides, then you have a high contrast scene and exposure bracketing may be a way forward.
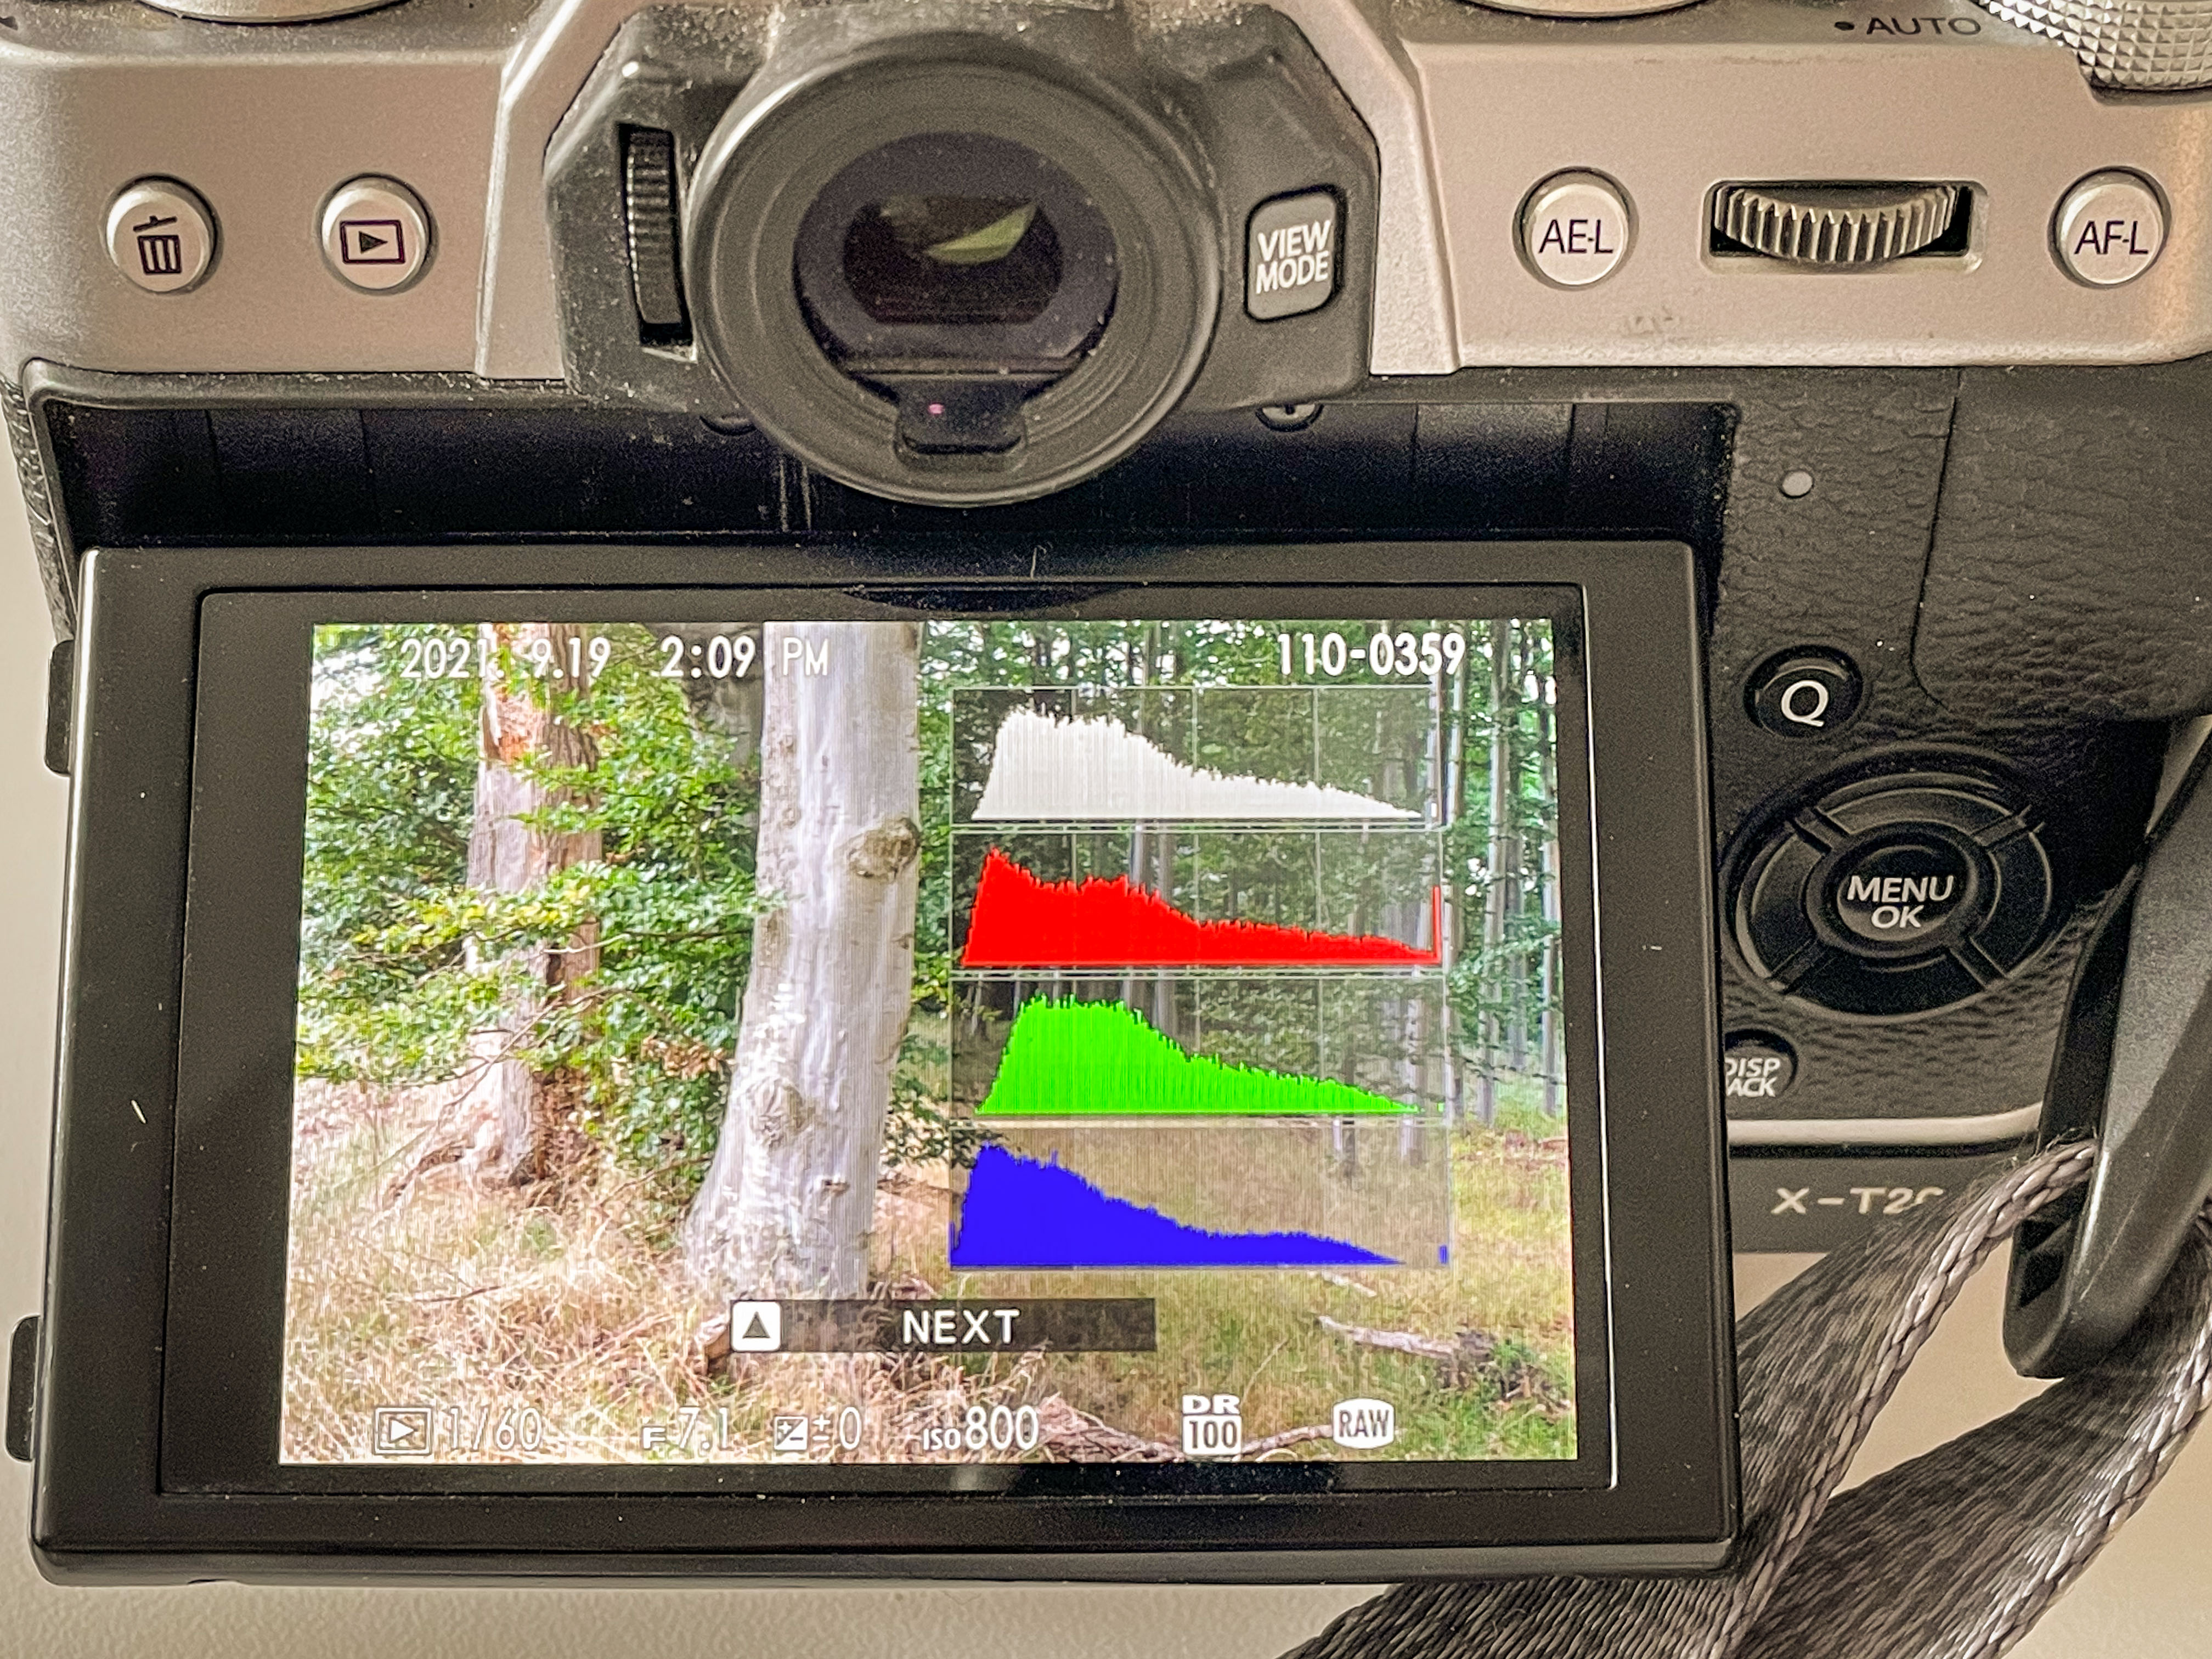
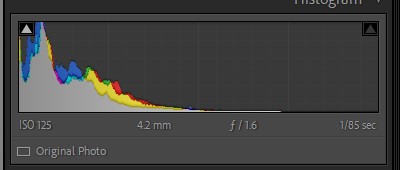
Some histograms show only the red, green and blue color channels in one combined graph whereas others split them up. In the image above, you can see that my Fuji X-T20 show both the color channels and the combined result (grey – on top).
Some make rules based on the histogram, like: your histogram should be evenly distributed and center weighted! Others run away when they hear such rules – the option to use over- and underexposure as a creative tool should not be hampered by rules that restrict your creativity.
Either which way you look at it, the histogram gives information about your exposure and if and how you choose to use it is up to personal preference.
Where is it?
If you are so lucky to have a mirrorless camera, it is very likely that the electronic viewfinder (EVF) can show the histogram as and integral part what you otherwise would see in the viewfinder. And it will even update the histogram as the light in the scene changes. This is very convincing.
A DSLR does not have this option in the optical viewfinder, but if you shoot in live view mode then it may be able to present a histogram in the rear LCD just like the mirrorless does in the EVF.
These options are all before you hit the shutter. Post shooting, you can review images in the rear LCD and here most modern cameras can show the image with a histogram. Just as the picture in the start of this post shows.
In post processing software like Lightroom, you also can see the histogram, and as you pull the exposure slider there, you will be able to see the changes the editing does to the histogram.
An ND-filter or a neutral density filter is like a pair of sunglasses that you put in front of your lens. The purpose it to reduce the amount of light that hits the sensor, just like you want to protect your eyes from the strong light on a sunny day.
The point with an ND filter is to allow you to keep the shutter open for longer time without clipping the highlights in your picture or in other words simply avoid that you over expos your picture.
Why would you then want to keep the shutter open for a long time? Take a look at the picture below. It is taken over several seconds. The stones of course do not move, while the waves of the sea are reduced to pure silk. Moving parts become blurred, stationary items stay sharp. That is one effect you can get with an ND filter. You can also shoot waterfalls, harbors, etc. with this technique and get similar results.
Another application is simply that there is so much light that even when you shoot at the fastest shutter speed your camera offers and base ISO, you still get too much light. Then an ND filter – like sunglasses – comes in handy to reduce the amount of light.
You can also use the long shutter opening to move the camera instead, and this is what is done in intentional camera movement where you move the camera to create a blurry effect.
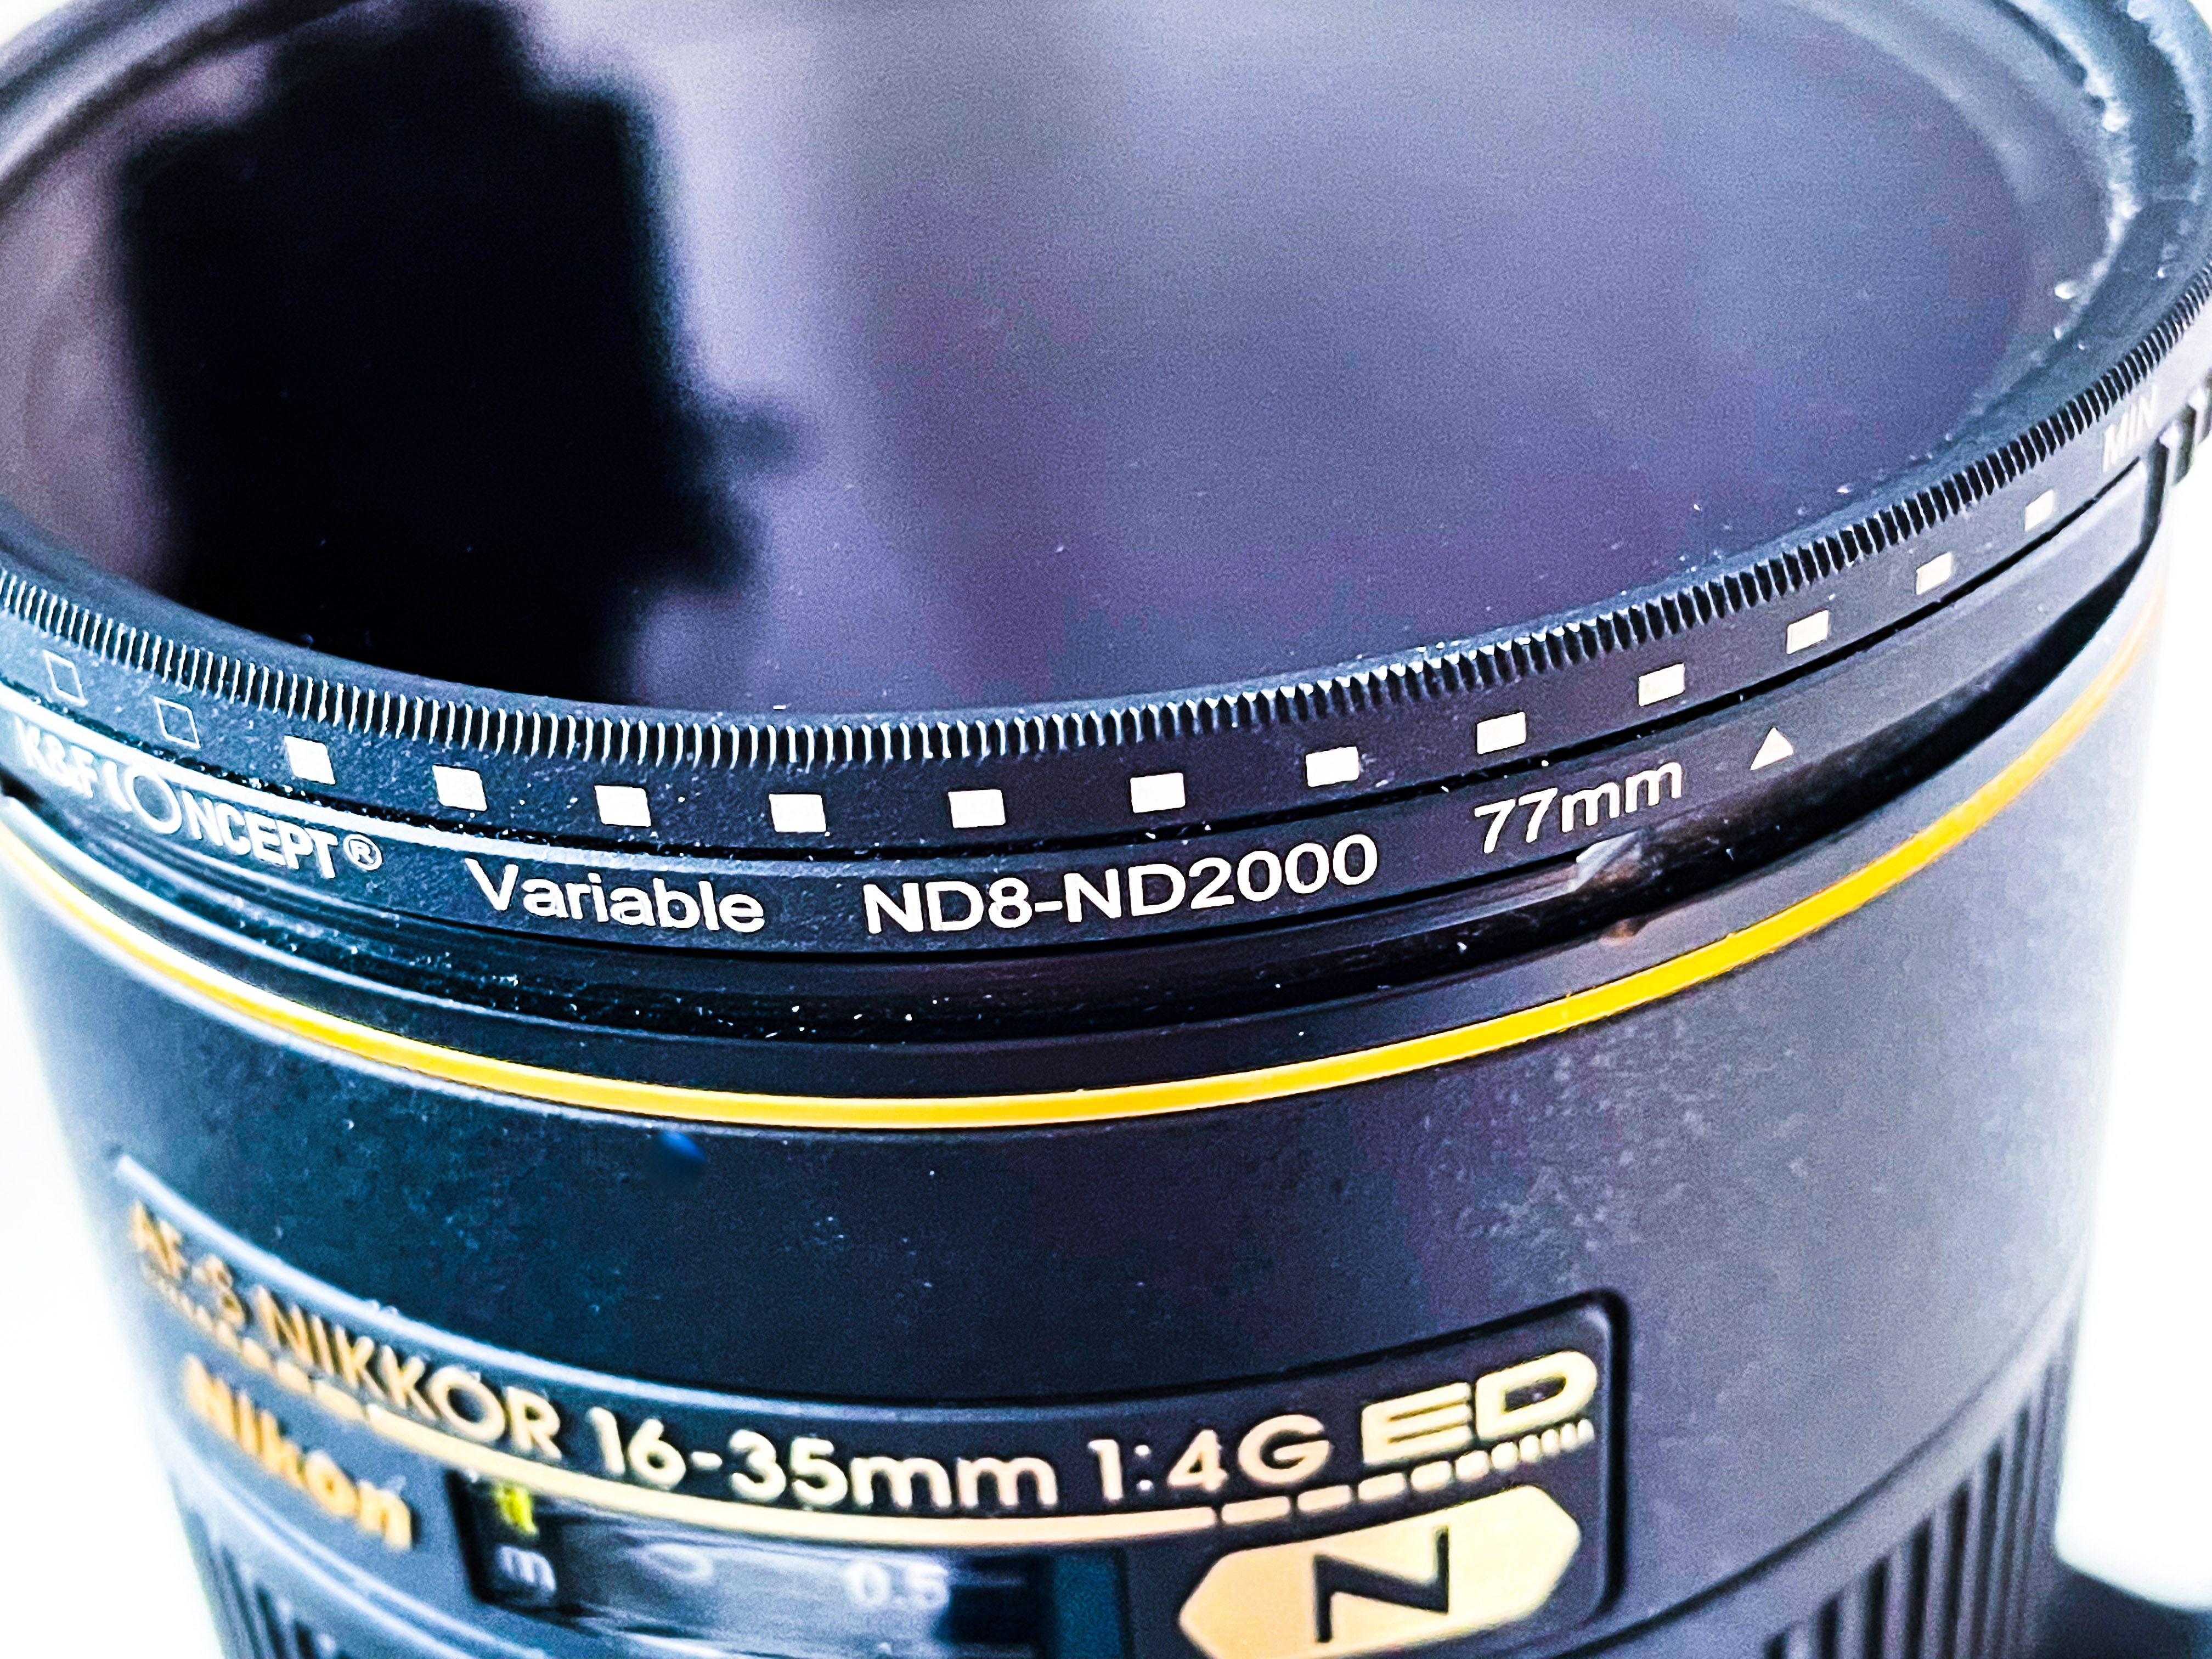
ND filters come in variable and fixed ones. I prefer the variable, because I can then turn the ring to reduced effect (ND8), so I can actually see what I am shooting and then once focused, return the ND filter strength to full throttle (ND2000) and get the most out of the filter. If you have a filter with a fixed value, you typically find you have to take it off the lens in order to focus, and the re-mount to take the picture. The variable filter saves you a bit of work.
The light reduction your ND filter yields is typically measured in ND values – if you look at the picture of my ND filter above, you can see it ranges from ND8 to ND2000. That is a reduction of 3 stops to 11 stops. That is a lot! You may be able to get by with less than that.
ND filters are not cheap, and you want to get a good one. The “neutral” in ND is to be taken very literally – you don’t want the ND filter to change the color or toning of the light. It should really stay neutral. Cheap filters unfortunately often has this un-wanted side effect. Make sure you get a filter with good reviews – it is quite expensive, yes, but you will not enjoy a filter that alters the colors. Believe me – been there, seen it, done that. Not to be repeated.
I think of the shutter as a curtain in the theater that comes up, exposes the show for a little while and drops again. For how long the curtain is up defines the speed of the shutter.
Others use the eyes and the eye lid as an analogy to the shutter speed: closed eyes, open them – take in the view – and close again. The duration of your eyes open is the shutter speed.
The longer the shutter speed the more light will hit the sensor. A fast shutter speed is great if you want to avoid camera shake (you move the camera while the shutter is open) or motion blur (the subject moves while the shutter is open).
Shutter speed is expressed in fractions of a second, so a shutter speed of 250 is 1/250th of a second. The fastest of cameras can go to 1/4000th or 1/8000th of a second. That is fast! On the other end of the scale you can have the shutter open for several seconds, even minutes, when photographing in extreme low light like astrophotography.
Back in the day all shutters were mechanical, and if it was not for the mirror flickering in your DSLR, you probably could hear some mechanics working in there. There actually is a little black curtain moving when you hit the shutter. Most modern cameras can both work with the mechanical shutter and the electronic shutter – the electronic shutter being the new kid on the block. The electronic shutter works by switching the sensor on and off. This happens super fast of course! It simply switches on the sensor and allow light to hit it, and then off again to allow the camera to read the sensor values.
Thank you for reading this far! Comments and questions more than welcome!
Outlining the various exposure metering modes that a modern camera offers.
Exposure is vital
Unless you have a very old vintage camera, it is most likely that a light meter is built into your camera!
The light meter measures the amount of ambient light available and based on this, the camera can choose camera settings (aperture, Shutter speed and ISO) to get a correct exposed picture. (PS: Take the wording “correct exposed” with a grain of sand, as exposure can be used as a creative tool and hence “correct exposure” is more the technical correct exposure.)
The meter in your camera can read the light in different ways and give priority to different aspects to help you get the exposure you want. Mind you that the camera has no idea what it is you are shooting, so any help you can give it will help bring the exposure closer to what you are after. The exposure modes are just different ways of reading the light.
There are variations in how the different camera manufacturers name their exposure modes, but the principles are roughly the same. Here I use the names from Nikon, but when you read the manual for your specific camera, I am sure you can recognize the different modes.
Spot metering
Spot metering measures the light only in the focus point or in area just around it. It ignores the amount of light in the rest of the frame. This pin prick way of measuring the light makes it possible to have blown out areas or loosing details in the shades with no problem – the camera only meters the focus point. This is useful if you want to make sure than the eye of a person is correctly exposed in a scene where there is lots of either bright or dark areas or both.
Center-weighted
Center weighted metering takes the entire scene into account, but gives more priority to the center of the frame. This is a classic metering mode for portraits, as it helps get the person exposed well, with less weight to the outer parts of the frame. This of course provided you put your subject in the center of the frame! You can via the menu system control how much emphasis the camera is to put on the center part relative to the rest of the frame.
Highlight-weighted
Highlight weighted takes the brightest area of the frame and makes sure it does not get blown out, but on the other hand ignores that details are potentially lost in the shadows. In other words, if there are very bright areas in your frame, this mode will deliberately under expose your picture to secure the highlights are preserved. Very useful if you are shooting with the sun or some spotlights in the frame and want to preserve all the details in the bright areas.
Evaluative / Matrix metering
The matrix or evaluative metering takes the entire frame into consideration when metering the light. It is the most automated of the metering modes, as it gives a good balance between bright and dark areas. However, as it is a highly automated mode, the camera will try to find the “middle of the road” and make compromises to make the best of the scene without knowing what you shoot.
What should you choose?
If you don’t know what to choose, the evaluative / matrix metering is the option to go for. It gives you a good compromise and many photographers never leave this metering mode. And if you shoot RAW, there are lots of options for working with the exposure in post to recover details in the dark or details in the bright areas.
I typically shoot in RAW and use the evaluative / matrix metering. If I shoot where the light is very harsh, for example in the middle of a summers day, then I switch to the highlight weighted mode to avoid blown out parts, but I do so knowing that I may loose details in the dark.
All of the above is less relevant if you shoot in the automated mode (i.e. not P, A, S and M). In the fully automated mode (green A on the mode dial) the camera ignores your metering settings and makes its own decisions!
Thank you for reading this far! Questions and comments are more than welcome!
Lens flare is bright areas of light in your image, that you do not find in reality! It is caused by the way light hits the front side of the glass in the lens and is scattered inside the lens.
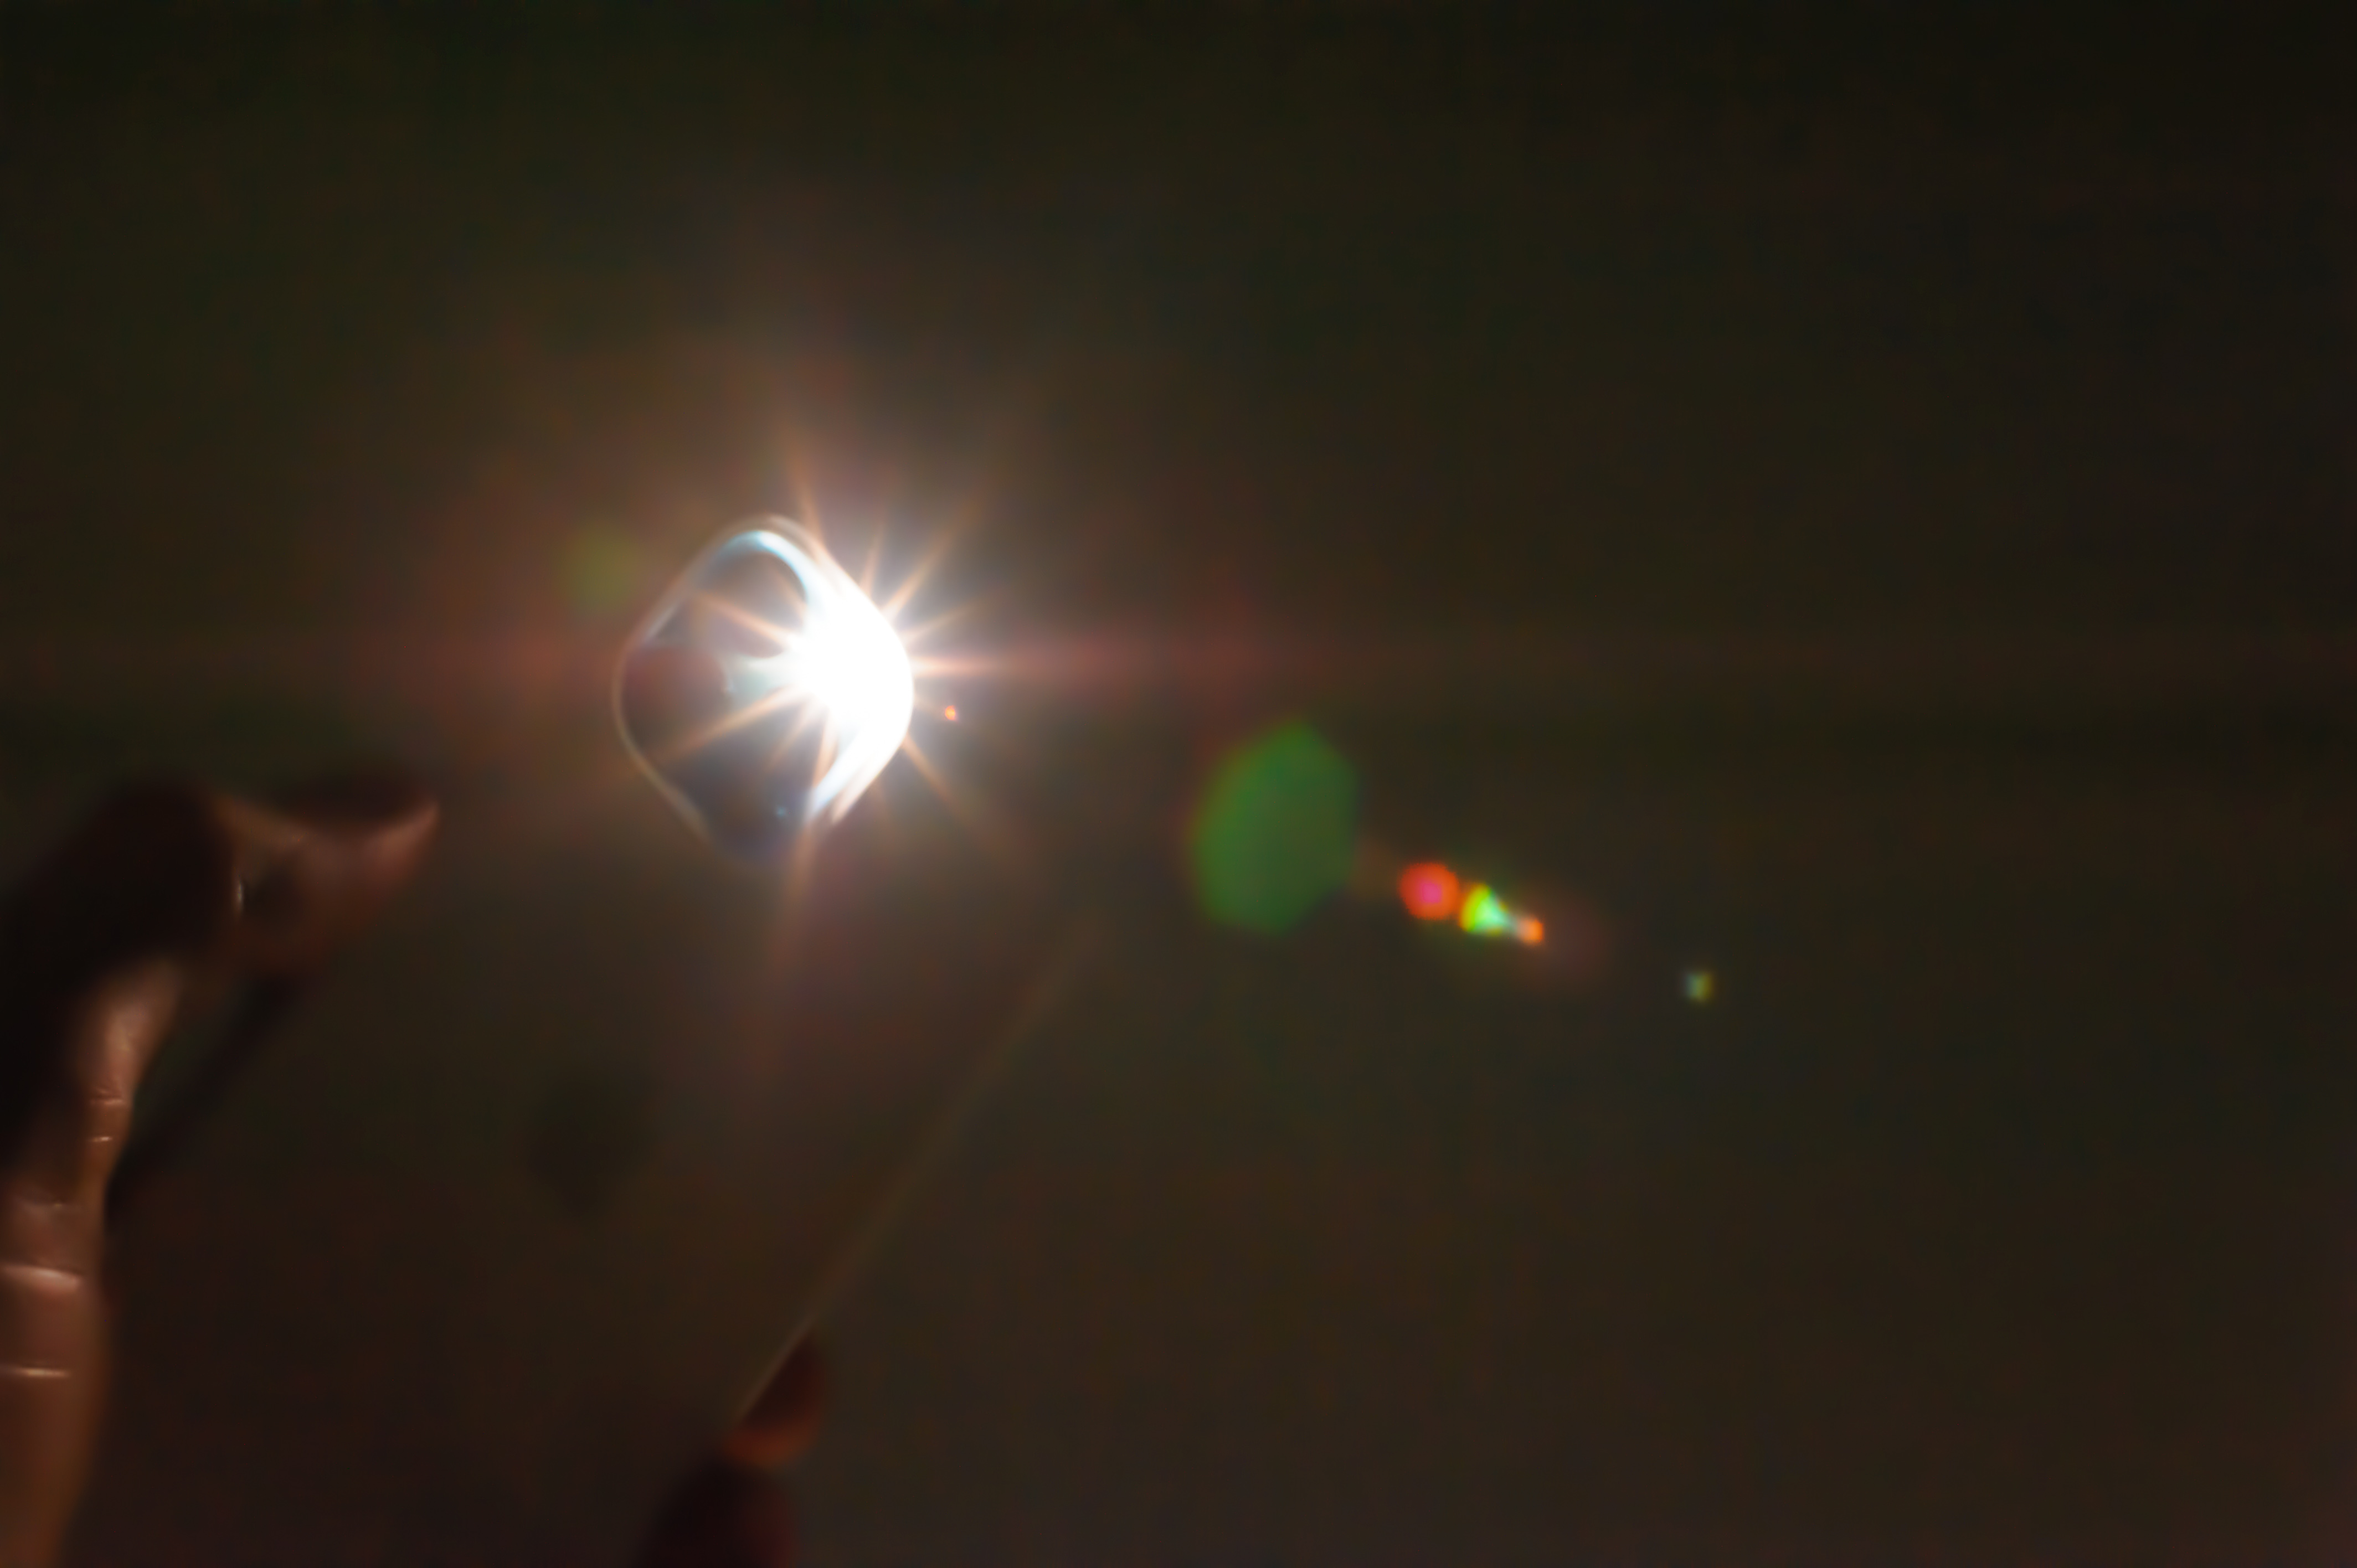
Here below I have taken a shot of me holding my iPhone up in the dark and taking a picture of it. You see leftmost a hectogon shaped green light (the same shape as the aperture blades) followed by several colored bright spots. This is flare. None of these were there when I studied my iPhone with the naked eye:
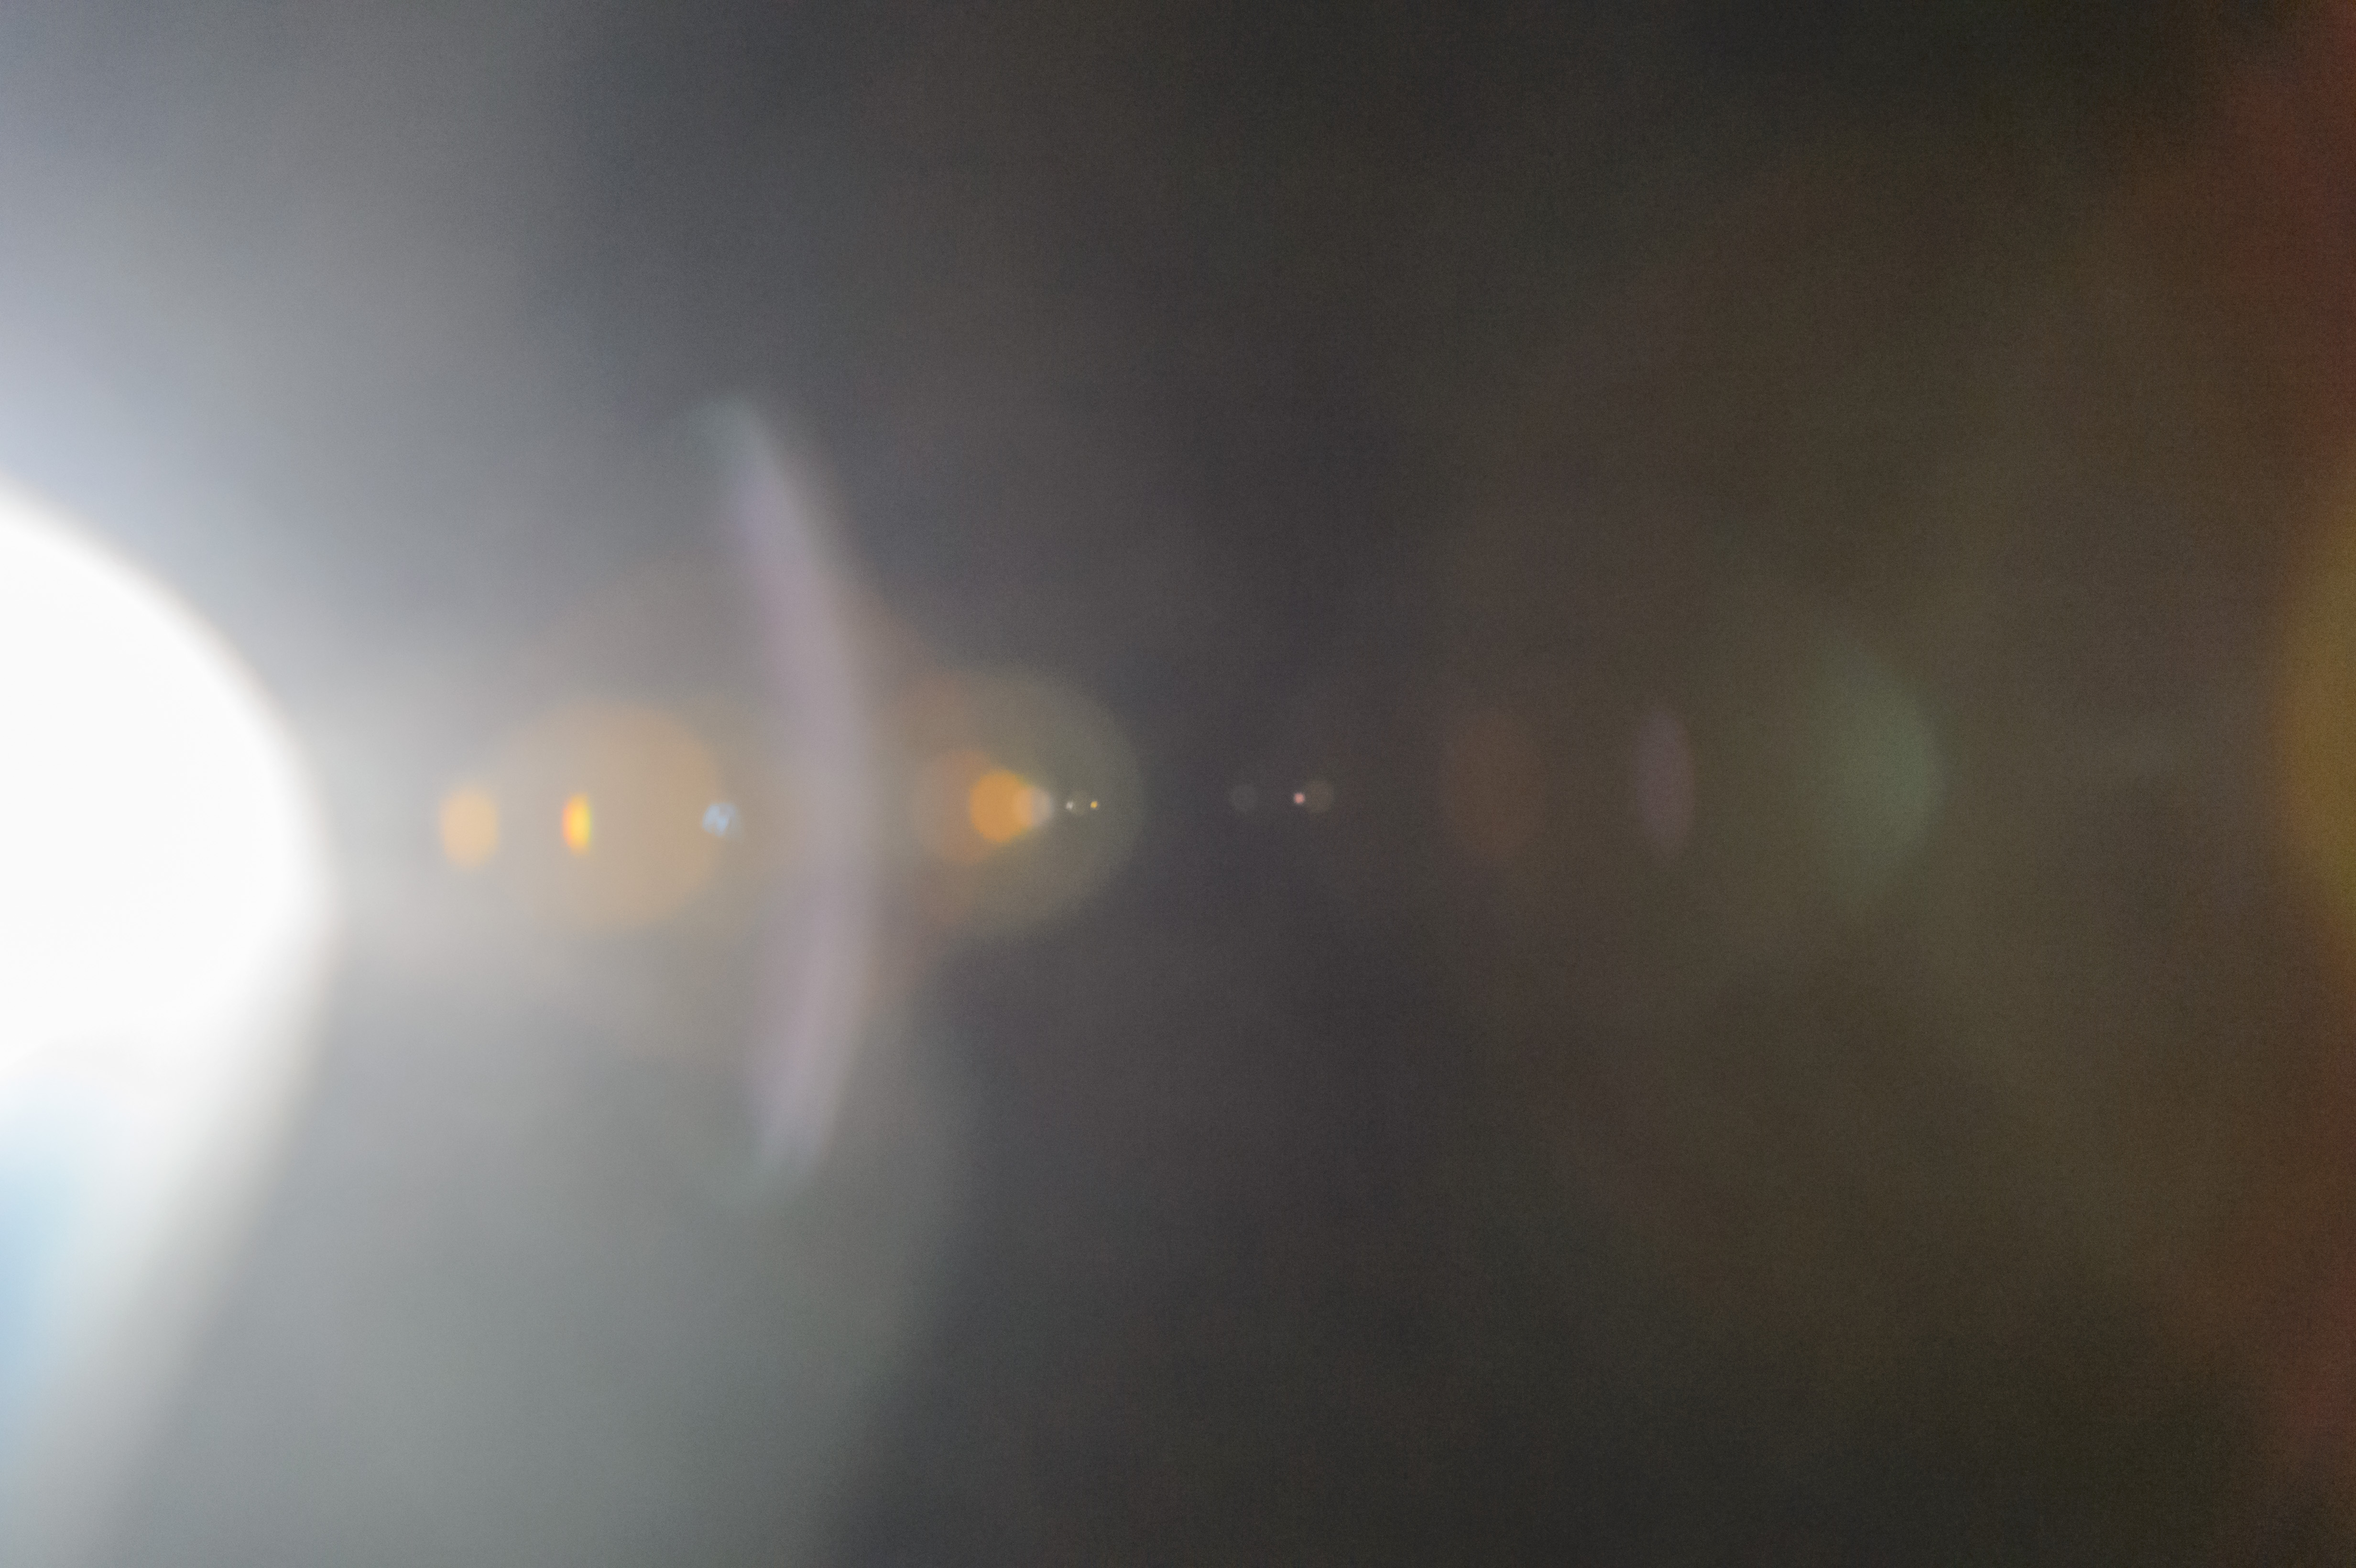
If the light comes into the lens from a very steep angle, then the result can be a milky white area – sometimes covering the entire frame. And the contrast in that area is significantly reduced – things appear to be washed out.
If you want a good test if your lens has flare, go out at night, find a tall lamppost and point your lens towards it. Move the light from the lamppost in and out of the frame to provoke flare. You will probably be able to get some flare effects, especially if you leave the lens hood at home and choose a zoom lens. Zoom lenses have more complicated constructions than primes and tend to produce flare more easily.
Some love flare. In my experience, videographers love flare. When you watch TV or go to the movies, you will quickly spot flare used as a creative tool. It certainly underlines the strength of the sun on a sunny day. Also some photographers love flare, they even add it to the image in post processing!
Others do not love flare so much. If you want realism in your photos, the flare is to be avoided, as it is a thing created by your lens. It sort of gives away that a lens was part of producing the image.
Some lens constructions are better at reducing flare than others. Modern coating of the lens glass greatly reduces flare, but cannot eliminate it fully. Zoom lenses have more complicated constructions and are hence more prone to flare – primes less so. And finally, you can use a lens hood to reduce the flare. I sometimes even hold the hand against the sun to protect my lens from getting the light that produces flare.
In my opinion there is no right and wrong when it comes to flare. It is a creative tool. The problem comes when it is there and you don’t want it or the other way around. But hopefully this article has given you some ideas what to do in these cases.
Thank you for reading this far! Questions and comments are more than welcome!
At 199 USD this is certainly one of the more affordable video lights. I do have to admit that COLBOR sent me this product for review, but they did not put any constraints on me or what I write in this review!
The build quality is not up there with the high end models, but as long as it gets the job done, I have no complaints. The buttons and dials actually feels ok.
Use
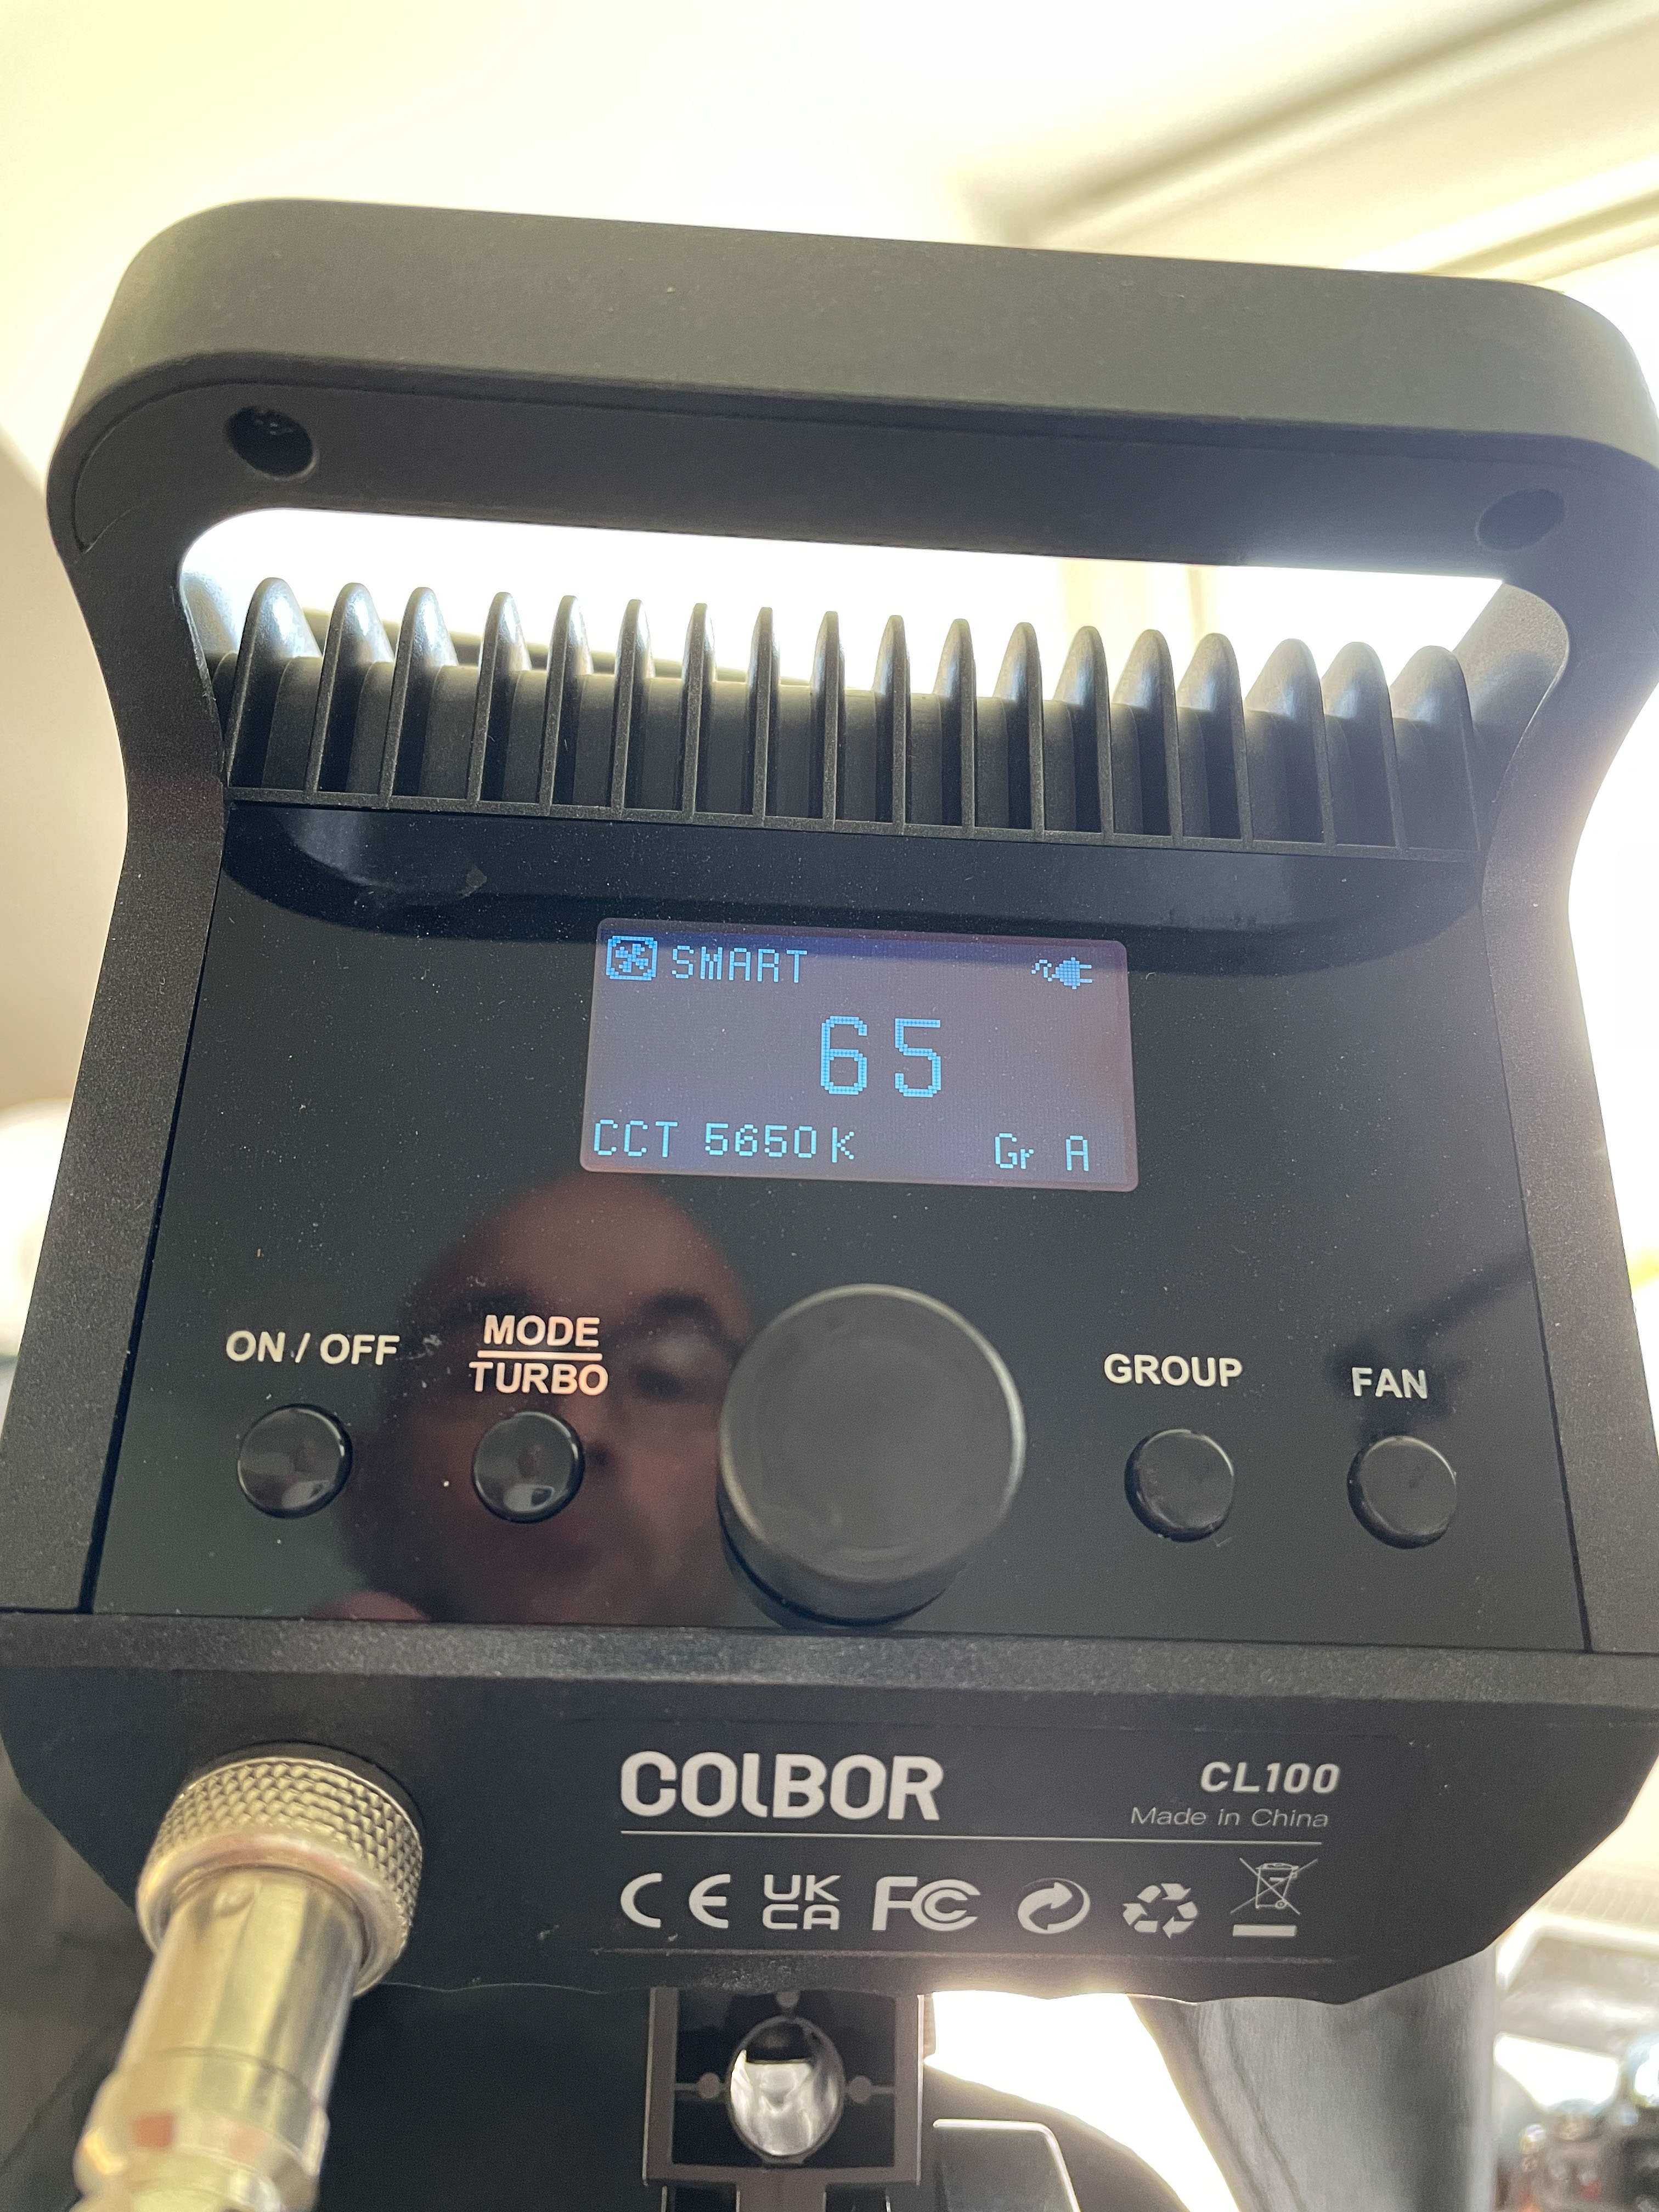
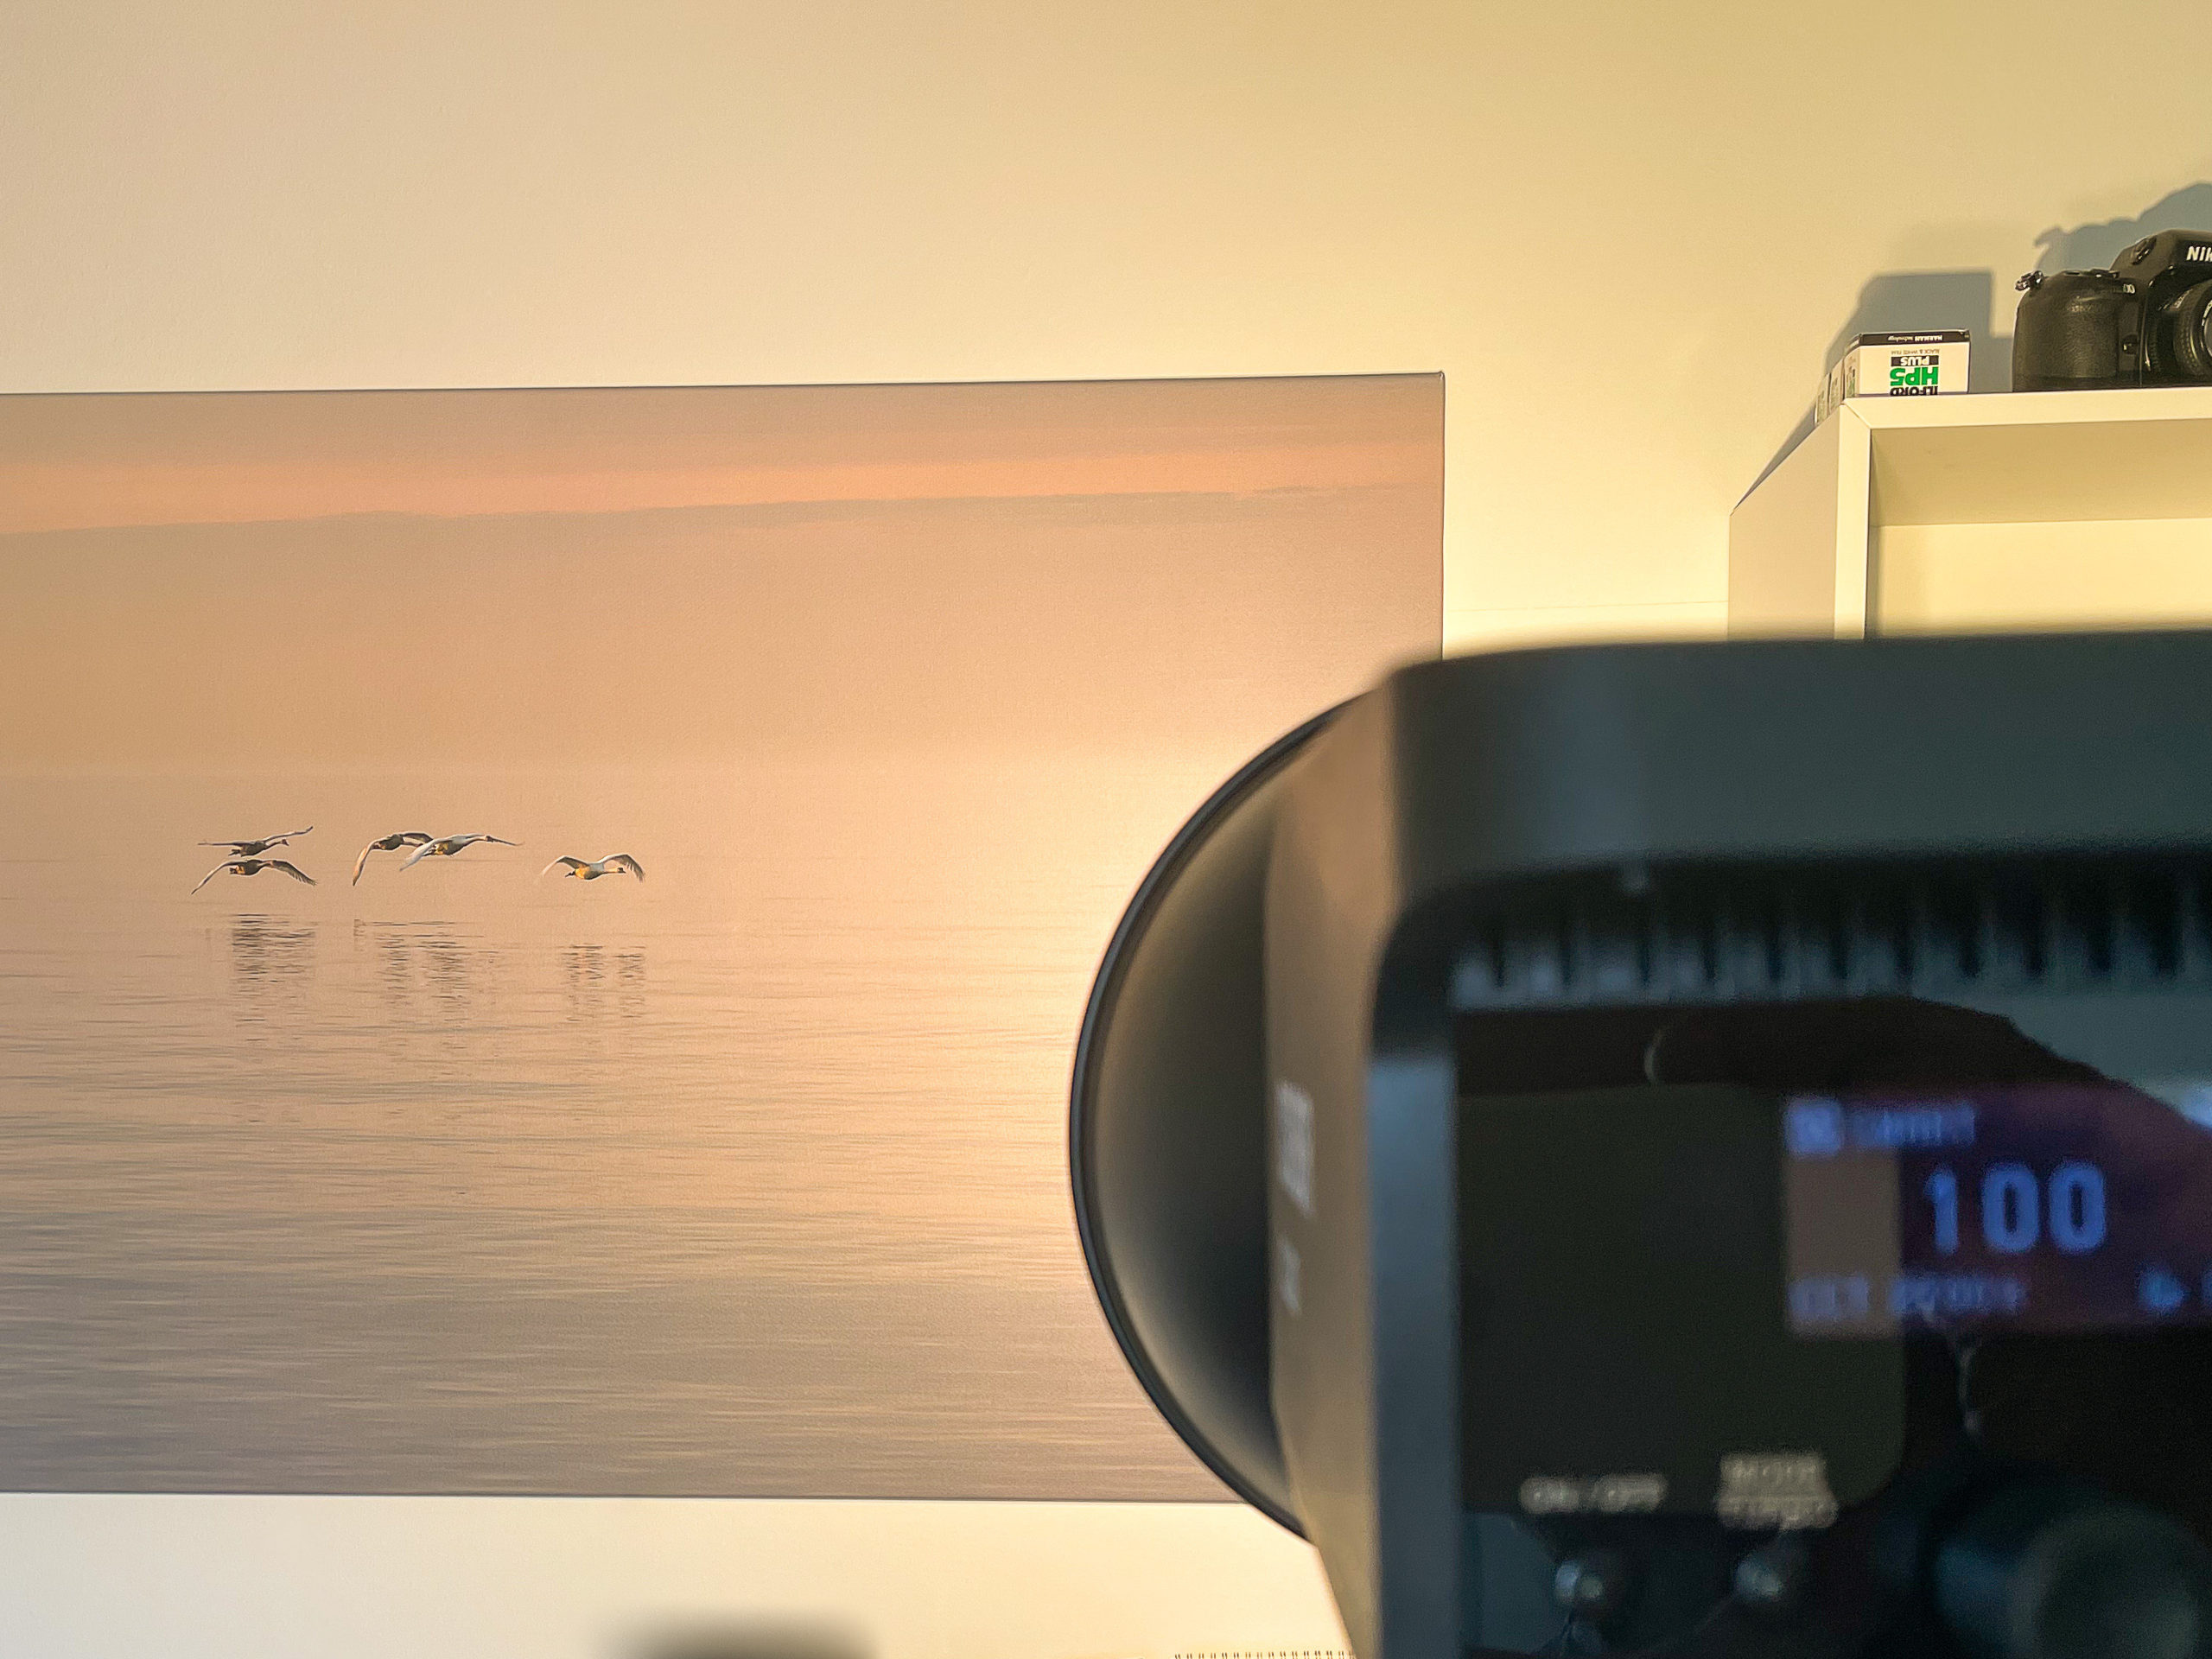
In terms of ease of use a video light is not that complicated – the COLBOR comes with a large centered dial to control the strength of the light – push it inwards once and it now controls the lights Kelvin value (warm vs cold), hit it again and you are back to controlling the strength of the light. The Kelvin steps are 10 and the power % steps are 5. You have a to turn a lot to go from one end of the Kelvin scale to the other, but I seldom do that, so steps of 10 is just fine for me.
In addition to the center dial, there is the on/off button, a mode selector, a group selector and a fan option.
The dials on the back of the COLBOR CL100If you hold the mode selector for 3 seconds the COLBOR will enter boost mode, and for 60 seconds give you more light (120%) at the expense of running the fan at full throttle. Push the mode selector briefly and it toggles between different effects: candle, bonfire, blinking, faulty bulb, flashing and lightning. I never use any of these effect modes – if I would, I think the lightning mode is probably the most relevant as a “party trick” light.
The group selector toggles from A to E and is probably only relevant if you have more lights than one. I did not use it. And then you have the fan options to the very right – either SMART or QUIET. Strangely, I found the smart one to be the most quiet one. In general, and this is super important to me, the fan of the COLBOR is very quiet. I cannot count how many times the fan has been picked up by the microphones and I have had to edit that out in post. Not with the COLOB and that is a huge plus if you ask me!
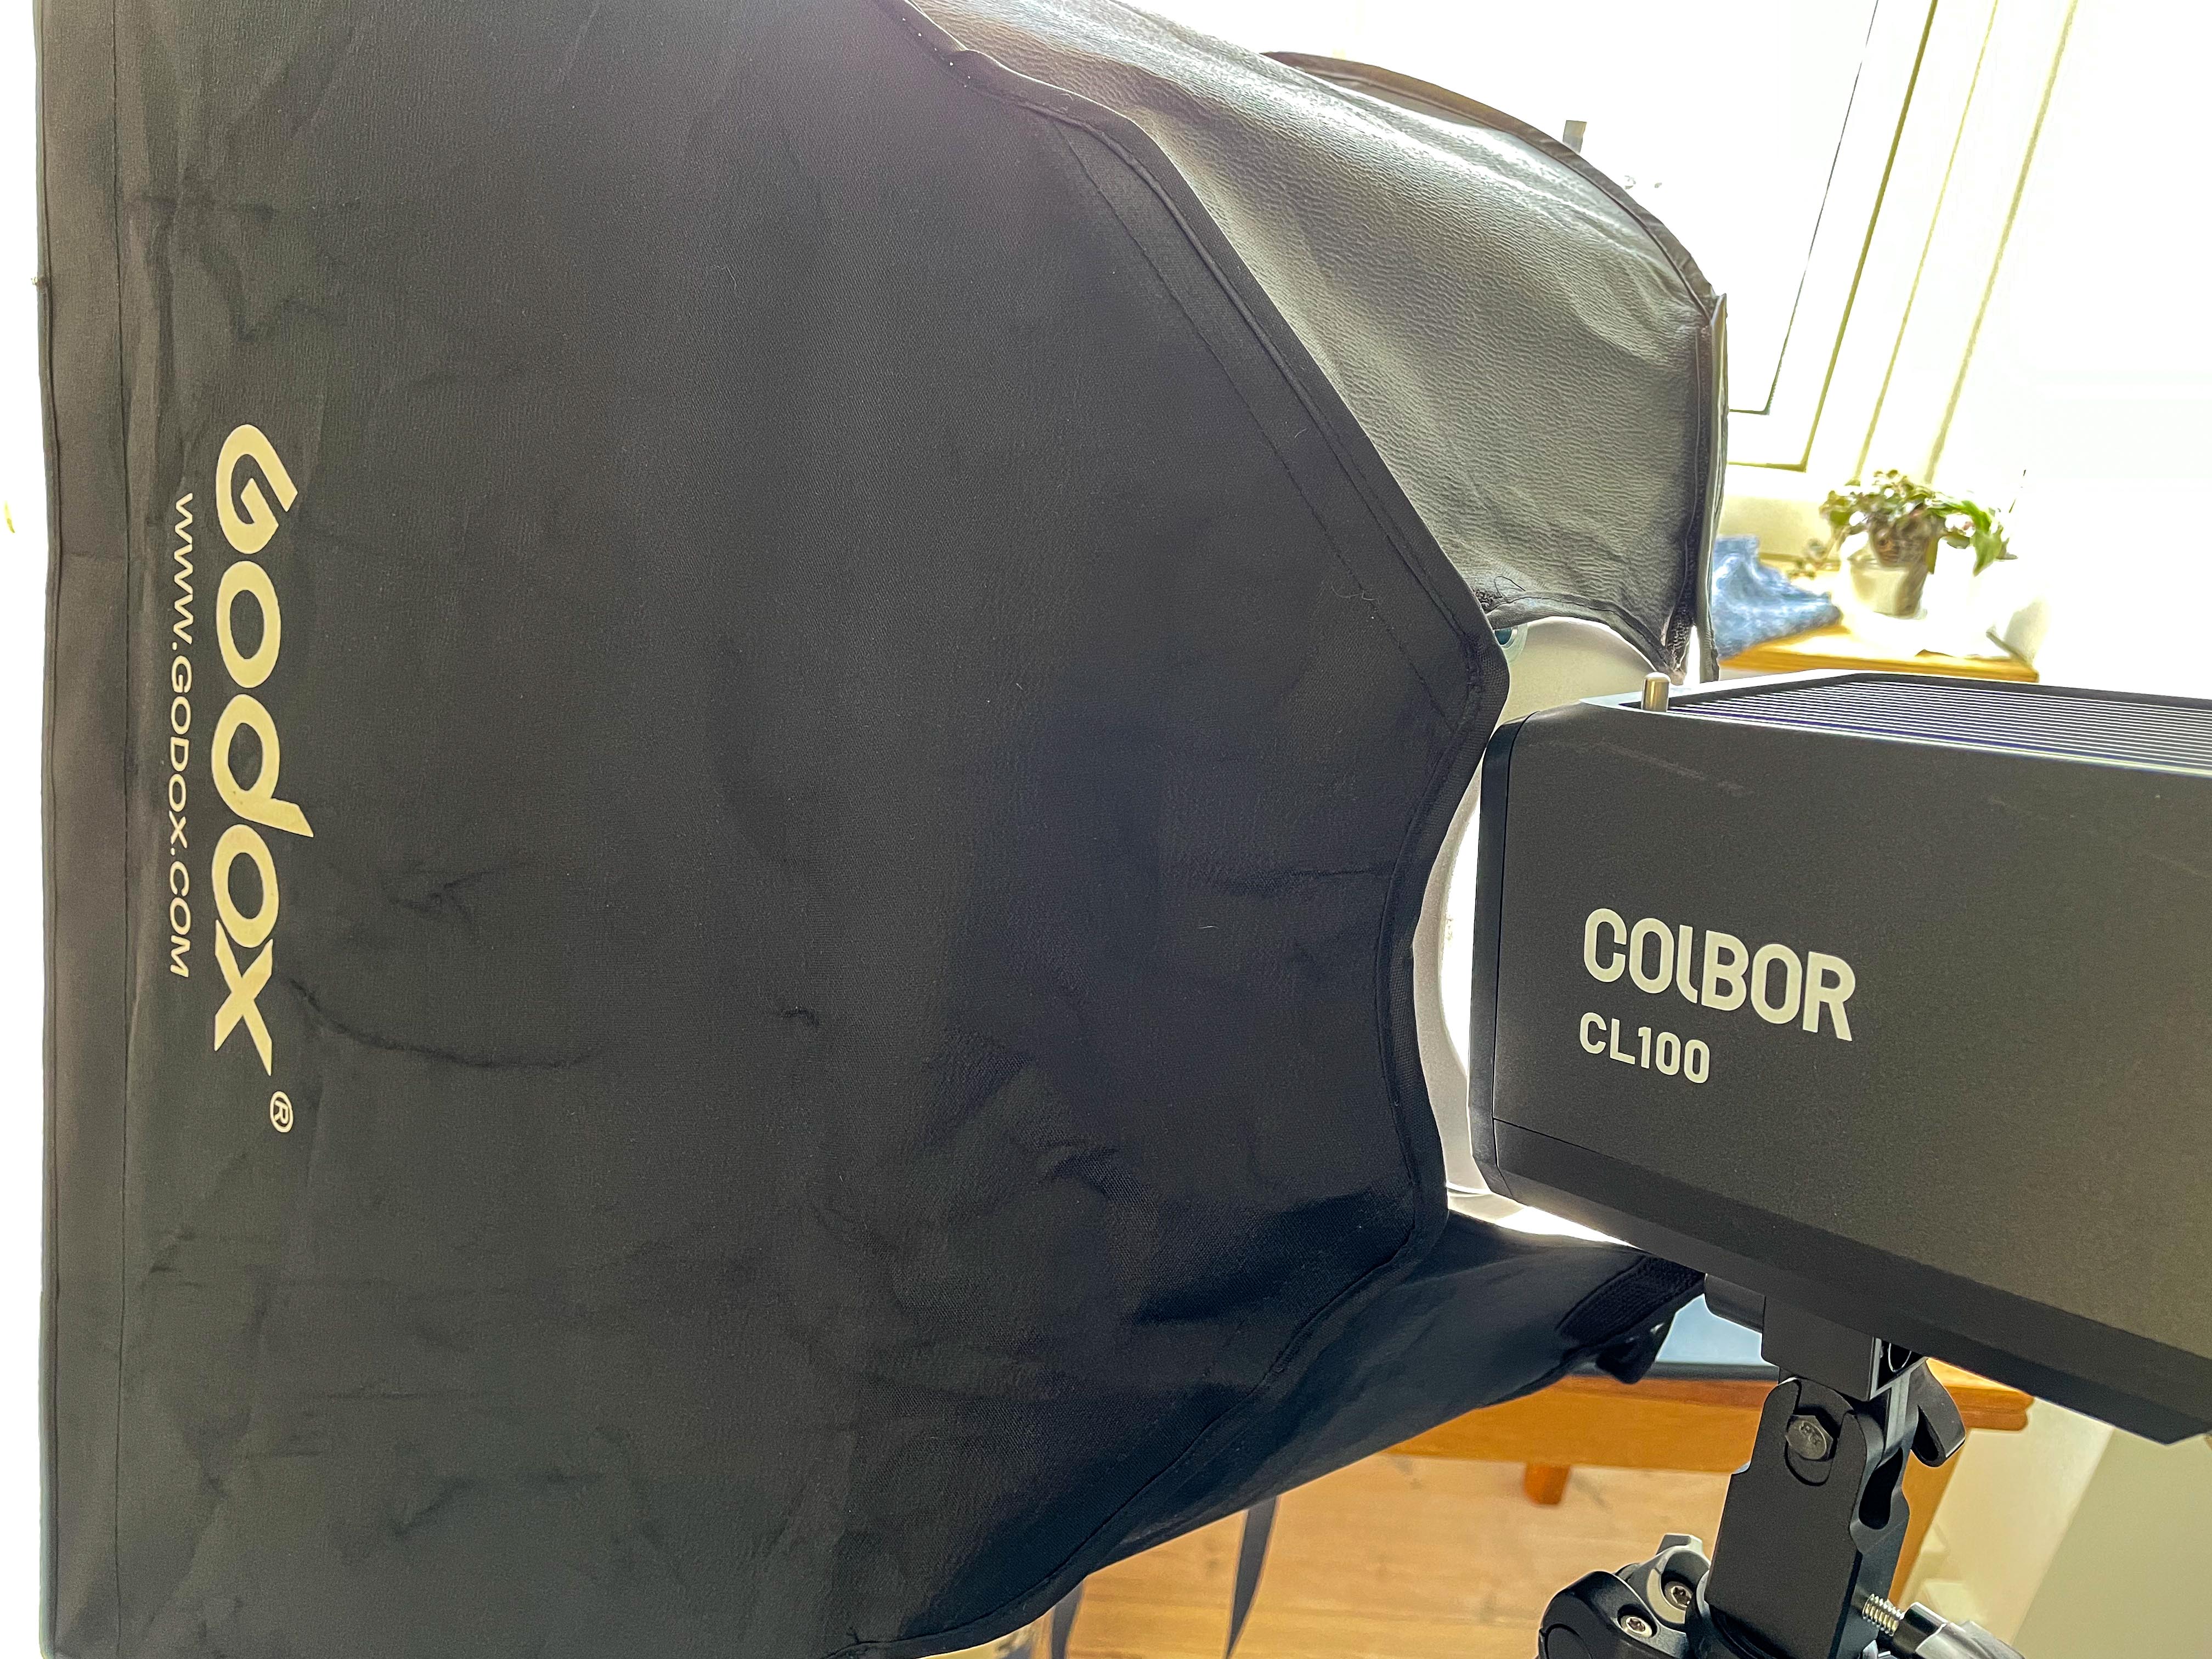
I was happy to see that the COLBOR comes with a standard reflector mounted with Bowens mount. This enables me to re-use all the light modifiers I have on stock, as Bowens for me is the standard interface for light modifiers.
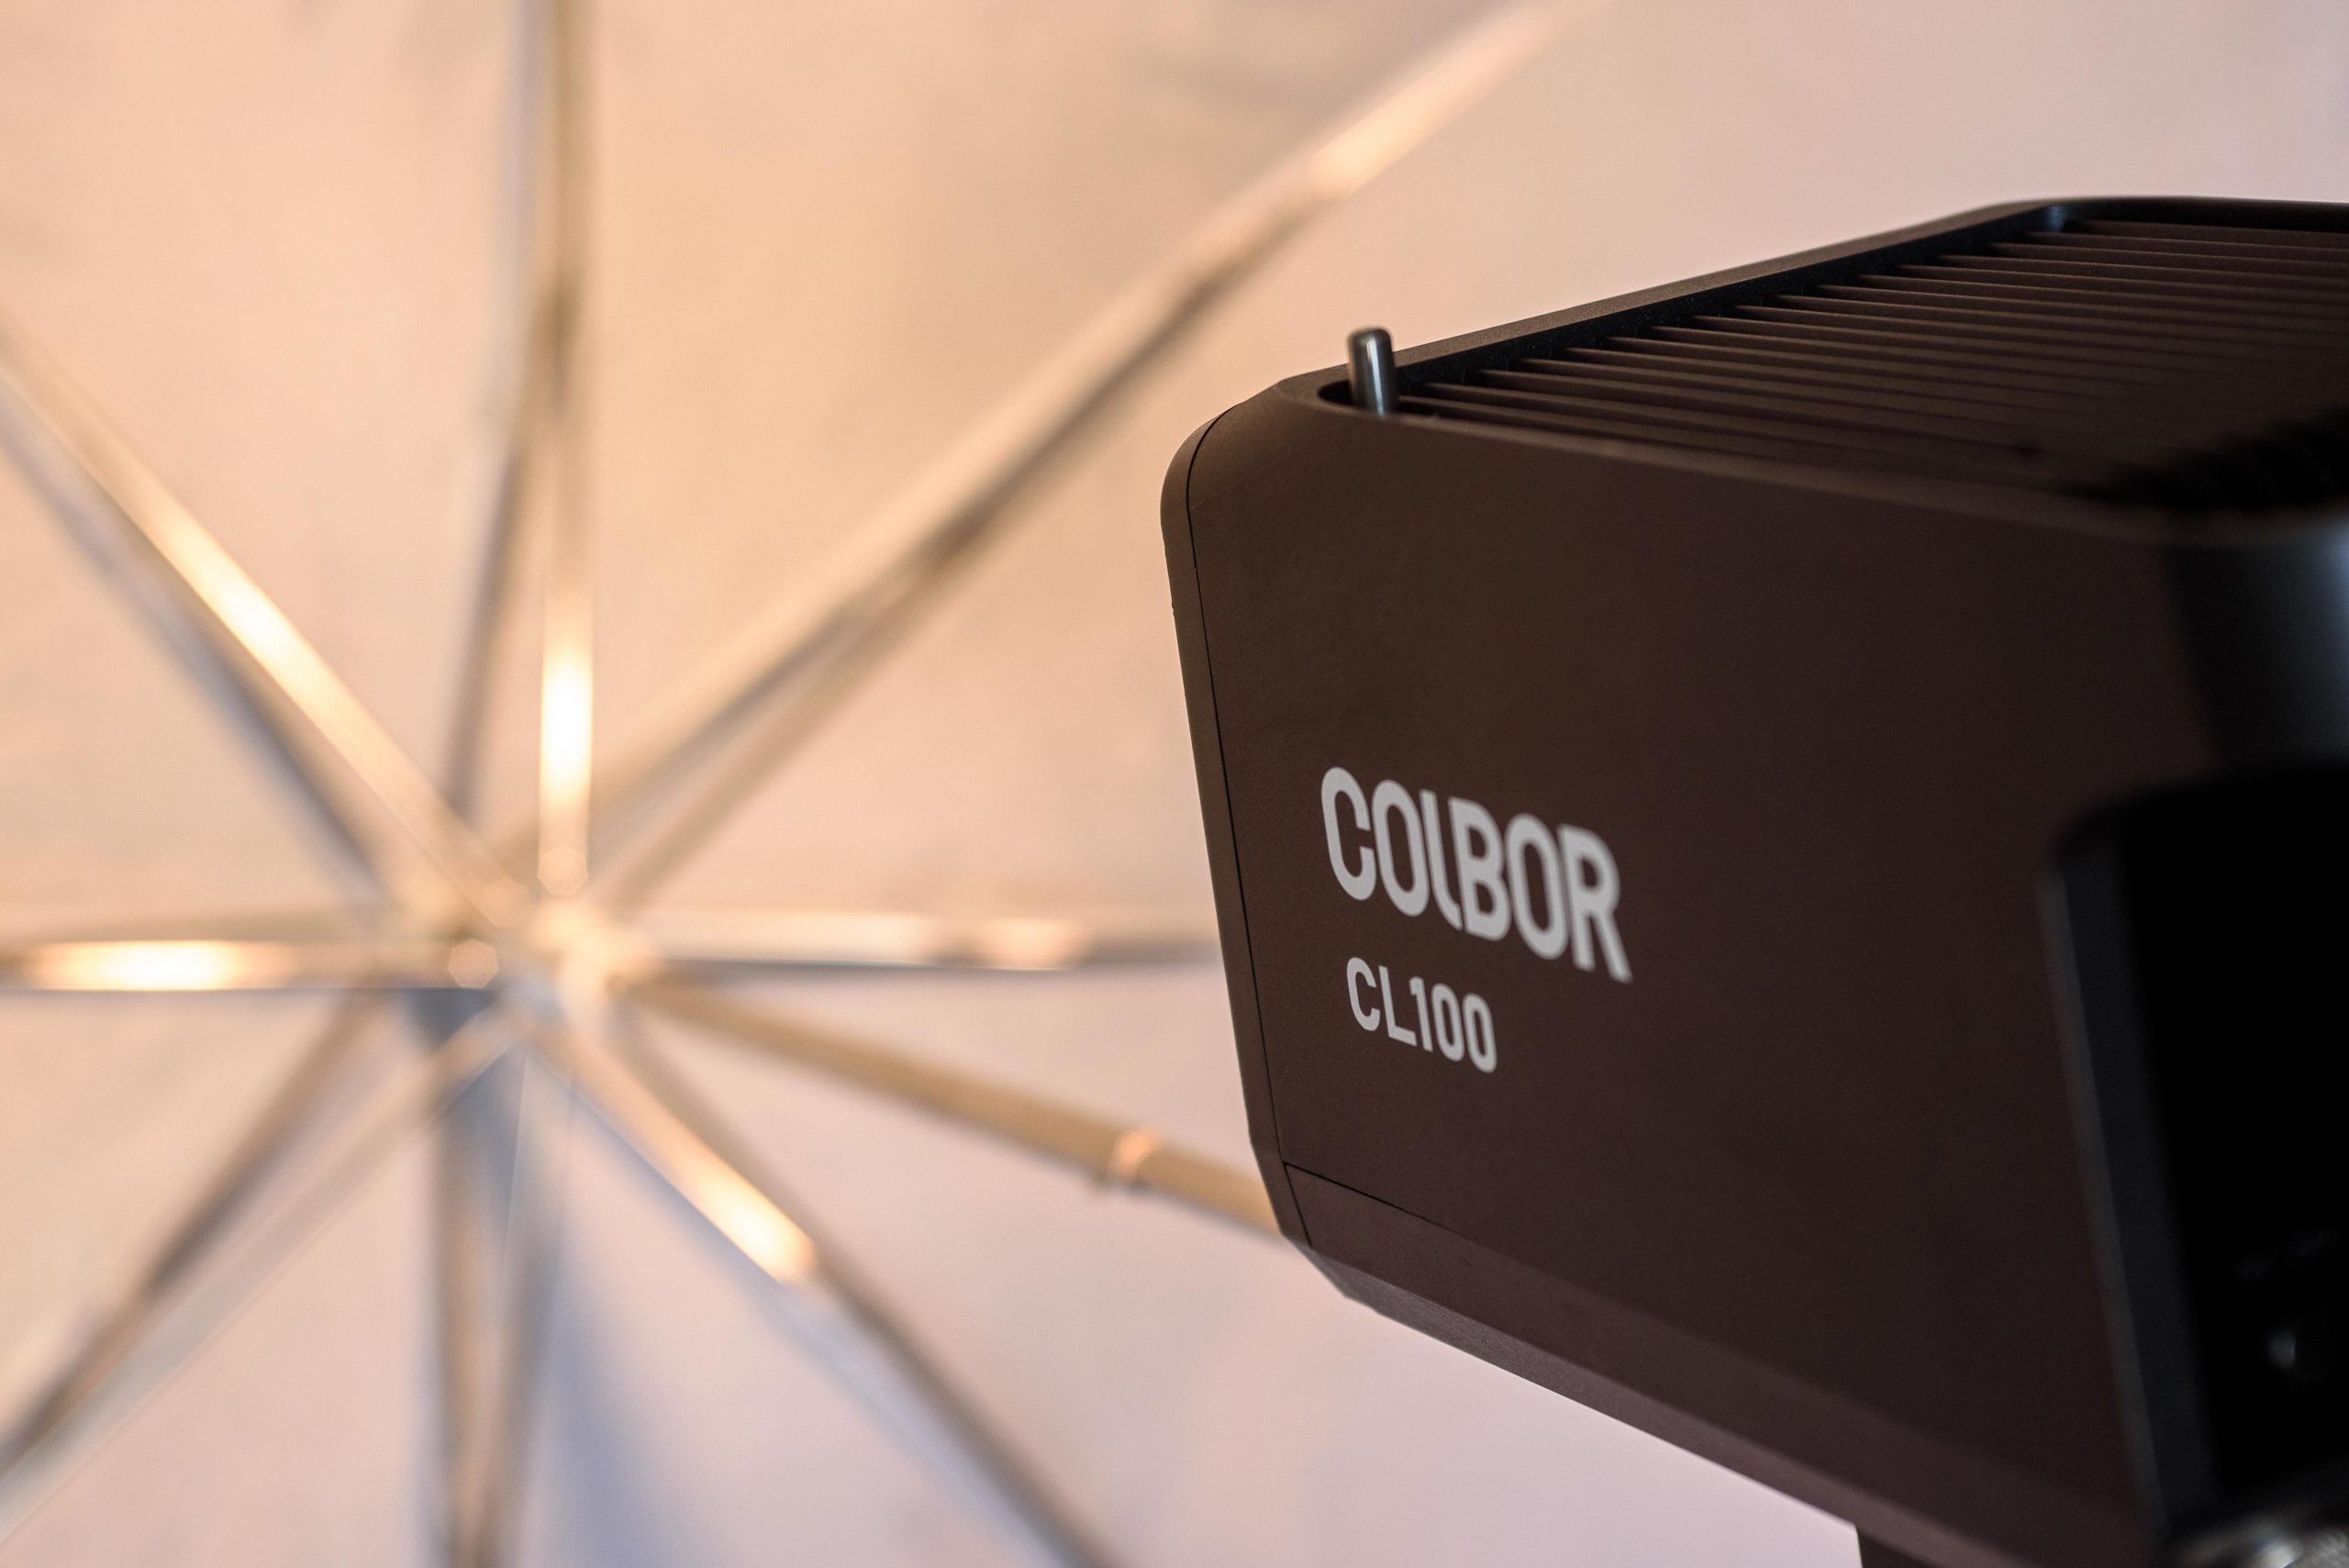
Also, there is the option to mount an umbrella on the COLBOR as an alternative light modifier. It all works very well.
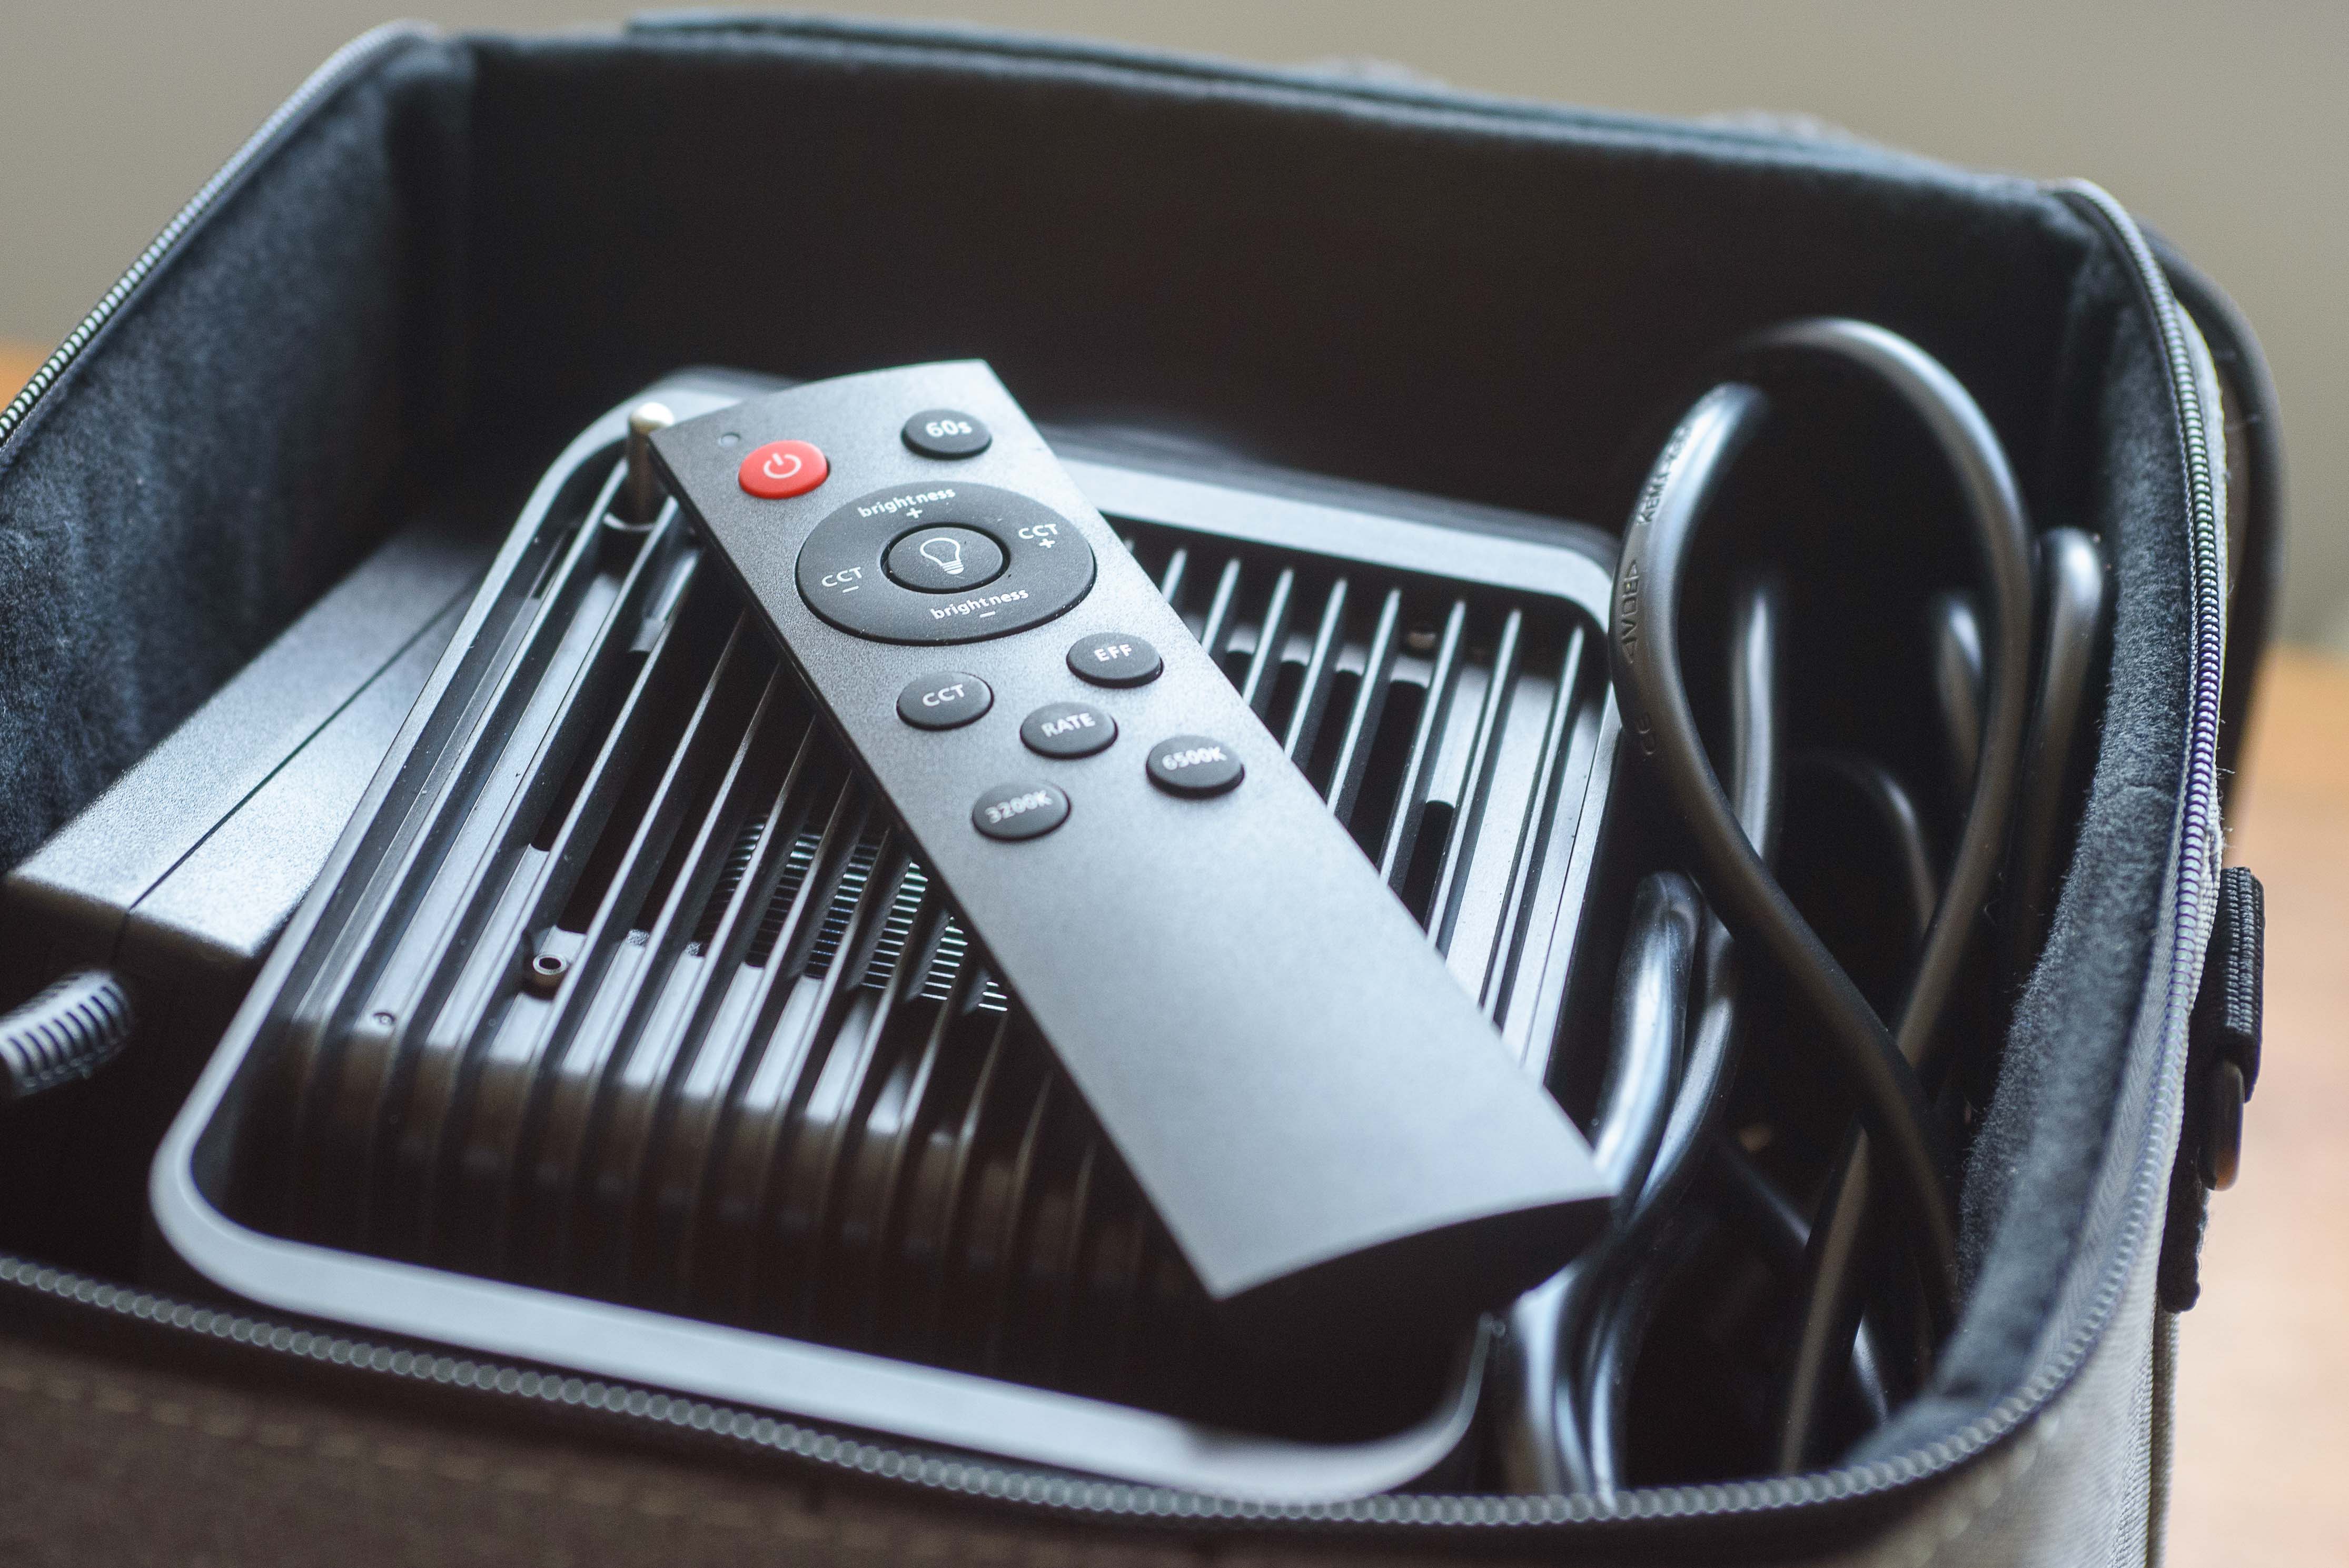
Currently the COLBOR comes with a remote control, and I find that it works really well. An app to replace the remote control is work in progress at the time of writing this review, so you may find that the remote is no longer supplied when you decide to order. I did tell myself that I would not be too lazy to get up and go over and adjust the light, but alas! I ended up using the remote anyway – it is very convenient, and then you just have to be a bit more active in the Gym to compensate.
Some may miss batteries if you plan to go outside for a shoot. I don’t – I stay indoor when it comes to video with light! You can get the COLBOR in an alternative version with batteries, so check that one out if batteries is important to you.
Power and warmth
I have a small studio that measures 3×4 meters and I find the COLBOR delivers sufficiently light for my purpose. My only wish is that I could have more lights to make cross light effects…
In terms of Kelvin values, the COLBOR gives full range from 2700K to 6500K and does so with same light intensity. I have some LED panels that can only give full throttle when in the middle of the Kelvin scale; whereas the end of the spectrum they only yield half of that. Not with the COLBOR – same power irrespective of the Kelvin value – great!
Conclusion
What I like
The price
Sufficient power output
Constant power throughout the Kelvin range
The quiet fan
The Bowens interface + the umbrella mount
The convenience of the remote
That I did not pay for batteries
What I did not like
The effect modes – I have no use for these
The build quality (but factor in the price here!)
I have only had the product for a few weeks so I do not know if it will stand the test of time. So far it appears to me to be a durable product.
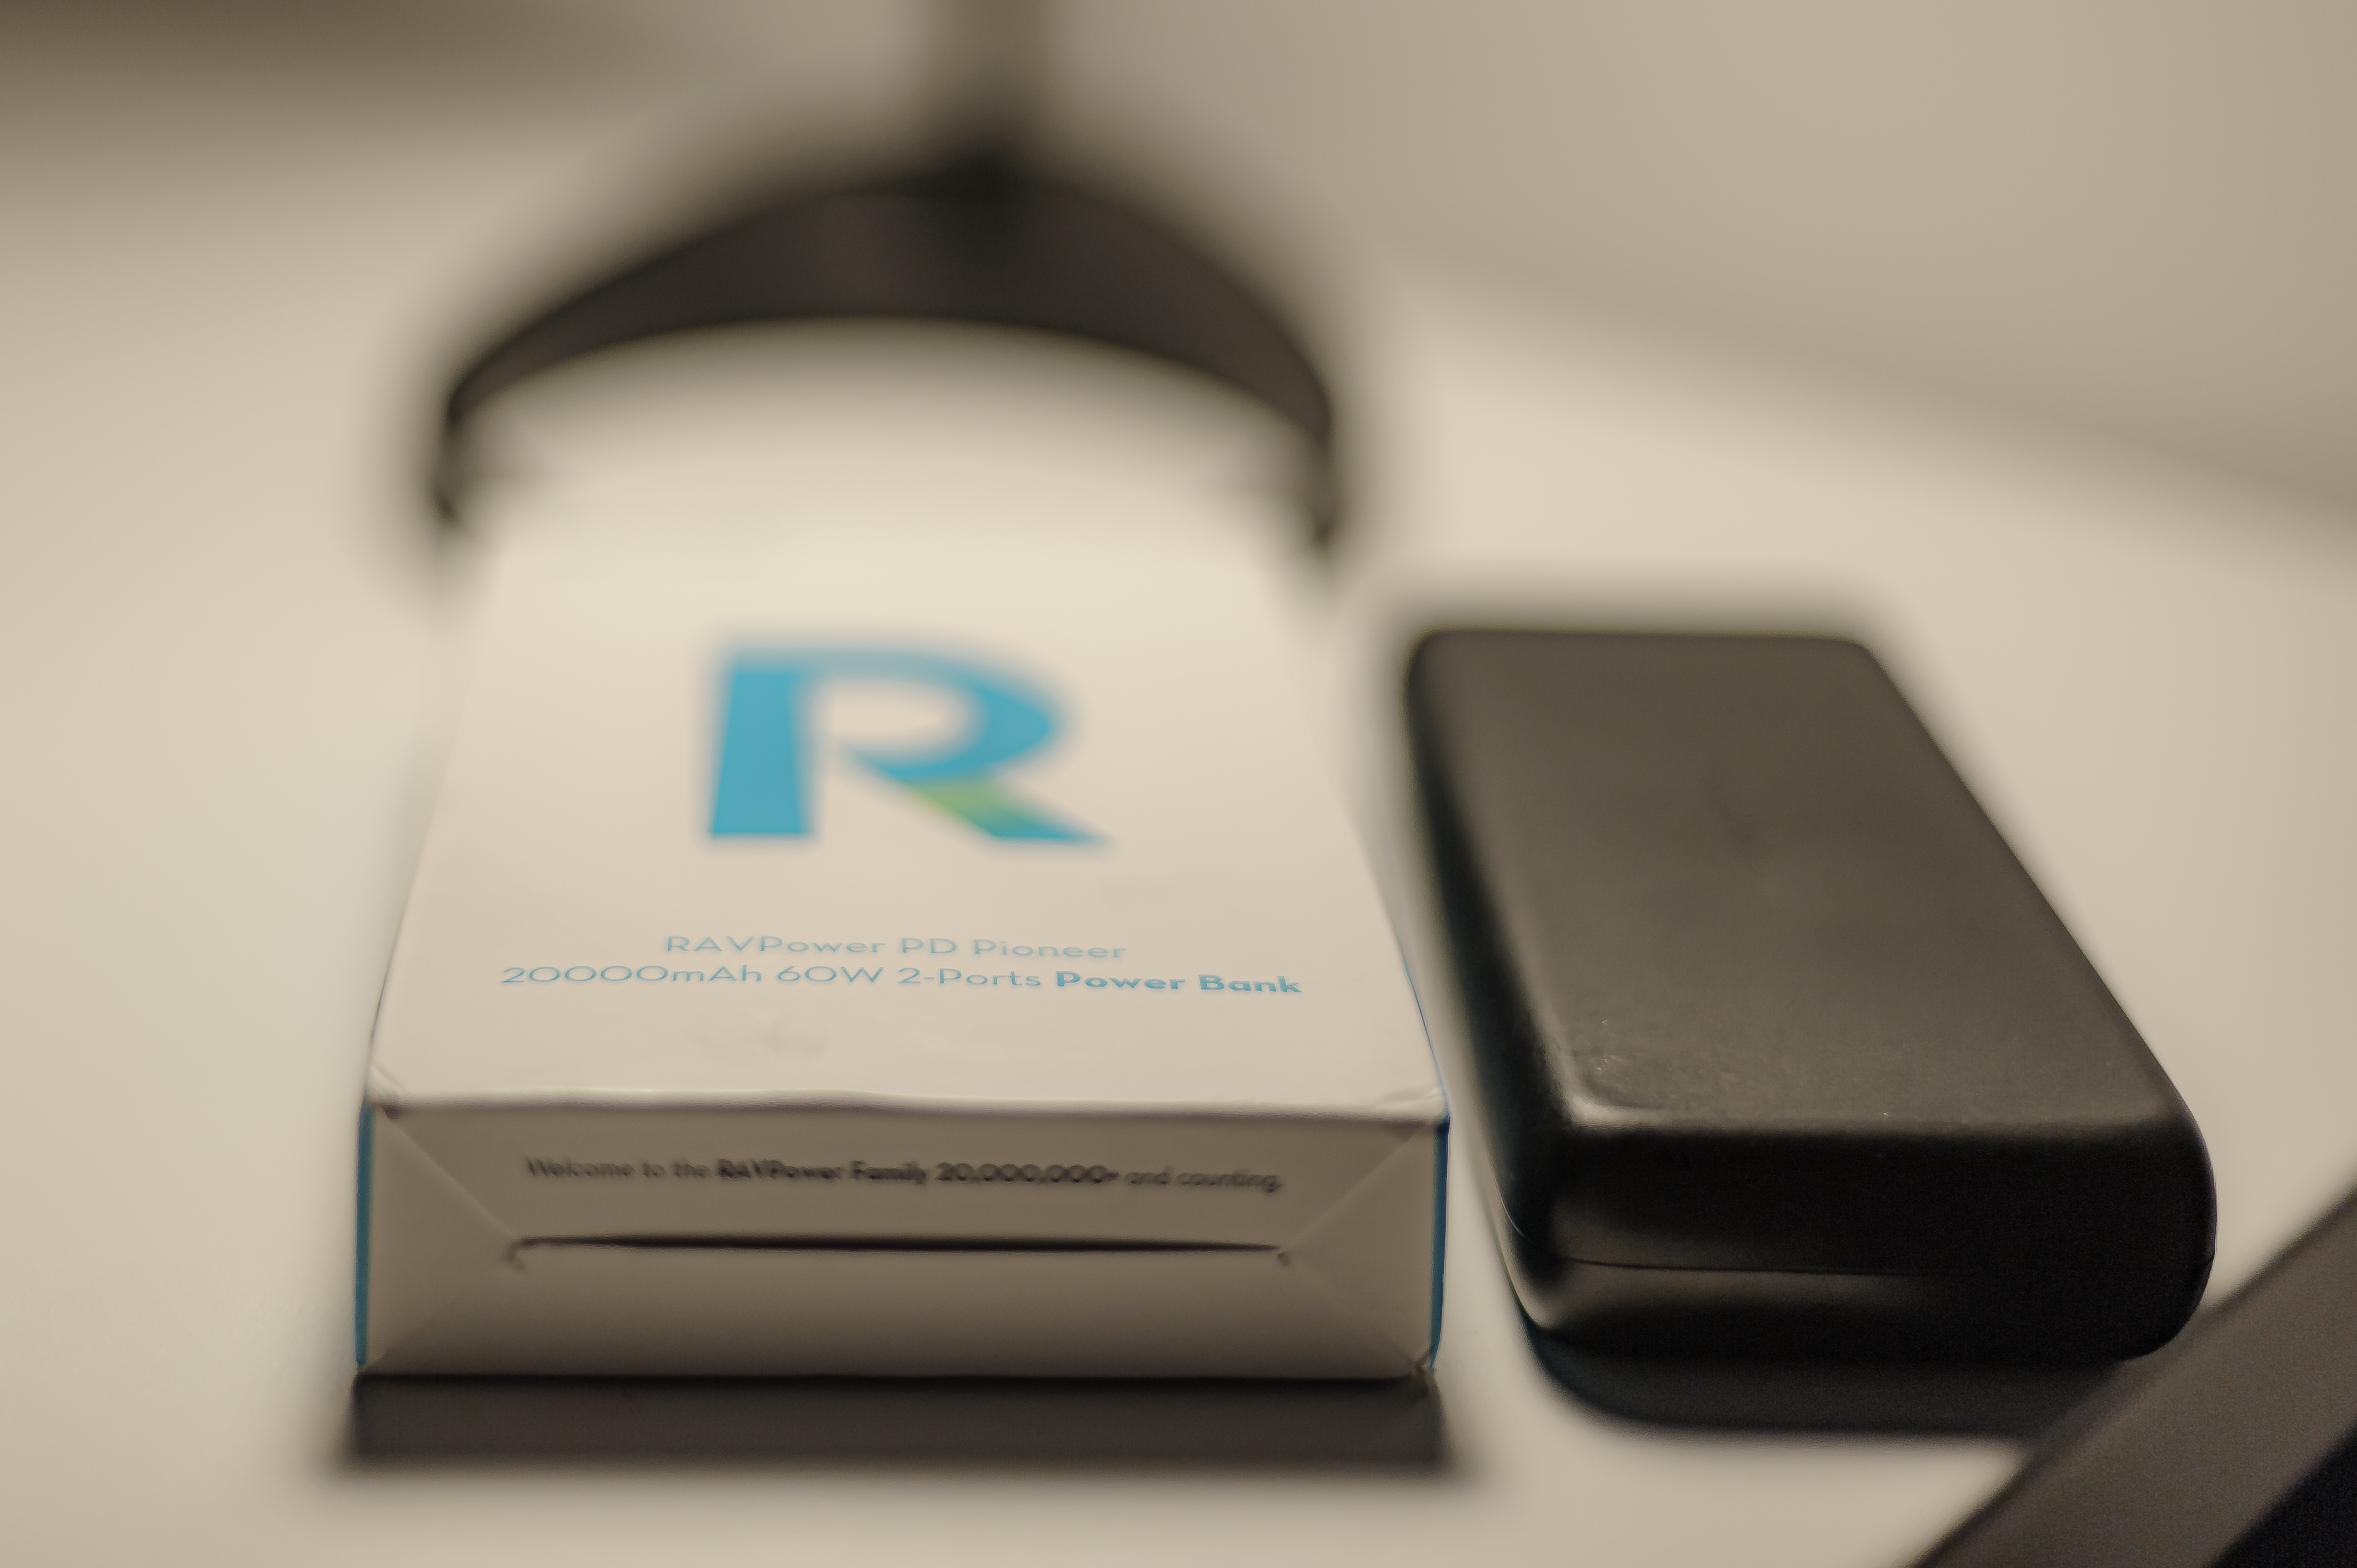
Review of the RAVPower PD Pioneer 2-Ports Power Bank with impressive specs.
Long name
The RAVPower PD Pioneer Power Bank actually has an even longer name: The RAVPower PD Pioneer 20000mAh 60W 2-Ports Power Bank!
And what’s in a name? Well, in this case, actually a lot! Notice the 20000mAh with can be translated to 20Ah! An impressive amount of energy, only found in batteries you would normally plug into your power tools – provided you have pro-level power tools, that is.
And further: 60 Watts! If you have ever tried to hold a light bulb back in the days long before LEDs and energy saving light bulbs were invented, you know how hot a 60 watts light bulb “classic” can get – it is an impressive amount of energy this little battery delivers!
No nonsense
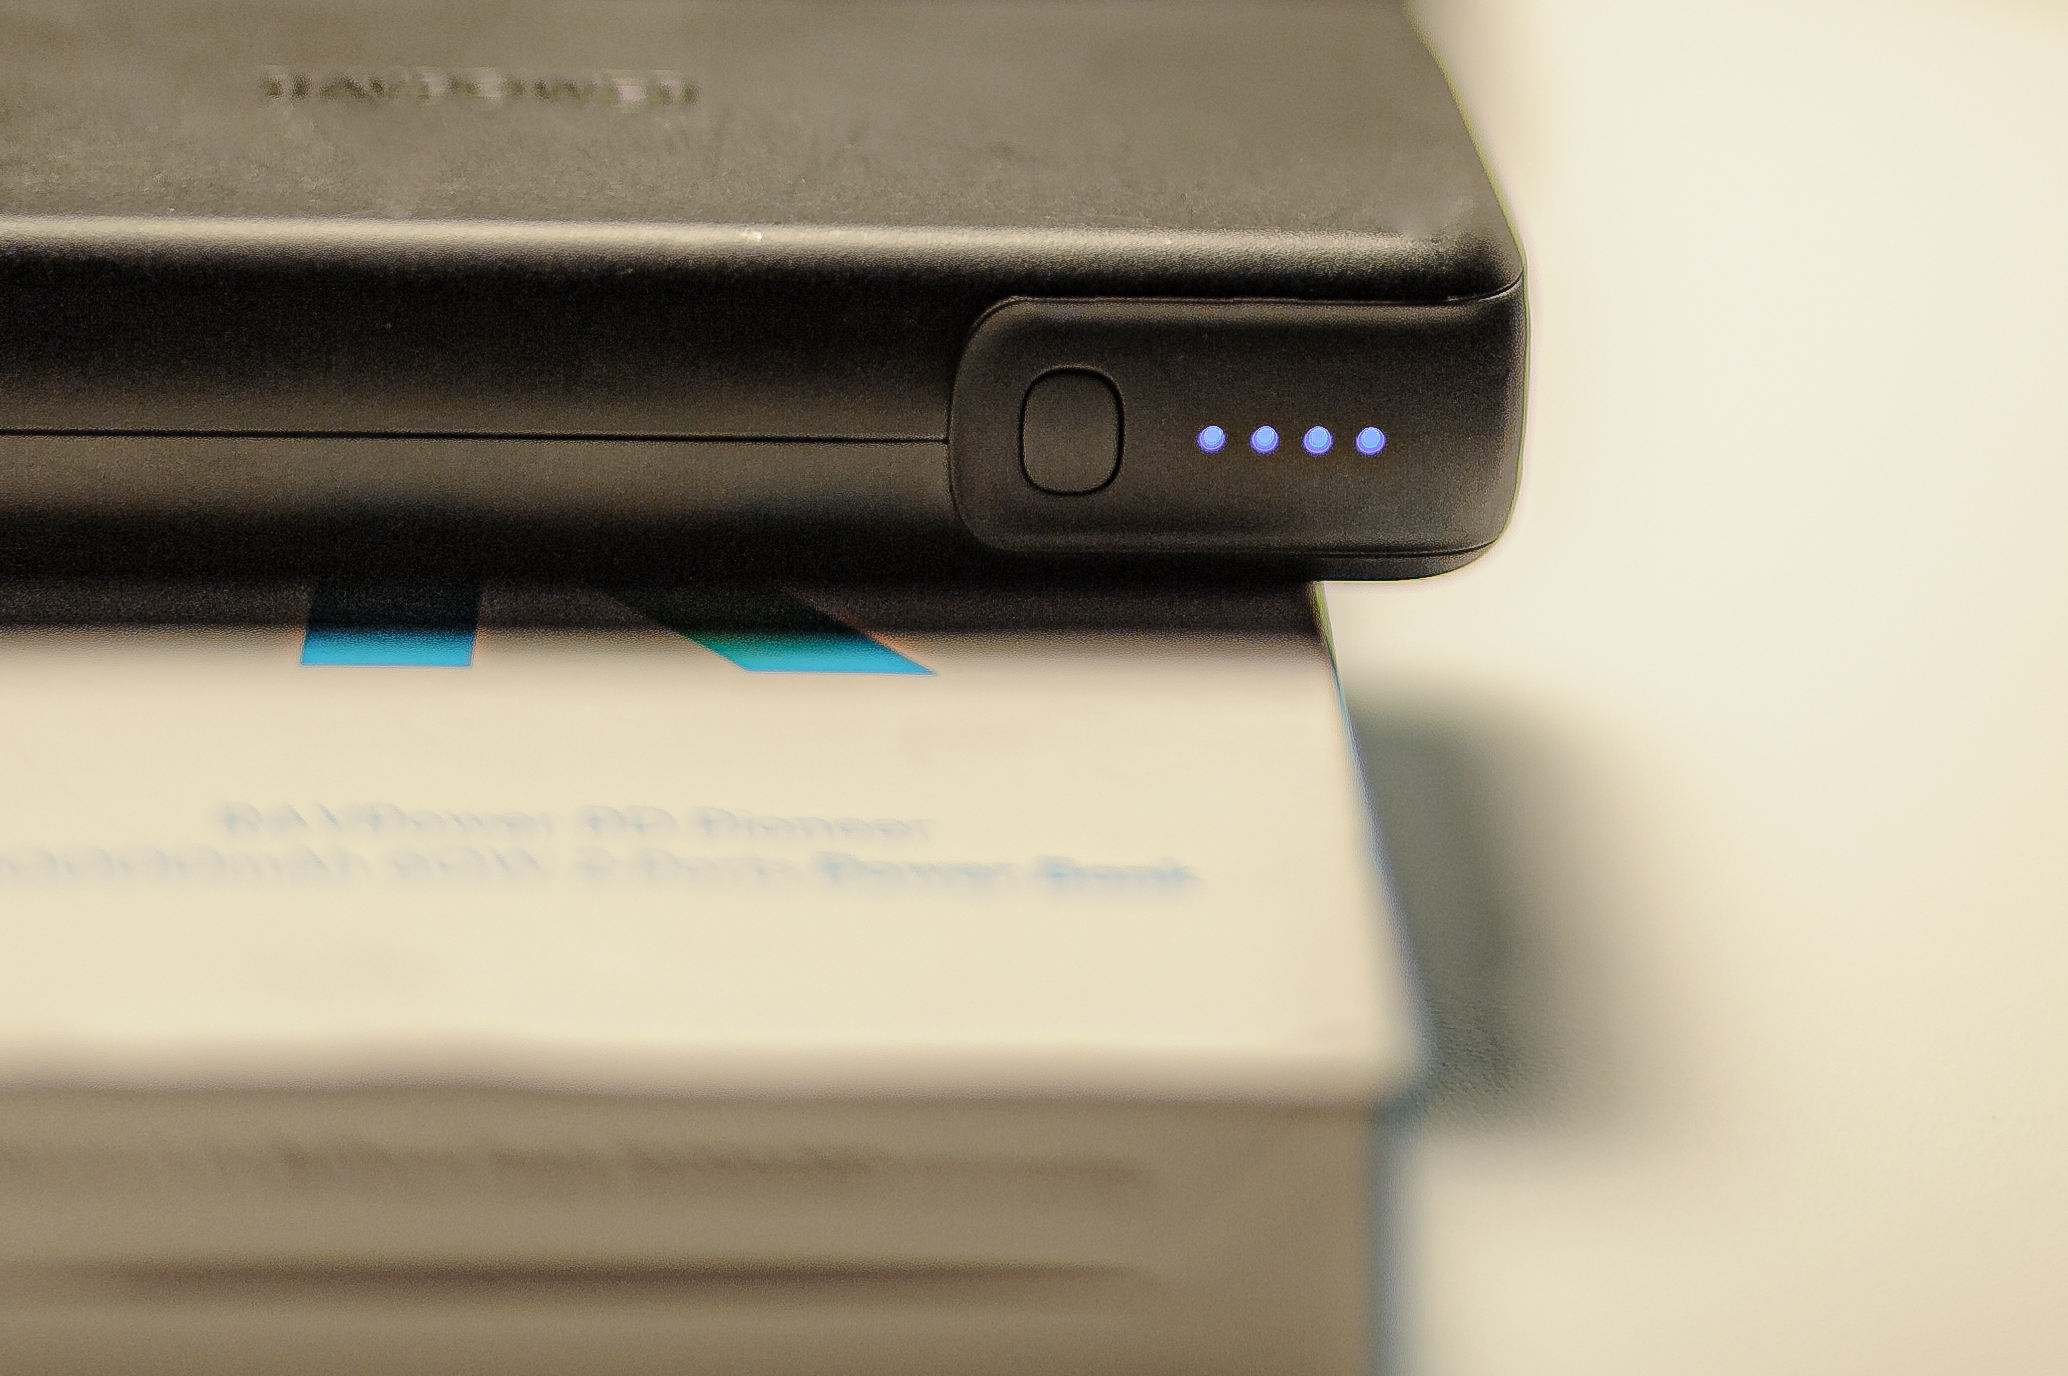
4-level power indicator with blue LEDs. Here the power bank is fully charged.
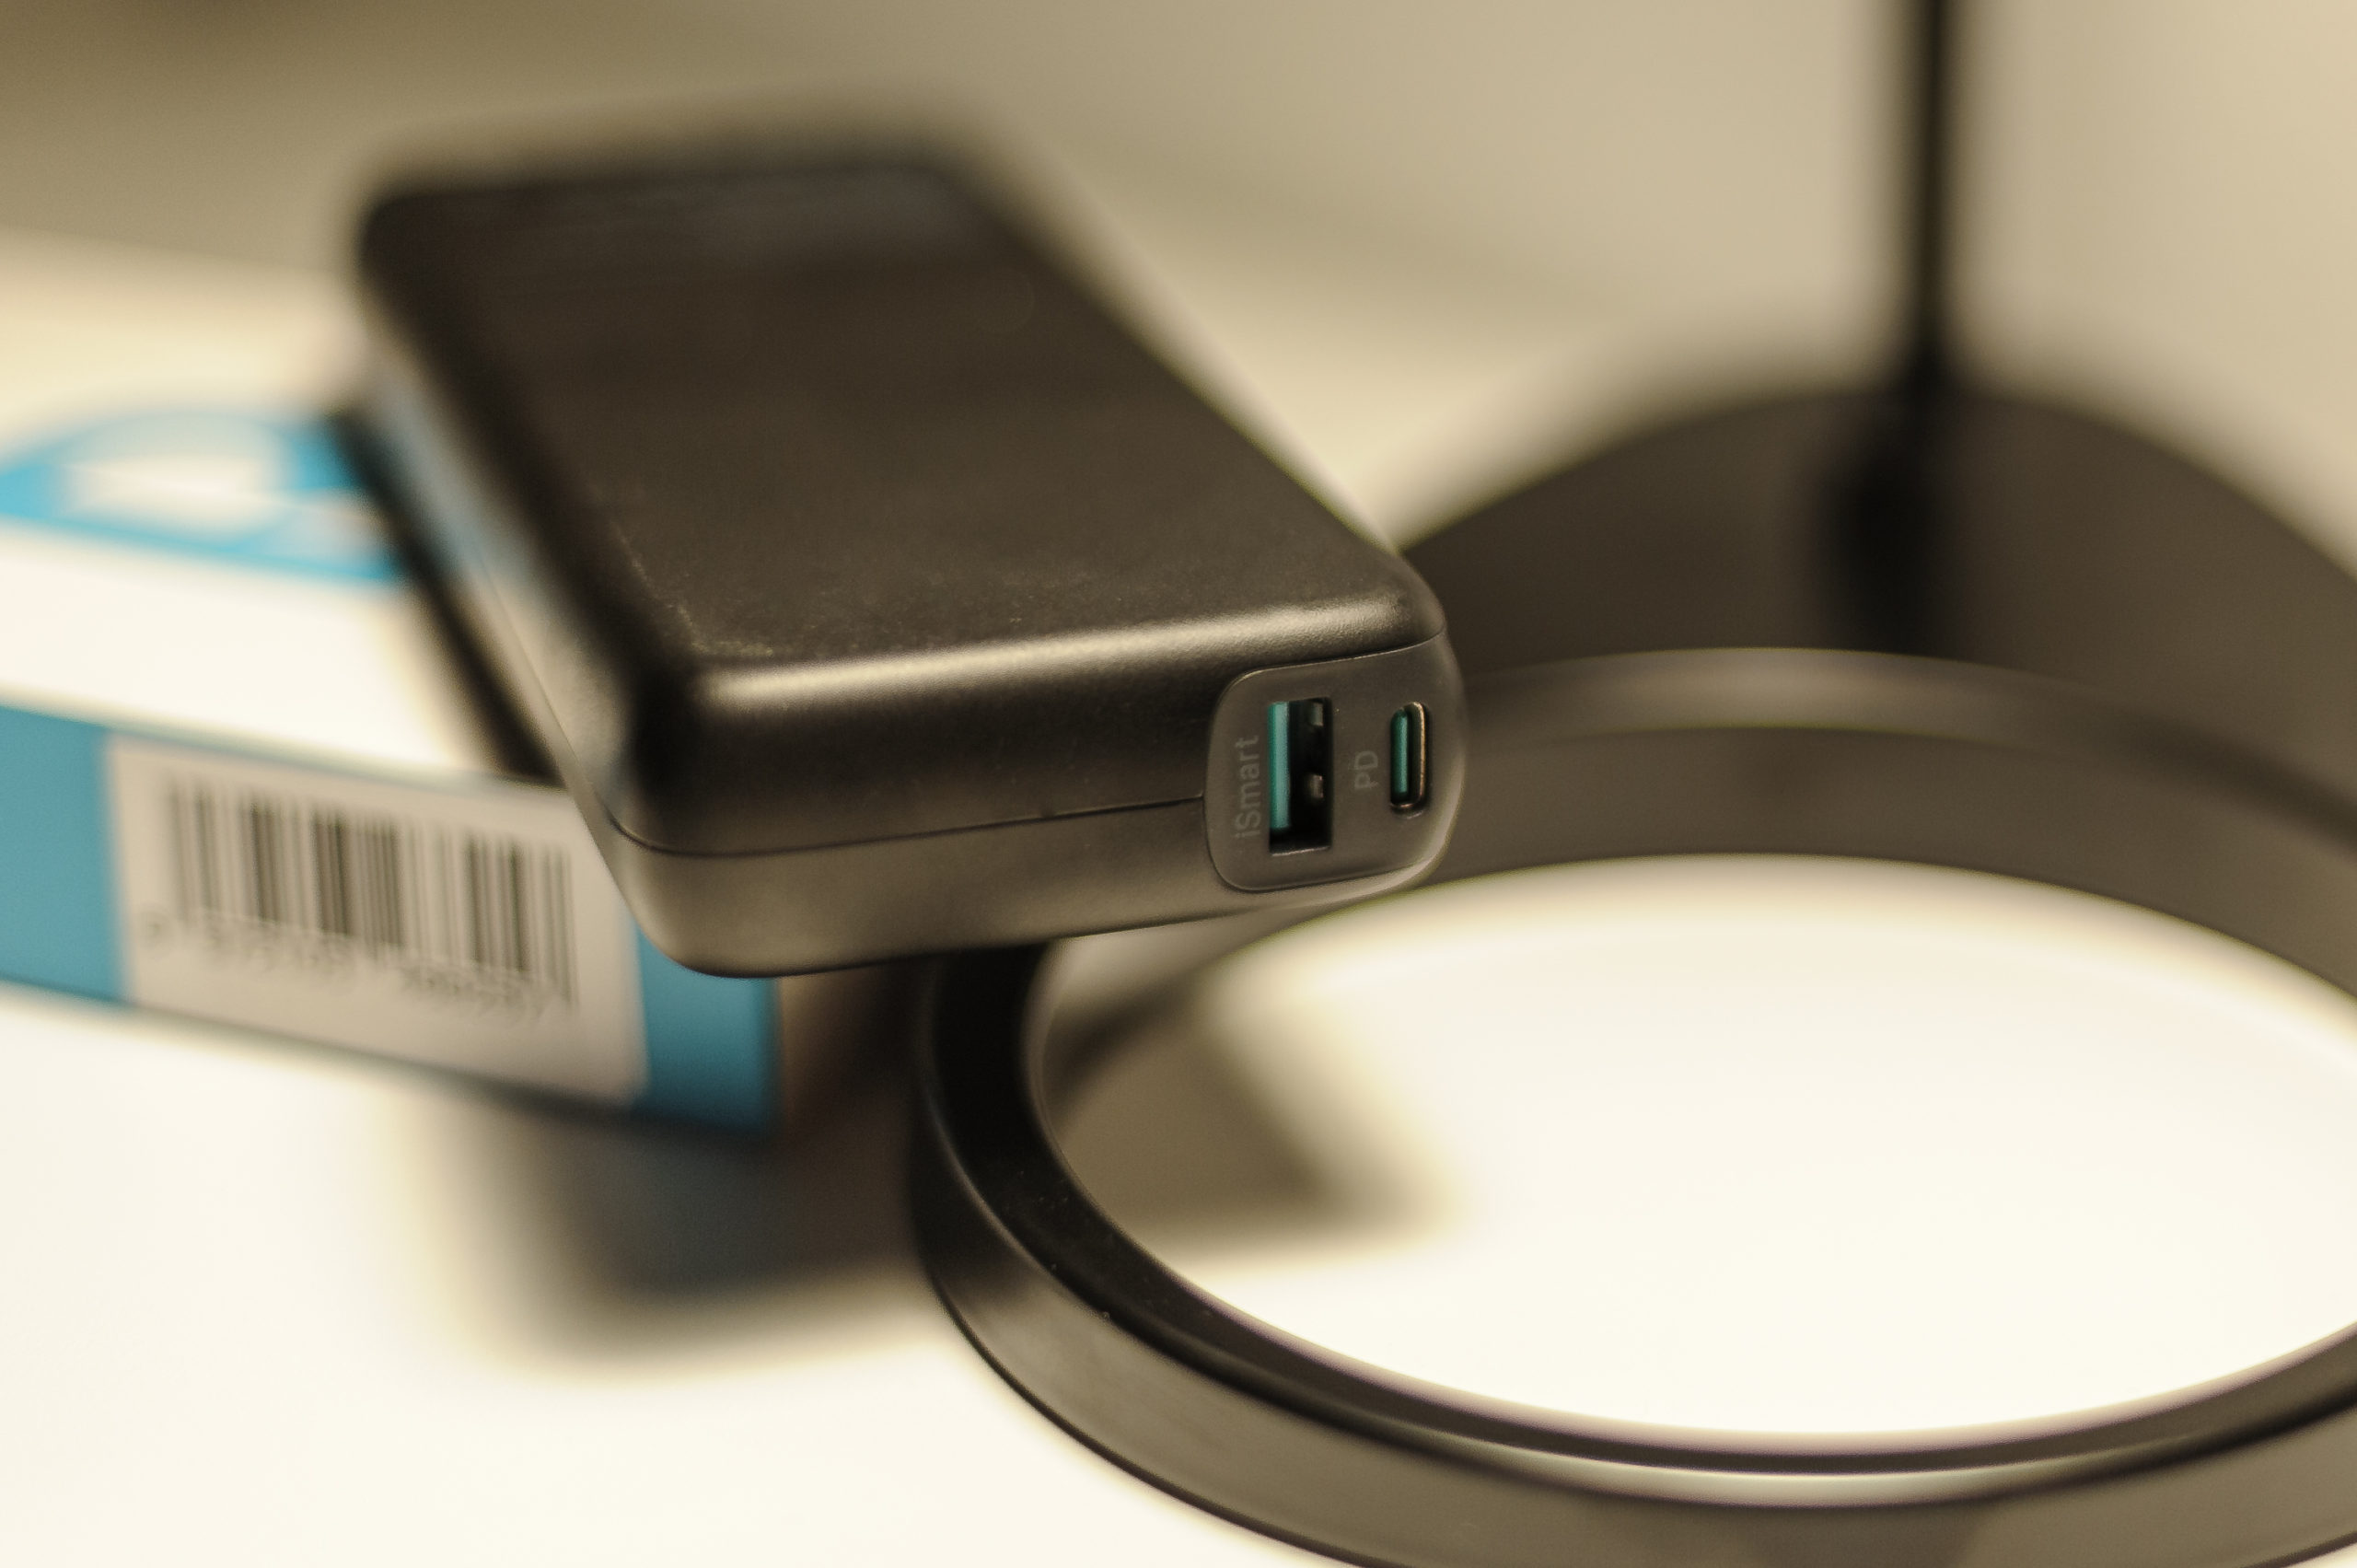
The design is not very advanced: Only one button that activates the 4-LED power indicator and two connectors: USB-C and USB-A. It only comes with one short black cable for the USB-C port. The USB-C port will deliver 45 Watts when used together with the USB-A port delivering 15 Watts. If the USB-C port is used only, it will deliver up to 60 Watts using the so called PD (Power Delivery) technology! The instructions urges you only to use the supplied USB-C cable, as older cables may not be designed for as much power as the PD technology can deliver.
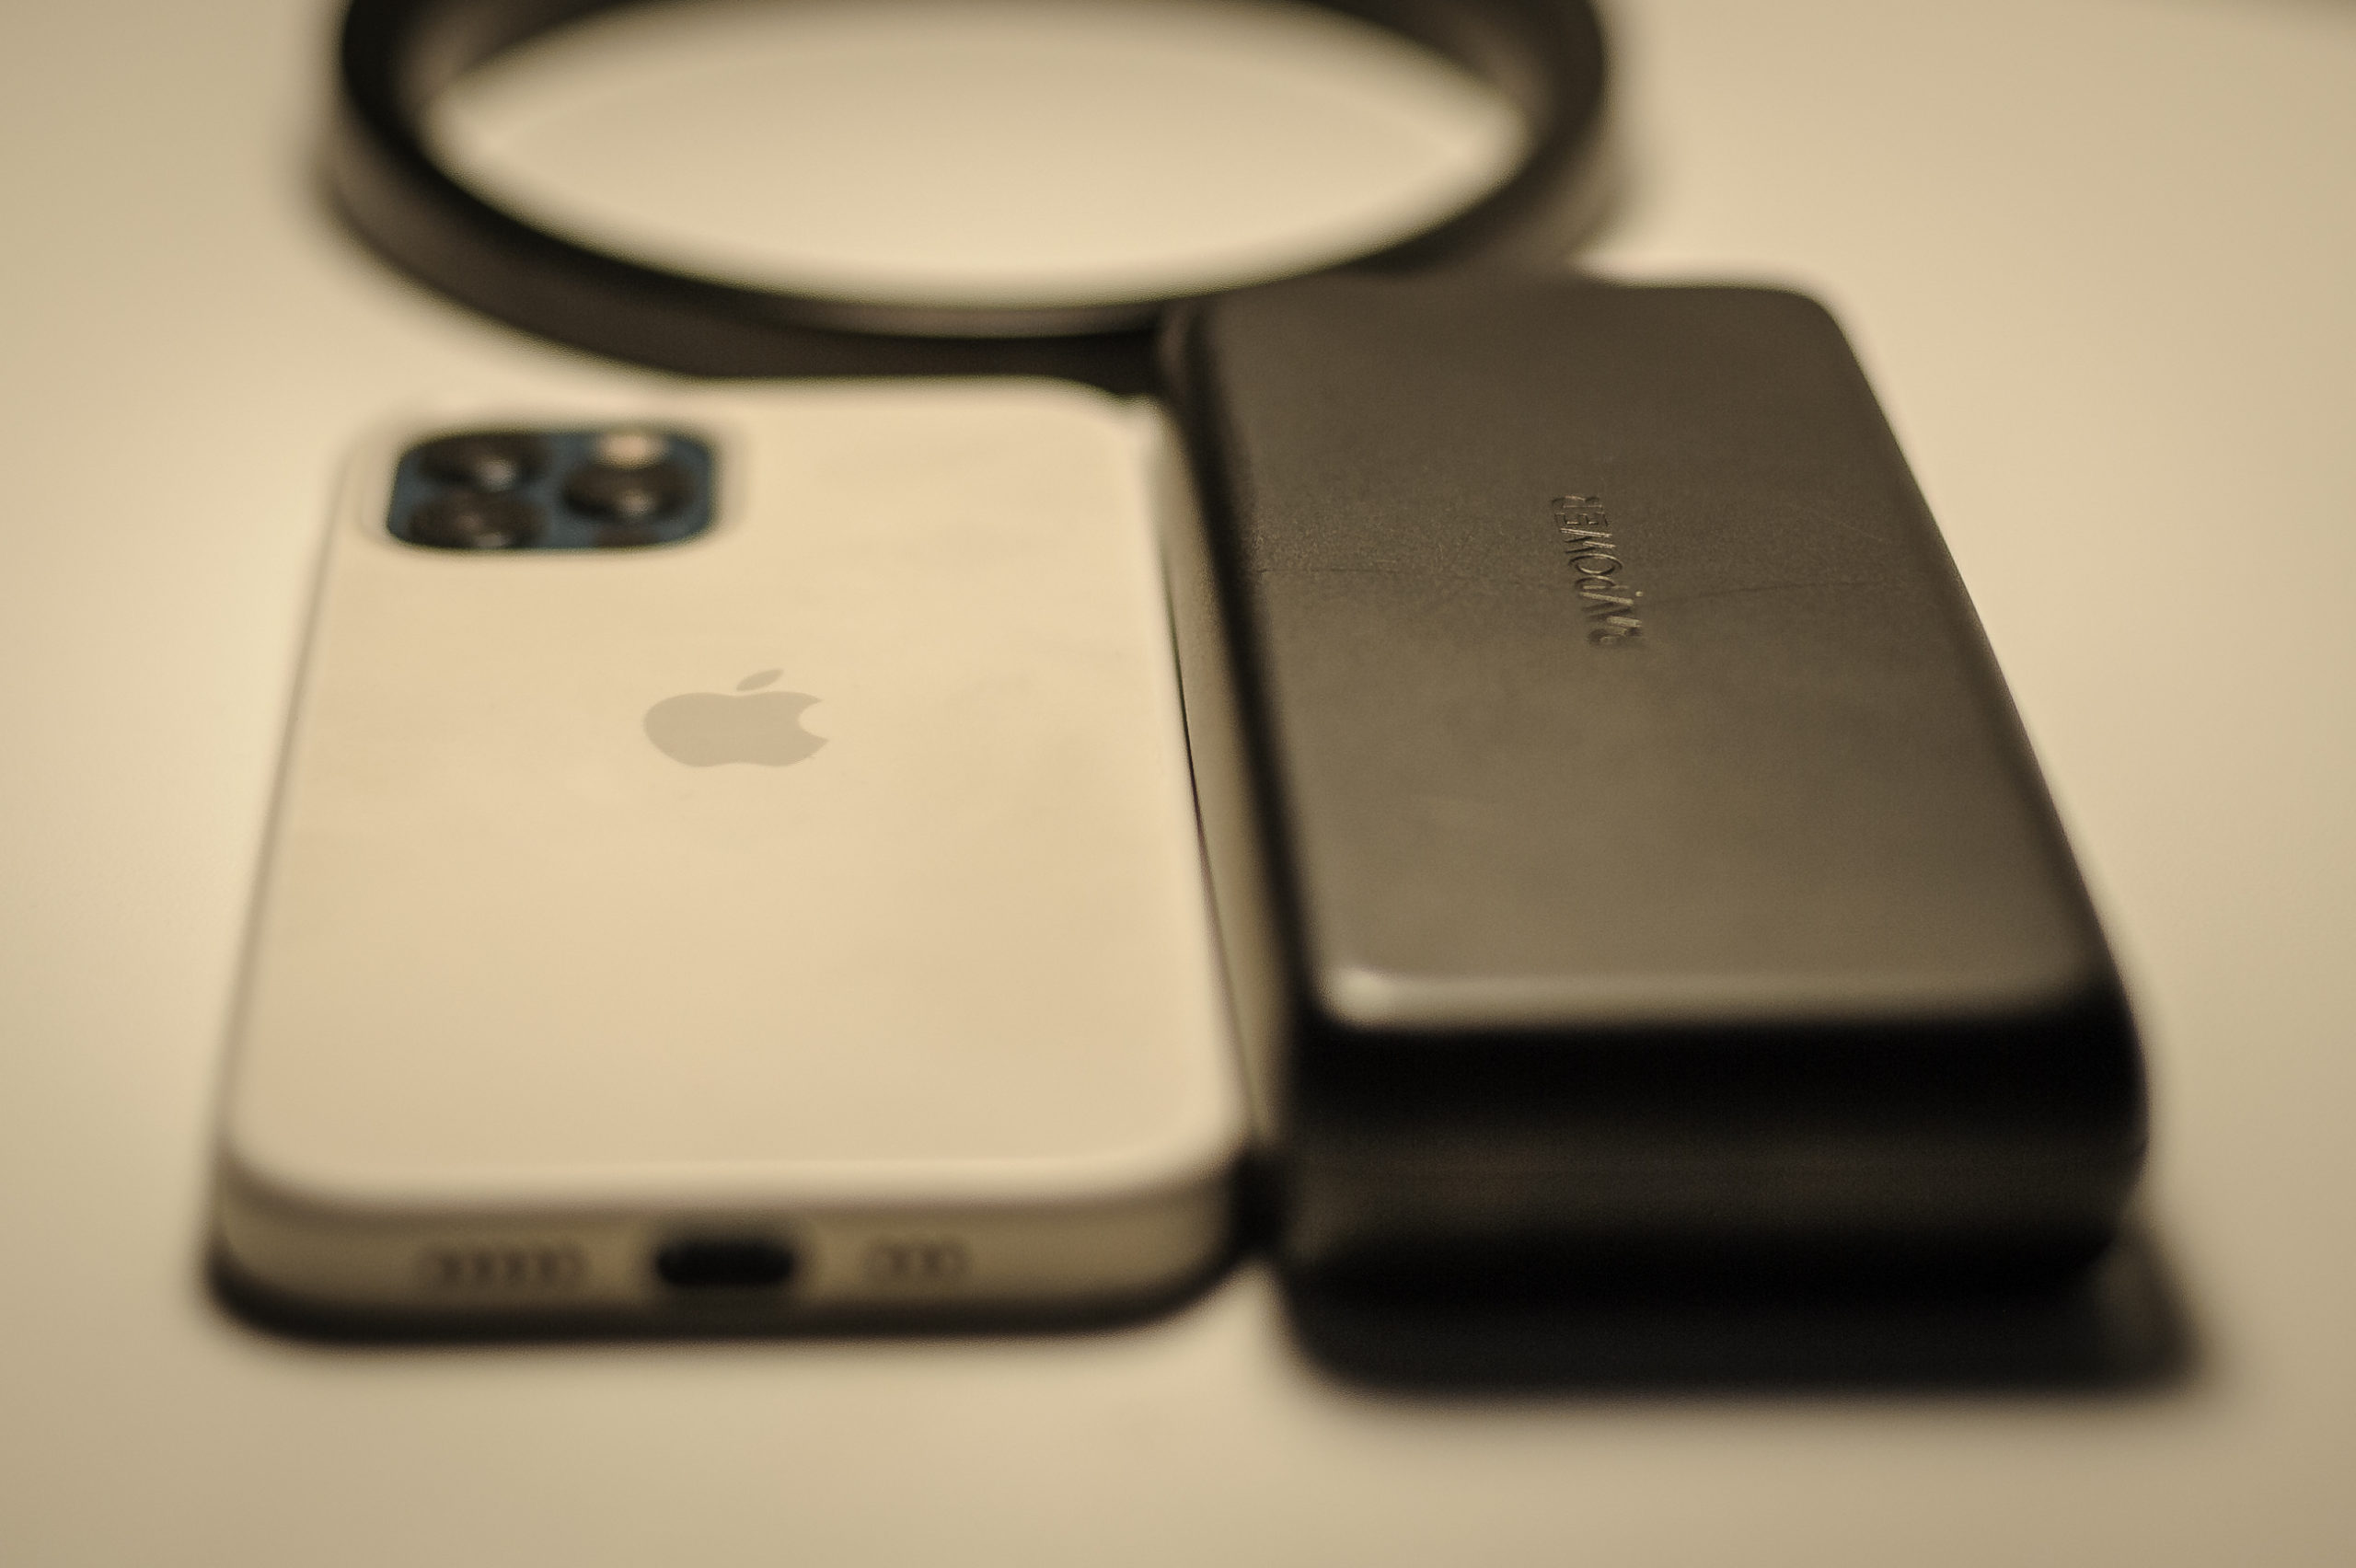
The power bank body design is of the no nonsense kind: a rounded black box weighing 370 grams, and with a size of 15 x 6,5 x 2,5 centimeters. (H x W x D). It is a little less than 2 iPhone 12’s on top of each other. So it fits nicely into one hand. You can also get it in white if you prefer, but that’s it!
Real world test
I bought this product to keep my demanding PC at work happy during the late hours of the working day. It is a Lenovo Thinkpad that requires 45 Watts power input, and it will certainly make you aware during boot if you try to feed it with anything less! Normally at 3 in the afternoon, the Lenovo battery runs flat and start to go into (intensive) power saving mode, then gives me half an hour more and dies completely. With the RAVPower attached using the USB-C connector, it keeps my PC going almost a full working day, and only towards the end of the day will the RAVPower run out, and the PC starts to make use of it’s own battery! That is truly impressive! The Lenovo charger can then stay at home, and I have the freedom to move around during the day without looking for a power plug or worry about battery depletion!
According to the marketing specs, the RAVPower can charge an MacBook Pro 13″ from 0% to 50% during an hour. I have not tested this, but I find it very likely based on my own experience with the power available in this little gadget. And with my 20 watts apple charger, I have found that in 3-4 hours the RAVPower is back from close-to-flat to fully charged.
Is it for you?
The RAVPower will set you back around 70 EUR here in Denmark, and I would imagine it can be found even less expensive in both the rest of Europe and in the US (although Amazon have removed products from RAVPower for reasons unknown to me).
I have not long term tested it and cannot say if the battery will stay fresh for many years, but the Chinese company behind RAVPower started their business based on battery technology, so I am optimistic it will stand the test of time.
So if you are in the market for a powerful no nonsense power bank , I think this option should be on your short list, if available where you live.
However, if you need more thank 2 ports, there are alternatives available with 2×2 ports, and if you need even more power, there are models with up to 26.000 mAh, but then you will also need to pay significantly more.
Thank you for reading this far! Questions and comments are more than welcome!
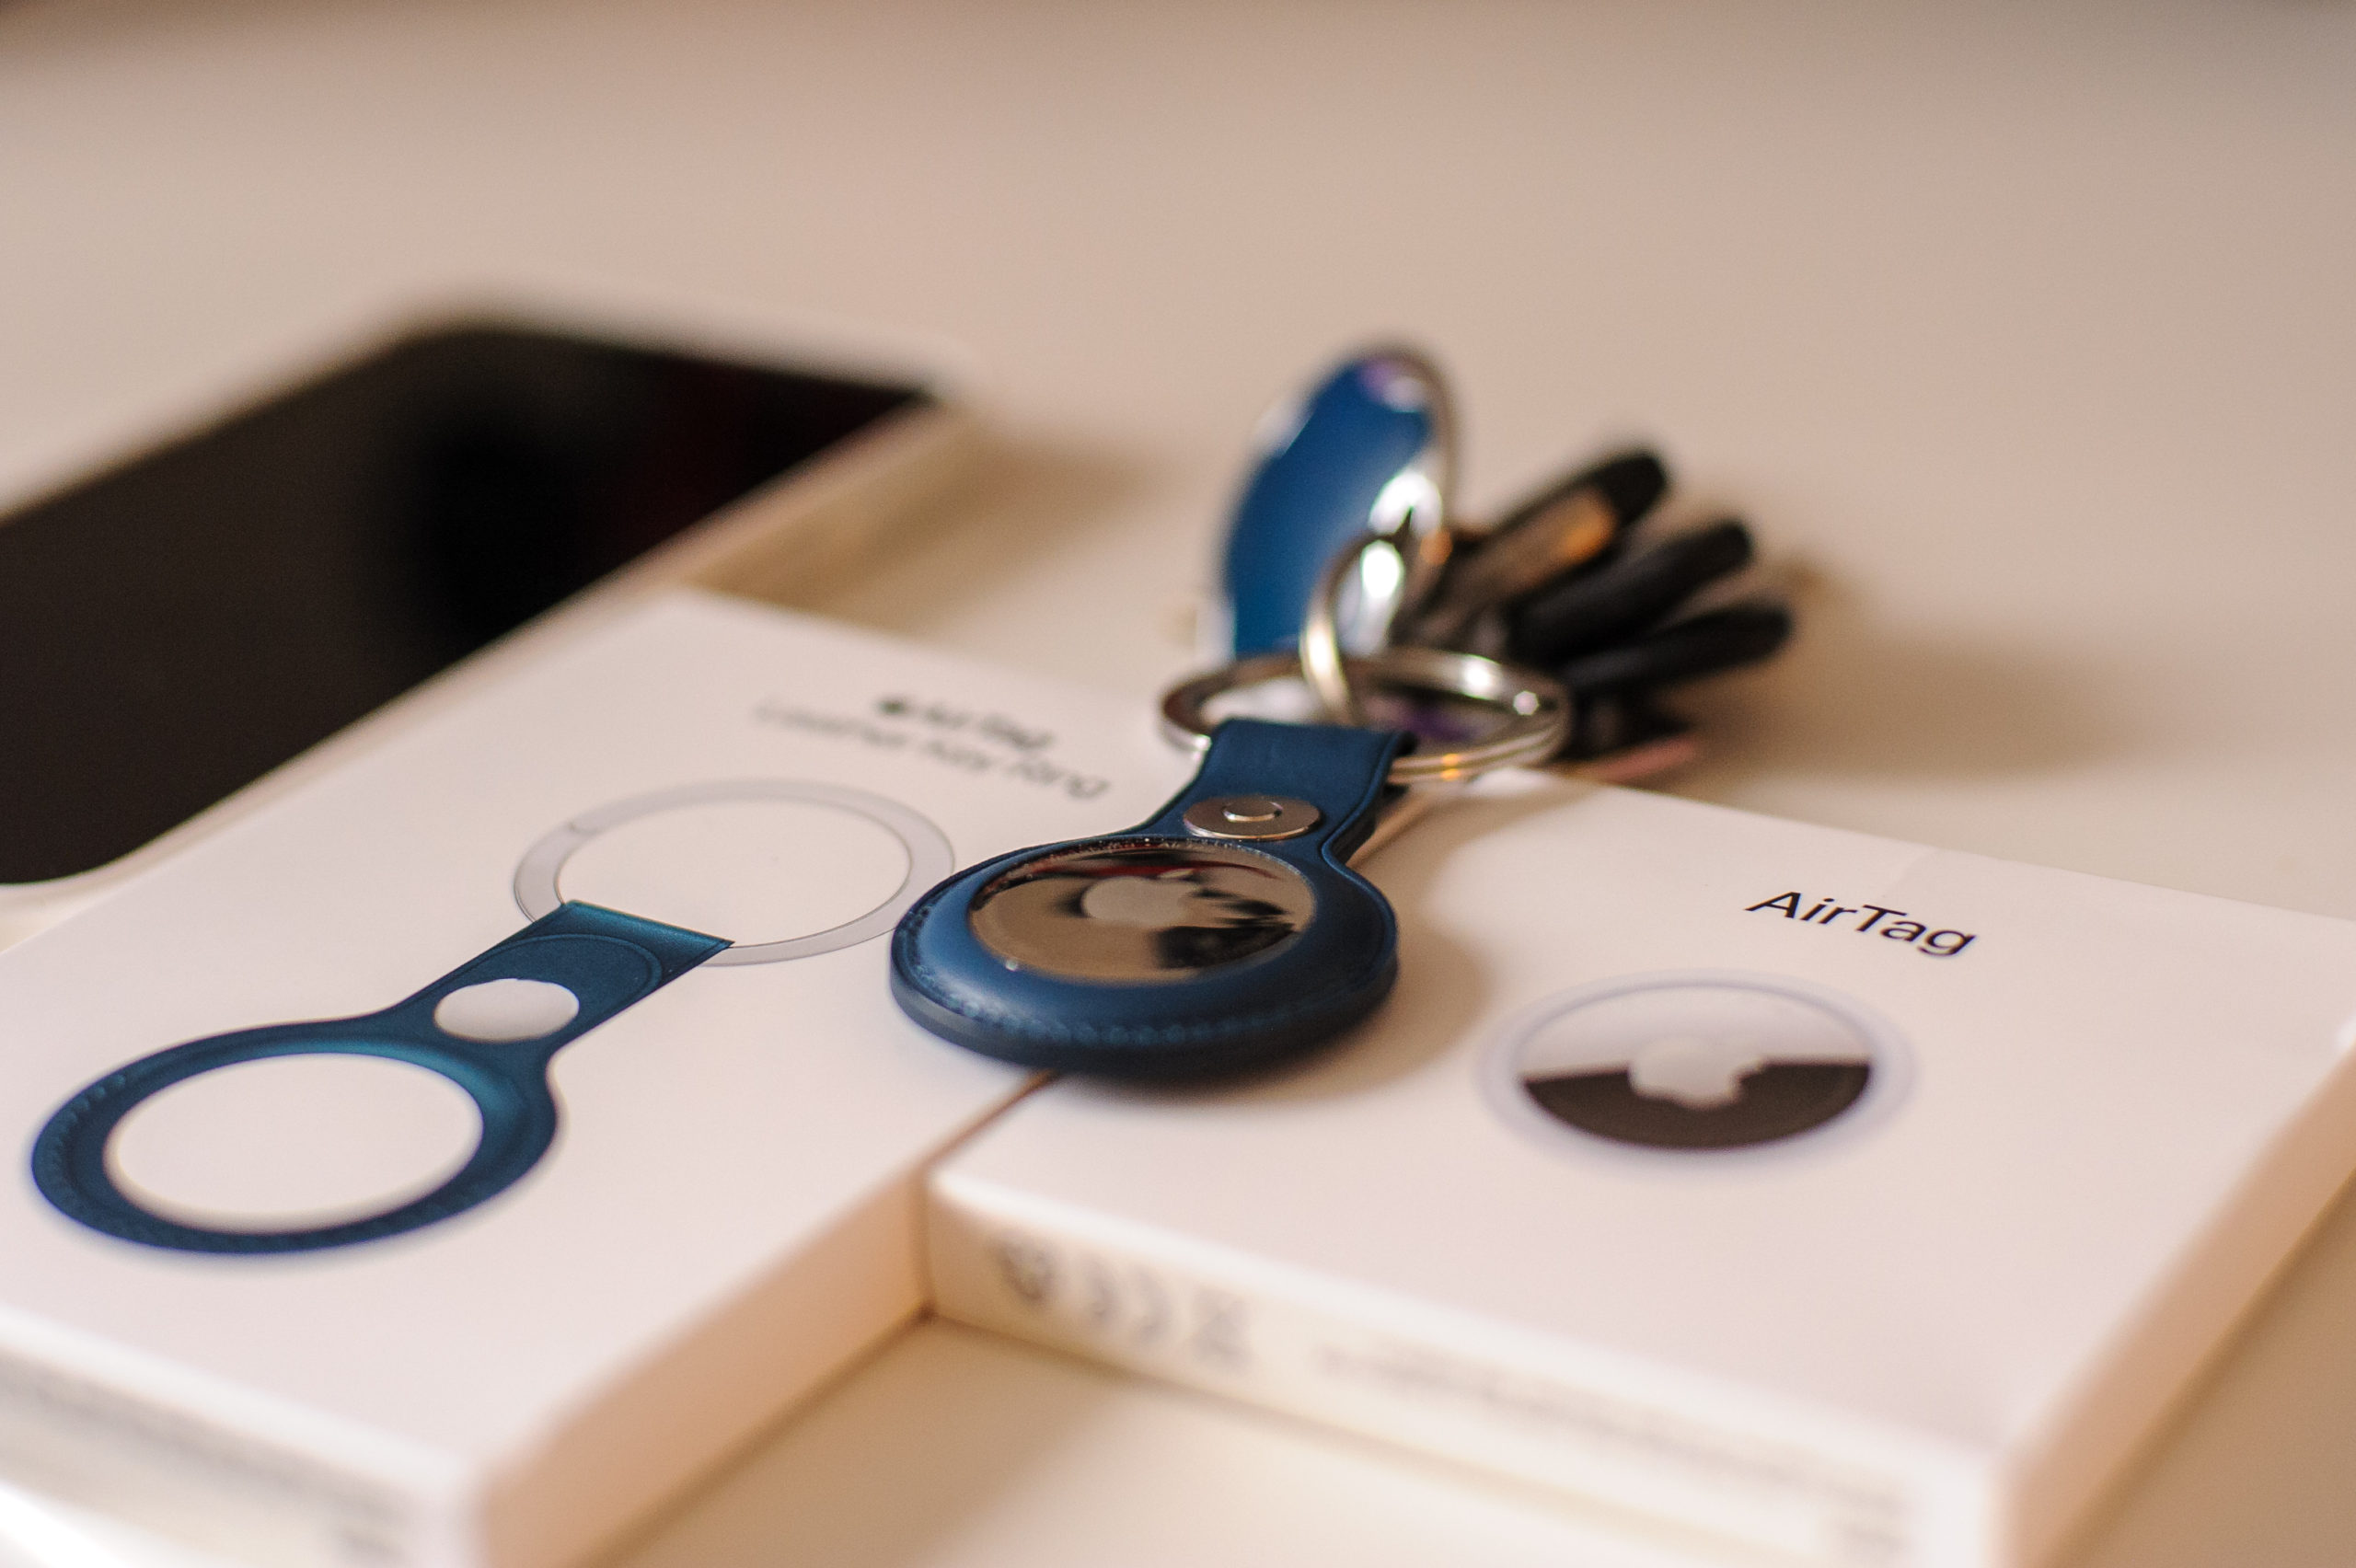
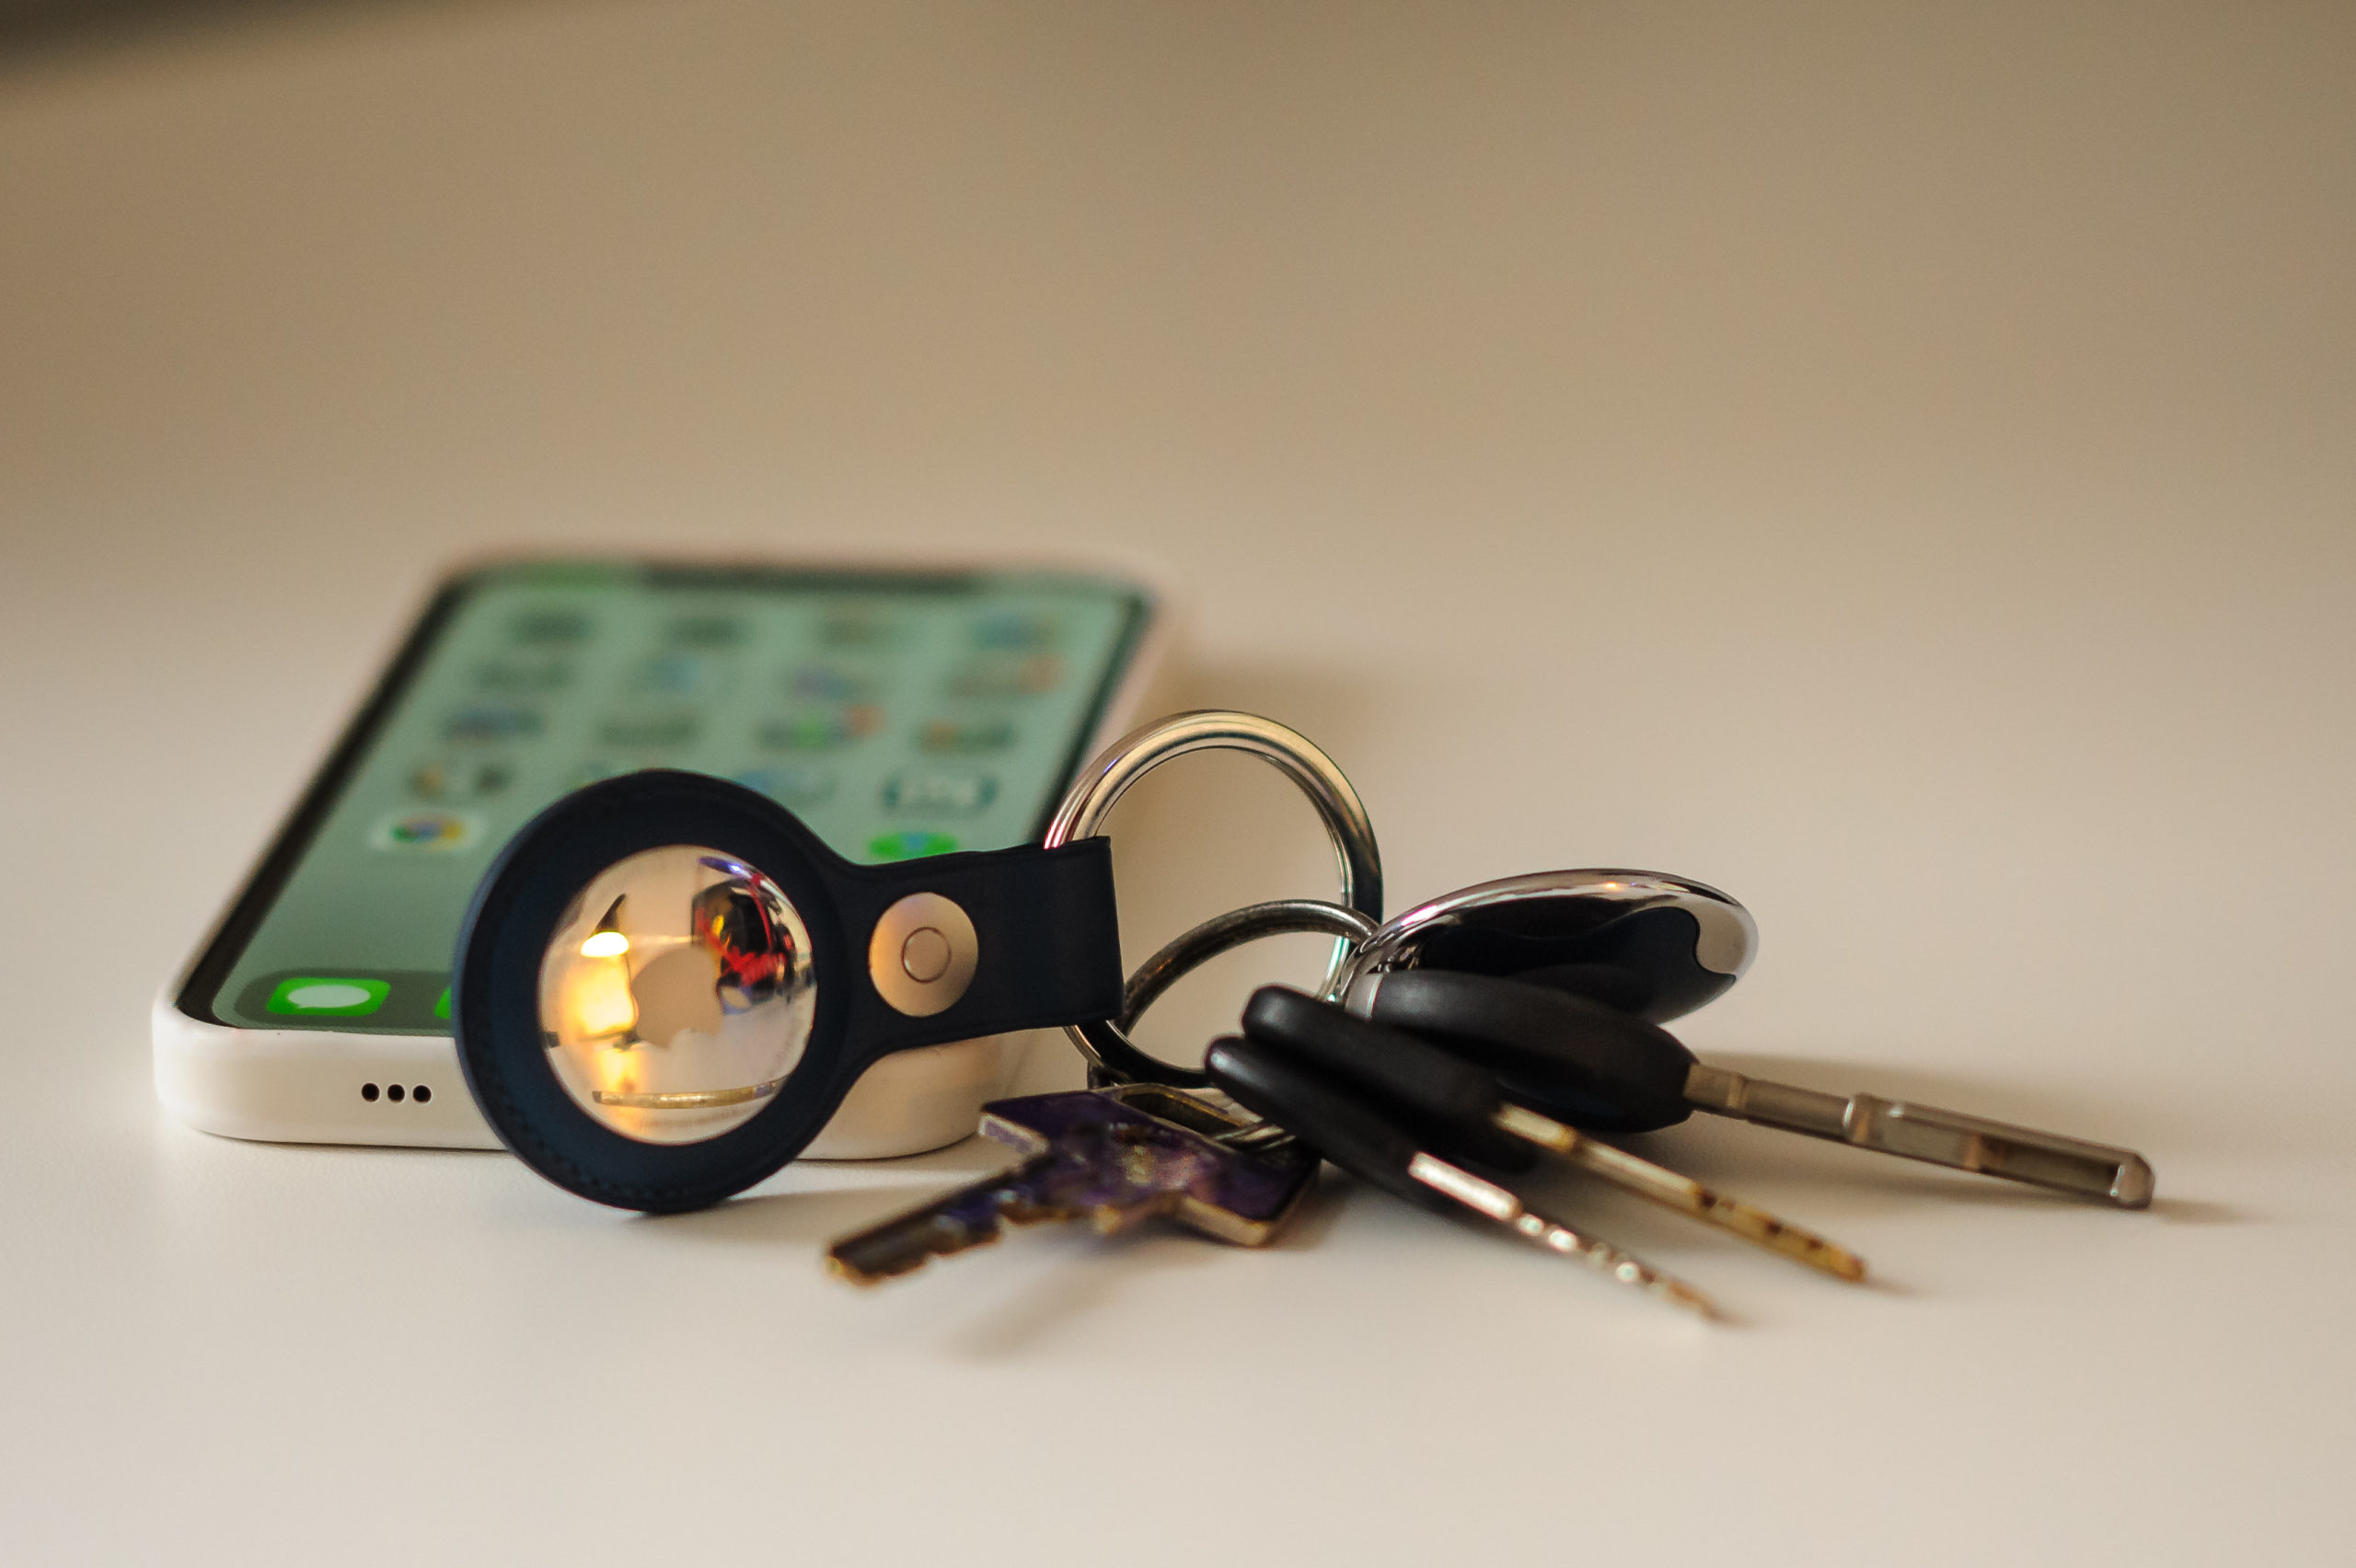
The Apple AirTag is as it says, a little tag that you can attach to literally anything, but most of us probably want to start with our keys. Then comes the wallet, backpack, laptop, etc. The options are endless. Thats probably why Apple offers a package of 4 with a good discount.
The leather key ring is designed to hold the AirTag and provide a key ring at the same time. It comes in many different vibrant colors, but as you can see I chose to go with a more conservative option:
Setup is easy
Setup is easy – hold the AirTag to your iPhone 11 or 12, and it will initiate the installation process. Select from the list of pre-defined options (in my case: keys) and you are good to go.
Use
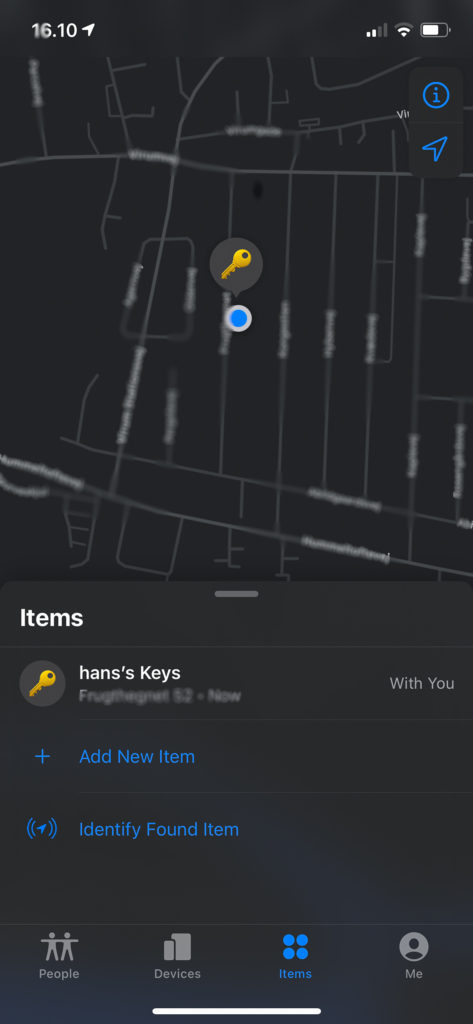
The AirTag can be followed in the “Find My” app. It took me a bit to dig it out from one of the folders, as it was not an app I have used previously.
You can also just say “Hey Siri, find my keys” and it will activate sound from the AirTag and after that open the “Find My” app. It works really well.
The sound is especially useful if know the keys are close nearby, and you just forgot exactly where you left them. If distance is greater, the “Find My” app comes in handy.
How it works
If your iPhone and the AirTag are close nearby, the the AirTag communicates with your iPhone via Bluetooth. If not, then the AirTag sends out a Bluetooth signal that can be received by Apple iPhones, iPads etc. close nearby. They listen to the Bluetooth signal, and forward the position encrypted and anonymously to you via iCloud. So provided you have “friends” nearby, the location of your AirTag can always be found. If not, then you can find the most recent location a “friend” of yours was close to the AirTag.
You can also register your AirTag as lost, and get a notification if it suddenly appears “on the grid”. It really is a clever design.
Conclusion
I cannot really find something not to like here.
Normally I find Apples prices a bit steep, but the price of 33 EUR here in Denmark seems more than fair, and you can drive the price down even further if you buy a package of 4 AirTags.
The design and ease of use is as always with Apple from the top shelf.
I cannot speak to the battery life. Apple promises that the batteries will last long as as it is an advanced version of Bluetooth that puts very little strain on the batteries, but that remains to be seen.
With regards to anonymity of the data we can only hope that Apple delivers to promise, otherwise hacking these apps would be the shoplifters dream come true! And then of course you need a lot of “friends” out there, but I guess that someone eventually will drop by your AirTag if you live in a not too desolated area of the world.
At approx. 750 EUR the Landroid M700 is certainly amongst one of the more budget friendly lawn mover robots, but will it get the job done?
Price
The Landroid M700 will set you back around 750 EUR, and hence it is one of the less expensive lawn mover robots available. You should however be aware that it comes without GPS tracking, which is an additional 200 EUR approximately. It is sold as a separate module you plug into the Landroid. You may not need it if your WIFI covers your entire lawn and if you don’t want to be able to track your Landroid, if stolen.
How it works
The Landroid needs you to install a boundary cable that defines the area in which the Landroid is to work. It is very important that you follow the installation instructions and give sufficient room between the cable and objects, as the Landroid follows the cable when it returns home to the base.
Compared to more expensive robots that have a so called guiding cable, which is a separate cable guiding the robot back to the base, the Landroid finds it way back to the base by searching for the boundary cable and following this counterclockwise until it is at the base. Any object along the boundary cable that stops the Landroid will be a show stopper, as the Landroid logically follows the boundary cable to find home.
It is also important that the lawn is free from any obstacles like fallen down branches, apples and tools from the shed, otherwise it will impair the operation of the Landroid. This was a little new to me, it is just like having a toddler where you keep objects out of reach to avoid problems…
The philosophy
Maybe a big word to use about a lawn mover, but it does operate somewhat differently from the Husquarna that I also have had the pleasure to test:
First, the Landroid has only one nose wheel, and this makes it very vulnerable to holes in the lawn. I had to fix several holes that I did not know I had before the Landroid would operate without interruptions. So you may want to get a lawn mover robot with 2 nose wheels if you plan to use it in less-than-perfect lawns.
Second, the Landroid only cuts 1/2 the width of the body. You can see here in the image below that the black area is where the crass is cut (my fingers show the cut area), behind the orange area there is nothing going on! So the Landroid needs to do a lot of back and forth in order to cut the lawn, as the blade is rather small. My guess is that the advantage is that the motor is less a strain on the battery and hence the Landroid can go for much longer stints than had it needed to power the motor to drive a larger blade. And it brutally drives the battery down to 10% before returning to base – other more conservative robots do that at 30%. And the battery can be used in other power tools from Worx and the other way around. So if you have several tools from Worx, you can share battery “pool” with the Landroid.
Third, the designers at Worx have prioritized that the robot is not to work when it rains! I have always been told that cutting the grass in rain is a waste of time, as the grass just bends and is not cut. But the much more expensive Husquarna I have tested did not have this ability.
The Landroid comes with sensors to detect rain, and if it is working, it returns to base, and if it is about to start, you can set up how long time it should delay its work, once the rain has stopped.
In contrast to the rain sensor, the cutting height cannot be controlled via an app as some of the more expensive robots offer. On the Landroid the height is controlled by a large turning knob on top of the body that determines the cutting height in mm’s. It feels a bit primitive, but when I think about how few times I have changed the cutting height, this seems to be a good place to lower the ambitions.
Operation
The Landroid is rather quiet. You can hear it working, but it is certainly not bad at all. Actually, it has several times bumped into me, as I was so absorbed in garden work that I did not hear it approaching.
The name M700 indicates that it can handle a lawn up to 700 square meters – mine is a bit smaller than that, and the Landroid seems rather relaxed maintaining the back yard of my house. In order to also handle the very small front yard that I have, I would need to install a second boundary cable, and move the robot. The front yard is simply too small for that, so my trusty old petrol driven lawn mover is still with me, and we cut the front yard in approx. 5 minutes. Notice also that the Landroid does not do corners very well, nor the area just outside the boundary wire (remember: you need some safety margin) so the good old petrol driven one also helps me out here.
The Landroid drive is pretty powerful. The two large rear wheels and a very small front wheel gives it lots of traction and it happily pushes smaller chairs around on the patio. It also detects non-movable objects such as a wall and makes recovery moves to get on with the job. In few cases have I seen the Landroid trapped, but that has been when the arms on the right hand side of the body have been caught in a branch or two, otherwise the Landroid does an pretty good job of pulling itself out of problems. But mind you that it does not like lack of space between the boundary cable and solid objects. And if holes in the lawn catches the tiny front wheel, then the Landroid gets stuck.
In terms of configuration I have simply asked the Landroid to generate a standard scheme, and made a few modifications on top of that. That works fine. You can see here in the display below that the Landroid is charging (43%) and that the schedule covers all days of the week – if no black box behind the letter of the day, then the Landroid has a day off (I’m a tough employer and it has duties all 7 days a week, but starts later in the day Saturday and Sunday).
You protect the Landroid settings with a passcode, but I am not sure how effective that is when it comes to theft – in that case you need to buy the GPS module to find your Landroid again.
The Landroid will make lines in the grass when cutting. In the image below, the morning dew clearly shows where the Landroid has been, but that quickly disappears and in general the lawn appears very neat and tidy when the Landroid takes care of it.
What is worse is that the Landroid works along the boundary cable so much that it eventually makes small tracks in the grass… Even if you ask the Landroid not to cut along the boundary wire, the Landroid will make tracks in the grass. Here I really miss the guiding cable from more expensive models…
Conclusion
What I like:
Price
Battery life / stint duration
Quiet operation
Easy setup
Good traction and trap recovery
Battery share with other Worx products
What I did not like:
Leaves tracks along the boundary cable
Does not handle corners well, nor the outside if the perimeter cable
Only one nose wheel – vulnerable to holes in the lawn
No GPS tracking (additional investment)
Vulnerable to boundary cable blunders
App does not work then WiFi coverage is missing / weak