Rechargeable? No thanks…
A few years back I tried my best to like and use rechargeable batteries. I figured it would be both cheaper and better for the environment. Long story short: I was disappointed. The batteries quickly lost capacity and I found them sitting in the charger more and more, until I gave up and went for disposable batteries.
Since then my use of batteries has only increased. Not only in camera gear, but in all sorts of appliances where a power supply is not feasible. Most recently, I have bought some WiFi enabled digital thermometers for my summer house, and each requires 3 AAA batteries! So it quickly adds up.
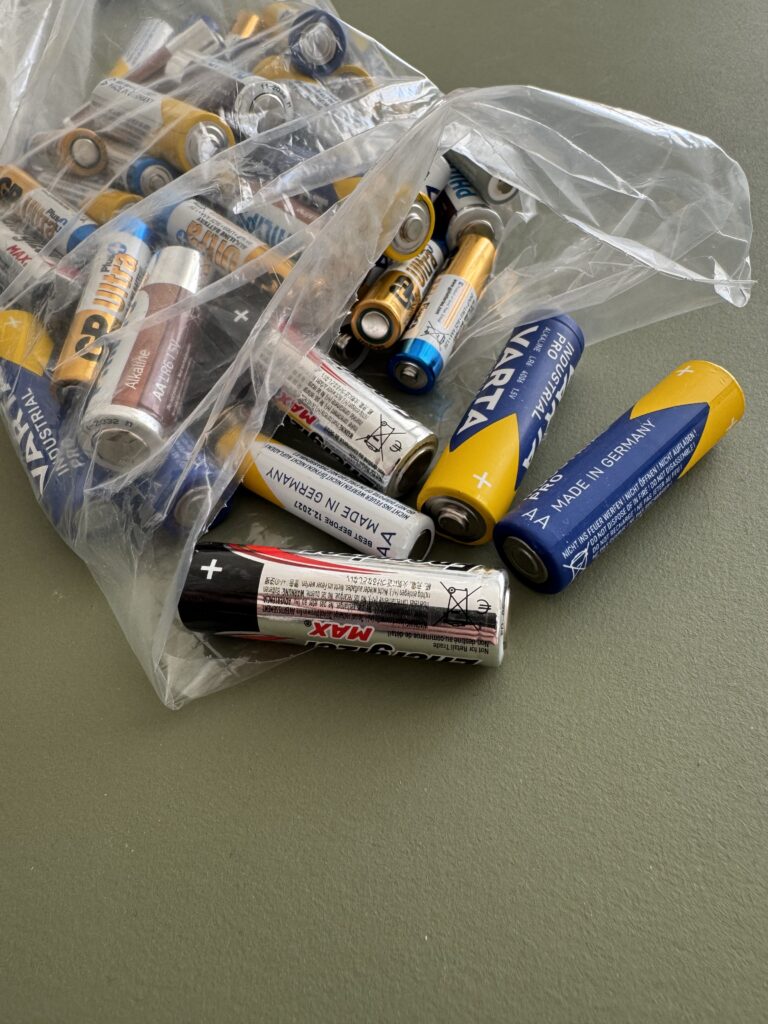
Of course I make sure to dispose the batteries correctly so it can be re-used as environmentally friendly as possible, but without being an expert, I would imagine that the industrial process of re-using the content of the disposable batteries would require a lot of energy. Not good for the environment either.
Try again?
So when XTAR reached out to me with the suggestion to test some rechargeable batteries and a charger, my first reaction was not that enthusiastic. But I have seen how battery technology has developed over the years, and the battery in my iPhone 15 is truly impressive. So out of curiosity I wanted to see what a modern rechargeable battery can to.
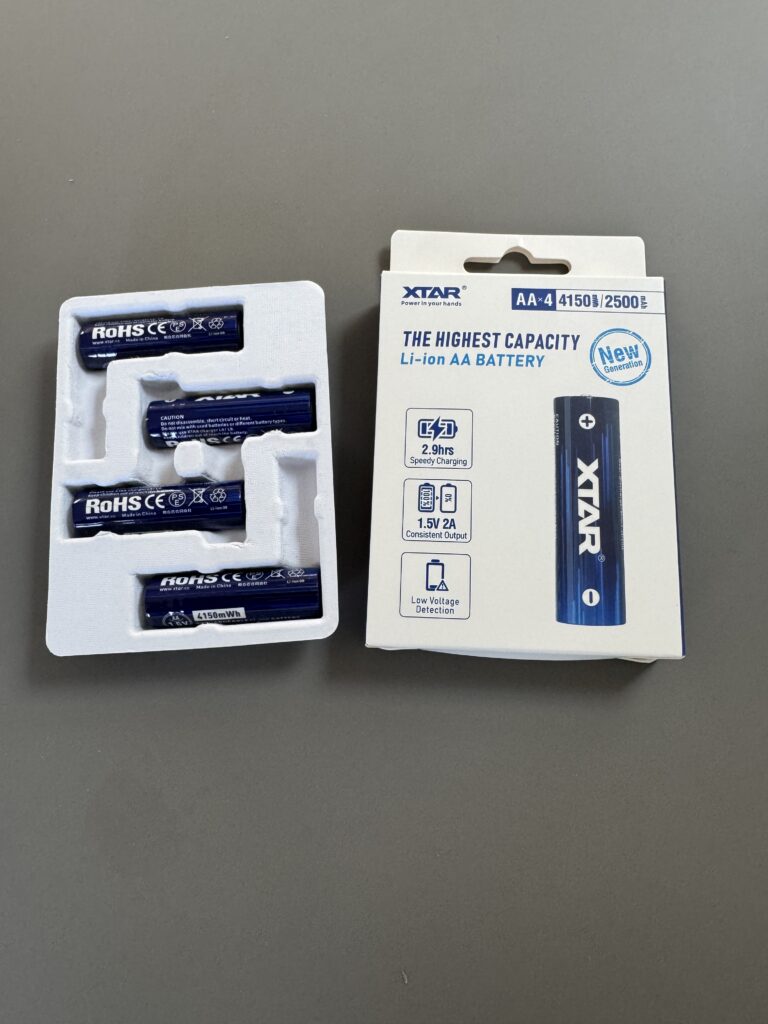
XTAR kindly sent me 4 rechargeable AA Li-ion batteries. You probably know the different battery sizes like AA and AAA, but the AA is very common and used in many appliances.
Without going too much into the technical details, a Li-ion battery has some features that I really appreciate. First, it does NOT mind partial charging. Other battery types require that you run it empty to maintain the capacity and I find that really annoying, as I never get it done. But the Li-ion happily works with lots of topping up!
Secondly, it self-discharges very little, only 1-2% per month. This is great if you have gear that you use seldom (like a backup flash) where you just want it to be ready when you pull it out from the back of the shelf to help you out.
Third, it charges fast – especially if you do partial charging – going from 20% to 80% is super fast.
And finally it holds a lot of capacity – the ones XTAR sent me hold 2500 mAh, which is 25-50% more than other battery types and disposable batteries. Just to give an example, the battery for my Nikon D4 holds 2000 mAh, or less than the XTAR AA battery, despite being much larger in physical dimensions.
Good news is that the downside is with the engineers! A Li-ion battery is complicated to regulate so it gives the output required, and therefore pretty advanced electronics is needed to make a Li-ion battery work properly. In this vein, it is important that you use a charger designed for the Li-ion battery, and thats why I was happy that XTAR also supplied a battery charger named VX4. This way, I know that the battery will be managed correct during charging – the Li-ion battery is a bit “fragile” due to its advanced nature, so do not stress the battery! Make sure the charger is designed to handle Li-ion batteries.
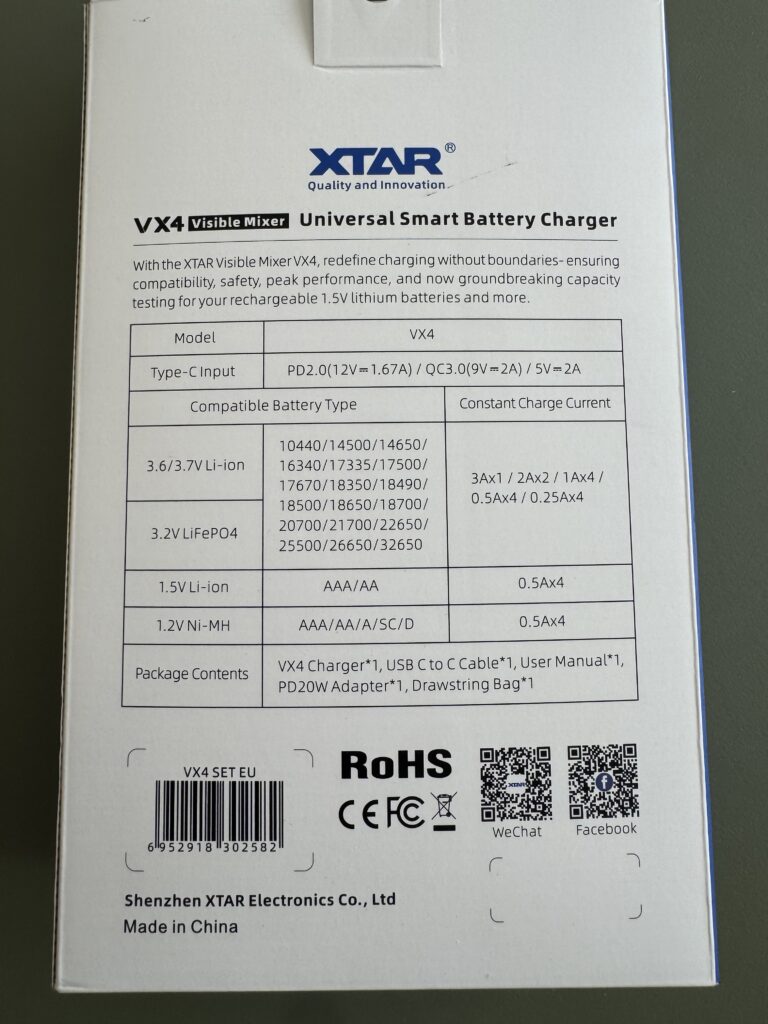
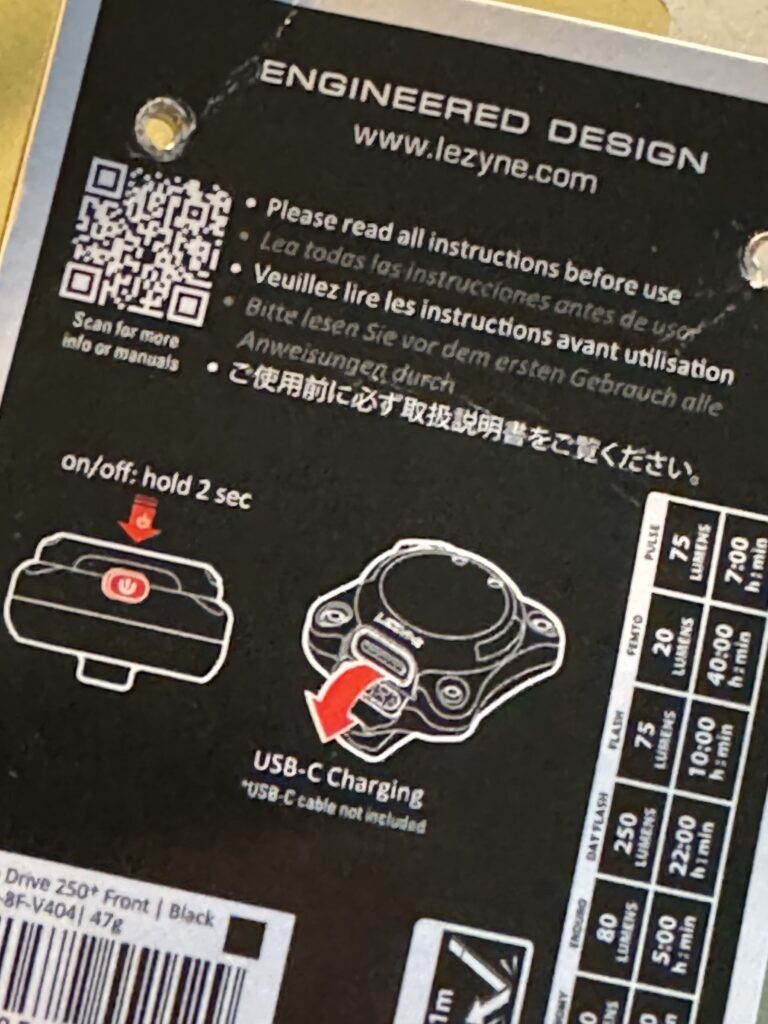
The VX4 charger can handle several different battery types and I must admit the table on the back side of the tin makes me a bit stressed, but you can see it above to check if your battery type is covered. For me the AA and AAA will cover the vast majority of what I need.
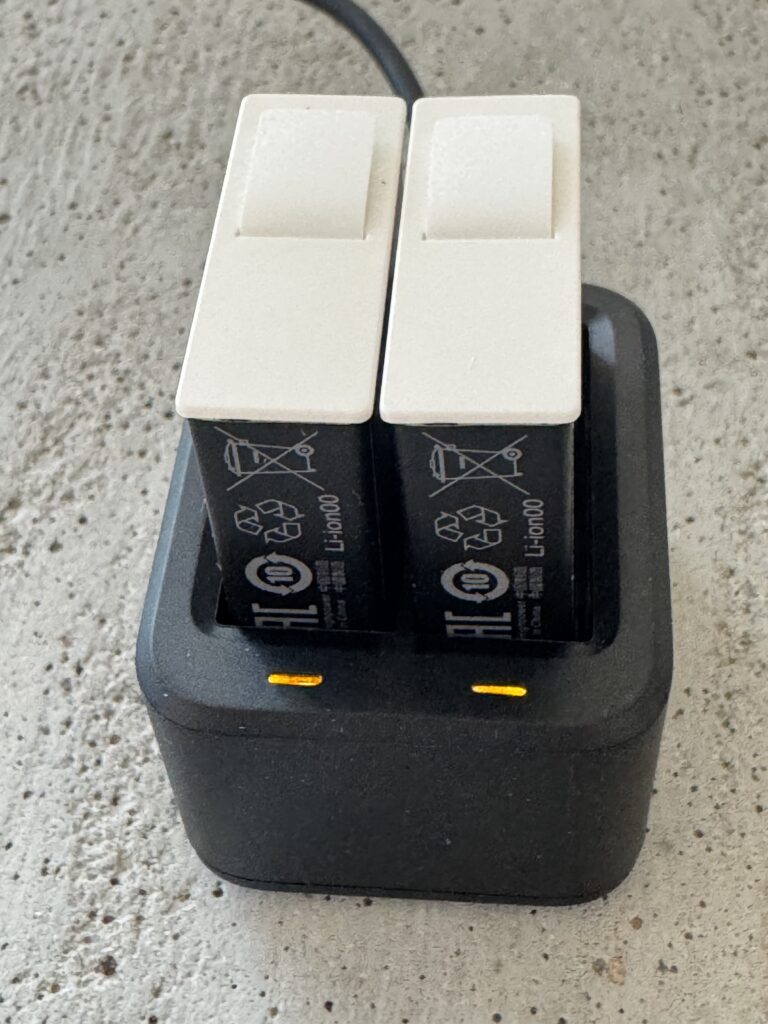
The lower part of the battery contacts is spring laden and can move back and forth to accommodate different physical sizes of batteries.
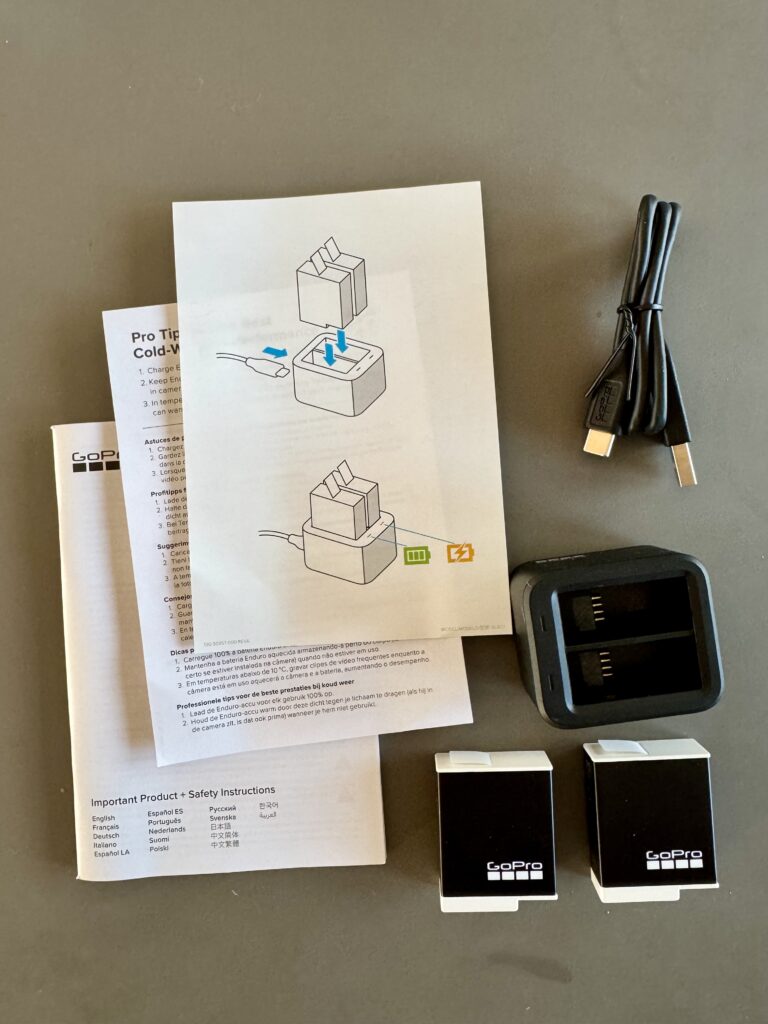
The VX4 comes with a power supply and a USB-C cable, so you can make use of the VX4 without the power supply and instead connect it to your PC or a power bank or whatever has sufficient “juice” to feed the VX4. If you have read other reviews by me, you know how much I love USB-C, but I will spare you and not elaborate further!
The test
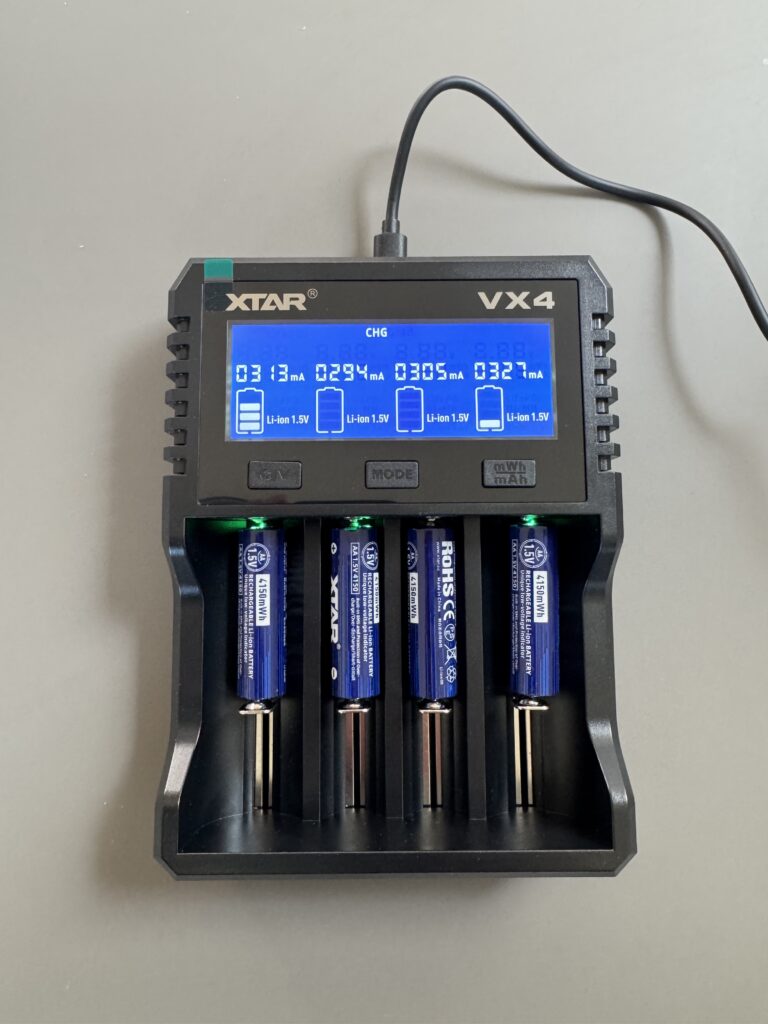
The batteries came charged from XTAR (nice service!), so the first time around did not reveal much about the speed of charging. However, I did learn that the charger has an advanced LCD screen that can show a lot of technical details and the short-and-sweet 2-pager manual explains it all. As I am not an engineer and simply want to charge my batteries, I have not dived into all the aspects of the charger.
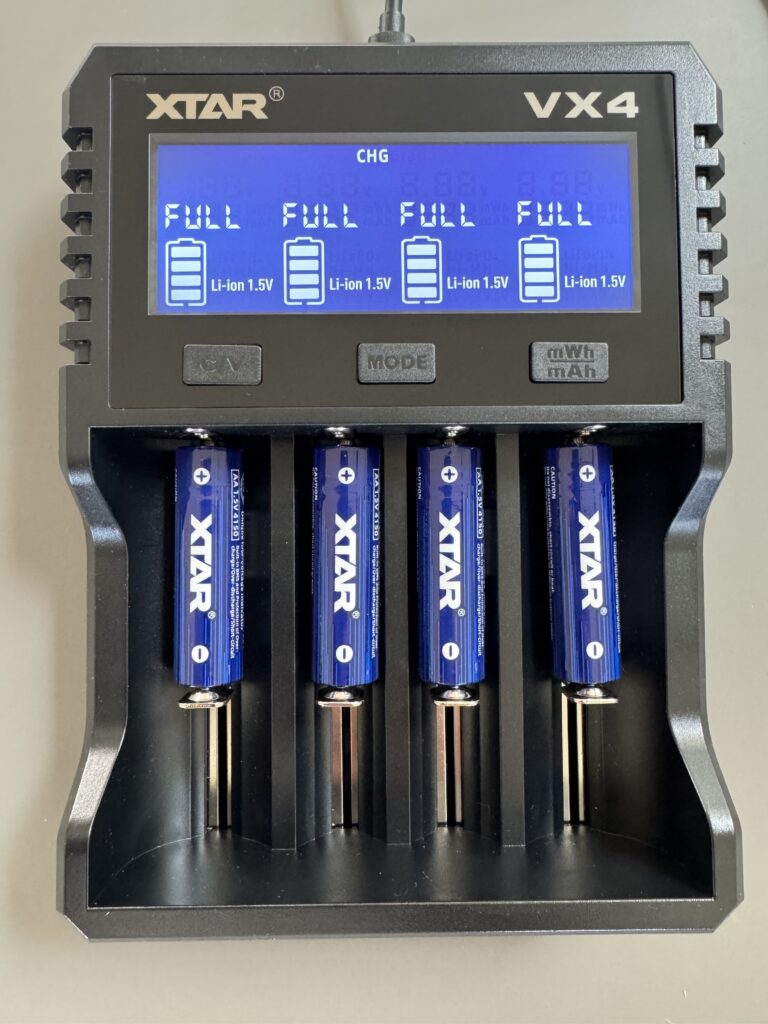
But it gives really illustrative graphics that lets you follow the charge process. And I am happy to report that also I understand what the charger says when it has charged the batteries in full – please see above!
The most brutal and demanding battery test that I can think of (as a photographer) is to use the batteries in a flash! The energy required to recharge the flash fast after it has gone off is simply brutal. Even flashes with built in batteries tend to go tired very fast, so it will be interesting to see how the XTAR AA batteries manages this.
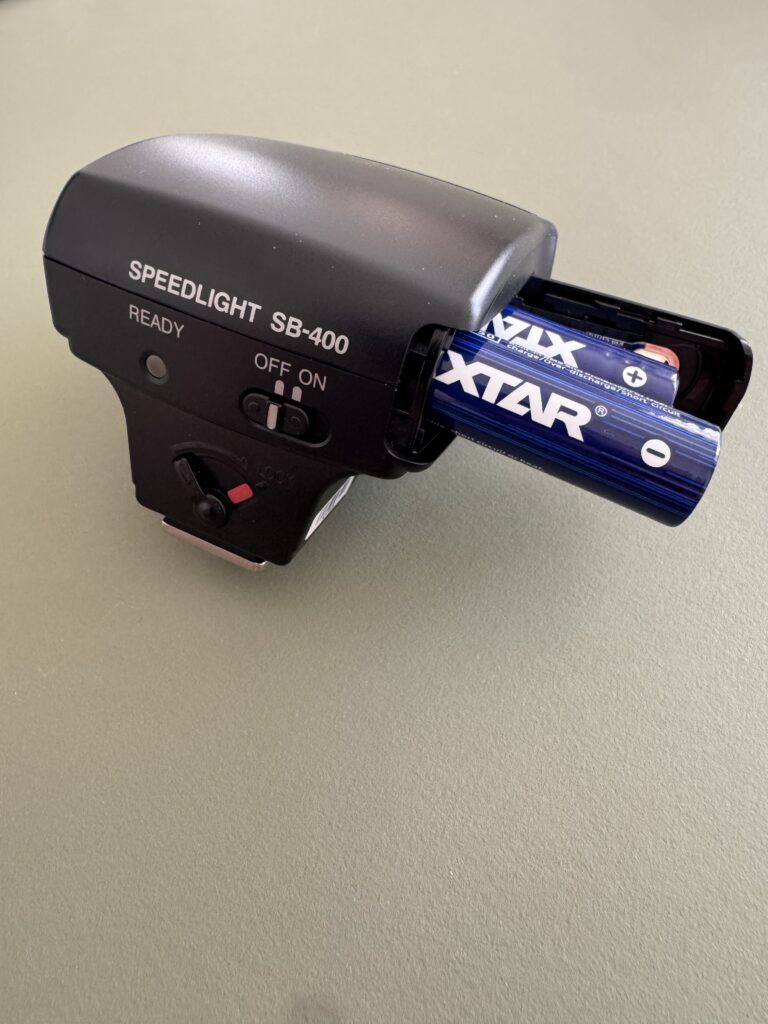
My little beloved Nikon flash SB-400 takes two AA batteries. It is a very simple small flash that fits my Nikon cameras. It’s only “advanced” feature is the ability to turn the flash light upwards to give you more indirect light for your subject. It does not even have a test button (!) so I had to mount it on my trusty Nikon D4 to test it.
Test results
At continuous high release mode where the camera fires rapidly, the flash could keep up with approx 30 shots, and after that it started to miss every second shot or more (i.e. the flash did not fire when the camera shot).
At continuous low release mode, to my surprise, I got the same result approximately. After some time, the flash could not keep up.
In single release mode, firing approximately once every second, the flash managed to re-cycle and be ready for at least 50 shots (after that, I stopped testing – I think it will be able to go on and on…).
After firing 150 shots with flash activated I stopped the test and took out the batteries. They felt warm – not alarming, but noticeable, and to me this is an indication that the test put the batteries to work!
Testing with conventional disposable batteries, I got the same results, and my thinking is that the limit is in the flash’ ability to recycle fast enough (i.e. consume the juice from the battery fast enough) rather than the battery not being able to feed the flash as fast as it asks for.
Recharging the battery, my hope was that the XV4 charger would show me how much was left in the battery, but I could not figure out how to do this and I think it is because there are some limitations to the 1.5V battery and the features around capacity. However, what I can report is that after having fired around 150 shots with flash activated, it only took the charger 15-20 minutes to re-charge the battery to full. That is truly impressive!
Conclusion
My little non-scientific test has convinced me that Li-ion batteries have come a long way and that XTAR both in terms of the batteries and the charger delivers a really solid product. Had such a product been around way back when I first tried rechargeable batteries, I would not have ditched the disposable ones for good a long time ago.
The one thing I have not tested is how the capacity declines over time. But I can say that my iPhone is at 89% of original capacity with more than 400 charging cycles completed. I think you will find the XTAR batteries deliver roughly same performance.
At around 25-28 EUR for four AA batteries, this technology is certainly not cheap. But if you multiply the price for a disposable AA battery with just half the cycles XTAR promises, I think you will find the business case more than justify the (seemingly) tall price for these batteries.
Continued reading
Review: XTAR GoPro battery charger on-the-move
Review: XTAR Camera Battery Charger