Multi flash – one image
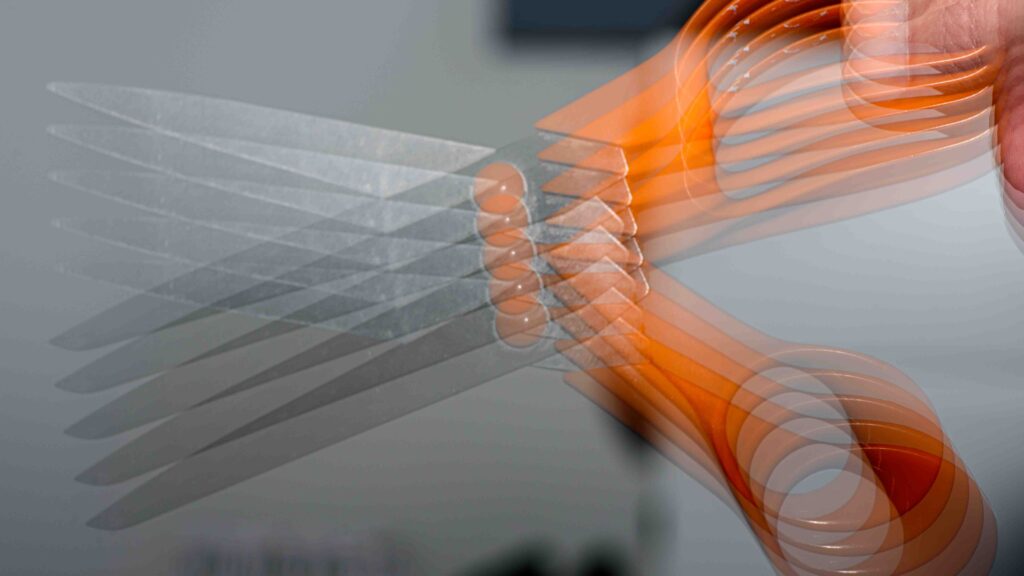
You can use your flash in stroboscopic mode to get several exposures in one image in one go. The flash fires a series of flashes while the shutter is open and this can capture motion and change in a way that illustrates how the subject is moving across the frame.

Flash setting
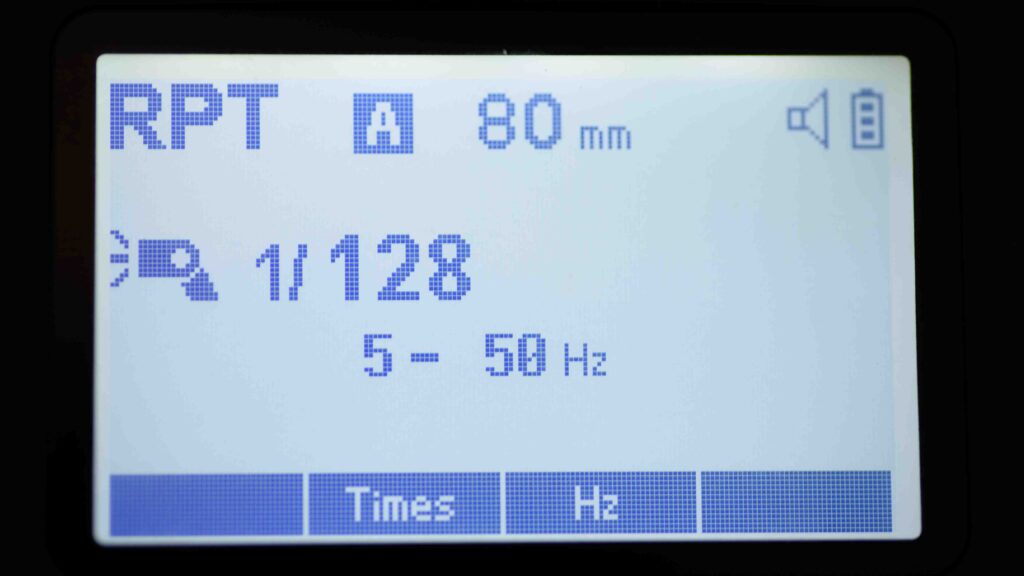
The setup of the flash involves two parameters: the number of shots and the frequency of the shots, i.e. how quickly after each other they are fired. This needs to match the shutter speed so all the flash bursts are used in capturing the image.

Your flash will typically ask for these two parameters as “Times” and “Hz”, where the first is the number of times the flash is to fire. The Hz is less intuitive, but means the number of flashes fired in a second. So 50Hz would mean 50 bursts of the flash in a second. You can find the appropriate shutter speed by dividing “times” with “Hz”: In the example in the image above, the flash is instructed to give 5 flashes at 50Hz: 5/50 = 0.1 second shutter time.
Stroboscopic photography requires the flash to be in manual mode, so you determine the flash power. In terms of how much power the flash is to give, my advice is: as little as possible – around 1/128th is a good starting point and then you can work a bit up or down from there.
Camera settings
I usually shoot with my camera in manual mode and have camera settings so that the ambient light does not add to the exposure. In other words, if it was not for the flash, then the frame would turn out completely black. My camera settings are:
- Base ISO, typically 100, but subject to the camera
- Shutter speed: 0.1 – 1 second (but you can go much longer if you want to)
- Aperture: Well closed down, say f/8 or higher.
You need to experiment with the settings – I typically adjust the aperture to get the right balance between eliminating ambient light and the power of the flash. Mind you that if the subject is far away from the flash, then the flash power needs to be increased significantly. My advice is to start out with simple cases like the examples I have shown in this post and then work your way towards more advanced scenes. You will find that shooting stroboscopic involves a lot of trial and error and that you will see a lot non-keepers. But keep going – it is a great feeling when you succeed!
Take care of your gear
Shooting stroboscopic is very taxing for both the flash and the flash battery, so you may find that the flash will stop working because a overload safety mechanism starts to engage. I recommend you consult the manual for your specific flash to see how many strobes it can handle before it needs to rest. And stay well below that limit just to protect your gear. Better safe than sorry.
Intentional Camera Movement
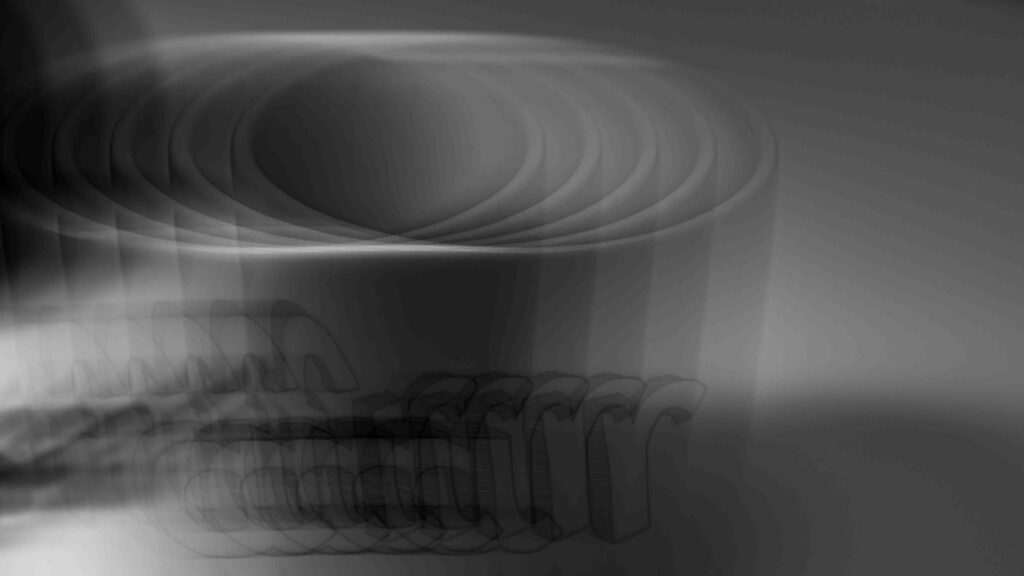
Many use the stroboscopic effect to capture motion, but as a twist you can also use it to capture intentional camera movement. In the example below I move the camera while the subject is very still!

Related reading
Can a flash zoom? And what is the point?
What is the wide-angle diffuser in your flash?
What is flash duration? And should you care?
