Manual exposure
There can be many reasons why you want to control your exposure manually – the scene may contain a lot of bright or dark that confuses the automated metering system, you are shooting with flashes in manual mode or you just want to control the exposure because you like this way of working. Whatever the reason, there is a way to secure correct exposure using a grey card (18%) and the histogram in the camera.
Right in the middle
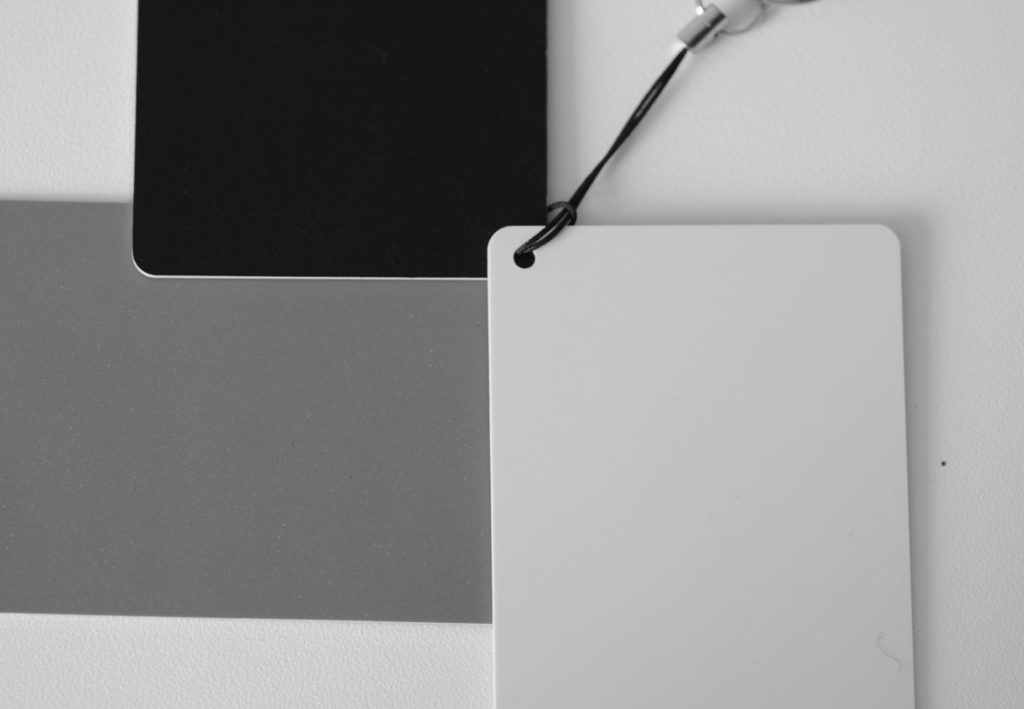
One of my flashes came with a grey card in credit card size. Actually it came with 3 cards, one white, one black and one grey. You only need the grey one, but just for the fun of it, I will use all 3 in the following.

The grey card returns light in such a way that if your exposure is correct, then the grey card will produce a peak in the histogram right in the middle of the diagram. The histogram shows the distribution of light in the scene, with completely black areas to the left, completely white to the right and everything in between somewhere in the middle. The height of the graph shows the number of pixels in relation to the entire scene. So if you have a very dark scene, then the histogram is “lefty”, i.e. it looks like a mountain appears in the left side of the histogram whereas the right side is more flatland.
The simple idea is now that you take a test image of the scene, study the histogram and if it is off center, then you adjust the camera settings to make the grey card appear in the middle. If you are in Live View on your DSLR or have a mirrorless camera, you can actually see the histogram update real time as you adjust the camera settings, and hence no need to do a test shot unless you want to.
You adjust the camera settings meaning ISO, Aperture and Shutter speed. If shooting in manual mode is new to you, you can follow the link and see how it is done on a Nikon D750. The principles are much the same across different camera brands, and I think you can get the gist of it by reading the post in the link.
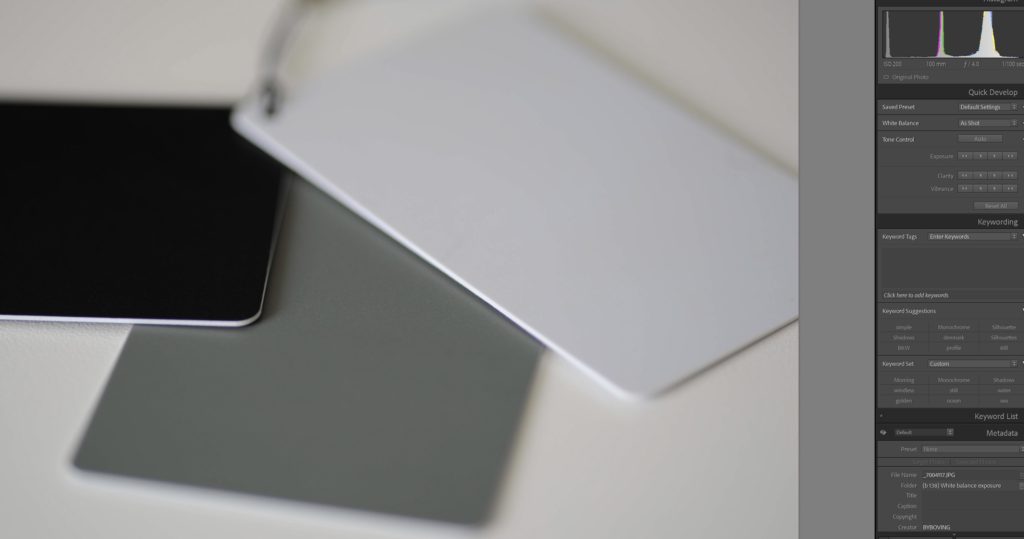
In the example above, you can see the 3 cards on a whit table and top right the histogram. Yes, it is a bit small, but you can see that there are 3 peaks – one the the very left originating from the black card, then the peak in the middle from the grey card and then the wider peak to the right, that is a combination of the white card AND the table behind the cards. This table is also white, but not as bright as the card. So the rightmost peak is also wider than the other two, as it is a combination of the table and the white card that span across a wider range.
In this example the grey card peak is not in the middle, but to slightly to the left, which is a sign of underexposure. Had it been to the right – then overexposure. So in this case the camera settings needs to be adjusted to let in more light, say leaving the shutter open for longer time or opening up the aperture. After the adjustment, a new test shot is needed to see if the desired effect has set in. If not, then redo until the grey peak is right in the middle.
So this is really all there is to it. Given that the ambient light does not change or the flash settings remain constant, you can now shoot a series of images without worrying about the exposure settings on your camera. I find this super useful for product shoots and indoor portrait shoots.

