Introduction
The Sony Cyber-shot DSC-RX100M3 camera makes it easy to take panorama pictures. Most of us have got used to the ease of taking panorama pictures from our smartphones, and the RX100 matches that in terms of user friendliness, and on top also gives better picture quality. The RX100 will get your panorama picture ready “in camera” meaning that no post processing is necessary in order to stitch the pictures together. It is ready for you to view a few seconds after the sweeping is completed. But lets dive right into how to take a panorama still picture with the RX100.
How to
To get started you have to turn the mode dial to the panorama mode as shown below. It has a symbol that looks like a box that has been stepped upon lightly:
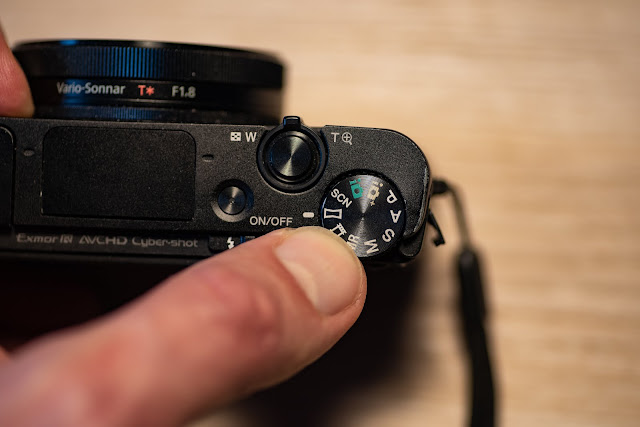
The panorama symbol above is flush with the white dot on the camera body. Once that is done, all you have to do is press the shutter and follow the instructions on the screen. Notice that you don’t have to hold down the shutter while the panorama shooting is in progress – you can release the shutter immediately – the camera takes over from here.
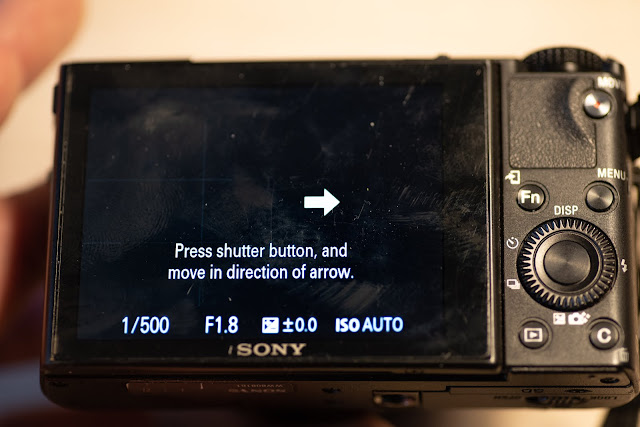
By default the camera will ask you to swipe the camera from left to right while it takes a series of pictures. And it will tell you this via the LCD instructions:
In that case, start pointing to the left of what you want to be in the center of your frame and with a steady hand swipe the camera from left to right.
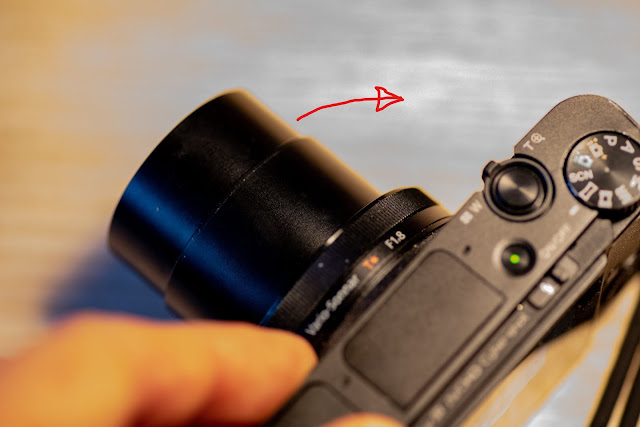
You can use a tripod or the like to stabilize the camera while you sweep, but in my experience the camera (in daylight) takes excellent hand held panoramas.
When you sweep, the camera will give you a status bar showing the panorama progress, but I would ignore that for starters. Simply concentrate on moving the camera in a steady pace from left to right and continue until the clicking sound stops. Once the process is complete, the picture will be presented to you on the LCD screen.
If you have moved the camera too slowly, the RX100 will give an error message at the end of the shooting and ask you to start over again. Don’t be frustrated when this happens – it generally takes a few attempts to get the panorama captured.
The result
The RX100 presents the result in the LCD screen, and it may look a bit strange since it is presenting a very wide picture that is not very tall on a small LCD:
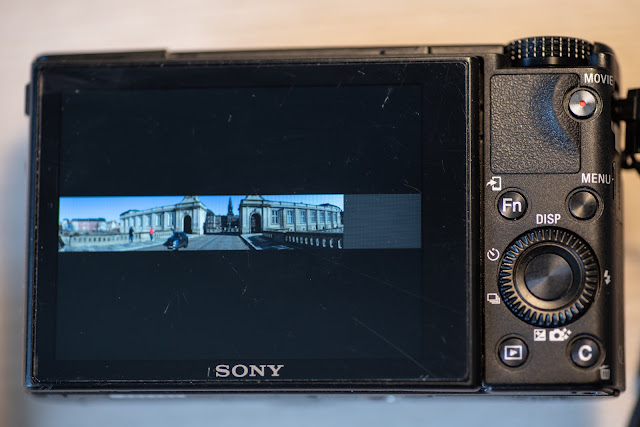
The example above is a picture of the Danish parliament. As you can see, the camera shows the picture in full width and hence not very tall. And apparently I have done something wrong as the right hand side of the picture is left grey. But it is super easy and fast to do a new panorama, so no harm done.
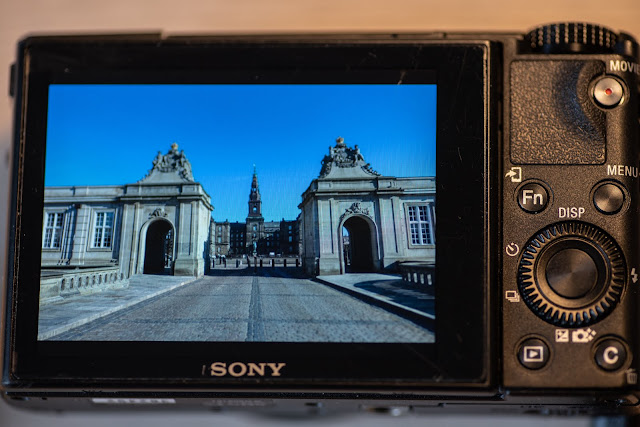
If you have the panorama presented as above, you can get the RX100 to present the panorama as a small movie, where it pans across the picture. Just press the center of the command dial while the panorama is displayed on the LCD, and the presentation starts. The good thing about this way of seeing it is that all of the screen is used top to bottom:
Configuration
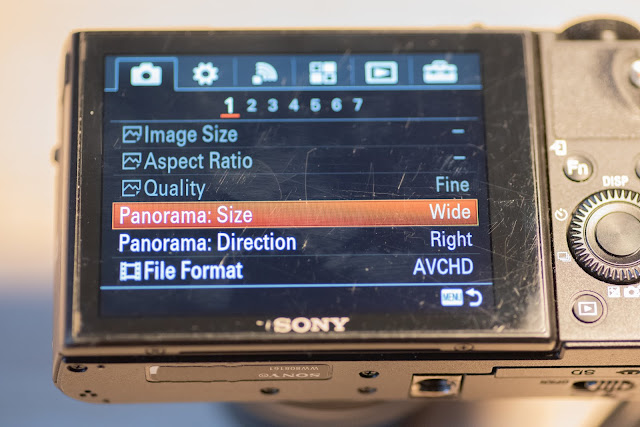
There are a few options available regarding the panorama function. If you go into the menu system and on the first page on the first sub-menu in the main menu, you will find two options: size and direction (sorry that the LCD is so scratched here – it is a camera I use a lot!):
The size menu gives top options: Standard and wide:
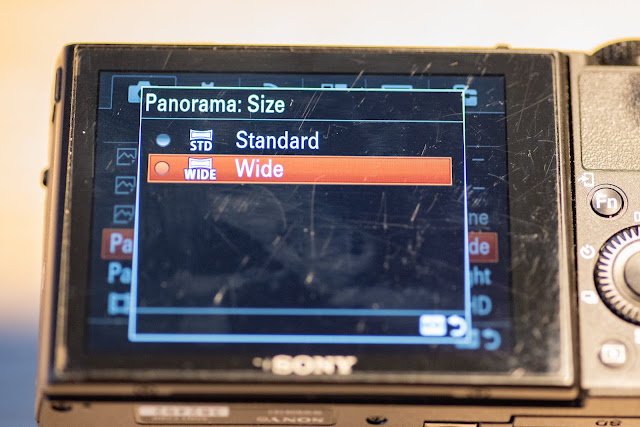
You can test both versions, but as you probably have guessed, the wide version stitches together more pictures than the standard mode, and hence will give a wider panorama and ask you to turn the camera for a bit longer than the standard mode. My suggestion is that you try both and see which one is to your liking.
The direction menu lets you choose which way to swipe the camera, and I find this option especially useful if I do a panorama in portrait mode. Then I ask the camera to swipe up, but as the camera is 90 degrees turned it becomes sweeping to the right! The point is that the aspect ratio of the panorama is changed so that the picture is more tall and less wide, but there are probably many other reasons why you want to change the direction.
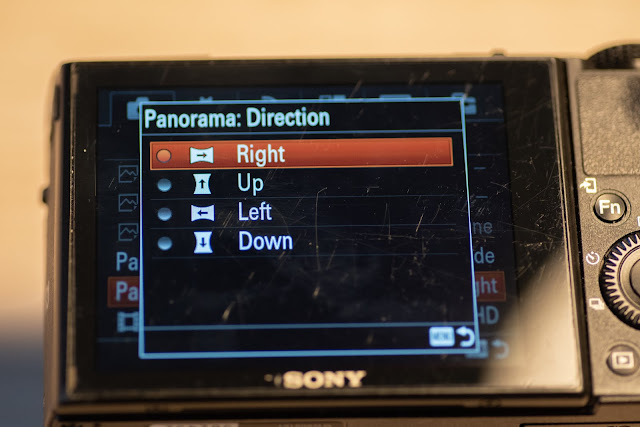
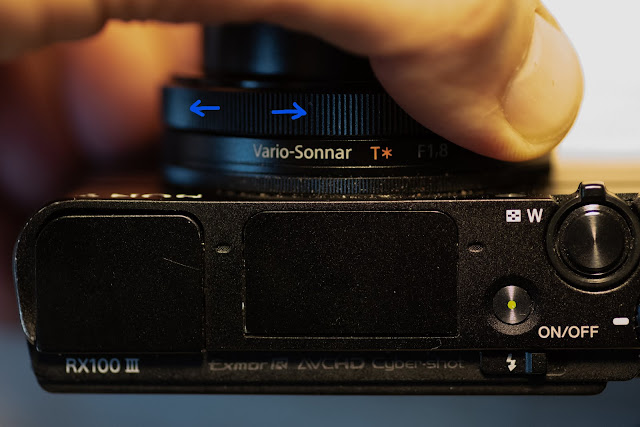
There is a more easy way to change the direction when in panorama mode – simply turn the ring on the front of the camera, this will change the direction (the LCD will inform you):
Moving objects
If you have moving objects while shooting the picture, you may find that you get some strange results. Take a look at the picture below, where the cyclist has been captured many times and chopped up in the most dramatic way! Poor guy! As you have probably guessed, he is moving in the same direction as the camera while producing the panorama. Had he been moving the opposite direction, we would have seen him appear only once and in half a version!
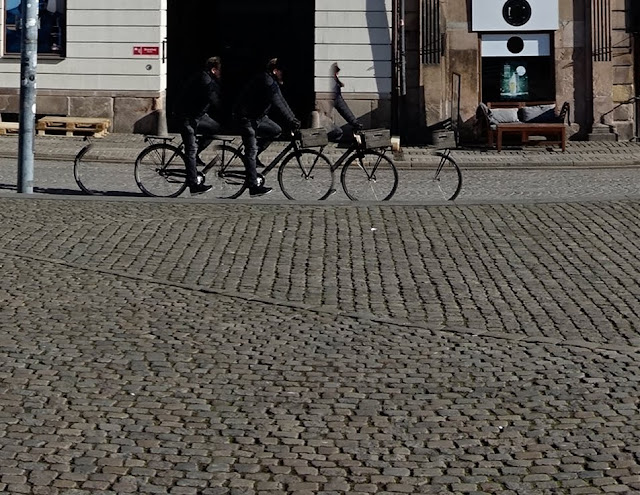
So if you can, try to avoid moving objects when shooting your panorama, unless you are prepared to work with the picture in post when you get back home.
Questions and comments
Hope you found this blog useful. Questions and comments are more than welcome.
