Manual mode
Manual mode is to many an off limits discipline, but there is no need to shy away from manual mode as it is a small investment to learn, and it pays off in great dividends in terms of better control of the camera and hence the pictures you take. And the good side effect is that by knowing manual mode, you also automatically know Shutter priority and Aperture priority, as these are “sub sets” of manual mode. But I advice you to practice manual mode until you have it “under your skin” and the controls and dials are – if not second nature – then at least part of your muscle memory, so you don’t have to think too much about the controls when you start shooting in manual mode for real.
If you want more detail on the exposure triangle, this post may be of interest to you.
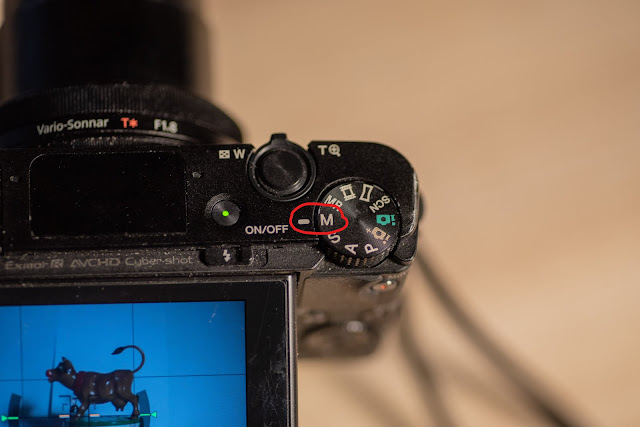
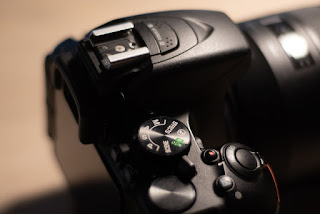
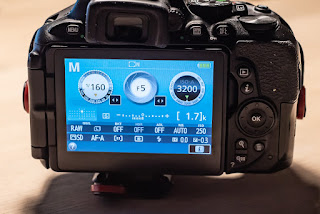
To initiate manual mode, you need to select mode “M” on the mode dial, located on the top left of your D750 camera. Remember to push down the center button while turning the dial, otherwise your camera is less cooperative.

Aperture
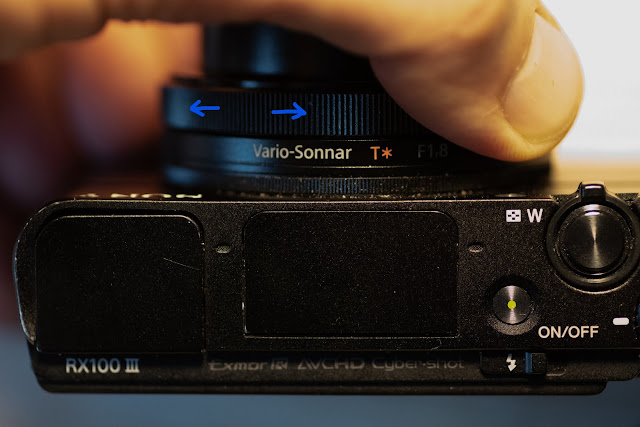
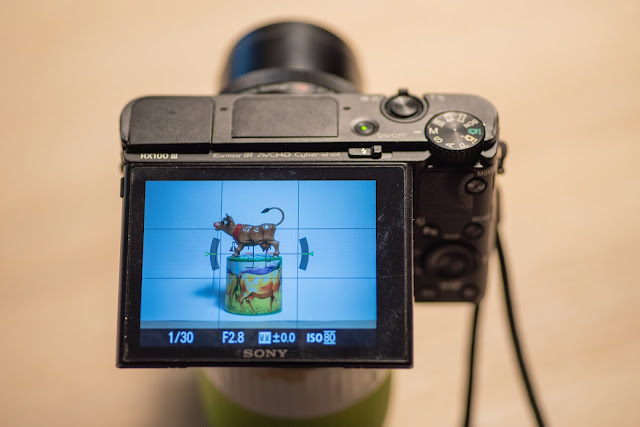
The aperture is controlled via the command dial on the top right front of the camera. By turning the wheel left and right, the aperture changes accordingly. In the LCD display on the top right of the camera, you can see the selected aperture. In the picture below, the aperture is set to F/10:

Shutter speed
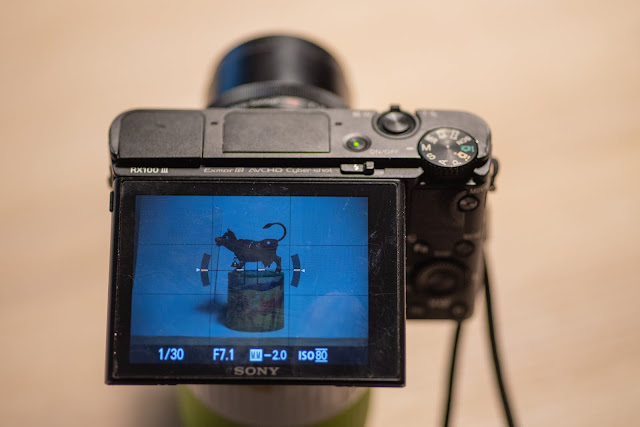
The shutter speed is c controlled via the command dial on the top right rear of the camera. By turning the wheel left and right, the shutter speed changes accordingly. In the picture above, the shutter speed is set to 1/1000th of a second, which is pretty fast. This is shown as 1000 – the “1/” is implicit. So a quarter of a second (1/4) is shown as 4.
ISO
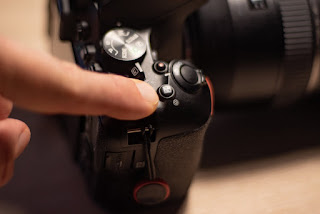
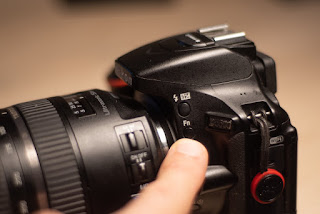
The ISO has a dedicated button at the bottom left if the camera, the second button from the bottom.

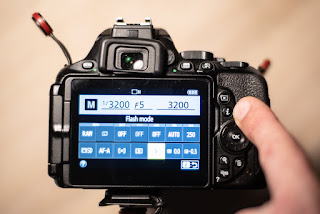
When you push and hold that button as shown below, the ISO selection menu appears. Notice that only bottom half of the screen relates to the ISO – it is boxed in by a thin frame. The front command dial now controls the ISO auto setting (on/off) and the rear command dial controls the ISO value. You can see the graphics illustrate this to the very right. The selected value here is ISO 125 and ISO Auto setting to on.
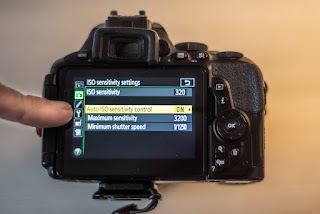
When ISO setting is on, the camera selects the ISO as it sees fit (remember, you still control the Aperture and Shutter speed). If Auto ISO is on, the selected ISO sensitivity is ignored by the camera, but as soon as you set Auto ISO to off, then the camera uses the value selected here.

You can re-program the record button on the top of the camera (the one with the red dot, sitting right behind the shutter release button) to act as the ISO button. Press the menu button on the rear of the camera, top left, select the custom settings menu (aka the pencil menu), select f for controls and scroll down to F9. Here you can set the record button to act as an ISO selector:

Many find this configuration useful, as the entire exposure triangle can no be controlled with the 3 buttons/dials sitting right next to each other on the top right of the camera, with no need to move the eye away from the viewfinder.
Ok, that concludes the walk through of the controls and dials on the Nikon D750. Please don’t hesitate to drop a line in the comment section below if you have any questions or the like.

