When your camera calculates the correct exposure in the automated or semi-automated exposure modes, the camera sets the shutter speed and aperture to achieve a technically correct exposed picture.
Exposure compensation is simply that you ask the camera – on top of the calculated exposure – to deviate from that exposure as per the exposure compensation settings. So if you dial in a exposure compensation of say -1 stop, then the resulting image will be slightly under exposed.
Dials

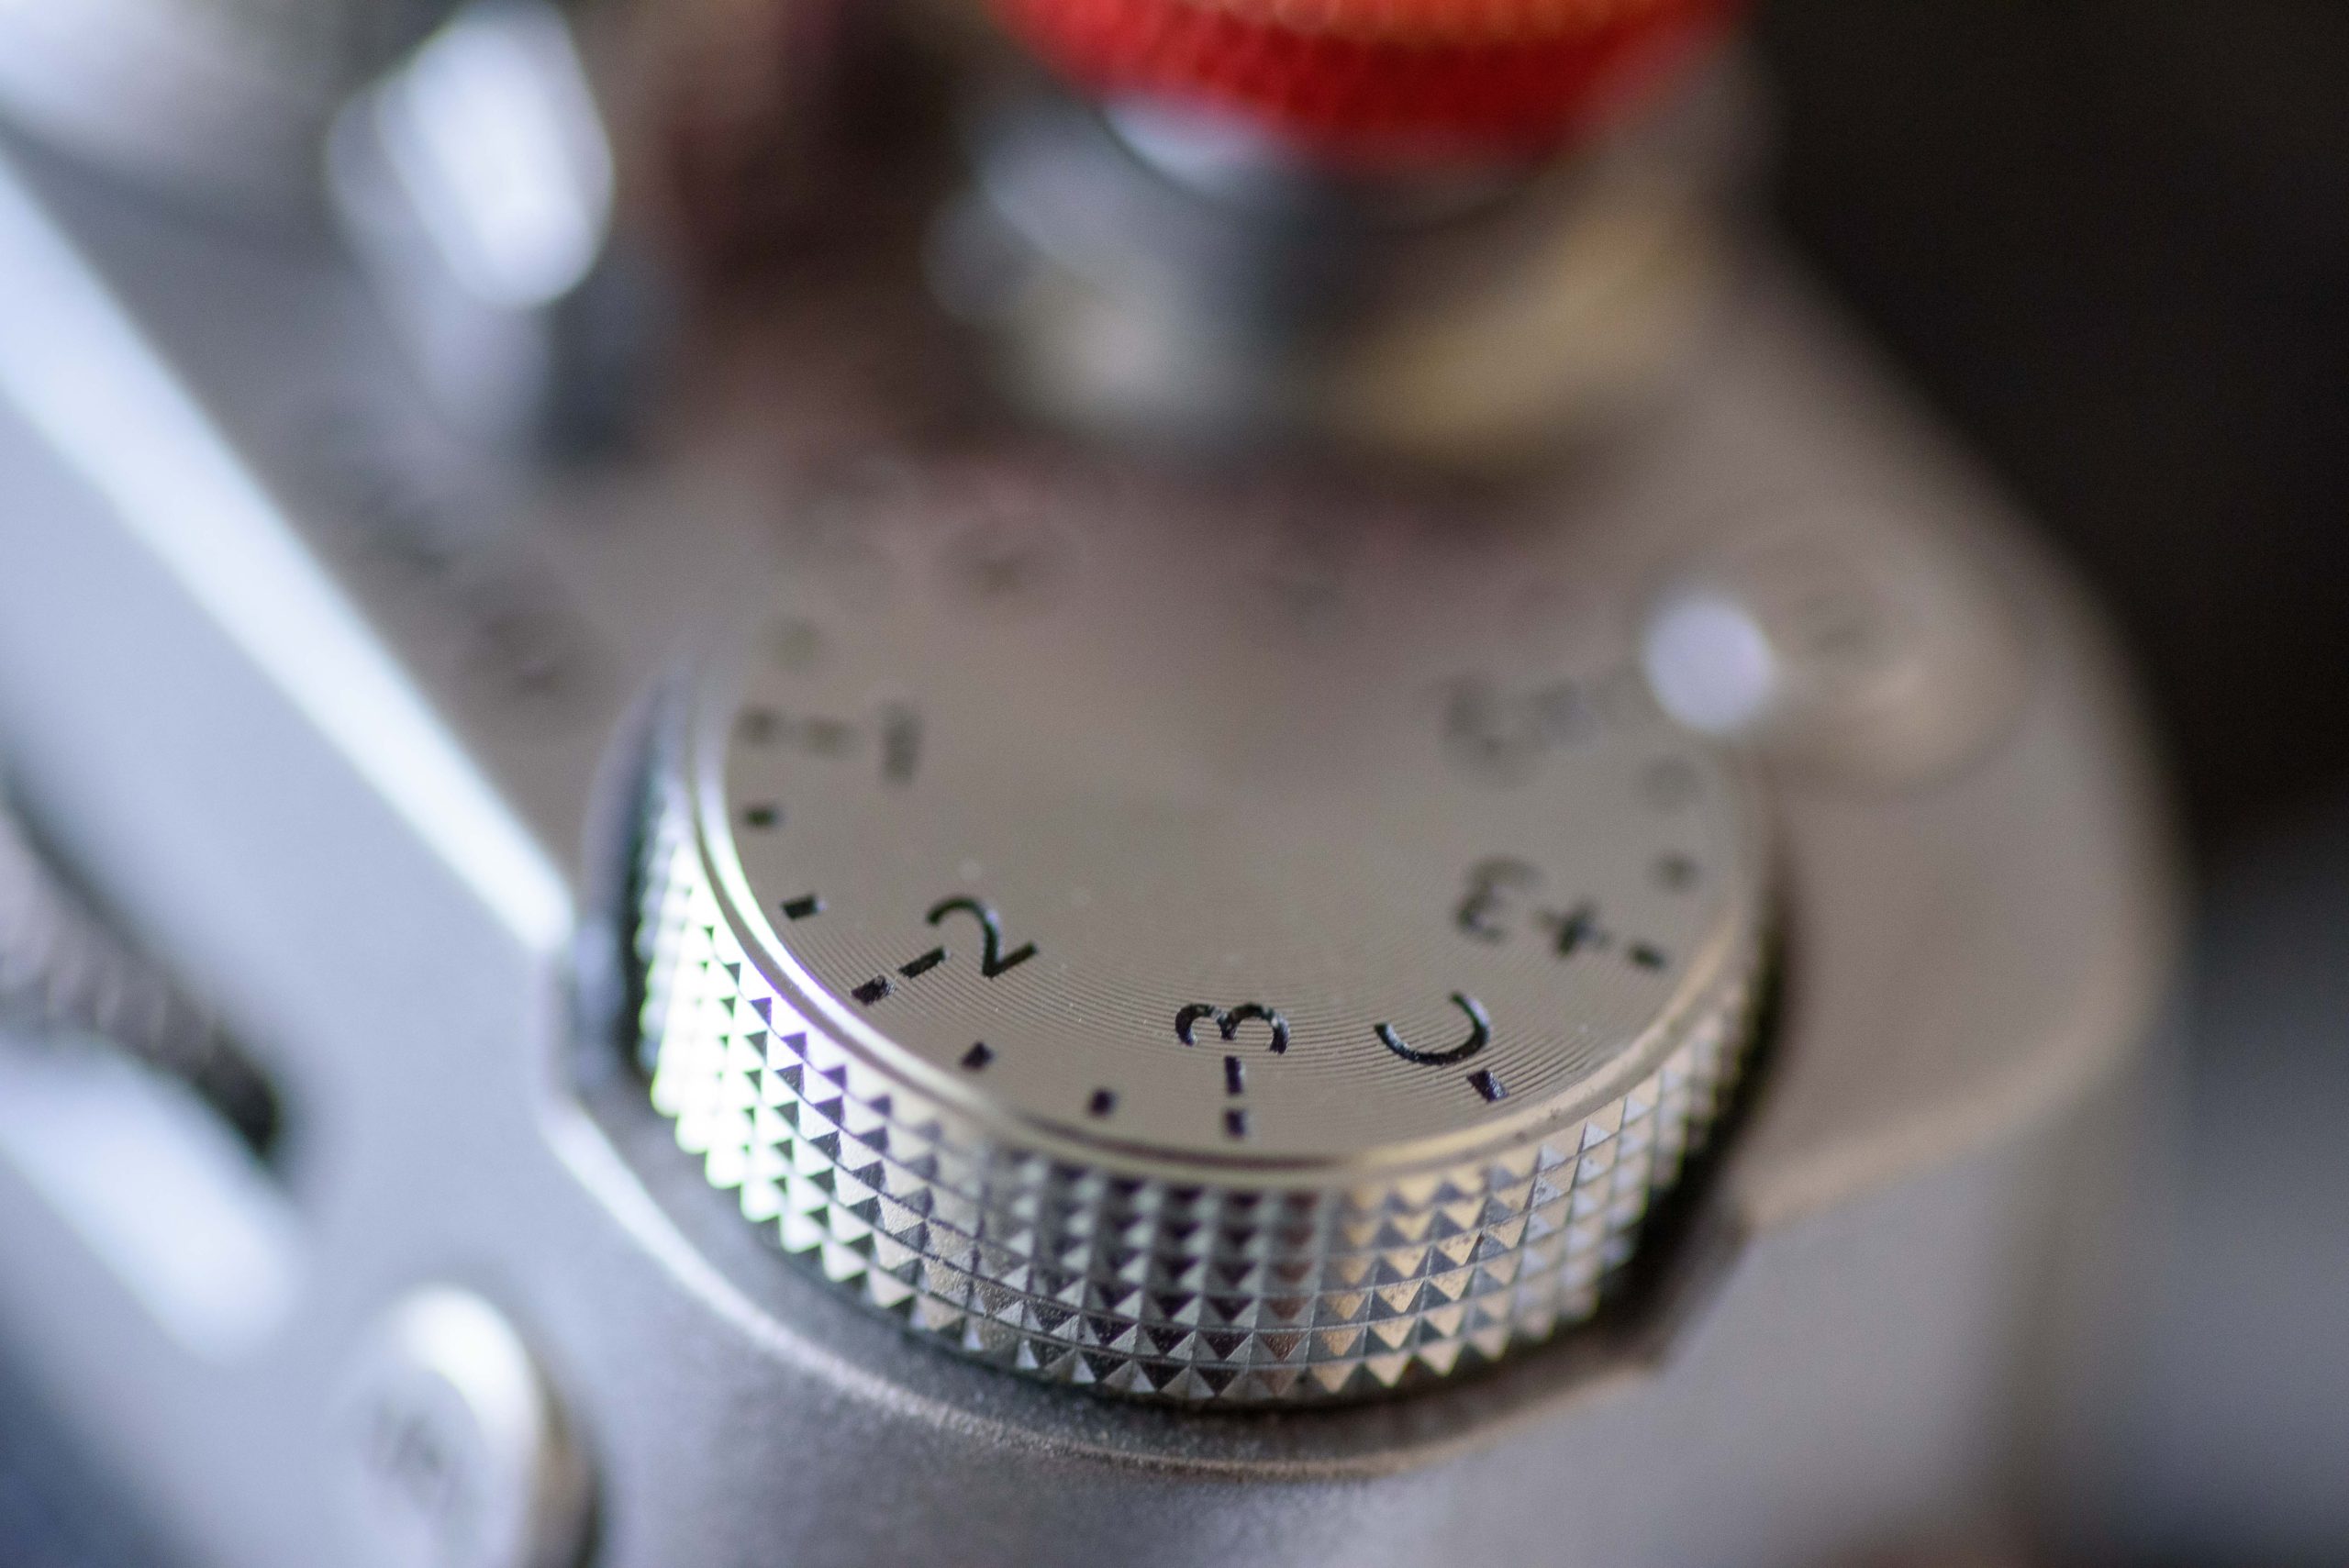
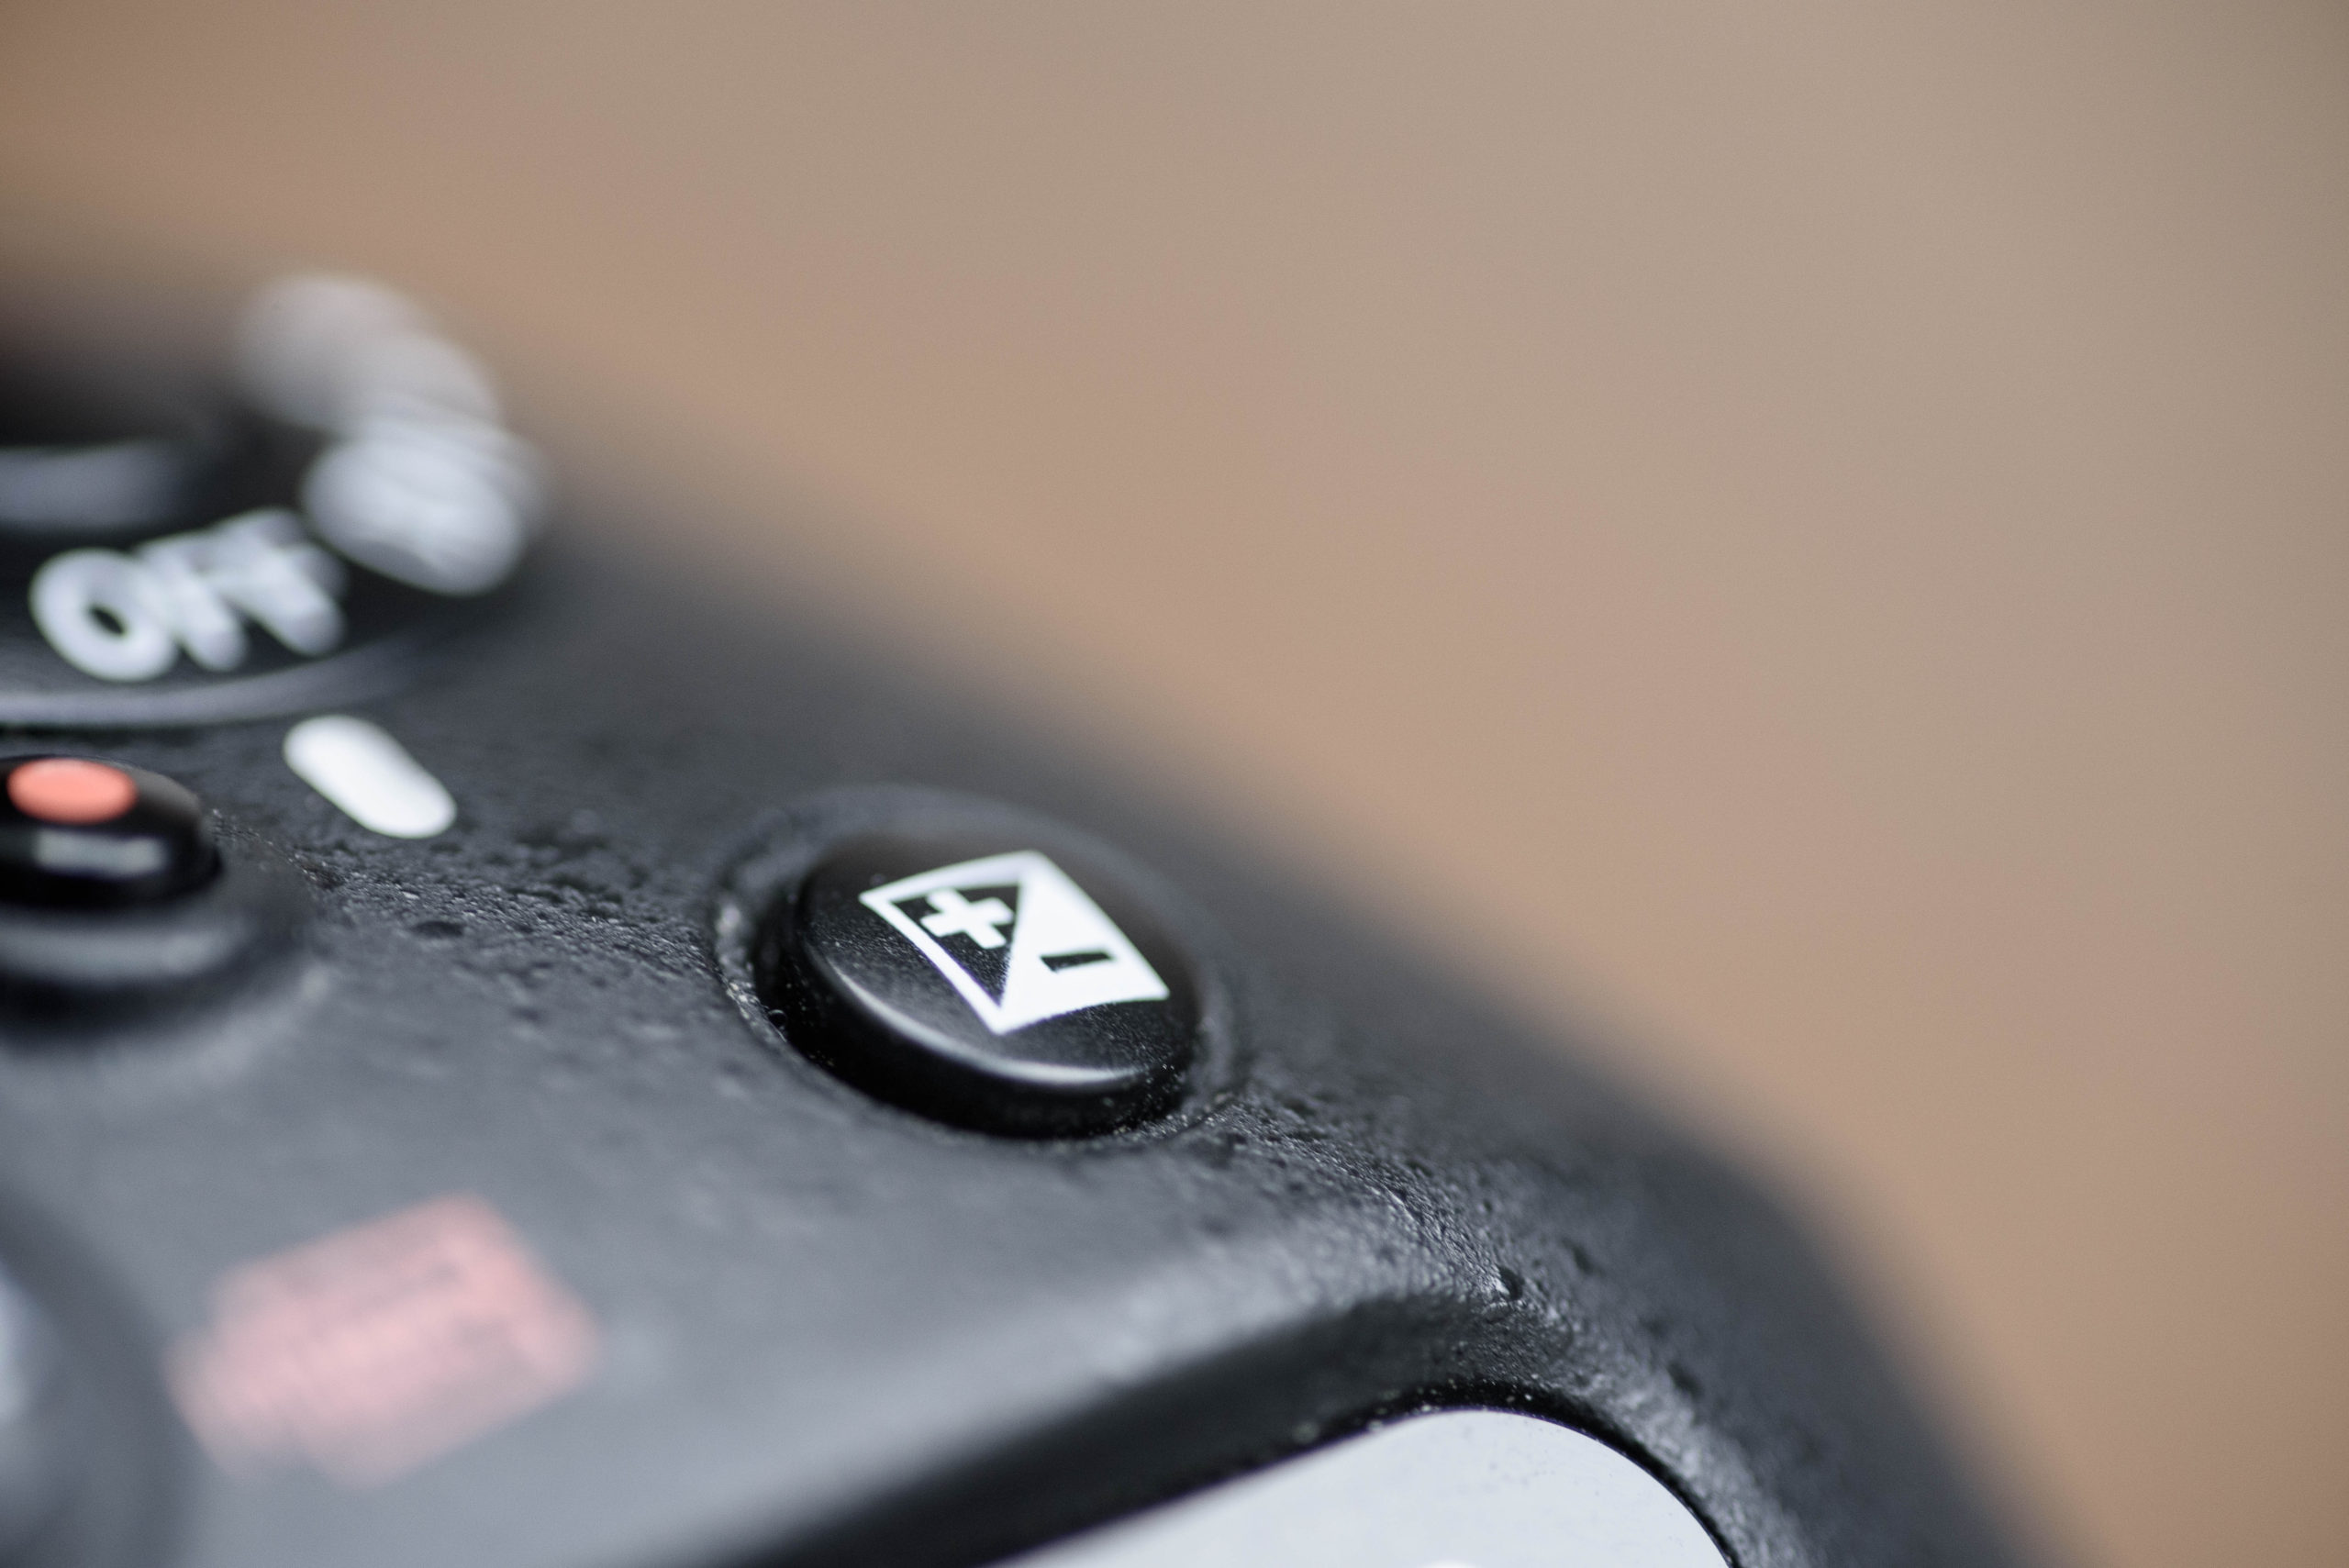
The image above shows the Fuji X-T20 exposure compensation dial where you simply turn the dial to the desired compensation. A more traditional implementation is a little push button on top of the camera with a +/- sign. When you hold down this button and at the same time turn the command dial, you can set the exposure compensation value. The top LCD will typically show you the values while you push the +/- button.

Use
You can use this a as a creative tool, where you systematically over or underexpose your images (low key and high key) to achieve a creative effect. Or you can use this to compensate for the automated exposure when you know your camera will get it wrong – for example shooting portraits in the snow, where your camera will have a tendency to under expose in attempt factor in all the white in the frame.
If you shoot in RAW format, then a lot of tweaking to the exposure can be done in post processing as the RAW format give a lot of headroom for adjusting the exposure. However, many prefer to get the exposure right “in camera” to simplify their workflow and save time.
Related reading
What are exposure metering modes?
What is a histogram in photography?
