Manual exposure
Many find manual exposure a bit intimidating and stay with the automated mode or one of the semi automated modes like aperture priority or shutter priority. Good news is that manual exposure is not complicated at all and that you have a lot of room for making exposure mistakes and still be able to fix it in post, provided you shoot RAW, which I highly recommend. And you will understand your camera a lot better when you know how to operate in manual exposure mode.
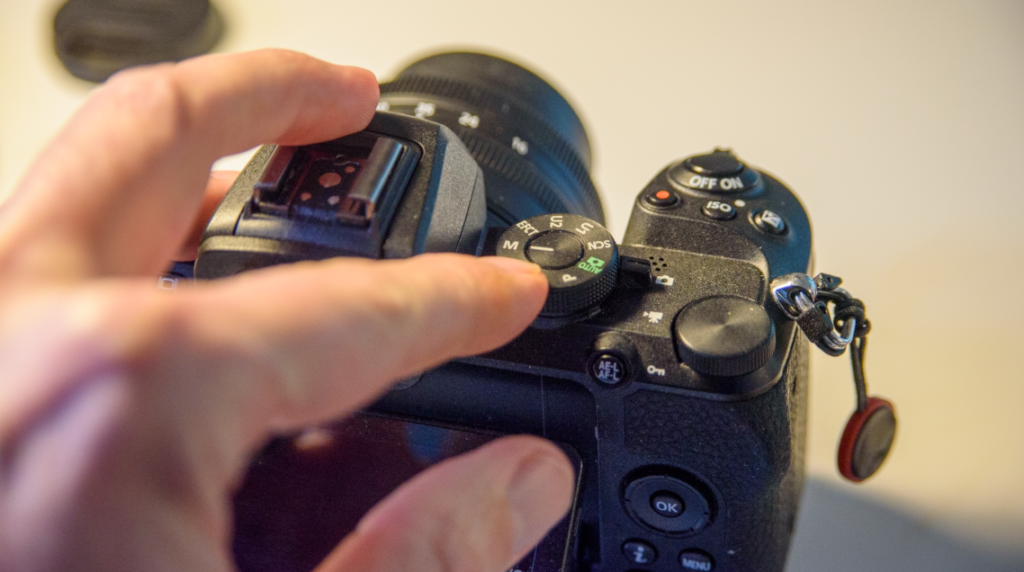
You camera has a built in metering system, that constantly measures the available light. This system continues to work also when you set the camera in manual mode. Select the manual mode on the PASM dial top right on the Nikon Z50.
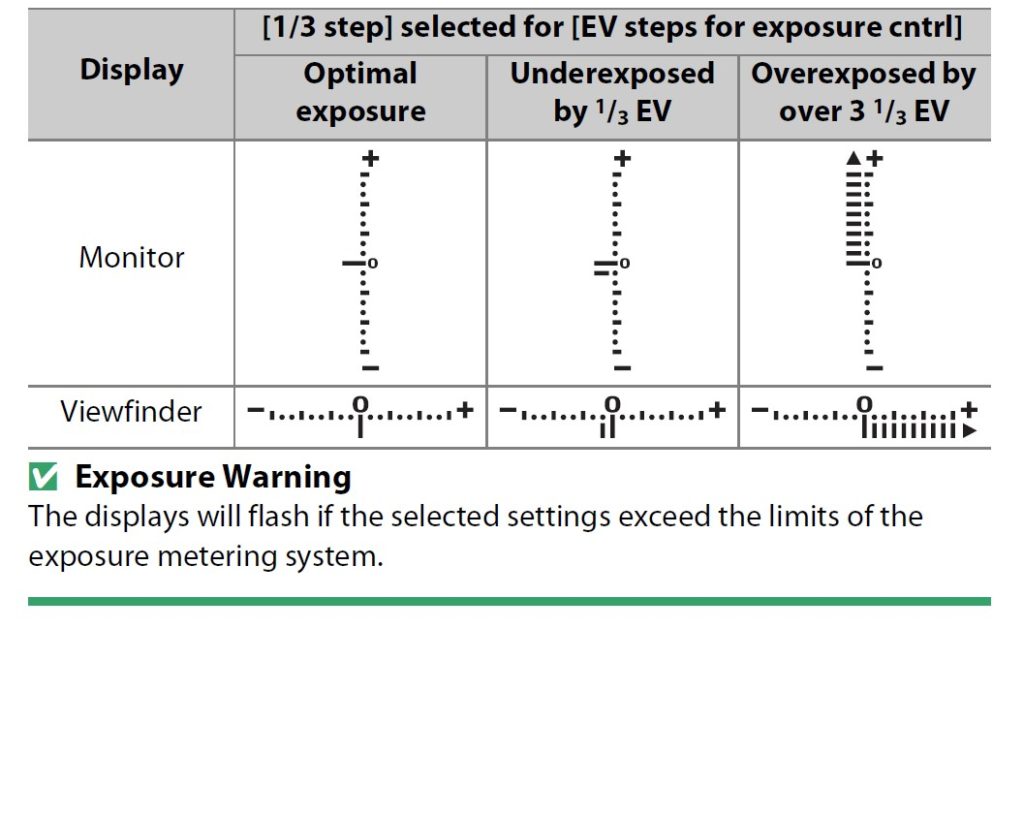
Once in manual mode, you will notice a little exposure indicator appearing, both in the viewfinder and in the rear LCD. This indicator will tell if the camera finds that the aperture, shutter speed and ISO settings will give a correctly exposed picture when you hit the shutter.
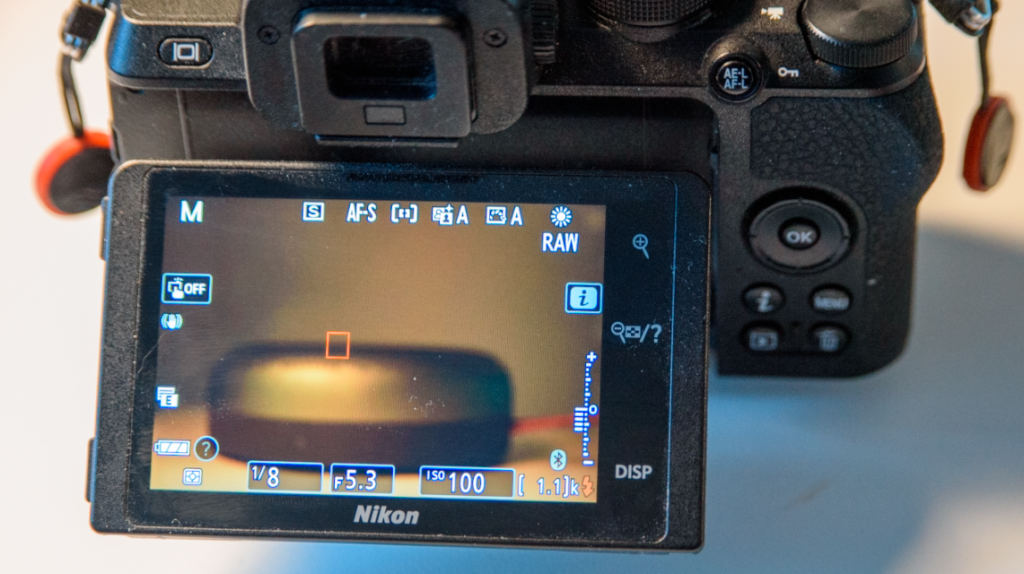
It is a good thing to keep an eye on the exposure indicator to make sure you get the exposure you are after. Sometimes you want deliberately to over- or underexpose your picture, and the exposure indicator is a good tool to make sure you get what you want.
Another way to see the same information as the exposure indicator is to use the histogram – you can make it appear by hitting the “disp” button on the center top rear on the camera. Finally, as you have WYSIWYG, you can simply notice if the LCD or electronic viewfinder turns very dark or very bright – a good indication something is off relative to a technically correct exposed picture.
Aperture and shutter speed
You control the aperture and the shutter speed by turning the front and rear command dials respectively.
- If the camera flashes “FEE” in the top LCD when you mount the lens, it is probably because you have not locked the aperture on the lens to the highest f-stop number possible – the camera needs this setting to be so, in order for it to control the position of the aperture blades when shooting with AF or AF-D lenses.
If your lens is an older model (say AI or AIS) where you have an aperture ring on the lens, it is not always possible to change the aperture with the front command dial – instead you will have to set the aperture on the lens. The top LCD will not show the aperture but just a “F–” to indicate it cannot “see” the chosen aperture. The metering indicator works fine still though.
ISO
On a digital camera, ISO is actually not part of the exposure. The sensor has the sensitivity it had when it left the factory and it cannot be changed.
By setting the ISO to other values than the base ISO 100, you apply a gain to the values read by the sensor. It is camera internal post processing that happens from the sensor has read the light and until the image sits on the memory card. Just like in the old days when you turned up the radio, you both amplified the signal and the noise – the original signal remains the same. ISO works the same way, so the price for turning up the ISO is more noise and grain.
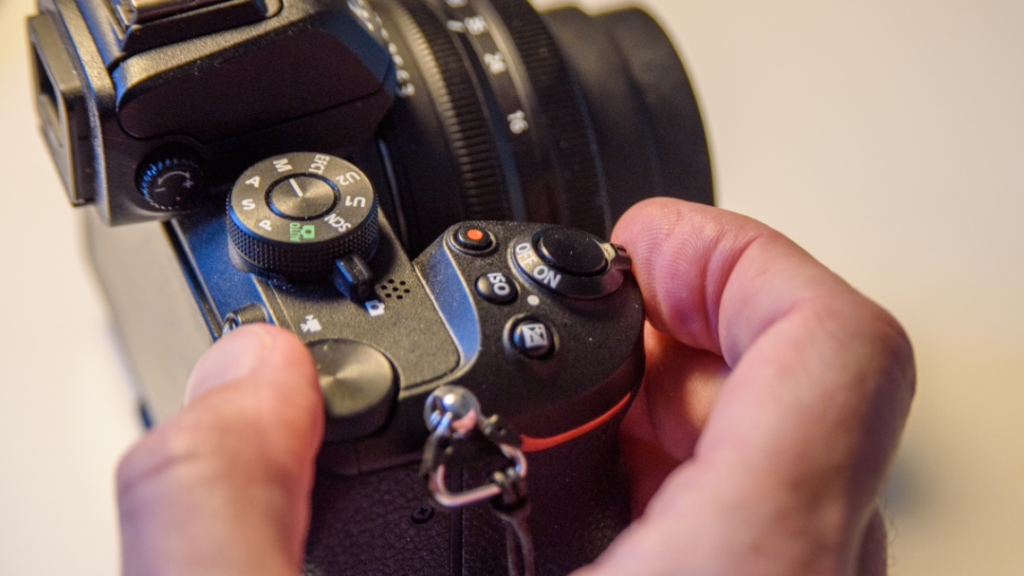
When you push the ISO button on top of the camera, you change the function of the front and rear command dial.
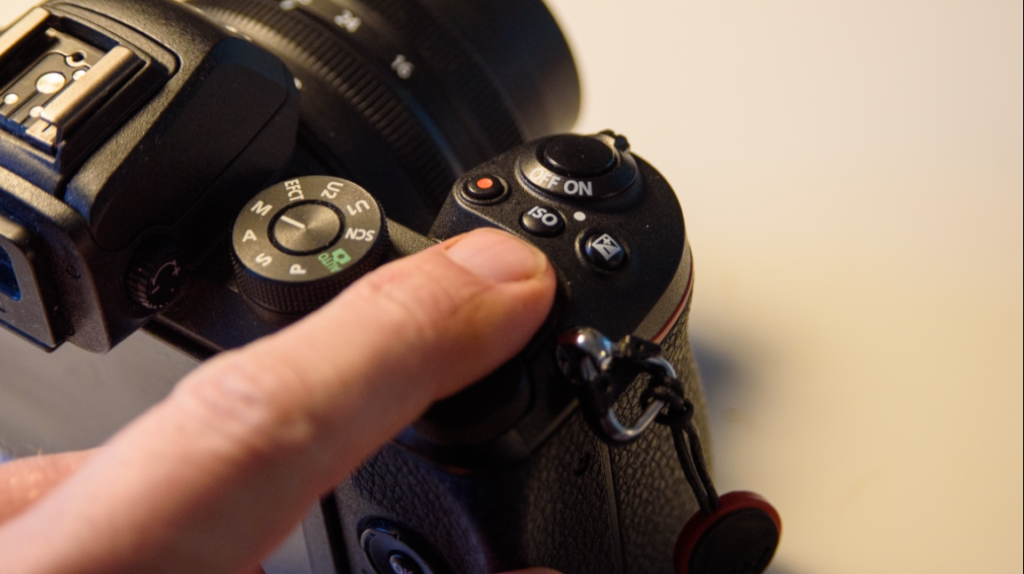
Pushing the ISO button and at the same time turning the front and rear command dial, changes the ISO values. The front command dial switches between ISO and auto-ISO and the rear command dial shifts between ISO values.
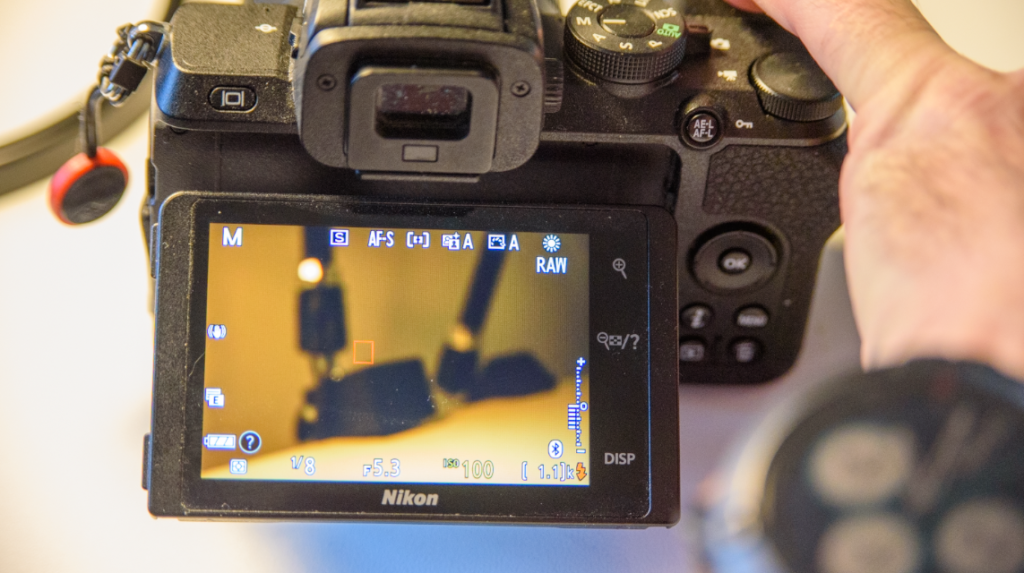
When you have auto-ISO switched on, the camera will be in a – if not semi automatic – then quarter automatic mode. In other words, the camera will try to make the picture correctly exposed ALONE changing the ISO. So if you have a dark scene where the aperture is closed down and the shutter speed is fast, the camera will have to go to very high ISO values to compensate.
You can use auto-ISO to make sure you come home with images that show at least something, but be aware that grain and noise may be the price you pay for switching auto-ISO on. For starters, I would recommend that you have auto-ISO off, and keep an eye on the exposure indicator or the histogram to make sure the exposure is roughly right. Later, when you have some experience, auto-ISO can make you work faster.
Metering modes
The Nikon Z50 has 3 metering modes. You can access these by pushing the little “i” in the rear of the camera (middle) and this shows a 6×2 menu where one option is “metering”. Selecting that one, brings a sub-menu with 3 options.
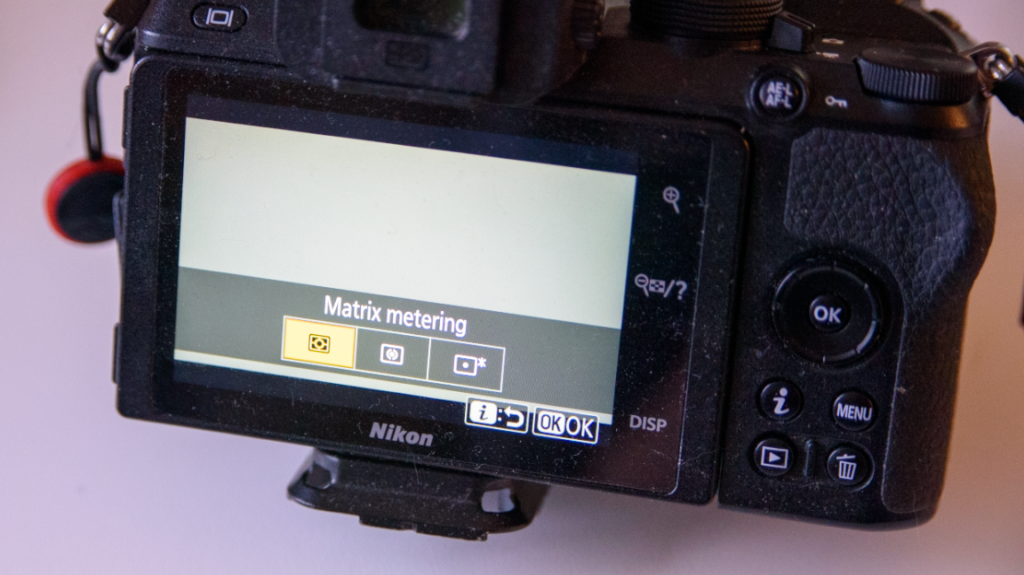
The metering mode does NOT change the amount of available light, rather it changes how the camera meters the light that passes through the lens. I shoot almost entirely in the “matrix metering” mode as it is the most advanced one, that tries to take in the entire scene and find a good compromise.
Second option is center weighted metering. This one is good if you shoot portraits where you don’t really care of the corners are exposed correct – the important is that the person in the frame is exposed correct. The manual also mentions this as a good mode if you shoot with filters.
The final option is highlight-weighted metering. This one many street photographers use as they are not afraid of losing details in the shadows. I use it for shooting silhouette photography, where the details in the shadows are also less important.
All of these modes may seem confusing, so my advice is to use matrix metering. If you shoot RAW, then there are plenty of options for adjusting the exposure in post and hence I find that these 3 options are maybe more for backward compatibility with older DSLRs.
Final thoughts
I hope the above has given you some inspiration for shooting in manual exposure mode. With a mirrorless camera like the Nikon Z50, it IMHO has become much easier to see if the exposure is right or not: both the EVF and the rear LCD will show you a too bright or a too dark image if you got it wrong, the histogram will be “lefty” or the opposite and the metering indicator will do the same. So there is plenty of help to get the exposure right if you ask me. And then, if you shoot RAW and didn’t nail the exposure just right, there is lots of headroom to tweak the image in post so the exposure is spot on. I hope you will practice your new set of skills! I think you will find it rewarding!
Video link
Related reading
Review: TTArtisan 50mm f/1.2 lens for the Nikon APS-C Z-mount
Using a grey card and histogram to exposure correctly in Manual mode

Frederik I mainly shoot my Z50 on manual and have a bug reported to but denied by Nikon concerning exposure bracketing. Bracketing set to 5 exposures at 0.5 stop increments. My bug is that if the exposure order (menu e5) is set MTR>under>over I correctly get ev O, ev -1, ev -0.5, ev 1. But if exposure order is set to under>MTR>over, I wrongly get ev 0, ev 0.5, ev 1, ev 1.5, ev 2. Can you confirm if you get same, whether you think it is a bug, and whether another setting somewhere changes this?
I havent got the Z50 anymore, but tried on my Z6ii. If I ask it to do under-MTR-over with 3 exposures and 2 stops difference, it gives me -2, 0 and +2. As it should. I will say that the camera gives you the exposure in the right order, but it seems to be parallel shifted to the right. My guess is maybe that you also have exposure compensation switched on? If I set exposure compensation to +2 in the previous example, I get 0, +2 and +4 which I think is correct. Hope this helps!