Manual focus
Most modern cameras, including smartphones, have auto focus systems, whereby the camera in various ways automatically selects the focus of the image. It can be a face or a point in the frame selected by the photographer. Manual focus is when you as a photographer bypass the options for automation of the focus and manually choose to focus the lens yourself. The benefits is more control and more freedom to decide the outcome, but it also introduces potential for errors in the shape of out of focus images that were not intended to be out of focus.
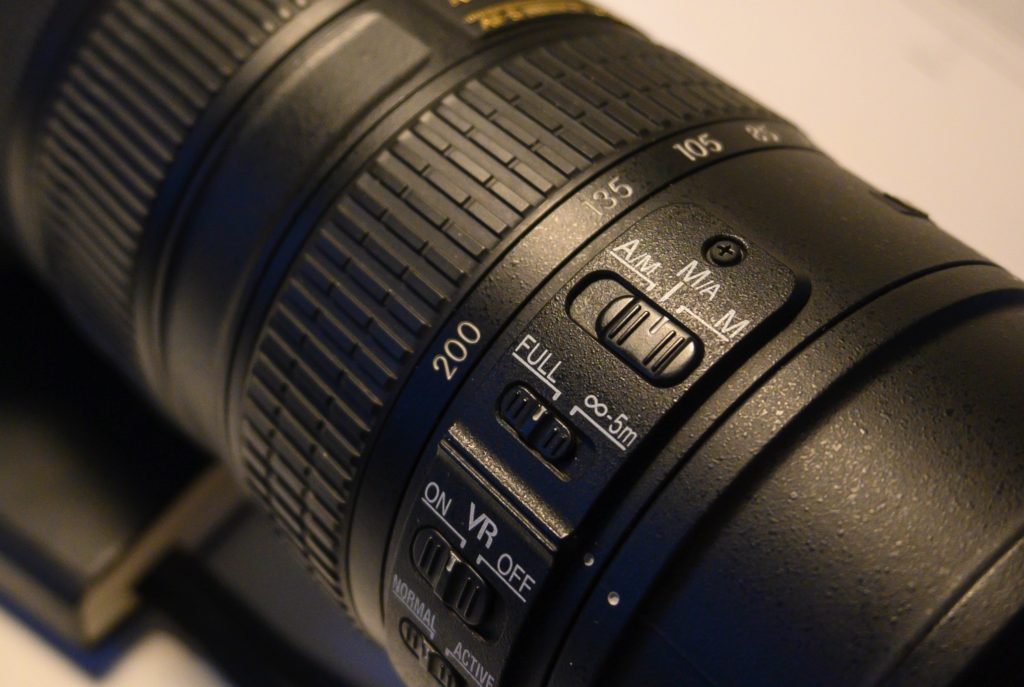
In the image above (the Nikon 70-200) there is a switch on the lens that allows you to choose between manual focus (the rightmost option M) and two different flavors of auto focus. When in manual focus, you as a photographer have to turn the focus ring (the rubberized ring top left in the image) to obtain focus.
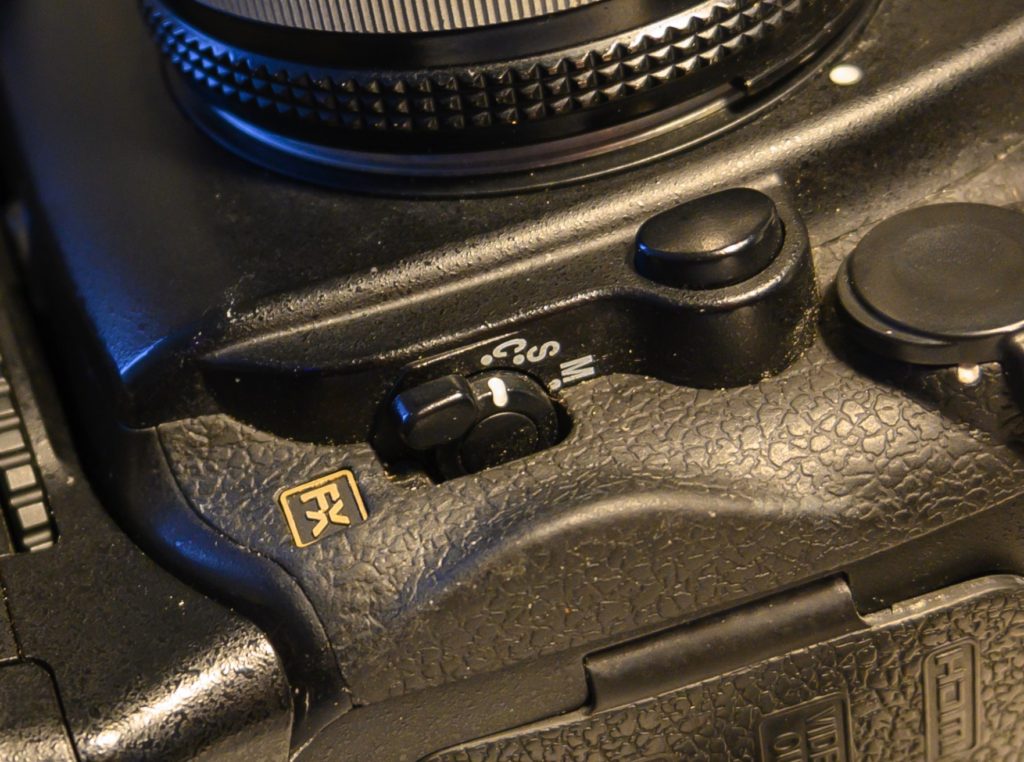
In other cases, typically for older lenses without a focus motor built into the lens and hence dependent on a motor in the camera body, the switch to engage or disengage the auto focus sits on the camera body. I the image above you can switch between continuous auto focus (C), single auto focus (S) and manual focus (M).
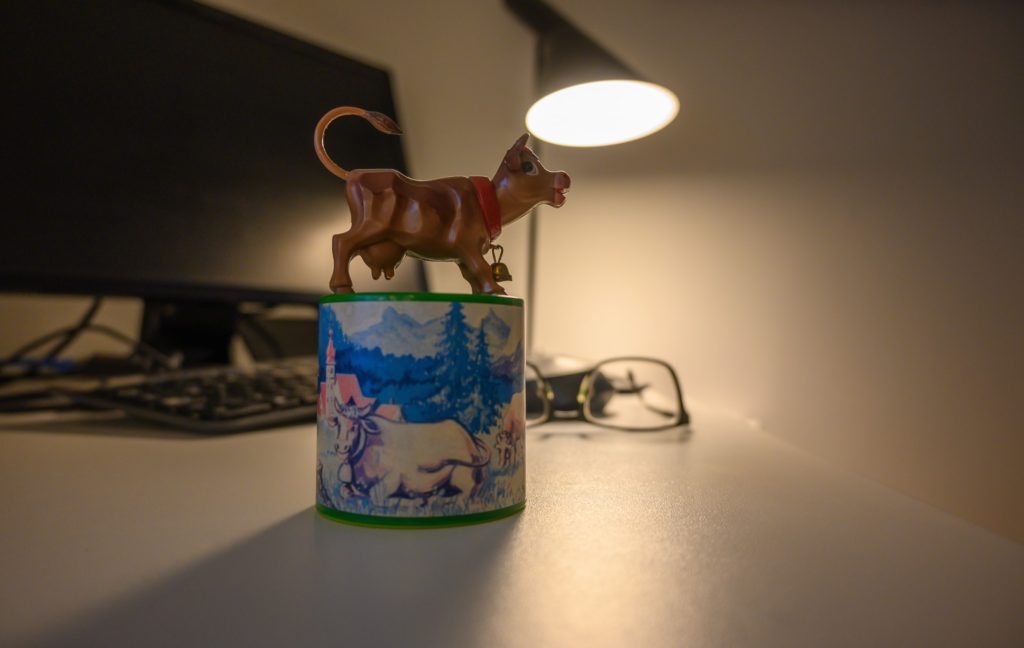
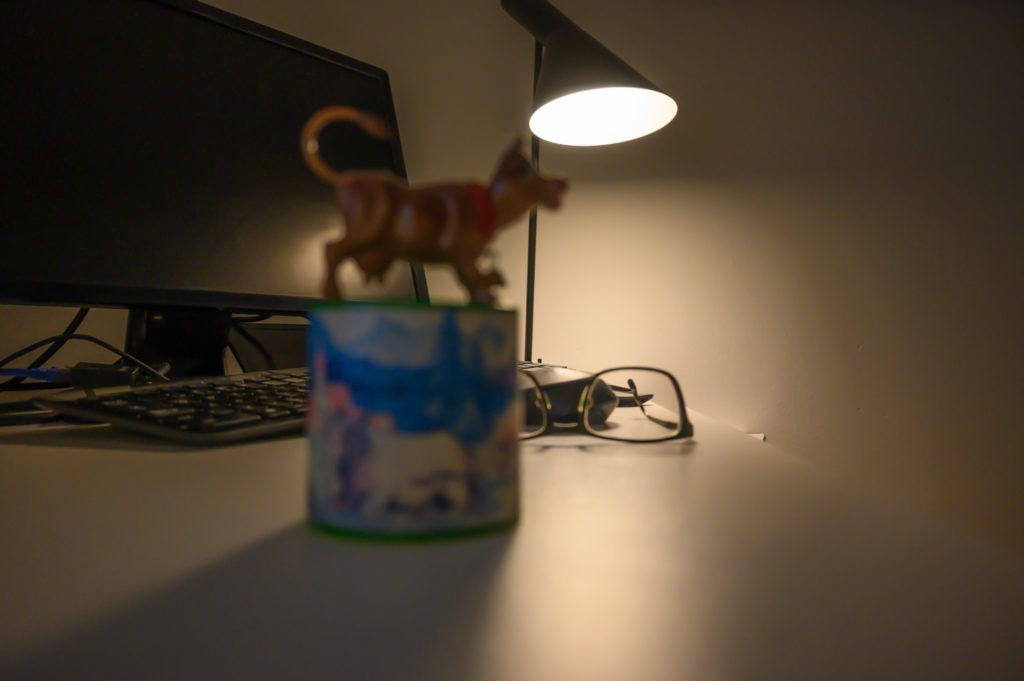
When you focus manually, you move the focal plane closer to and further from the camera by turning the focus ring on the lens. You can think of this as a big vertical plate that you push back and forth as you turn the focus ring. All the things the plate “touches” will be in focus. Things just before and just after the focal plane will appear to be in focus as well, subject to the depth of field.
When you focus manually, the camera will typically give you some help to determine if you have the focus that you want. The classic way of doing this is with a small indicator that has to arrows and a focus confirmation dot:

With mirrorless systems you also have so called focus peaking highlights, that based on contrast shows you which parts of the frame that are in focus. It does so with a color you can select; in the example below the color is red (notice: there is nothing naturally red in the frame as such – all red is added to the image by the camera as part of helping you obtain focus):
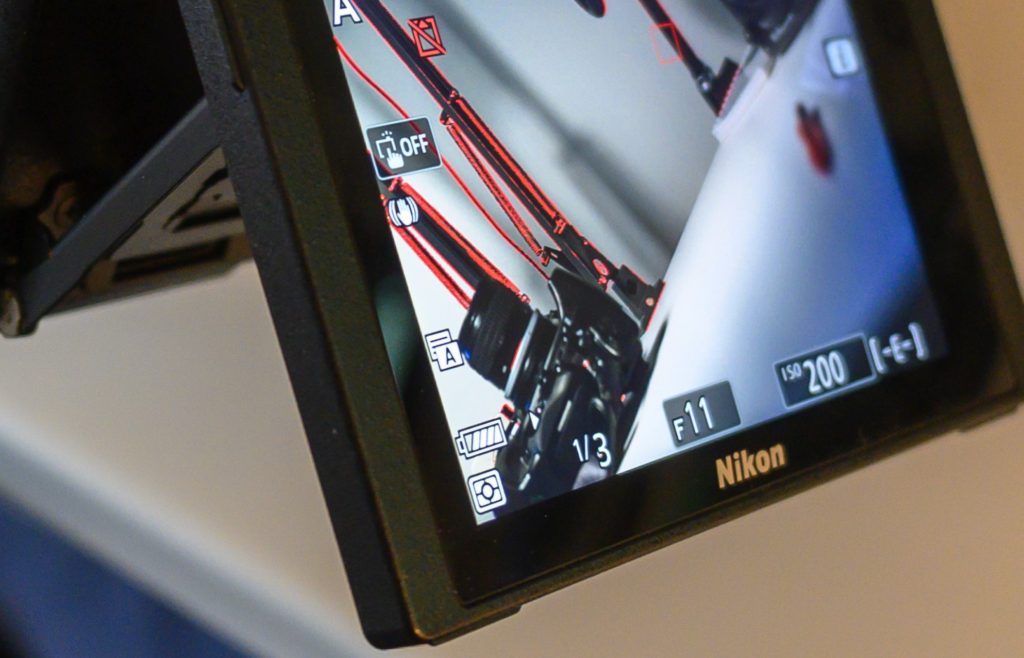 The focus point is the red box in the top of the frame a little to the right of the middle. You can move this point around, typically using either a command wheel or a joystick on the camera. The image above is from the rear LCD of the camera, but the focus point is also visible in the viewfinder, both for DSLRs and mirrorless cameras.
If you look very carefully, bottom left in the LCS, just to the right of the battery indicator, there is an arrow pointing to the right. This tells you that the focal plane needs to be pushed a bit further away to obtain focus in the selected focus point.
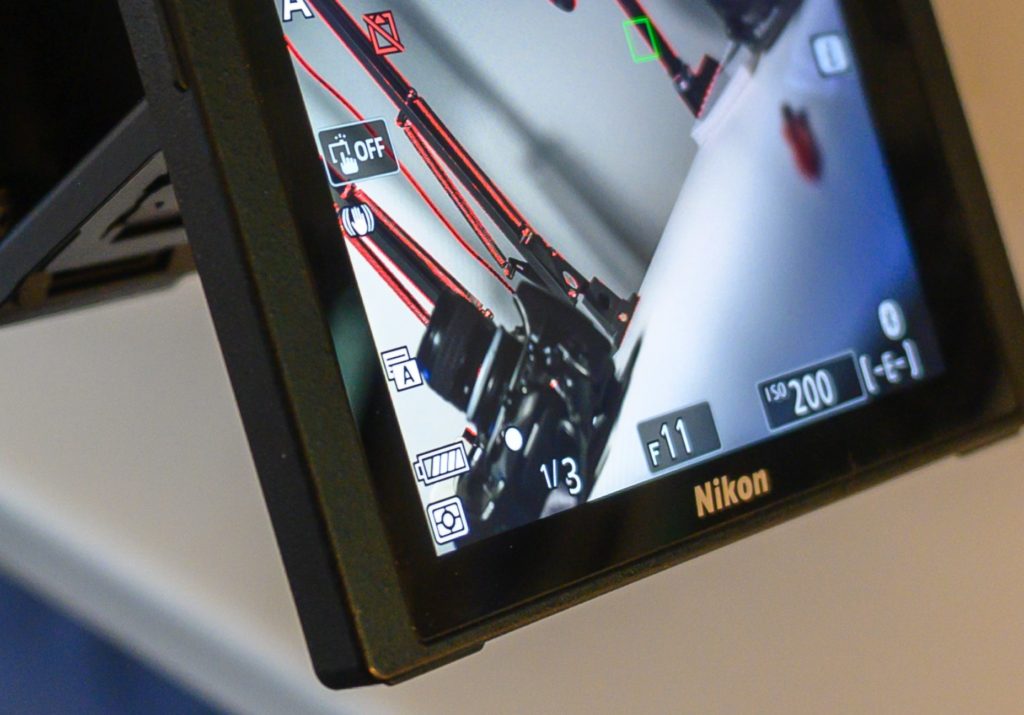
In the image above, the focal plane has been pushed a bit further away, and you now see that the focus indicator to the right of the battery indicator shows the round dot that is the signal for focus + the focus point top right in the frame has turned green – another way of showing that this point is in focus.
All of the above may sound a bit overwhelming, but I assure you that it is much simpler when you try it out in real life and see how the moving parts work together.
The benefits of manual focus is control. You’re the boss. Often automated systems do not do exactly as you want them to, although it constantly gets better and better with face recognition and other forms of intelligence in the cameras. However, there still are situations where manual focus for some is the preferred way to go, and I recommend that you try it out to see what it can do for you, to decide if it should be part of your photography “arsenal” or you instead want to go for relying on the cameras automatic systems.

