What are exposure metering modes?

Outlining the various exposure metering modes that a modern camera offers.

Exposure is vital

Unless you have a very old vintage camera, it is most likely that a light meter is built into your camera!
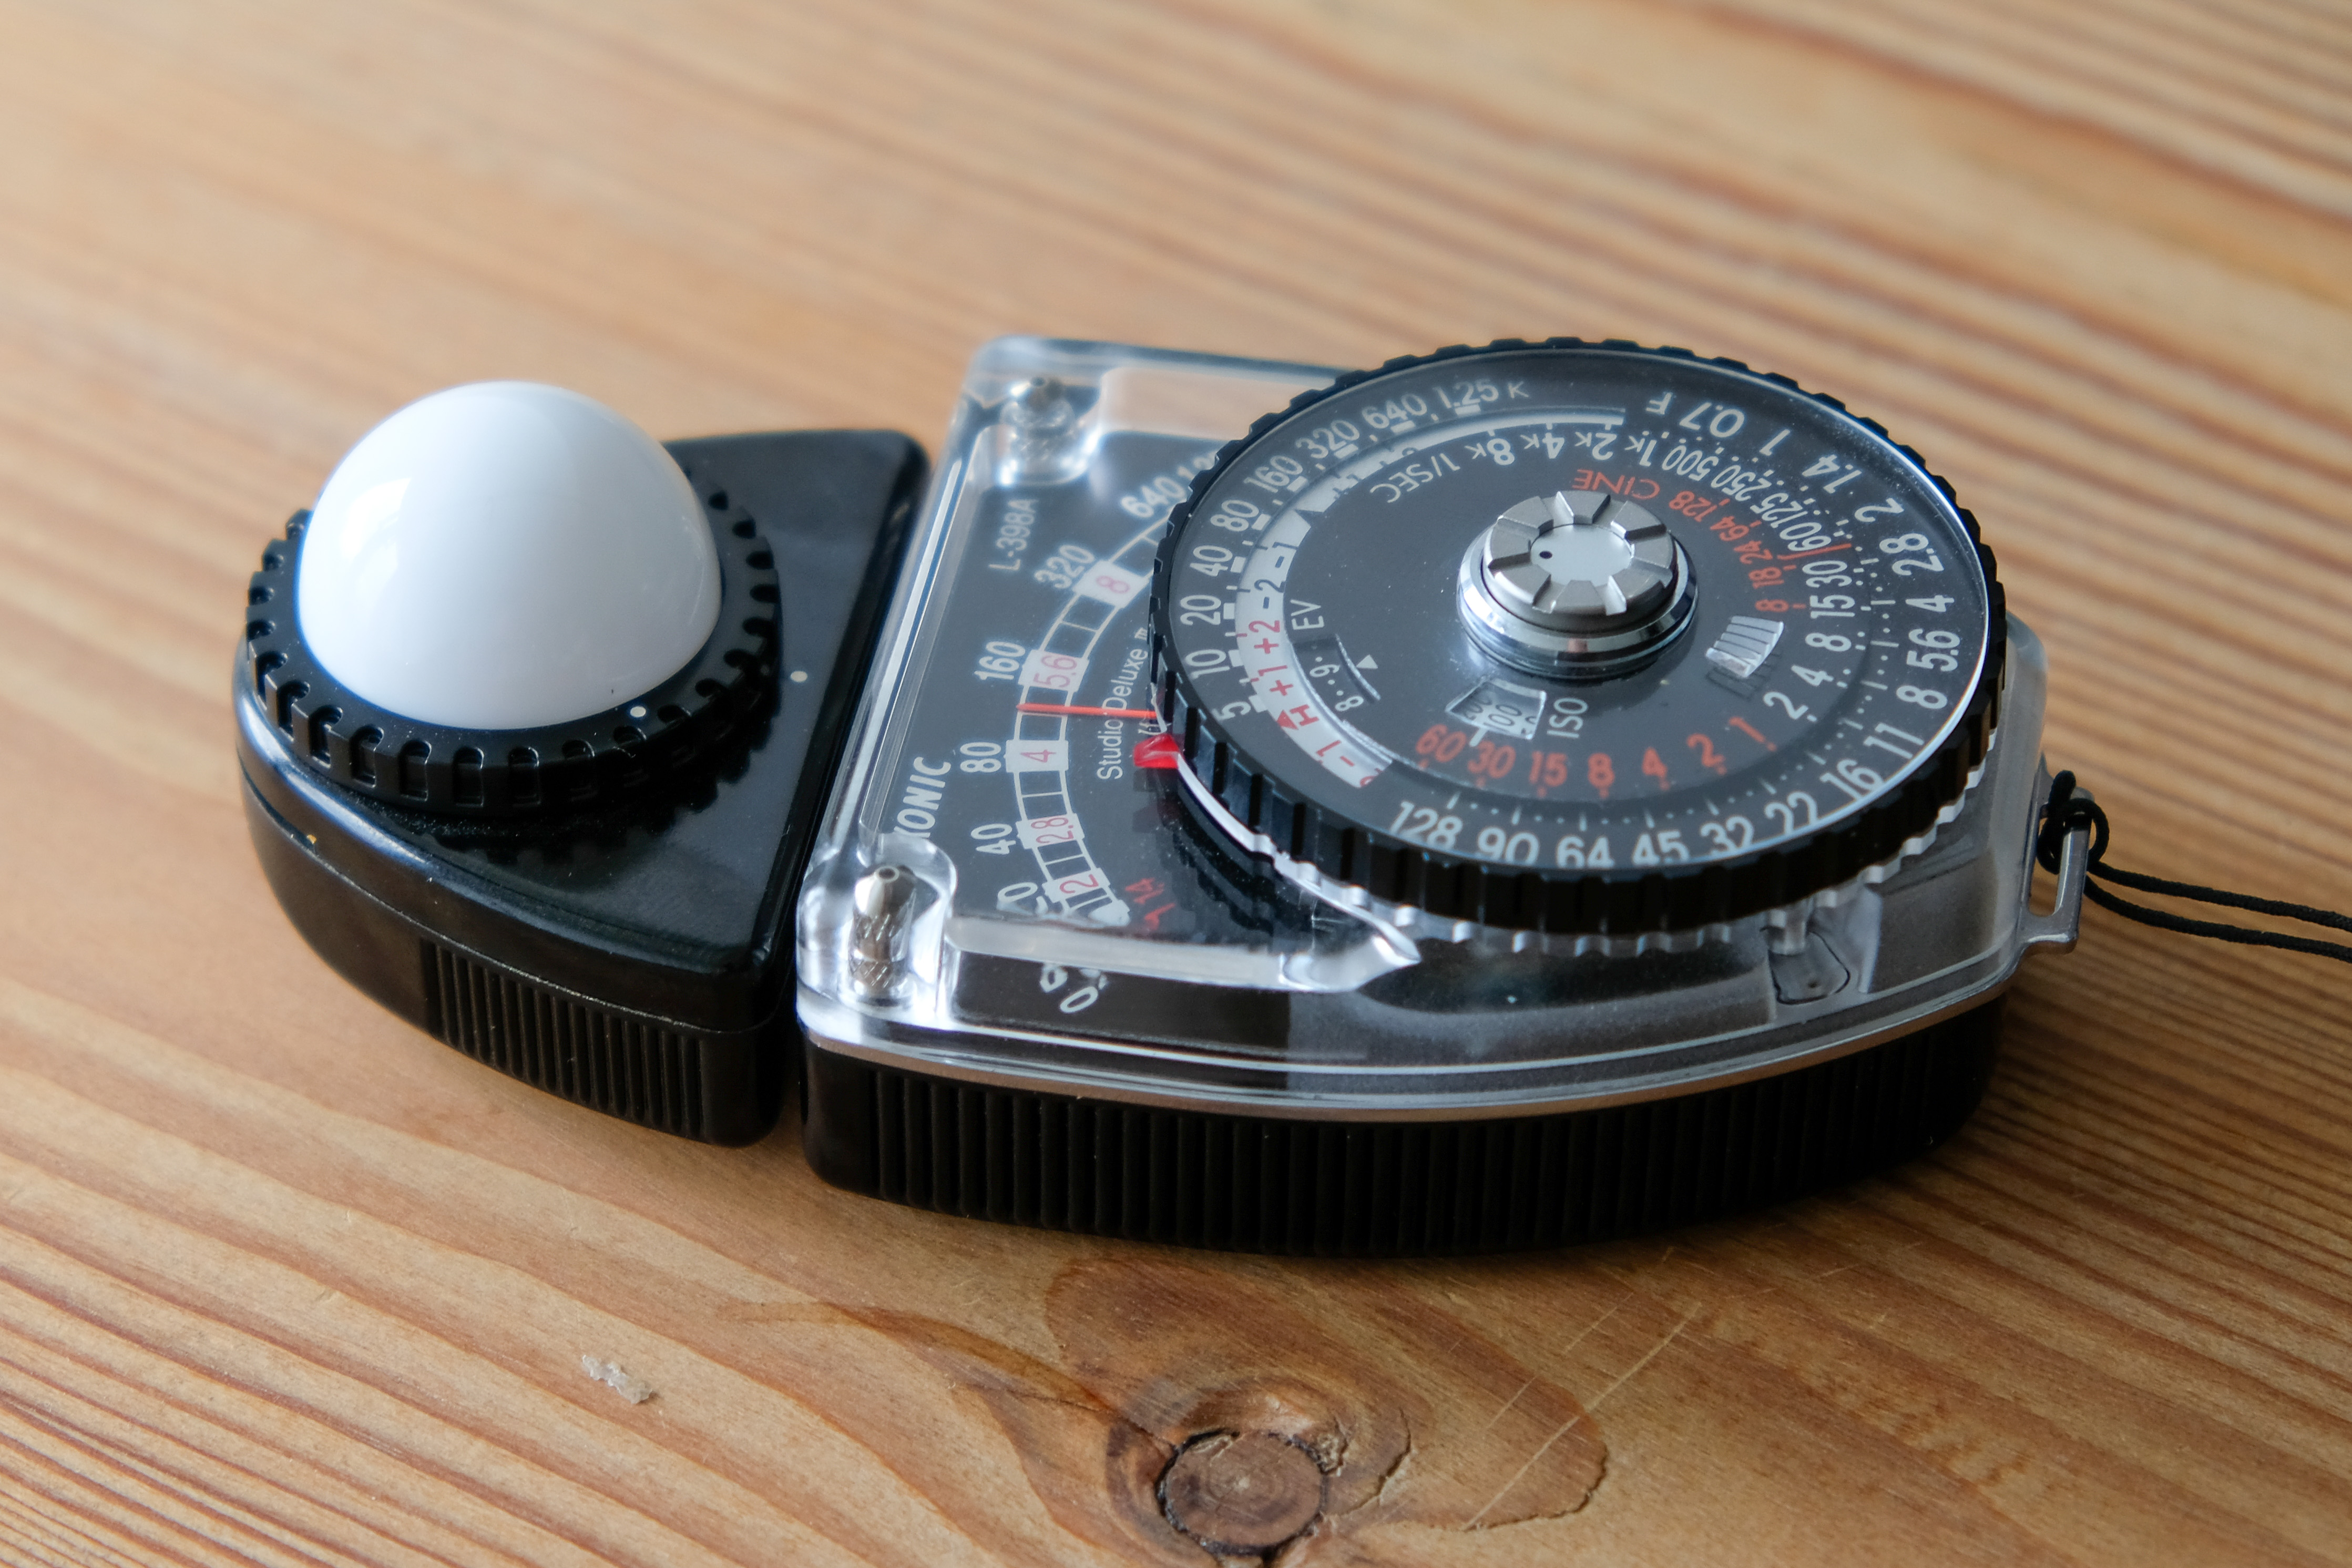
A good old light meter from back in the days when a meter was not so common as an integral part of the camera…

The light meter measures the amount of ambient light available and based on this, the camera can choose camera settings (aperture, Shutter speed and ISO) to get a correct exposed picture. (PS: Take the wording “correct exposed” with a grain of sand, as exposure can be used as a creative tool and hence “correct exposure” is more the technical correct exposure.)

The meter in your camera can read the light in different ways and give priority to different aspects to help you get the exposure you want. Mind you that the camera has no idea what it is you are shooting, so any help you can give it will help bring the exposure closer to what you are after. The exposure modes are just different ways of reading the light.

There are variations in how the different camera manufacturers name their exposure modes, but the principles are roughly the same. Here I use the names from Nikon, but when you read the manual for your specific camera, I am sure you can recognize the different modes.

Spot metering

Spot metering measures the light only in the focus point or in area just around it. It ignores the amount of light in the rest of the frame. This pin prick way of measuring the light makes it possible to have blown out areas or loosing details in the shades with no problem – the camera only meters the focus point. This is useful if you want to make sure than the eye of a person is correctly exposed in a scene where there is lots of either bright or dark areas or both.

Center-weighted

Center weighted metering takes the entire scene into account, but gives more priority to the center of the frame. This is a classic metering mode for portraits, as it helps get the person exposed well, with less weight to the outer parts of the frame. This of course provided you put your subject in the center of the frame! You can via the menu system control how much emphasis the camera is to put on the center part relative to the rest of the frame.

Highlight-weighted

Highlight weighted takes the brightest area of the frame and makes sure it does not get blown out, but on the other hand ignores that details are potentially lost in the shadows. In other words, if there are very bright areas in your frame, this mode will deliberately under expose your picture to secure the highlights are preserved. Very useful if you are shooting with the sun or some spotlights in the frame and want to preserve all the details in the bright areas.

Evaluative / Matrix metering

The matrix or evaluative metering takes the entire frame into consideration when metering the light. It is the most automated of the metering modes, as it gives a good balance between bright and dark areas. However, as it is a highly automated mode, the camera will try to find the “middle of the road” and make compromises to make the best of the scene without knowing what you shoot.

What should you choose?

If you don’t know what to choose, the evaluative / matrix metering is the option to go for.  It gives you a good compromise and many photographers never leave this metering mode. And if you shoot RAW, there are lots of options for working with the exposure in post to recover details in the dark or details in the bright areas.

I typically shoot in RAW and use the evaluative / matrix metering. If I shoot where the light is very harsh, for example in the middle of a summers day, then I switch to the highlight weighted mode to avoid blown out parts, but I do so knowing that I may loose details in the dark.

All of the above is less relevant if you shoot in the automated mode (i.e. not P, A, S and M). In the fully automated mode (green A on the mode dial) the camera ignores your metering settings and makes its own decisions!

Thank you for reading this far! Questions and comments are more than welcome!

What is ISO?

Forget the sensor sensitivity!

Back in the days when everyone shot 35mm film, you could get films with different ISO levels, say ISO100 or ISO400. You could actually by buying a different film change the ISO. Also, this gave rise to the term the exposure triangle consisting of shutter speed, aperture and ISO. But that was back in the film days. Today, when your sensor leaves the factory, the sensitivity to light is fixed. So no changes to ISO as we knew it from the film days. But turning up the ISO will give you images that look more exposed than images with lower ISO’s, so what is going on?

Film with ISO 400

Turn up the volume!

When you listen to radio and the signal gets bad with lots of noise, what do you do? Yes, you can turn up the volume, but that will both amplify the noise and the signal, so my guess is that you turn the knob for controlling the tuning, in order to get a better signal. Turning up the volume will not help.

So what is ISO in a digital camera? After the camera has taken the picture and the sensor has read the light, then the ISO is applied in the cameras internal post processing! It takes the signal and amplifies it as ordered by the ISO setting. The higher the setting, the more the amplification. But just like the old analogue radio, both the signal and noise is amplified.

That is why ISO is no longer part of the exposure, as it is applied after the exposure. The exposure triangle is now only aperture and shutter speed. Your sensor has the sensitivity it had when it left the factory.

What is it good for?

If you set your ISO to the cameras base ISO, typically ISO 100 or ISO 200, then you will get the cleanest images. As soon as you crank up the ISO, the price you pay is more noise and more grain. Luckily, most modern cameras have algorithms that are pretty good at separating noise from signal, so you can get good results at ISO 800, ISO 1600 and even ISO 3200 or higher. You can continue the work with optimising the image in post and get good results with even higher ISOs that that.

More modern cameras can go to higher ISO values than older ones. The reason being that the computing power in modern cameras has increased and hence there is capacity (“horse power”) to run advanced noise suppression algorithms in the camera. The better the noise suppression, the higher (meaningful) ISO values can be applied.

The reason why you would turn up the ISO is lack of light. It is a simple as that. Maybe you want to shoot something that moves very fast so you need to reduce the shutter speed? A high ISO may be the compromise you need to get images that are sufficiently exposed. Maybe you want to shoot at a very narrow aperture to get lots of (DOF)? That narrow aperture won’t let in much light, so ISO could help you out.

There is no free lunch when it comes to photography. It is one big pile of compromises. But subtle use of ISO may be just what helps you out when you lack a little bit of light. So give it a try and you will over time find out where the limits for your use of ISO subject to what you shoot.

Video link

Related reading

What is shutter speed?

What is the exposure triangle?

What is aperture? And why important?

What is HDR? What is bracketing?

High Dynamic Range (HDR) is a technique used to get the best dynamic range in a picture, when the subject is comprised of both very dark parts and very bright parts. Your eyes have an amazing capability to see bright and dark subjects at the same time. Your camera does not, at least not to the same degree, although dynamic range has improved a lot over the recent years. So your camera has to cheat a bit, and combine an over exposed, an under exposed and a normally exposed picture into one, picking the best parts from each picture.

HDR on your smartphone

You probably have heard about HDR from your smartphone, where HDR is a feature that can be switched on and off. Often the camera factory settings is so that the camera will make the call if HDR is needed and it then processes the pictures behind the scenes without involving you, simply presenting you the final result as one picture and ditching the individual pictures.

Most DSLRs and mirrorless cameras do not offer this service level – all they do is enable you to take a series of pictures with different exposure levels, so the combination of the pictures has to be done like post processing software like Photoshop or Lightroom. And the camera manufacturers will refer to the series of pictures as bracketing – and to complicate matters you can bracket for all sorts of things other than exposure, but to keep things simple we stay with exposure here.

Example HDR

Your DSLR or mirrorless will typically have a mode selector or a menu option that enables bracketing. Factory settings are typically that the camera takes one normally exposed picture, one over exposed and one under exposed. However, it is possible to increase number of pictures to 5, 7 or even 9 and also control how much each picture is over and under exposed. I normally stay with 3 pictures and over/under expose by 2 stops, but more pictures and smaller exposure steps would probably yield a better result.

Take a look at these 3 pictures. The one to the left is under exposed, the one to the right is over exposed and the one in the middle is normally exposed.

The camera typically varies the shutter speed or the ISO or a combination to over and under expose the pictures. In the picture to the right, you can see the details in the wood, but the horizon and the sky is completely blown out. It will hence make sense to use the rightmost picture for the woodwork. Similarly, the sky and the clouds are most visible in the center and leftmost picture, so the horizon part of the picture should be picked here.

Luckily the post processing software has the ability to figure out all this so we can enjoy the combined picture without worrying too much about which parts are combined:


The combined result.

Of course the above picture has had more editing done than the simple combination of the pictures, but the result above would not have been possible had the dynamic range not been built with the help from all 3 pictures.

Related reading

What is exposure compensation?

What is a histogram in photography?


What is the exposure triangle?

The exposure triangle is probably not new to you, the point is simply that the aperture, the shutter speed and the ISO controls what level of exposure your picture will get. Changing one of the three in upwards direction will require one (or both) of the other two to drop accordingly to maintain the same exposure. And the other way around. In (fully) manual mode, you set all 3 values.

Aperture is the iris of the lens. The more light you let in, i.e. the more open the aperture is, the more exposed your picture will get. The confusing part is that the aperture is measured in f-stop numbers, and these are “upside down”, meaning that a low F-stop number means the lens is letting in a lot of light.

Shutter speed is more intuitive, if you ask me. The longer the shutter speed the more light is allowed to hit the sensor. A fast shutter speed is great if you want to avoid camera shake (you move the camera while the shutter is open) or motion blur (the subject moves while the shutter is open). But fast shutters lets in only a little light, so a balance it to be found.

Finally  ISO is how sensitive your sensor appears to be. I say appears to be, as it technically is a gain that is applied to the base sensitivity of your sensor, but don’t focus too much on this part. All we need to know is that higher ISO means more sensitive to light. There is no free lunch in photography – so the price to pay for high ISO is grain. So we want to keep the ISO at bay. Modern cameras can ramp up the ISO with impressive results, but for now let’s just say that beyond 1600 you need to be more cautious.

This image has an empty alt attribute; its file name is exposure-triangle.jpg
The exposure triangle – Aperture, ISO and shutter speed.

What is aperture? And why important?


Aperture

Aperture is the iris of your lens. You can regulate the area that lets light pass, just like the iris in your eye. The larger the area, the more light it lets through. Typically on a modern camera, you can regulate the aperture via controls on the camera, but often you can also operate the aperture manually directly on the lens.

Just to confuse things, the aperture is measured in f-stop numbers, and the larger the f-stop the smaller the aperture. 

Fast and slow 

A fast and a slow lens. This is not a reference to sending your lens to the race track, which of course would be pointless, but rather it is about how much light your lens lets through to the sensor under a given set of conditions. Fast = lets through a loft of light. Slow = less so. Using a fast lens at open aperture can be used to highlight a subject due to the background blur that is achievable with a fast lens. So we all want fast lenses in the best of worlds. But there is no such thing as a free lunch. It comes at a price, literally. And not only your wallet feels the weight, also your camera bag will be burdened with more glass if you insist on a fast lens. And more so if you do so with a full frame camera body. But let’s have a look at your lens speed and what the impact is on your photography.

Aperture measures

Aperture is measured in f-stop numbers, so that the lower the f-stop number, the more light is let through. A very fast lens has an aperture of f/1.4, whereas a not-so-fast lens has an aperture of f/5.6. The aperture numbers are odd and difficult to remember, but it is a good thing to understand the scale, as walking one step up and down the scale is referred to as “stopping down one stop” and “stopping up one stop”.
An amazing fast lens has a minimum f-stop of f/1.0. The next f-stop on the scale is f/1.4. If you just remember these two numbers, and that the f-stop scale is a doubling of these numbers for every stop, then you can remember the entire scale. The f/1.0 series is hence:
f/1.0 f/2.0 f/4.0 f/8.0/ f/16 f/32
Similarly the f/1.4 series is:
f/1.4 f/2.8 f/5.6  f/11 f/22
If you then weave these two series together you get the following
f/1.0  f/1.4  f/2.0 f/2.8  f/4.0  f/5.6  f/8.0/  f/11  f/16  f/22  f/32
The series can be extended beyond the above, i.e. some lenses are below f/1.0, but it is rare. On an old lens like this Nikon 135mm, you typically find the aperture scale in the bottom of the lens (closest to the camera) with a ring to turn in order to change the aperture. Notice how the numbers on the lens match the f-stop numbers above. Here the lens is set at f/8:
If you try to look into your lens with the aperture wide open, you typically get a very good idea about how fast your lens is. This 135mm lens can stop down to an (relative to the length of the lens) impressive f/2.8, and as you can see, this lens is all glass, that uses every inch and mm of the inside of the lens to let through light:

Ambient light 

Ambien or available light is important if you shoot in low light conditions where a flash or artificial light would ruin the scene or seem odd to those in the picture. Take this picture from evening in the summer cottage – the scene would simply not have been the same with a flash light added:

Bringing a flash to this scene would ruin it all…

So in low light situations a fast lens is key.

If you are so lucky to have lots of light available to your photography, no matter if it is ambient light created by the sun, or artificial light  created with flashes, steady light, reflectors and what not, then the speed of your lens is less of a concern. But only less. If you have a slow lens, then artificial light can get sufficient light to your sensor so that your Shutter speed is fast enough to prevent both camera shake and subject move without raising your ISO to a “grainy” level.

However, a solid depth-of-field effect where your subject is clearly separated from the background (“pop out”) can be difficult to achieve with high f-stop numbers, as the depth of field increases as you reduce the aperture.

If you want to play with the options, this depth of field calculator shows you exactly how narrow your depth of fields gets when you work with a fast lens and get close to your subject:

Photopills DOF calculator

So a fast lens is more important for ambient light shooters than artificial light shooters, but faster is also better in terms of background separation. If you are willing to pay the price and weight penalty that comes with the a fast lens is of course entirely up to you.

Your lens and the speed of it

Either on the front of the lens or on the side of it, the fastest aperture it will go to is clearly written on the lens. The picture shows a lens that will go down to f/2.8 as the fastest. You may also be able to see that this is a prime lens (it cannot zoom, the length is fixed), and that it is a 135mm lens.

The longer the lens is, the more difficult it is for manufacturers to construct the lens so that it lest through a lot of light. Physics simply dictate that a long lens requires more glass – this is also why long fast lenses (that sports photographers are so dependent upon) are super expensive.

Non-linear relationship

Now, you may think that the difference between a lens that is f/2.8 and f/1.8 is a relative measure indicated by the size of the numbers. It is not. If you stop down  from f/2.8 to f/2.0 you have reduced the light that hits your sensor to 50%!! Every time you stop up or down one step on the aperture scale, you double or half the amount of light! That is why the speed of your lens is so important – we are not talking a marginal improvement as as a consequence of the last stop – we are talking an overwhelming doubling of the light. And that is why serious photographers can get a heated debate about how fast their nifty fifty (50mm prime lens) should be: f/1.4, f/1.8 or f/2.0?

As you can see, I found the f/1.8 version to be appropriate for my budget and need, but of course I have a dream to get a 50mm f/1.4 lens some beautiful day!

Now, just to illustrate how dramatically the amount of light is reduced when you stop up in the f-series, here is an illustration of how fast the amount fades upwards:

So, in my mind, the speed discussion is very fair – we are at the important end of the scale!

Questions and comments

Questions and comments are more than welcome – please post below. Hope you found this blog useful. Thank you for reading! Please share if you find this post useful.