I just ordered my copy of the Atomos Ninja V. It is a great tool if you want to get serious about video recording, but prepare to pay! The Atomos has a few surprises up its sleeve that you might want to know about before buying!
You can find lots of reviews praising the Atomos Ninja V and rightly so – it will unleash a lot of potential from your camera doing internal recording. But buying the Atomos is like buying a german car: the price for the base model looks reasonable, but when you add needed extras, the price suddenly changes in upward direction.
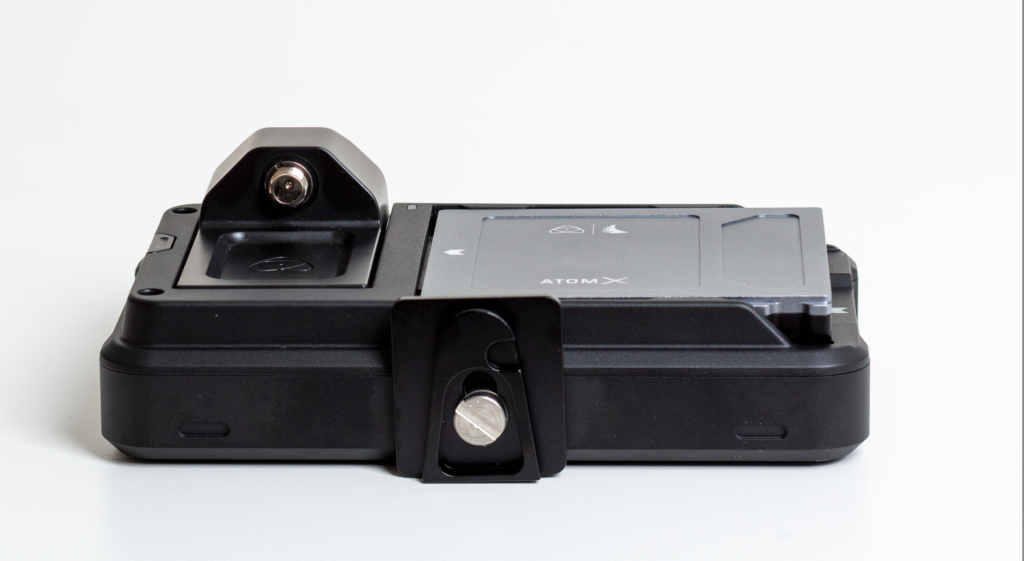
The backside of the Ninja with the SSD drive sitting to the right (light grey).
The Atomos Ninja V comes with no memory. You have to install a SSD drive for it to store information, and if you don’t want the SSD drive to stick out from the side of the Atomos Ninja, you have to buy a dedicated drive. I went for the Angelbird AtomX SSDmini with 500 GB.
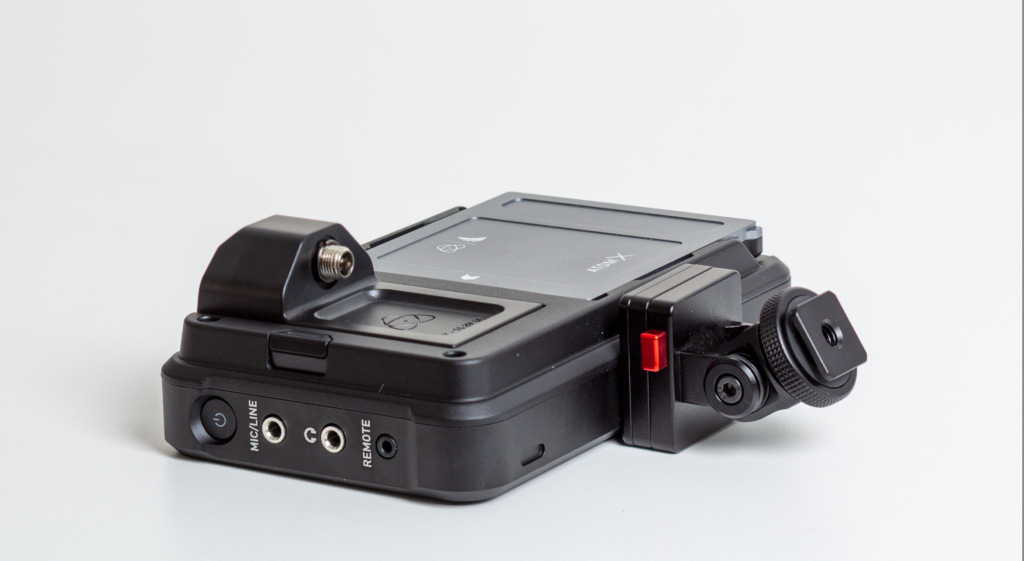
To the right the mount for the ninja on the camera hot shoe. The red button is for releasing the Ninja from the mount.
Further, there is not mount to make the Atomos sit comfortably on the camera – you can make a DYI version, but I decided to go for the Atomos monitor mount. The total of the mount and the SSD drive was around 66% of the price for the Atomos Ninja itself!
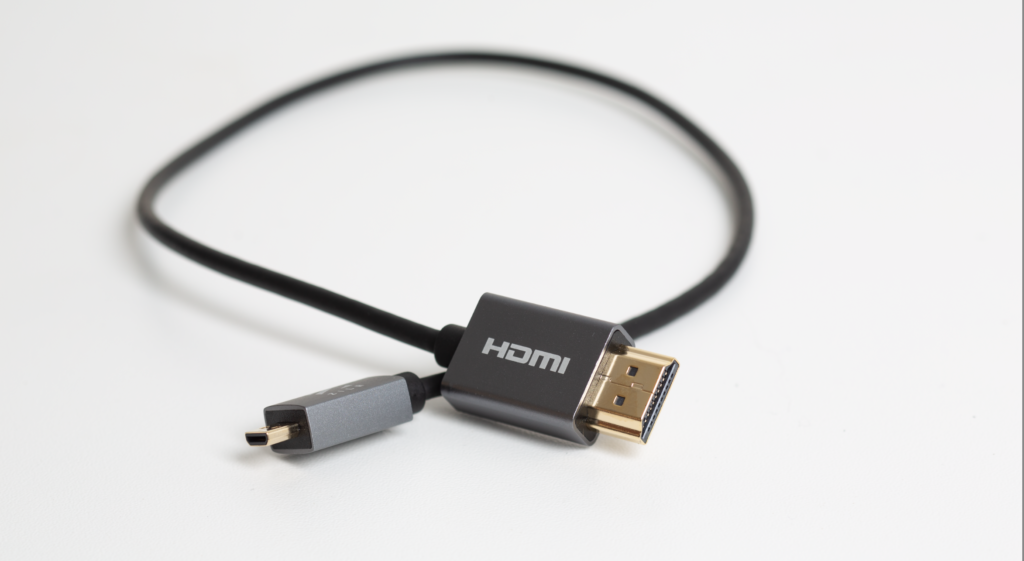
Then I learned that I did not have a cable to go between the Ninja and my camera -I needed a HDMI-A to HDMI-D cable for my Lumix camera (your camera may need a different cable). Maybe you are so lucky that you have one on stock, but I did not, so I had to invest once more. Notice that it is useful with a relative short cable if you intend to have the Ninja mounted right on top of your cable.
HDMI cable to go between camera and Ninja.
Add to this that the Atomos Ninja V comes with not batteries at all! You can get a Atomos Accessory Kit with batteries and a sun visor and a battery charger, but that kit will set you back another 40% of what the Atomos itself costs, so if you want both batteries, sun visor, memory and a monitor mount, you have to pay a bit more than double the price of what the Atomos Ninja V itself will cost you.
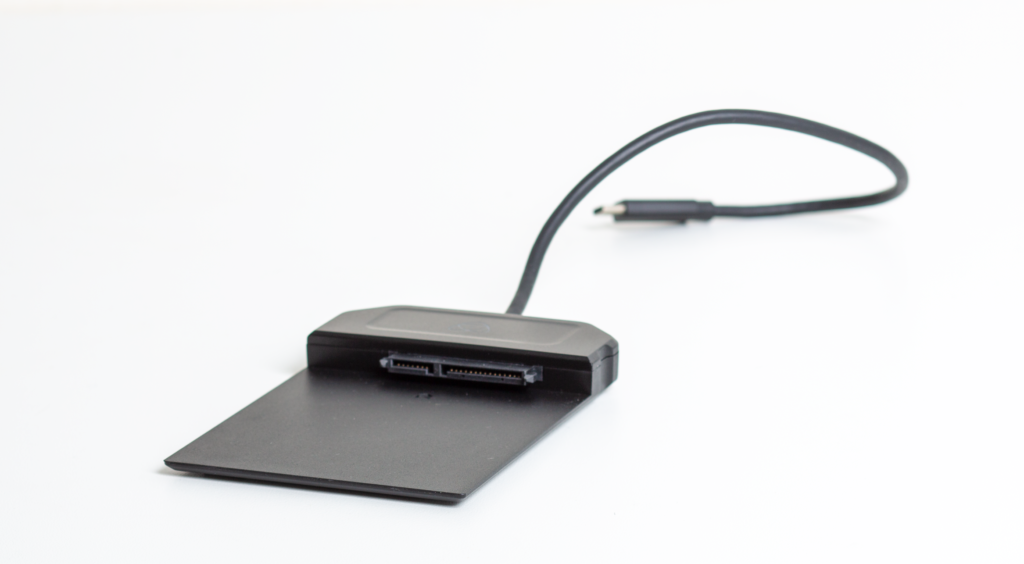
Then there is the question of getting data out of your Ninja! Here there is no USB-C or USB-A connector to “talk” to your Ninja, so I had to get a docking station for the SSD drive.
SSD drive docking station.
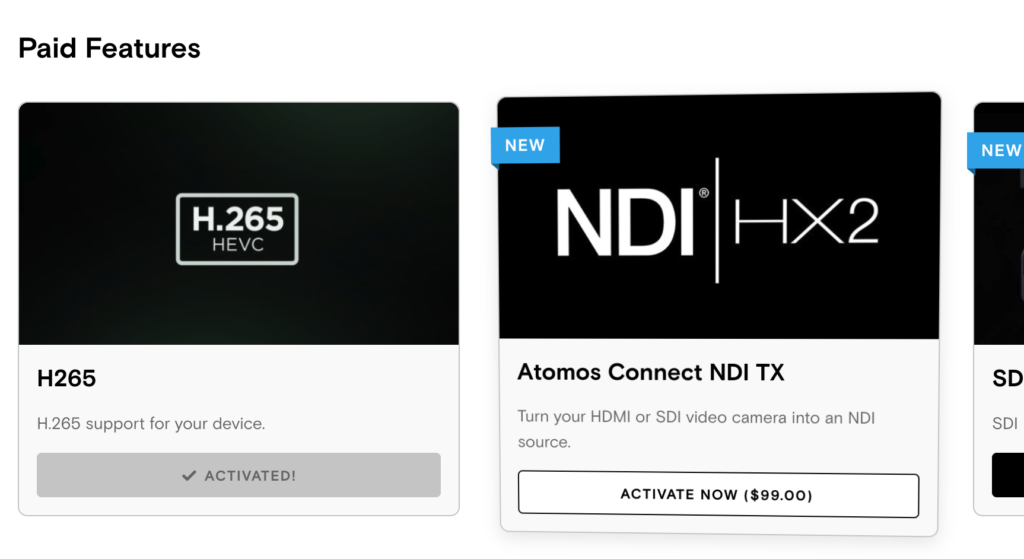
The final stab that Ninja Atomos V made at me was when I created a profile on the Atamos homepage and downloaded the latest software. There I learned that a one-time fee of 99 USD for the giving me access to the H.265 codex was required.
H.265 codex access paid!
So, as I said in the beginning of this blog, the Atomos Ninja V is a great tool, but just like cars from Germany: be prepared to cough up some extra of you hard earned cash to make the package complete.
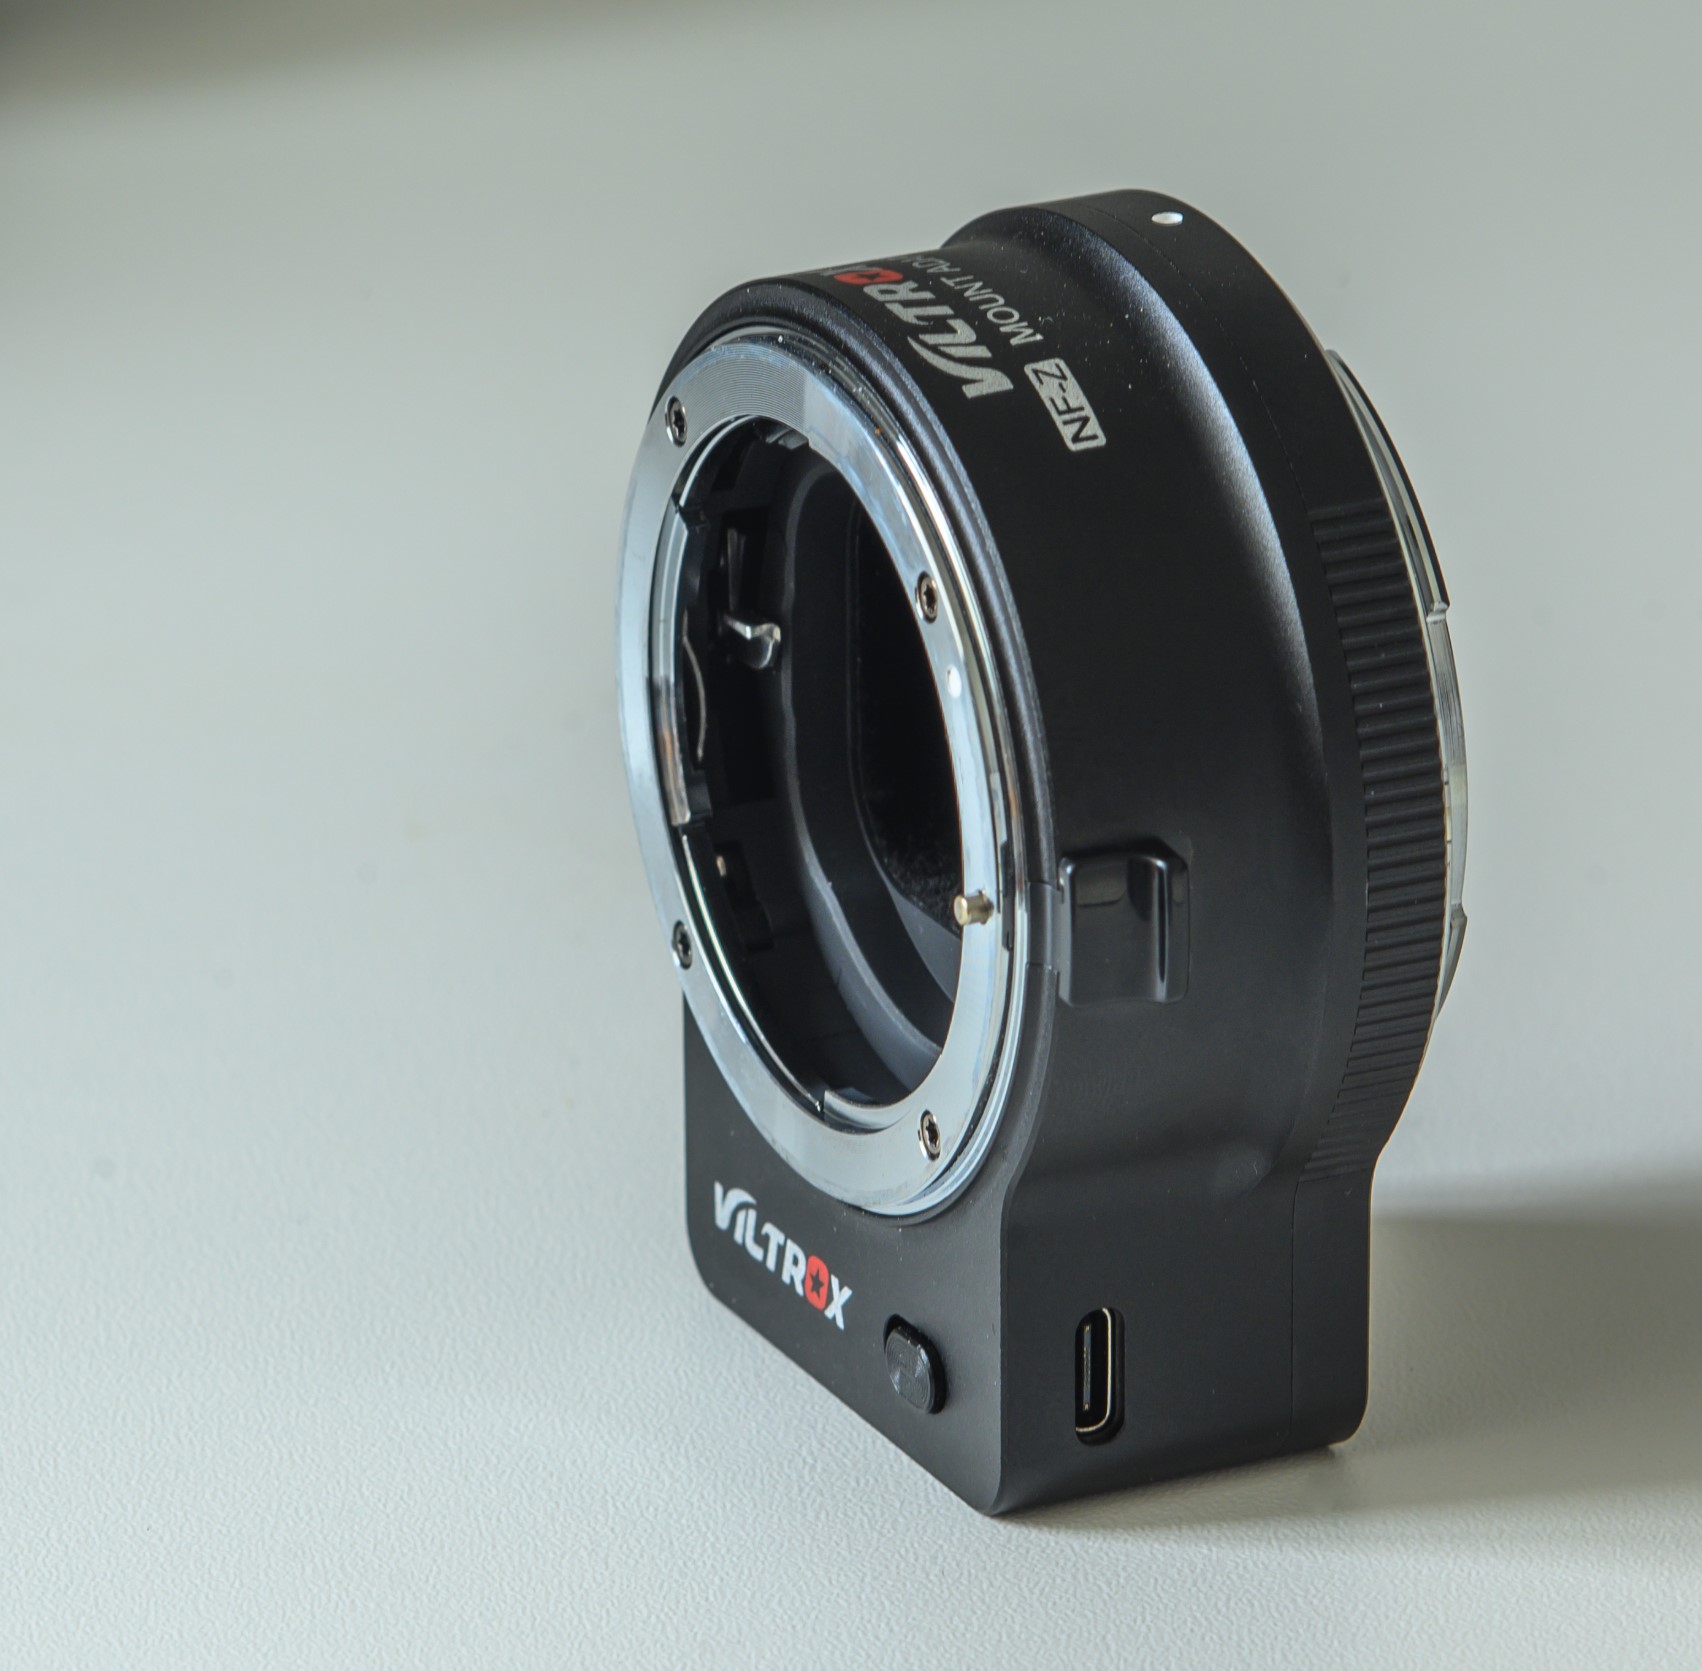
The Viltrox adapter for Nikon Z-mount enables you to use your Nikon F-mount glass with Nikons mirrorless cameras, such as the Nikon Z6 or the Nikon Z50. It is intended to work exactly like the FTZ adapter from Nikon, making it possible for you to use your F-mount glass on a Nikon Z mirrorless camera body.
You need to study the list of compatible lenses carefully, as Viltrox do not promise to support all lenses. Selected lenses from both Nikon, Tamron and Sigma are supported according to Viltrox, but here I have only tested with Nikon lenses on my Nikon Nikon Z6ii with camera body software version 1.3.
It is my impression that Viltrox has put in an effort to make the adapter work with lenses with built in AF motors (AF-S and G), including image stabilization and obviously EXIF information. I have been shooting with the 70-200mm f/2.8 G lens extensively, and it works like a charm. I have also used it with my wide 16-35mm f/4 G ED and although I felt the AF was a tad slower than with the Nikon adapter, it also worked really well (speed of AF with a wide lens is not critical to me).
The Viltrox NF-Z mount adapter. Notice both the USB-C plug bottom left on the adapter and also the button next to it, reserved for future appliances.
However, my older lenses seem to work less well:
My good old 135mm AF f/2 Defocus Control lens, I could get the on-camera aperture selection to work. It was simply stuck at f/1 and did not move no matter how much I turned the front command dial. The Nikon adaptor worked fine with this lens.
I got the “FE” message when I used my trusty 28-105mm AF zoom lens despite it being locked at the minimum aperture, but a software update from Viltrox set that straight.
So my conclusion is that the adapter from Viltrox does not have the same wide coverage as the Nikon original in terms of lenses it will work with, and that you should consult the list of compatible lenses carefully before investing.
For the AF lenses that are dependent on a AF motor in the camera body, the autofocus will not work with this adapter, as there is no motor built in. This is the same for both both the Nikon and Viltrox adapter, so no difference between original and copy here.
Build quality
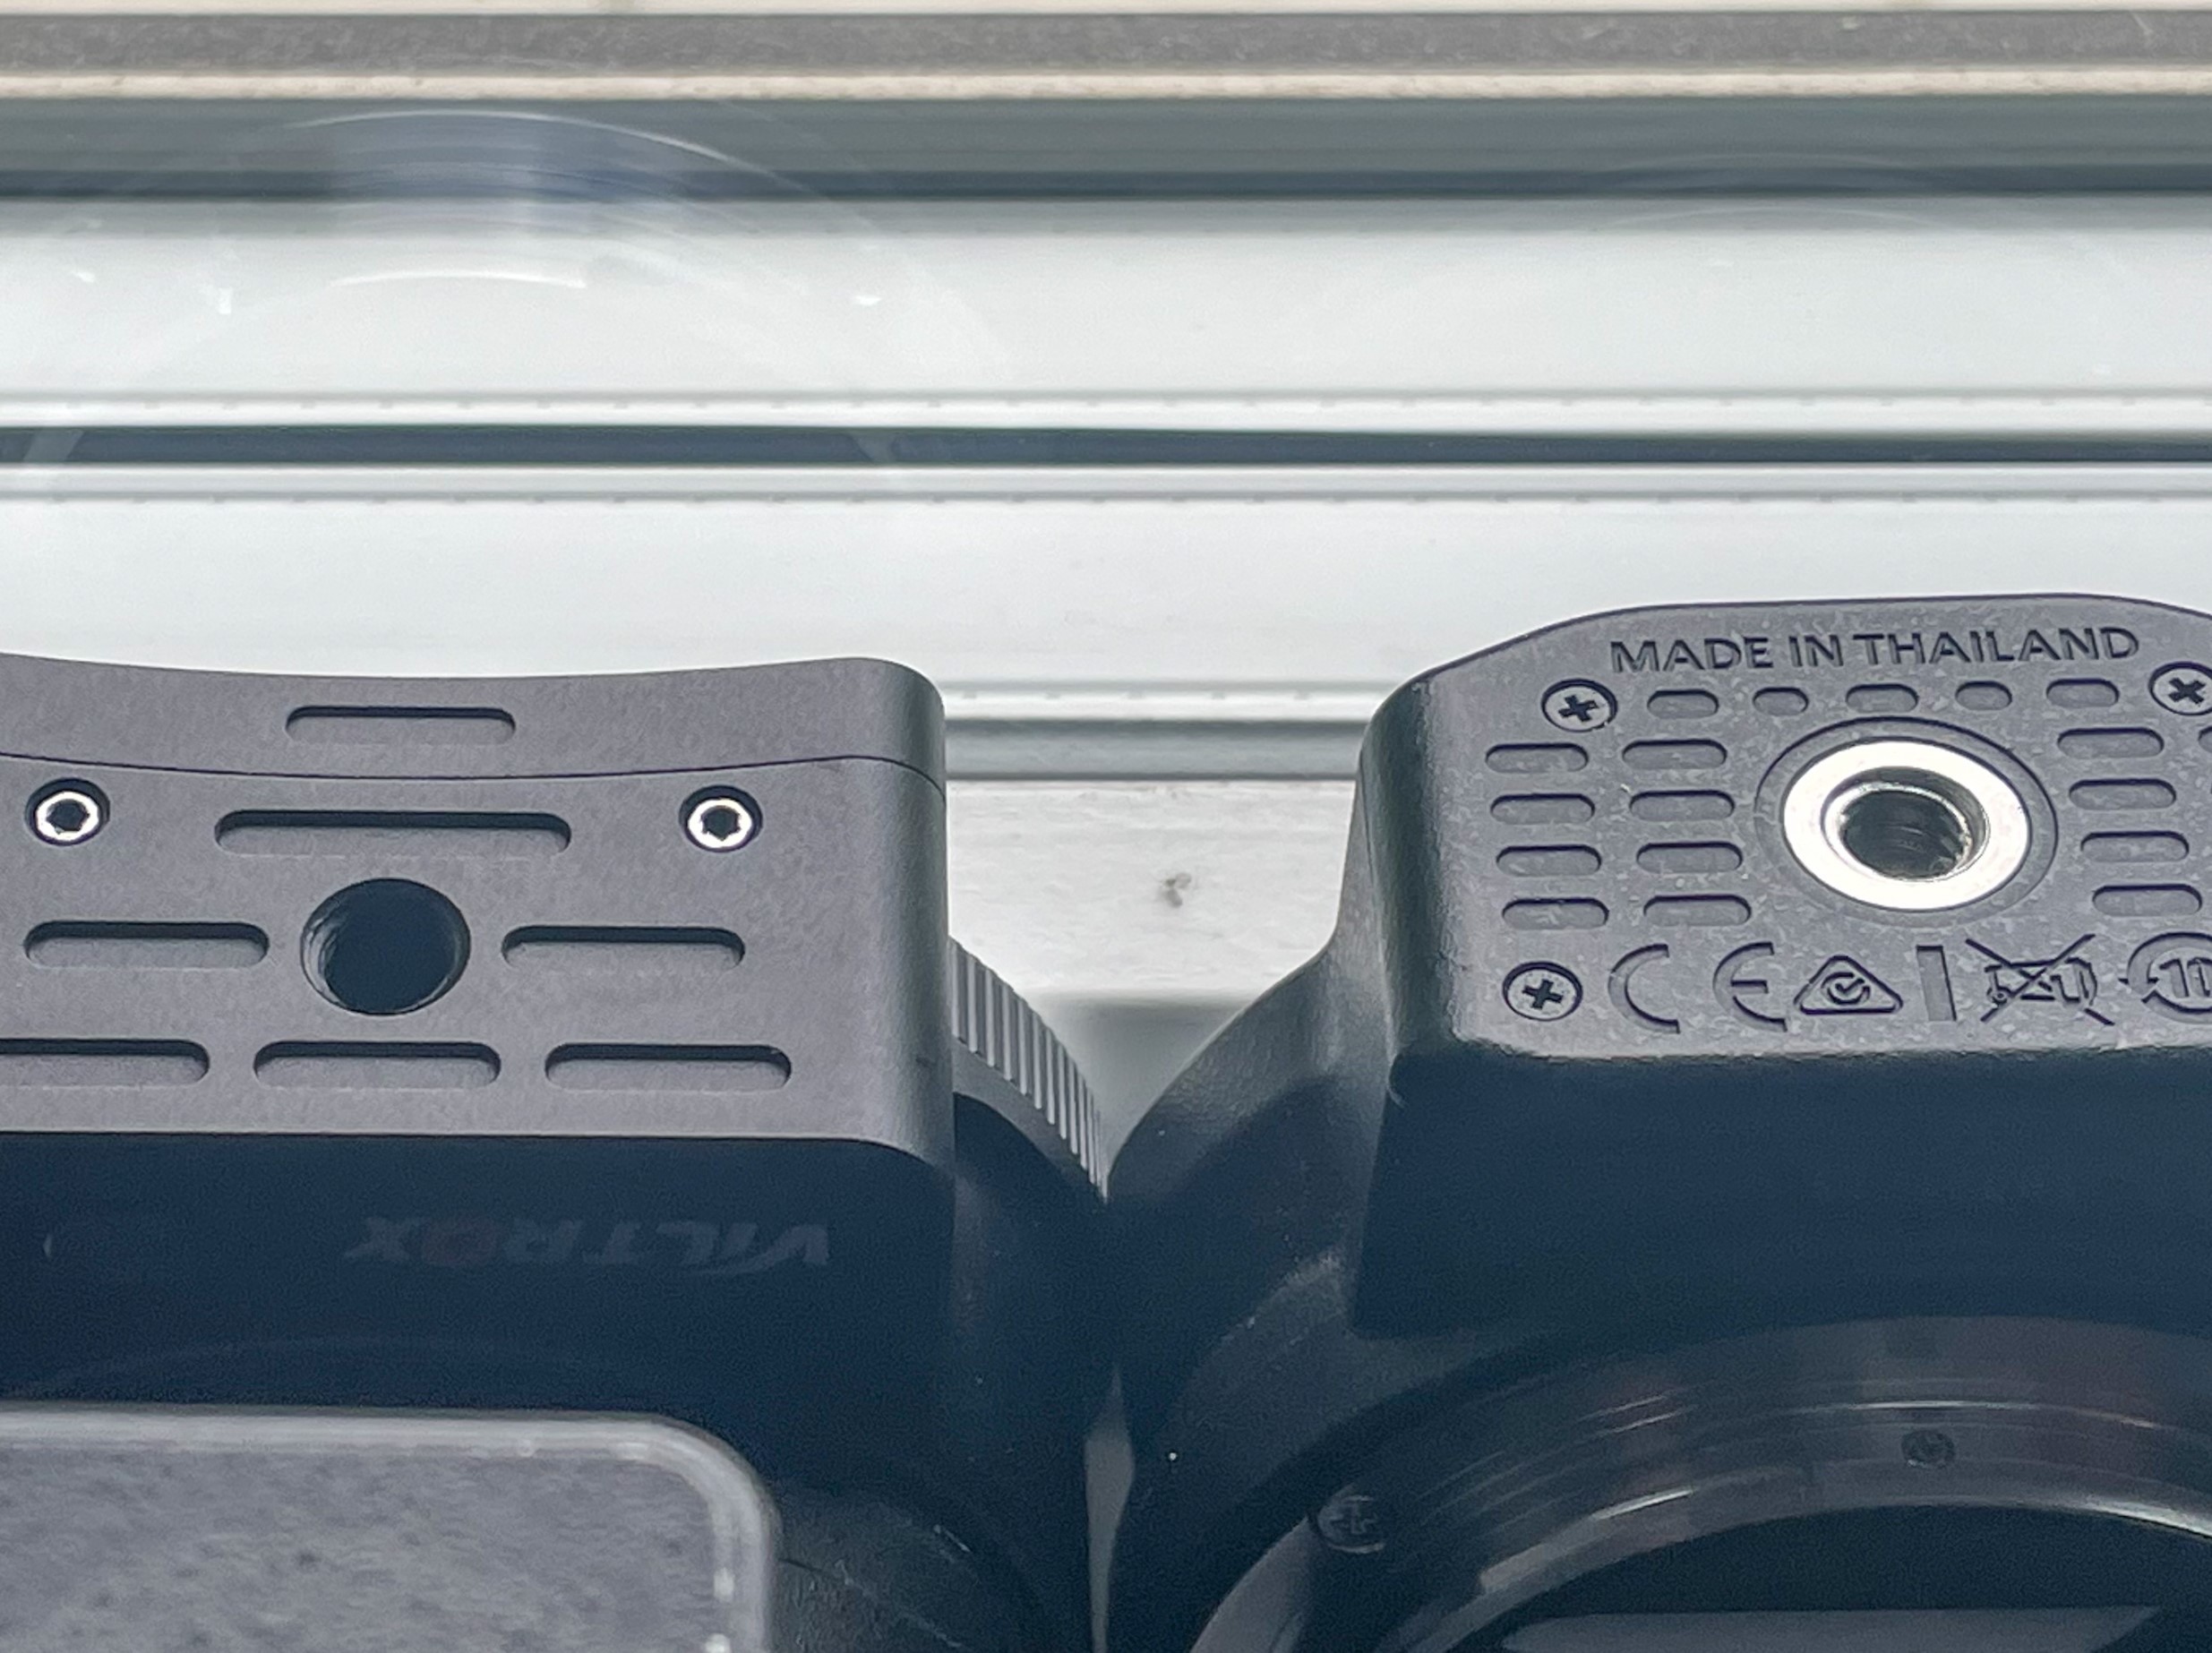
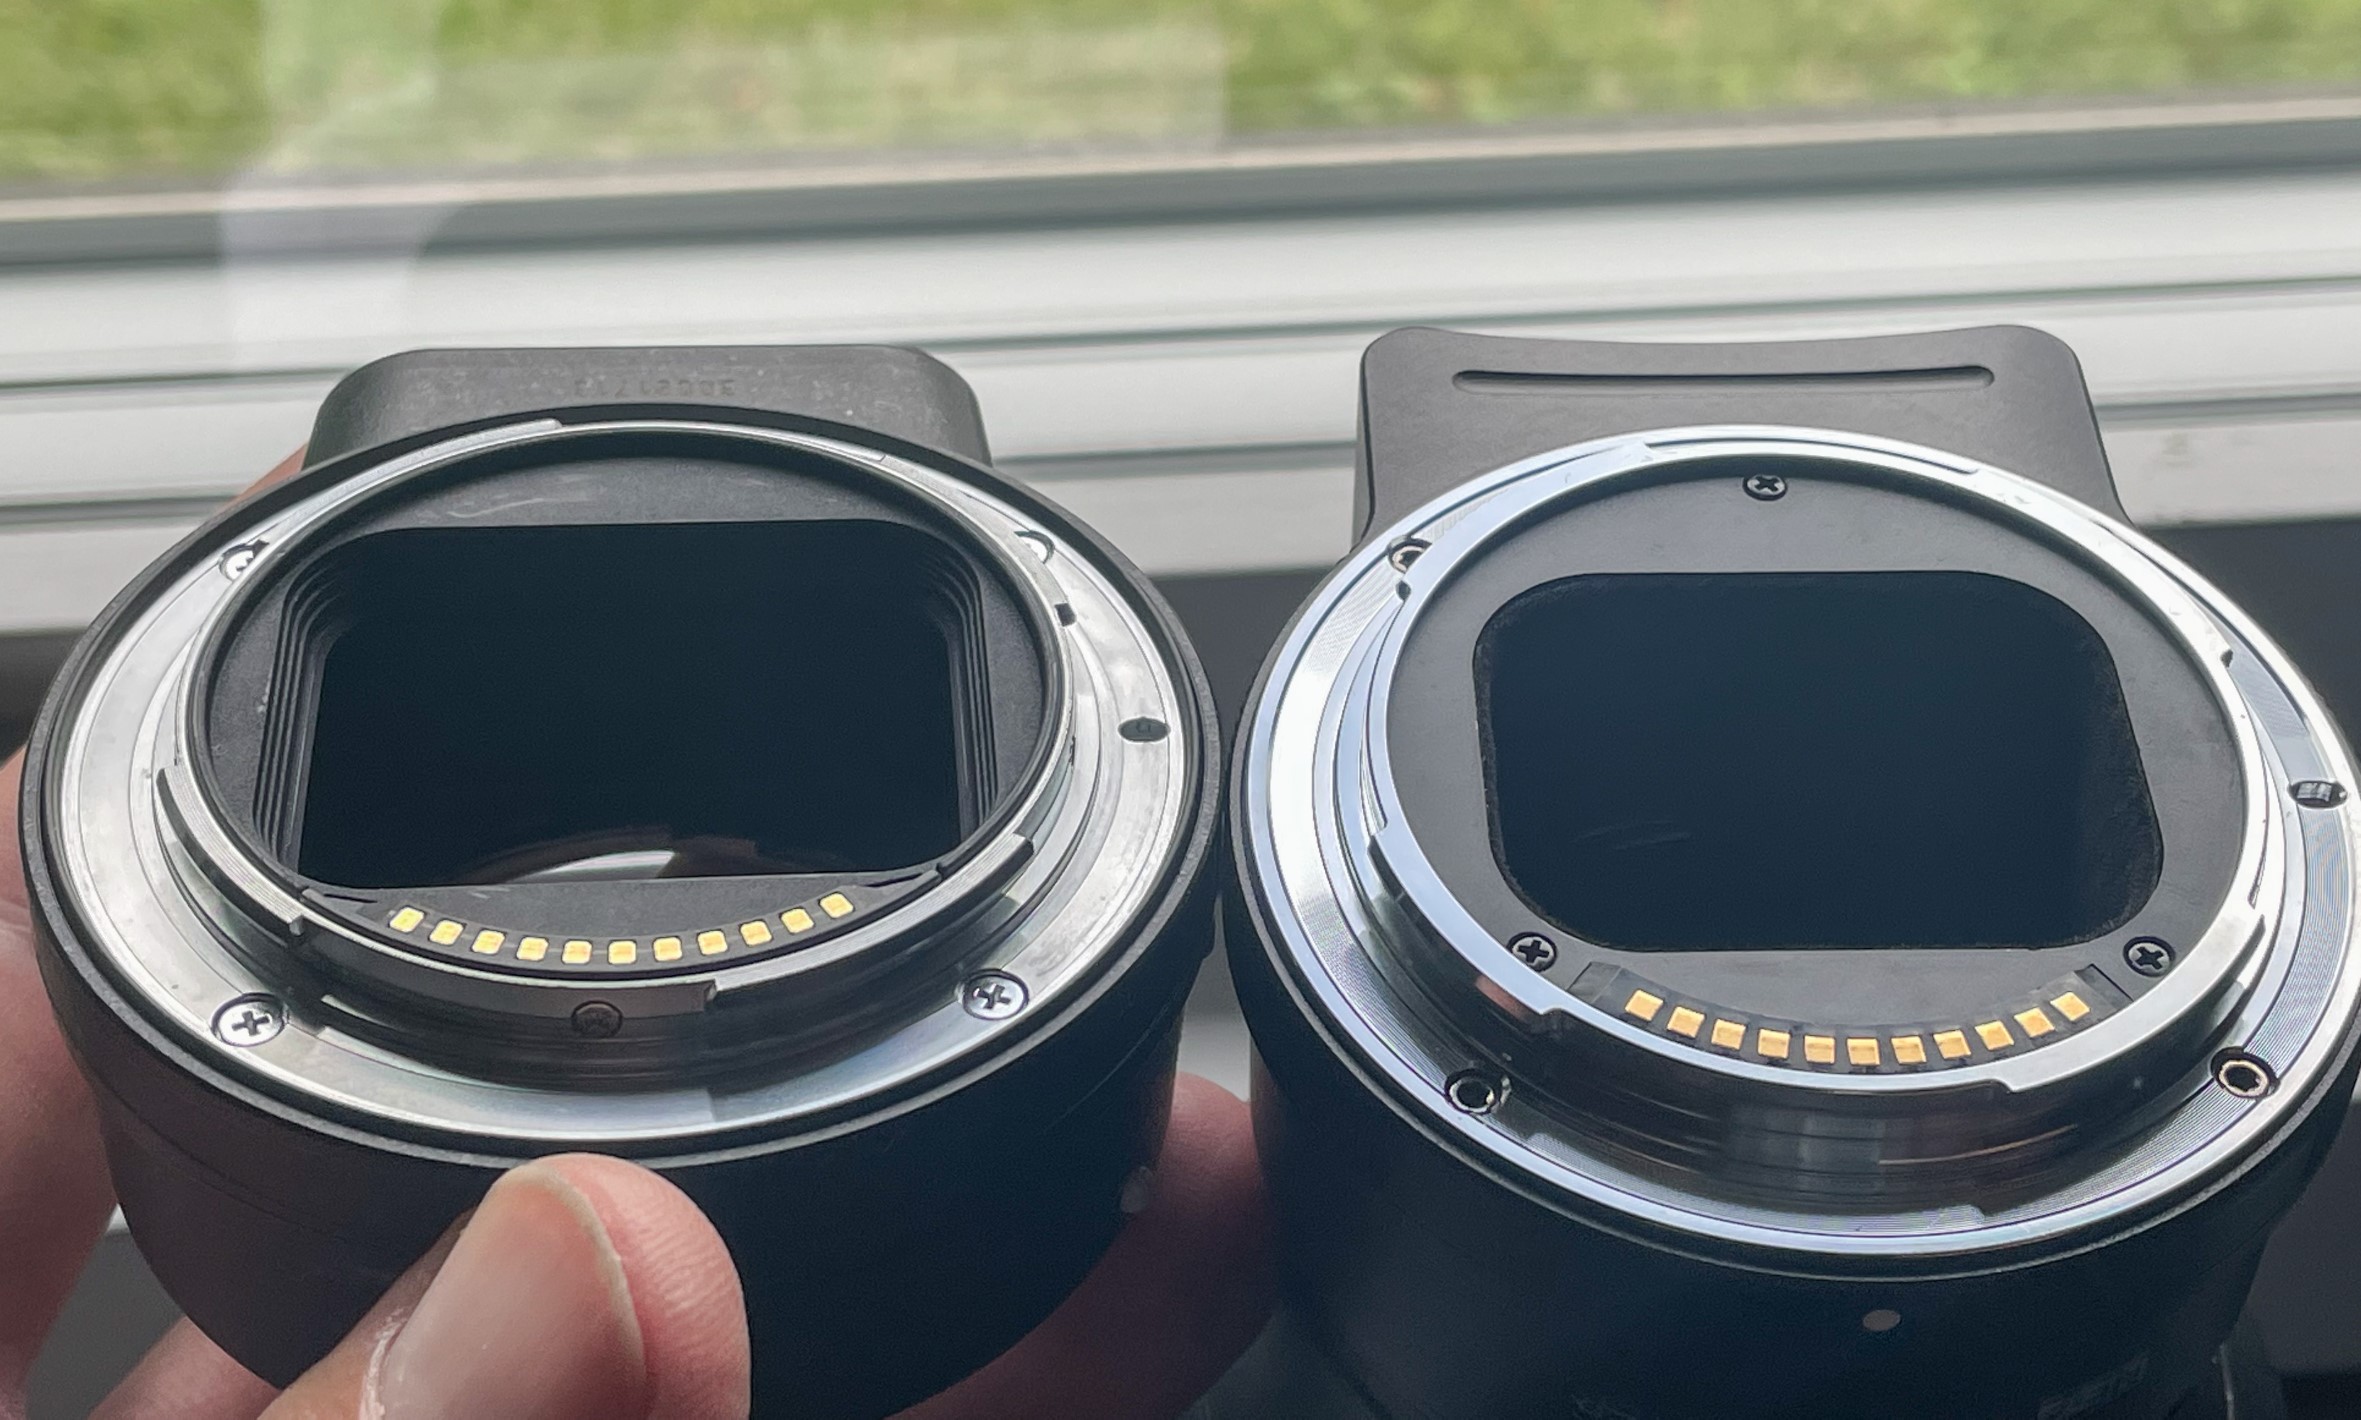
Can you tell the difference? Viltrox left, Nikon original right.
The original FTZ adapter from Nikon and the NF-Z adapter from Viltrox are very similar in built quality. The Viltrox is 146 grams and the Nikon is 131 grams. Both of them appear very solid and both of them lack a gasket towards the camera side to keep out moist and dust.
Nikon left, Viltrox right.
One of the big differences in terms of appearance is that the Viltrox adapter has a USB-C connector, which enables you to install new software updates in case Nikon releases new software for their camera bodies or lenses, that the Viltrox software needs to adapt to. Also, the Viltrox adapter has a button prepared for future use – right now I don’t think it has a function. So the Viltrox adapter is pretty well equipped to deal with future changes, provided of course that they will continue to develop the software for the adapter.
Price
As far as I can tell, the Viltrox adapter does not do anything more than the Nikon original adapter. In fact it does a little less, as the range of supported lenses is less. However, where the difference kicks in is the price. I will not quote prices as inflation is crazy this day and age, but he Viltrox is easily 30% cheaper than the Nikon original. And for the lenses supported by the spec sheet most likely does exactly the same as the Nikon original. And to me the build quality seem to be on par with the original Nikon. Add to this the fact that the FTZ mark 1 adapter has been difficult to get from new since the release of the FTZ mark 2, then you start so see why the adapter from Viltrox starts to be interesting.
Conclusion
The Viltrox adapter to me seems to be very close to the original from Nikon. The build quality is very much the same and the adapter seems to work well to provide auto focus, image stabilization and all the modern features that say a G-series lens support. And then the price is significantly lower – 30% or more.
So what not to like? Well, I would recommend that you study the spec sheet to see if the lenses that you plan to use with this adapter is covered. It may not be the case. After all, Viltrox are reverse engineering the software to behave like the Nikon equivalent without Nikon providing an open source or insight to the inner workings of the adapter. So it will probably be so that the lenses and camera bodies supported are less than the original. But then again, if all your lenses are supported, then this may not be important to you and the price differences is worth a serious consideration.
This is not a product designated to photographers. I know. But backups of your photography data is so important working as a photographer, that I take the liberty to review this product in that context.
I have several of these drives. I do backups at least every month and as part of my year end procedure. And do I then store it in a drawer? No, not immediately. I drive the backup far away from where I live and store it in my summer house (swapping backups with a friend also works). That way I am safe in case of fire or theft.
You may think that no one breaks into your house or that a fire is unlikely, but recently we have had a client where half of their house burned to the ground, and this was the part of the house where the pictures they had bought from us were located. The first thing they asked us was if we could reproduce the images – and I was happy to say yes, knowing that I had several digital copies of the images in several locations.
The tin
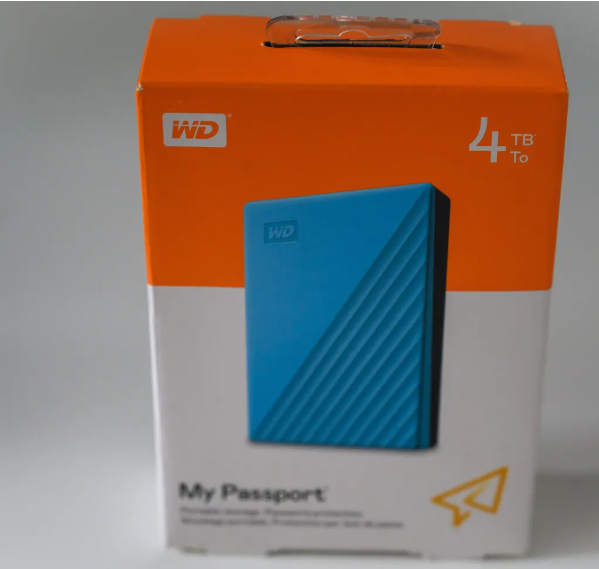
WD My Passport external HDD 4TB
This little 4TB drive weighs around 200 grams (a little less if you go for the 2TB or 1TB versions). I find the price around 130 EUR here in Denmark very fair, but in the US and UK they can be bought for less than that. 4TB is a massive amount of data, and I manage to put several years of data on a single drive.
Content
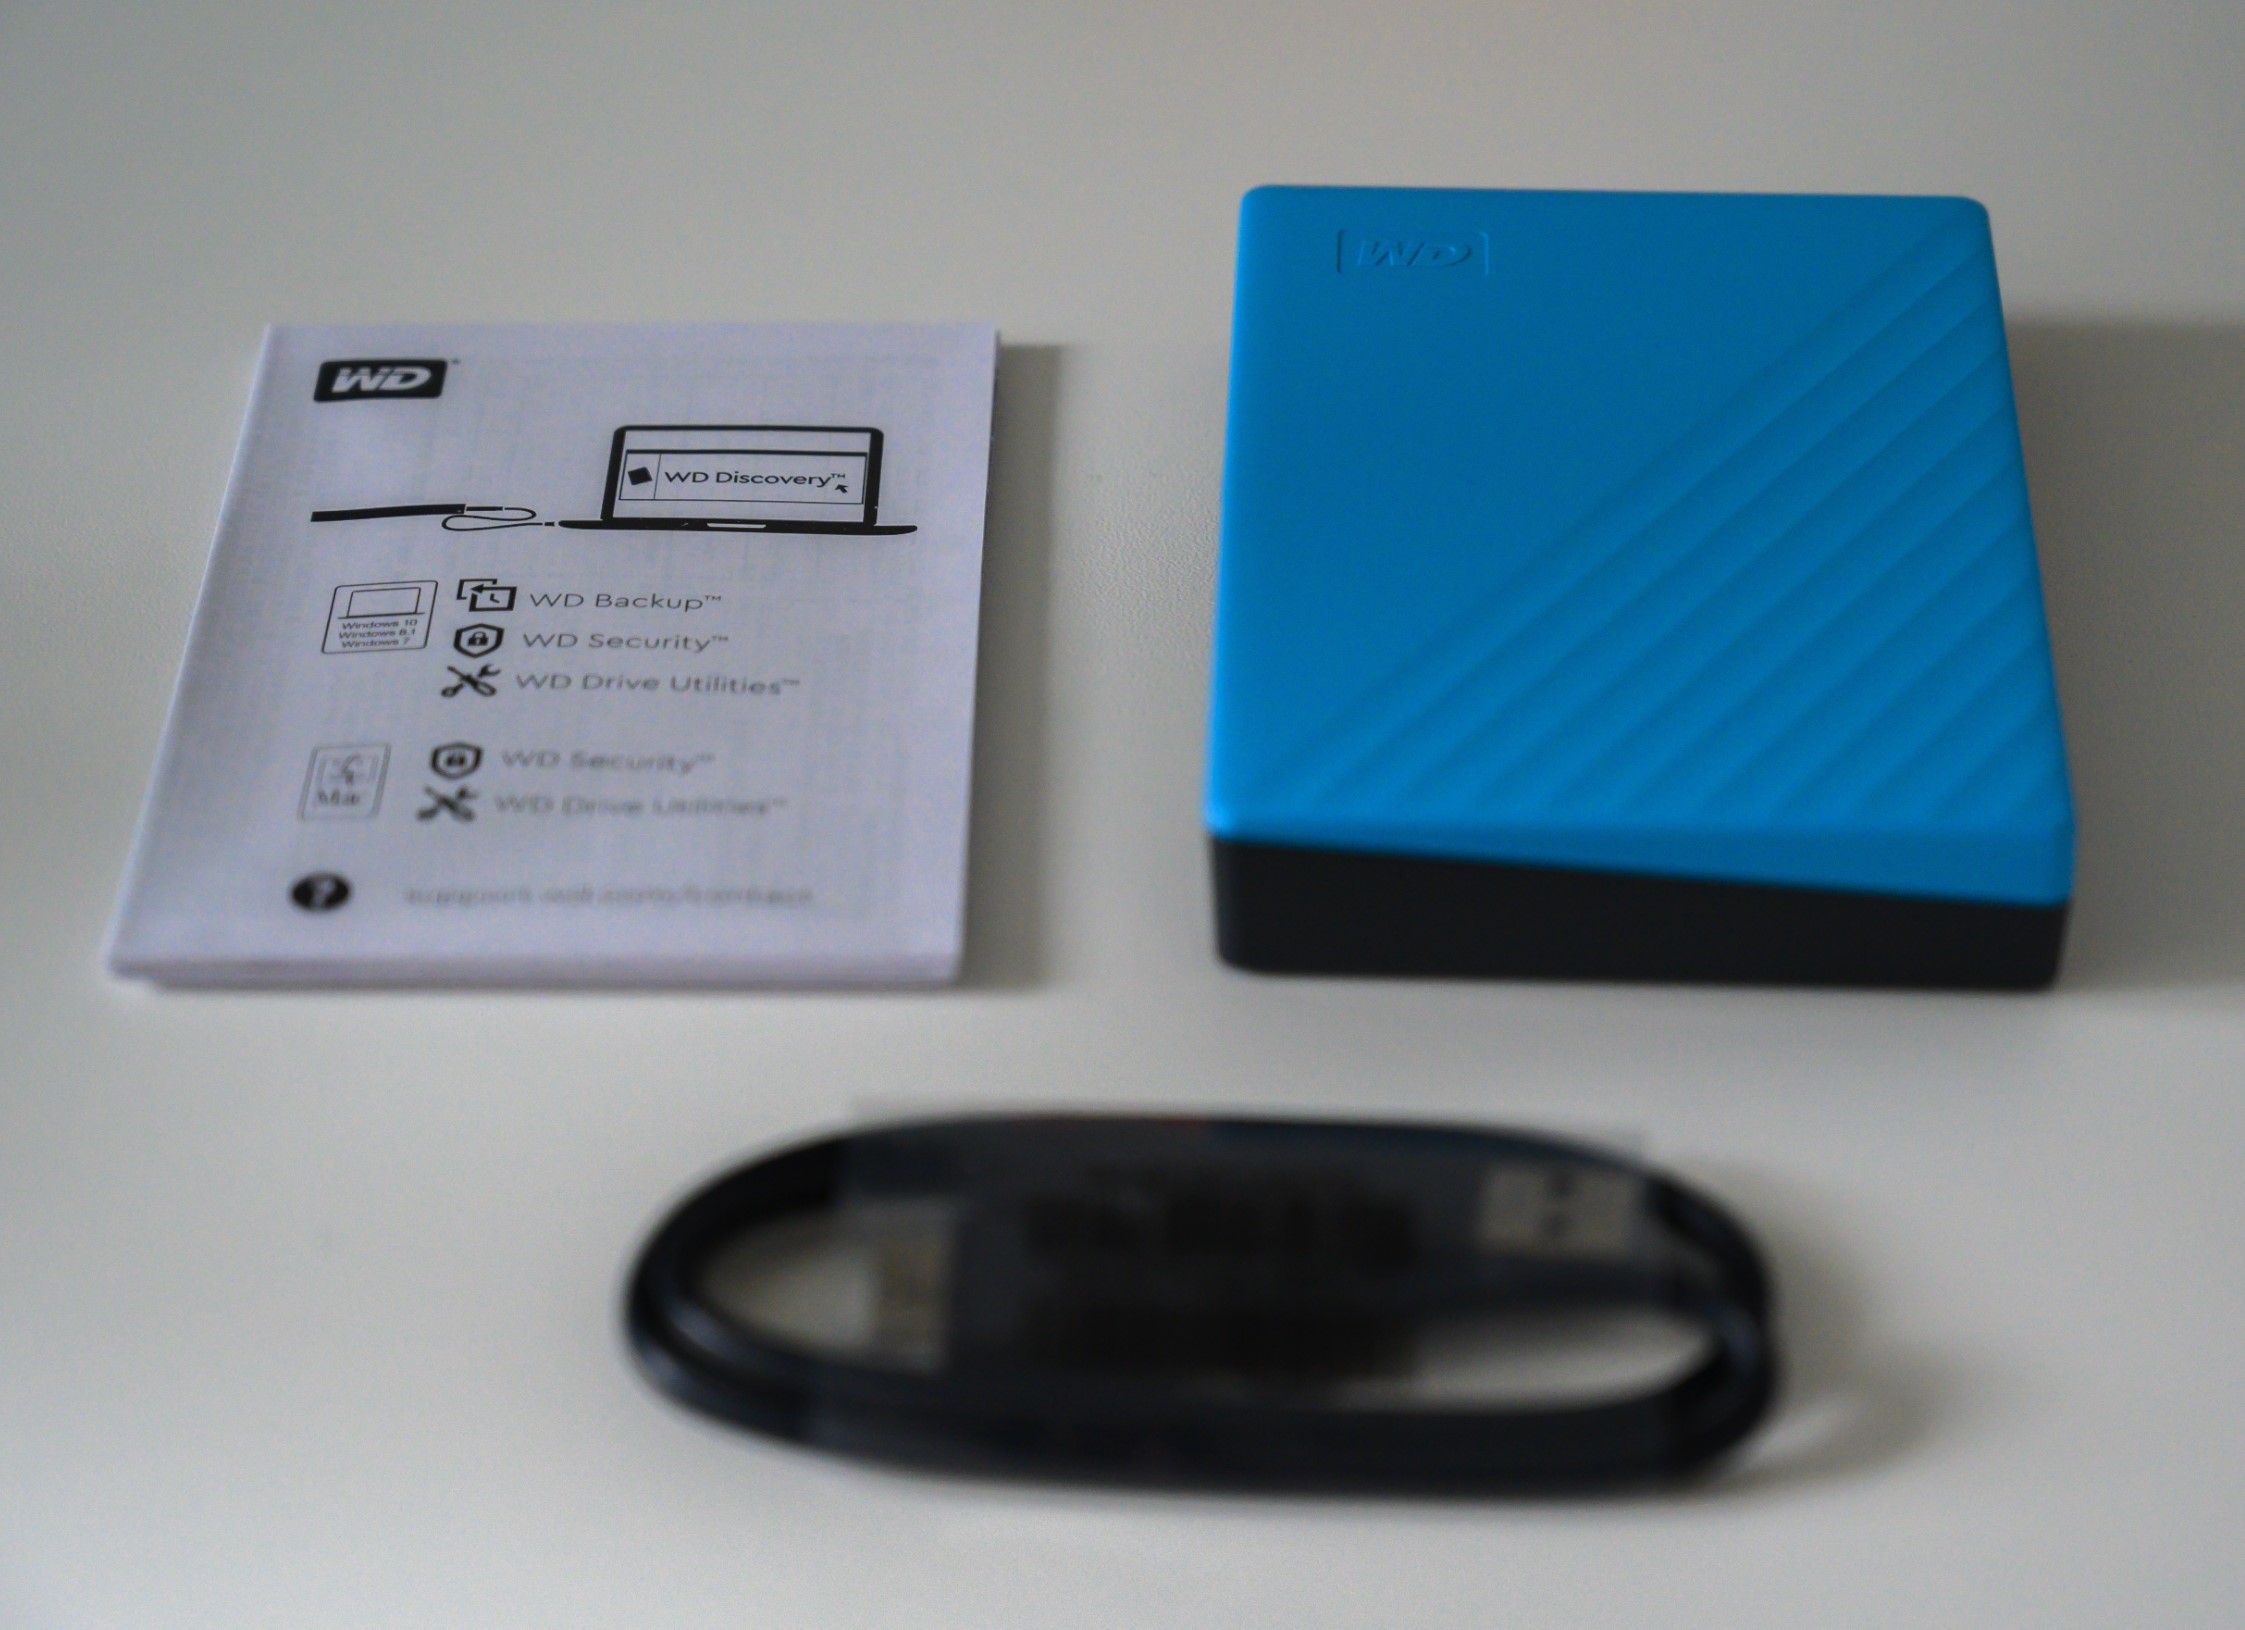
In the box: The drive itself (blue), a short guide that is more security details than anything else and the USB cable.
There is not much to say about the content of the box: A drive, a little guide and a USB cable. That’s it. What you cannot see is that the drive is pre-formatted – you can get versions for both Windows and IOS. I got the Windows version.
There is also pre-installed software on the drive that allows you to encrypt the data and facilitate the backup process. I have not used this part – I simply use the Lightroom facility “export this folder as a catalogue”; then I know I can import it again and get all the edits etc maintained. Probably also possible with the backup software provided by Western Digital, but I prefer a process that is simple and low-tech.
Operation
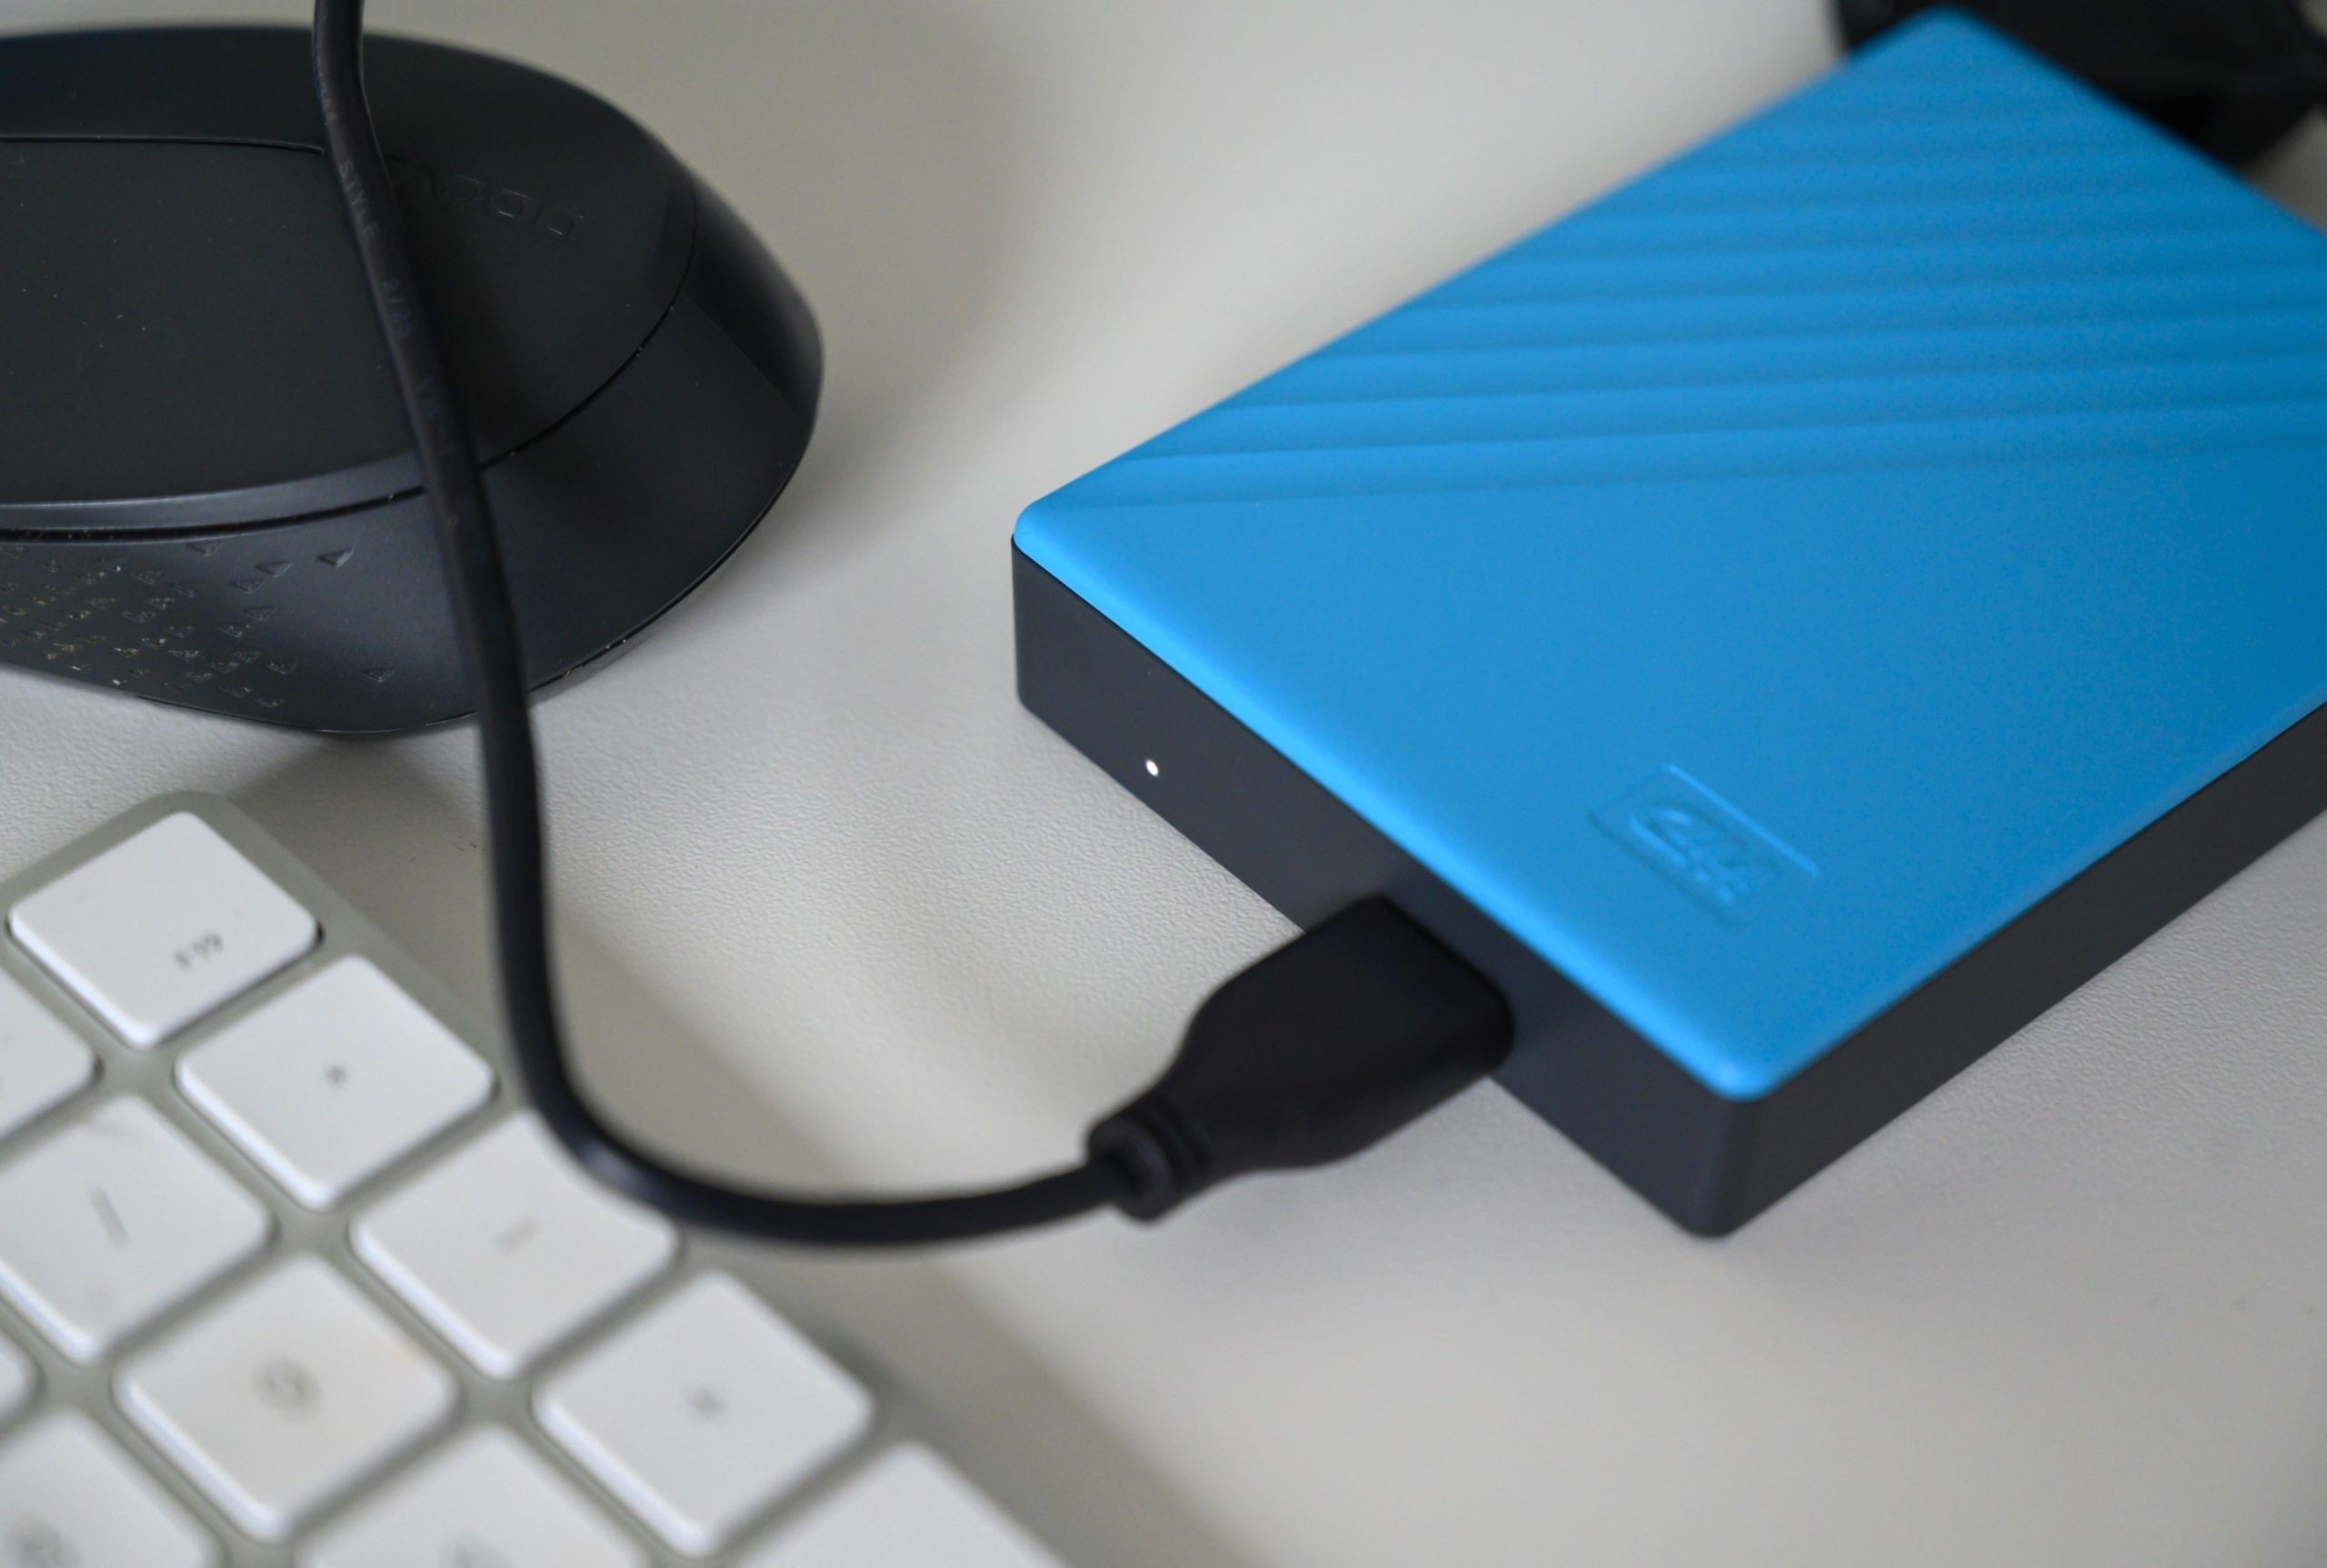
The drive in use. The mouse top left and the keyboard illustrates how small the drive is. The little light on the side flashes when the hard drive is working.
The drive is quiet. If you lift it while it is working, you can feel the gyro effect of the hard disk drive spinning fast, but you can hardly hear it. The little light on the side of the drive flashes when the drive is working and is steady when not. If the drive is working, then it is vulnerable to say being dropped or bumping into something. The head of the drive will potentially touch the drive with severe consequences. So only move the drive when it is not at work.
There is no on/off switch. In the beginning I found that a bit odd. But the drive can sense the power disappearing and manages to park the head before the power runs out. It took me a little while to get used to.
I backup using Lightroom as I previously stated, and the combination of Lightroom and this drive is no speedy Gonzales. It takes time. But as it says very little, you can have the backup running while you are working in Lightroom; it seems to me the backup process takes very little energy from Lightroom, and as such the time required to do the backup is not issue for me.
Verdict
You may have guessed that I really like this product, as I have several of them. It provides an astonishing amount of room for data (4TB) at a reasonable price of 130 EUR, the operation is silent and the drive is only 18mm thick, and 7,5 x 10,5 cm in size. The USB connector is not USB-C, but it still manages to get the data safely across and power the drive at the same time. HDD may not be the latest and most fancy technology, but for backups I prefer proven technology, and that it certainly is. I can recommend this product.
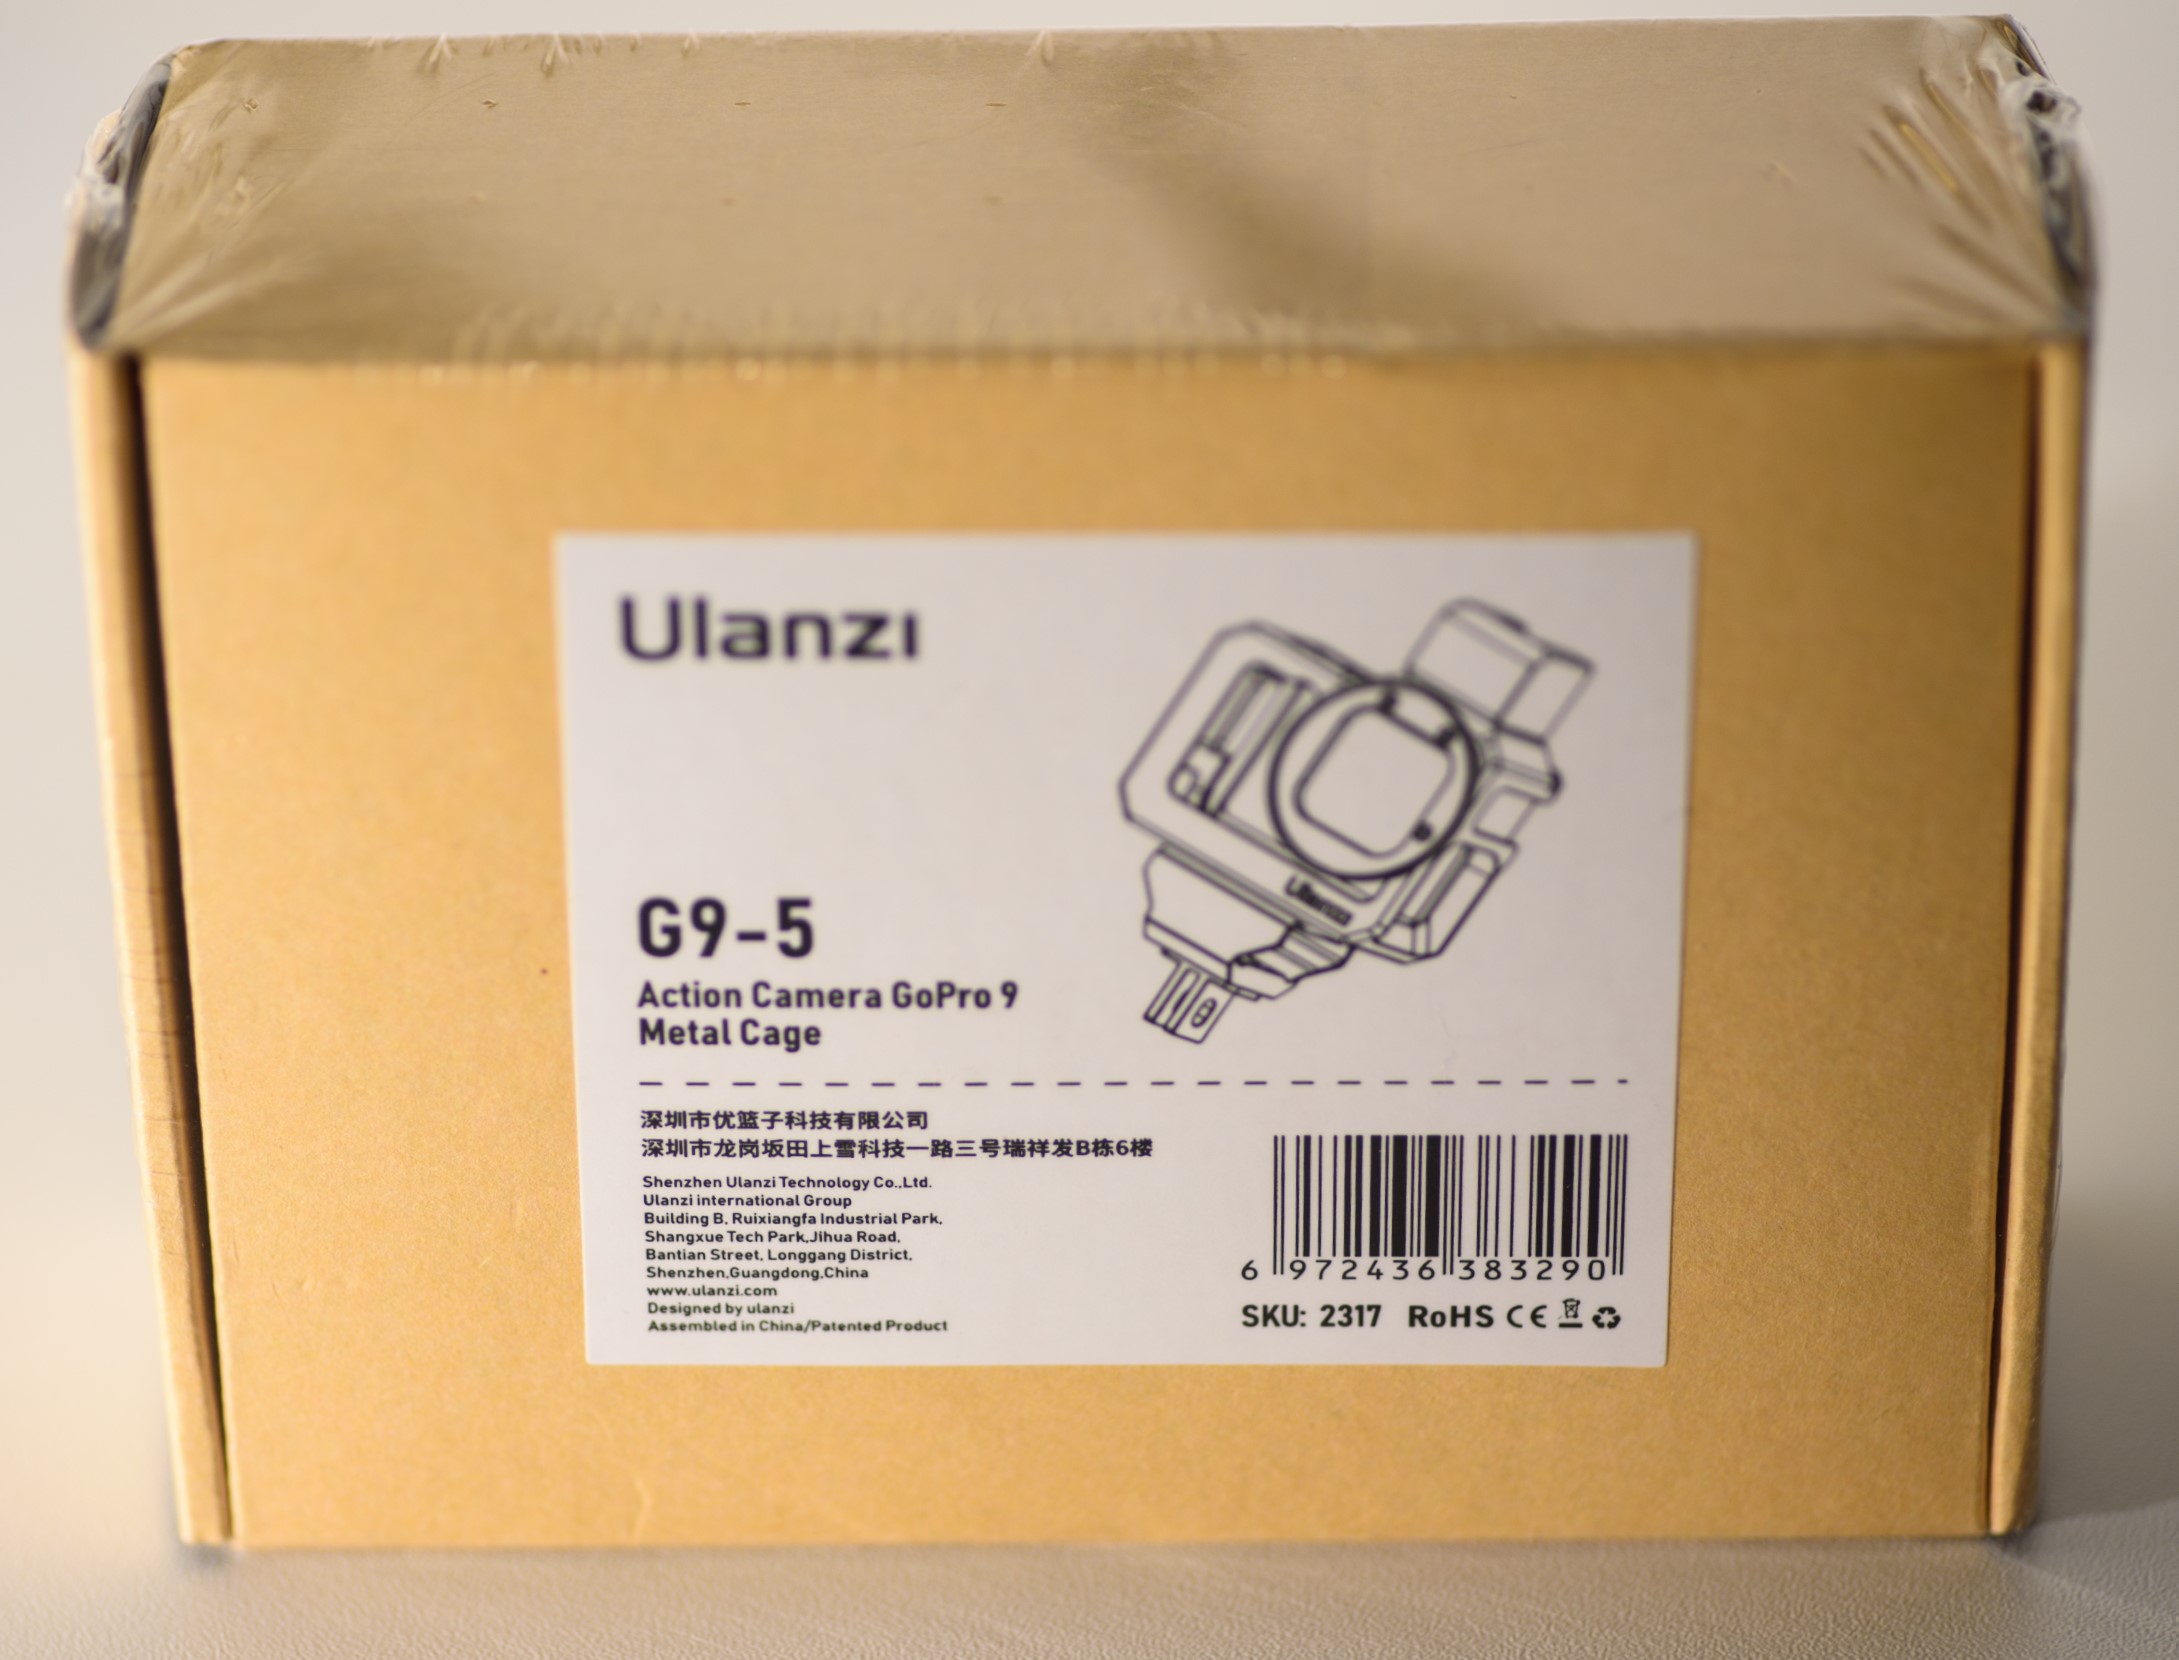
The Ulanzi G9-5 Metal Cage for GoPro 9 and GoPro 10 comes in a small plastic wrapped cardboard box that certainly does not make a big fuzz with colorful images or the like. It signals an engineering no-nonsense approach from the very start.
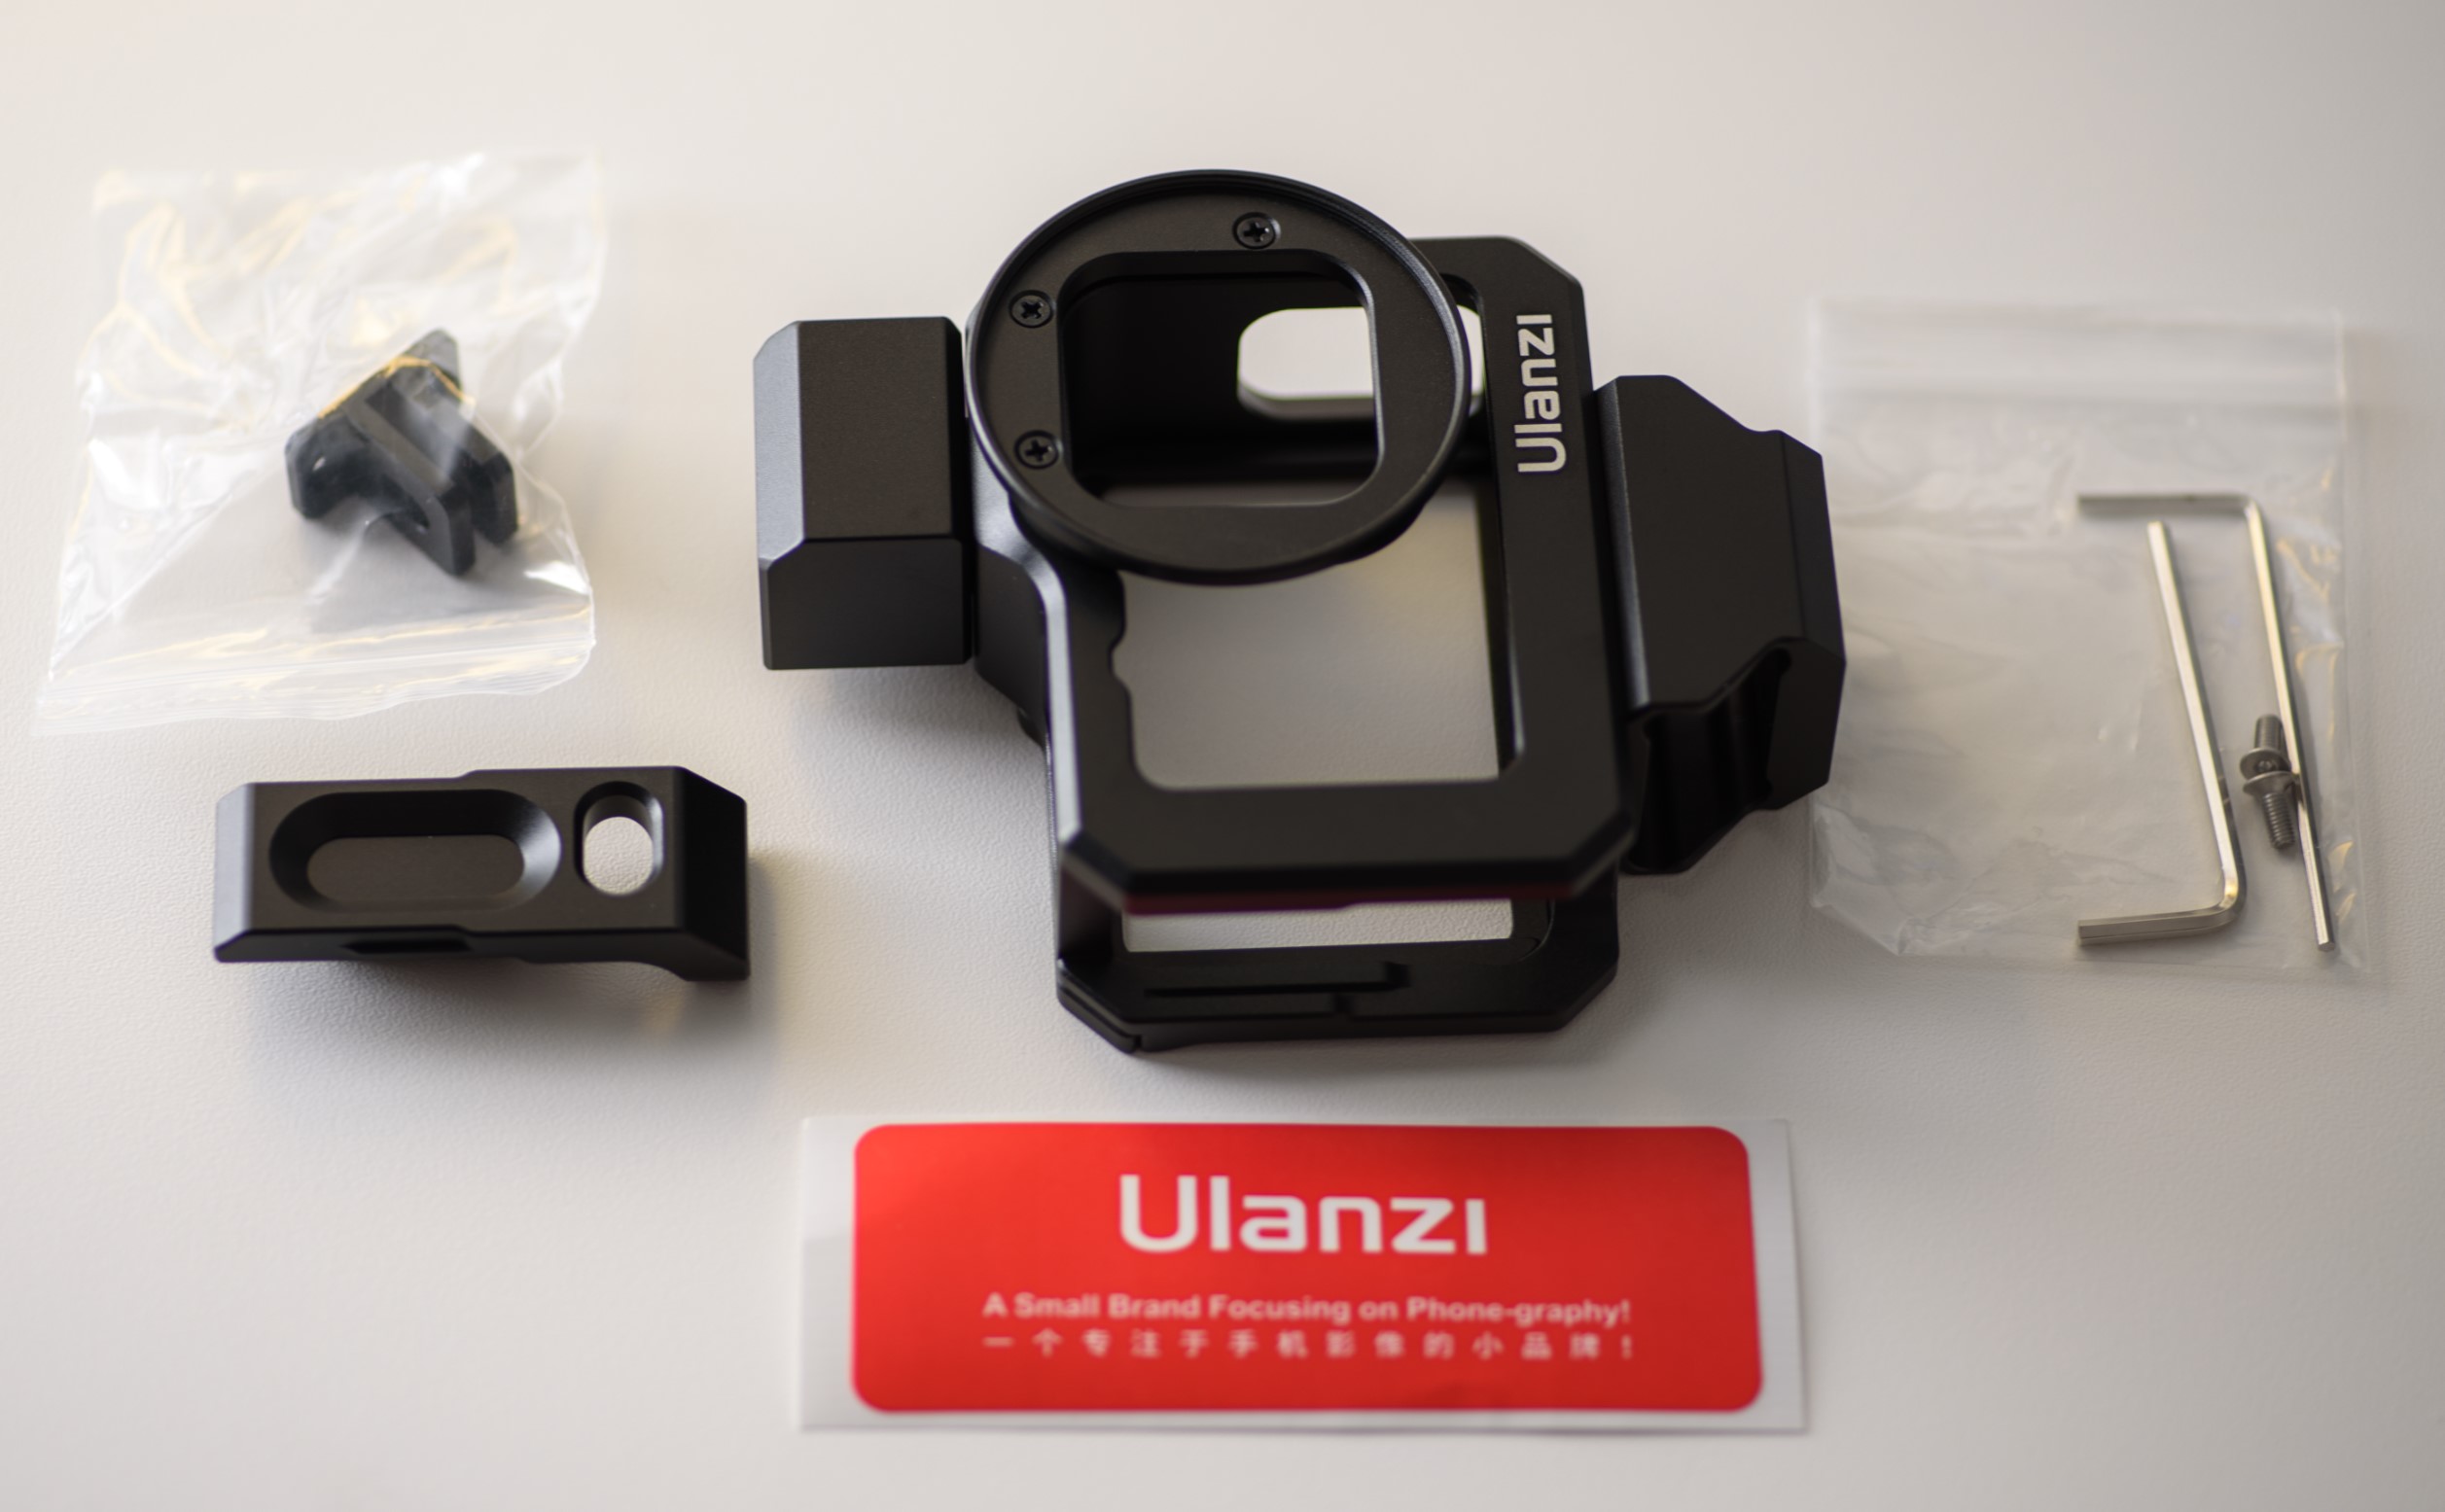
The Ulanzi G9-5 comes with in a small box with no user guide.
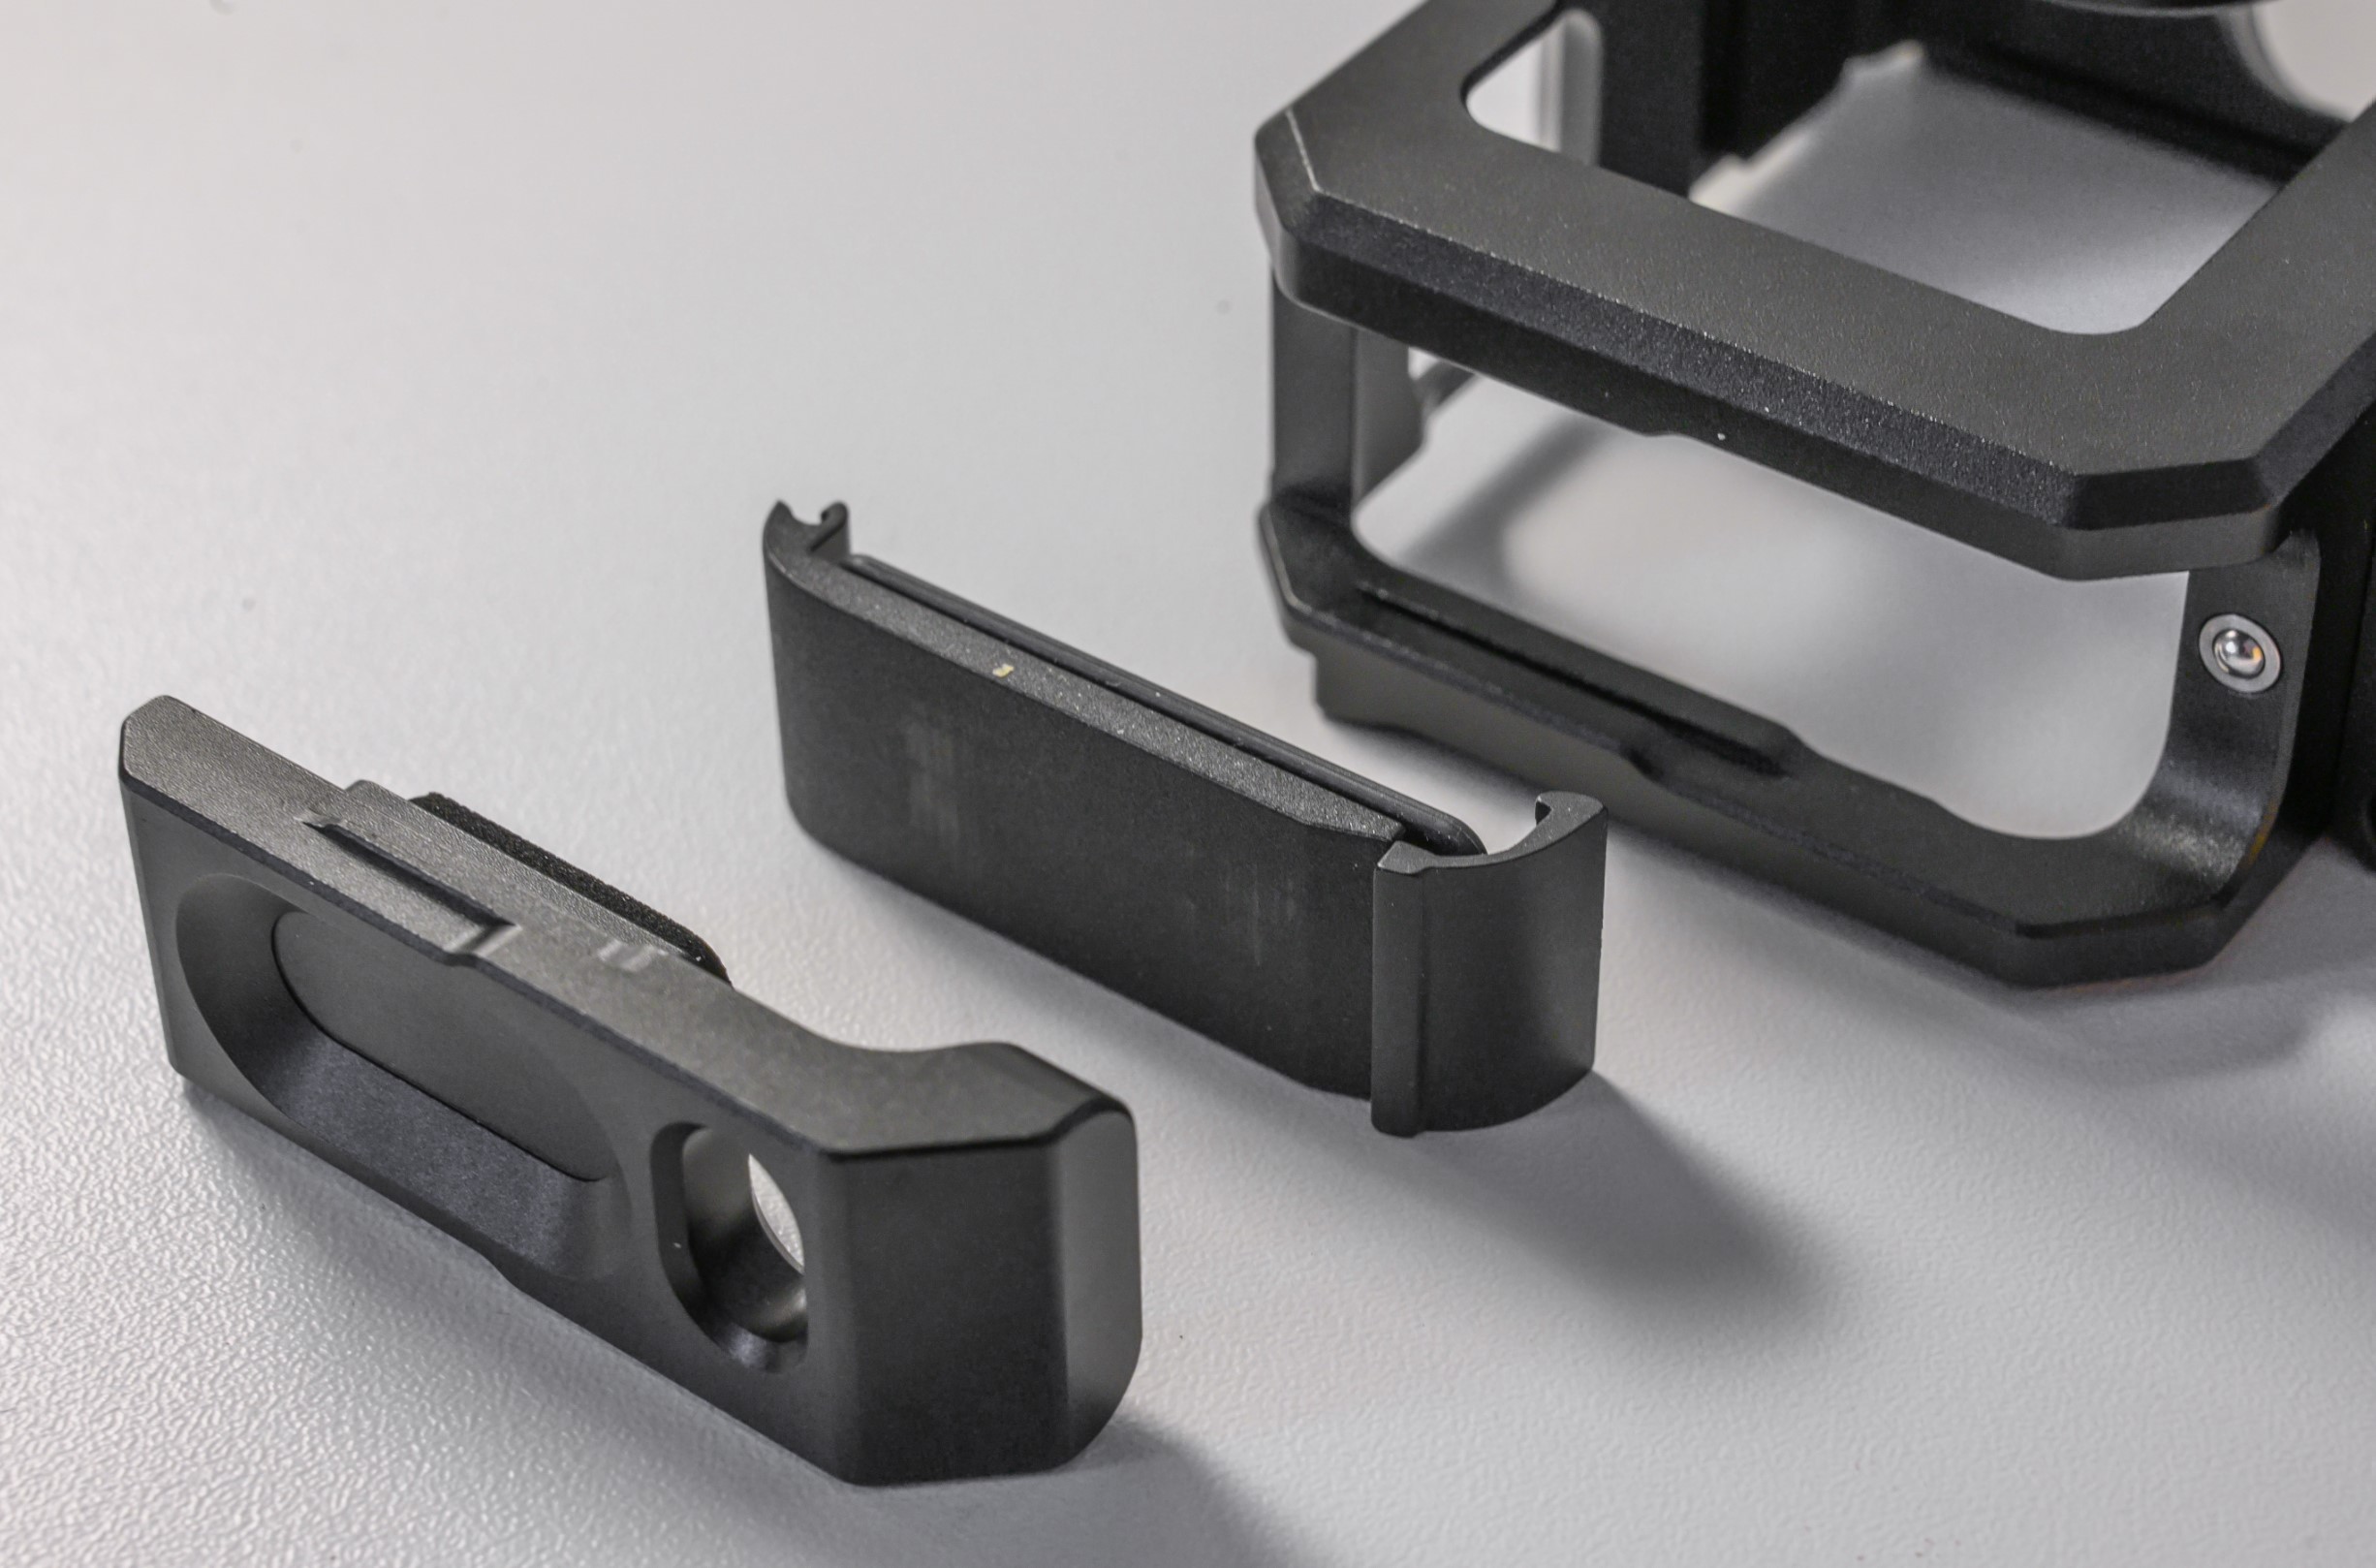
In the box you will find the cage itself, with a small cage for the sound adapter already mounted at the bottom.
The full content of the package. Cage in the middle with microphone adapter mounted to the right. The door bottom left is mounted on the right hand side of the cage and gives access to the USB-C connecter when closed.
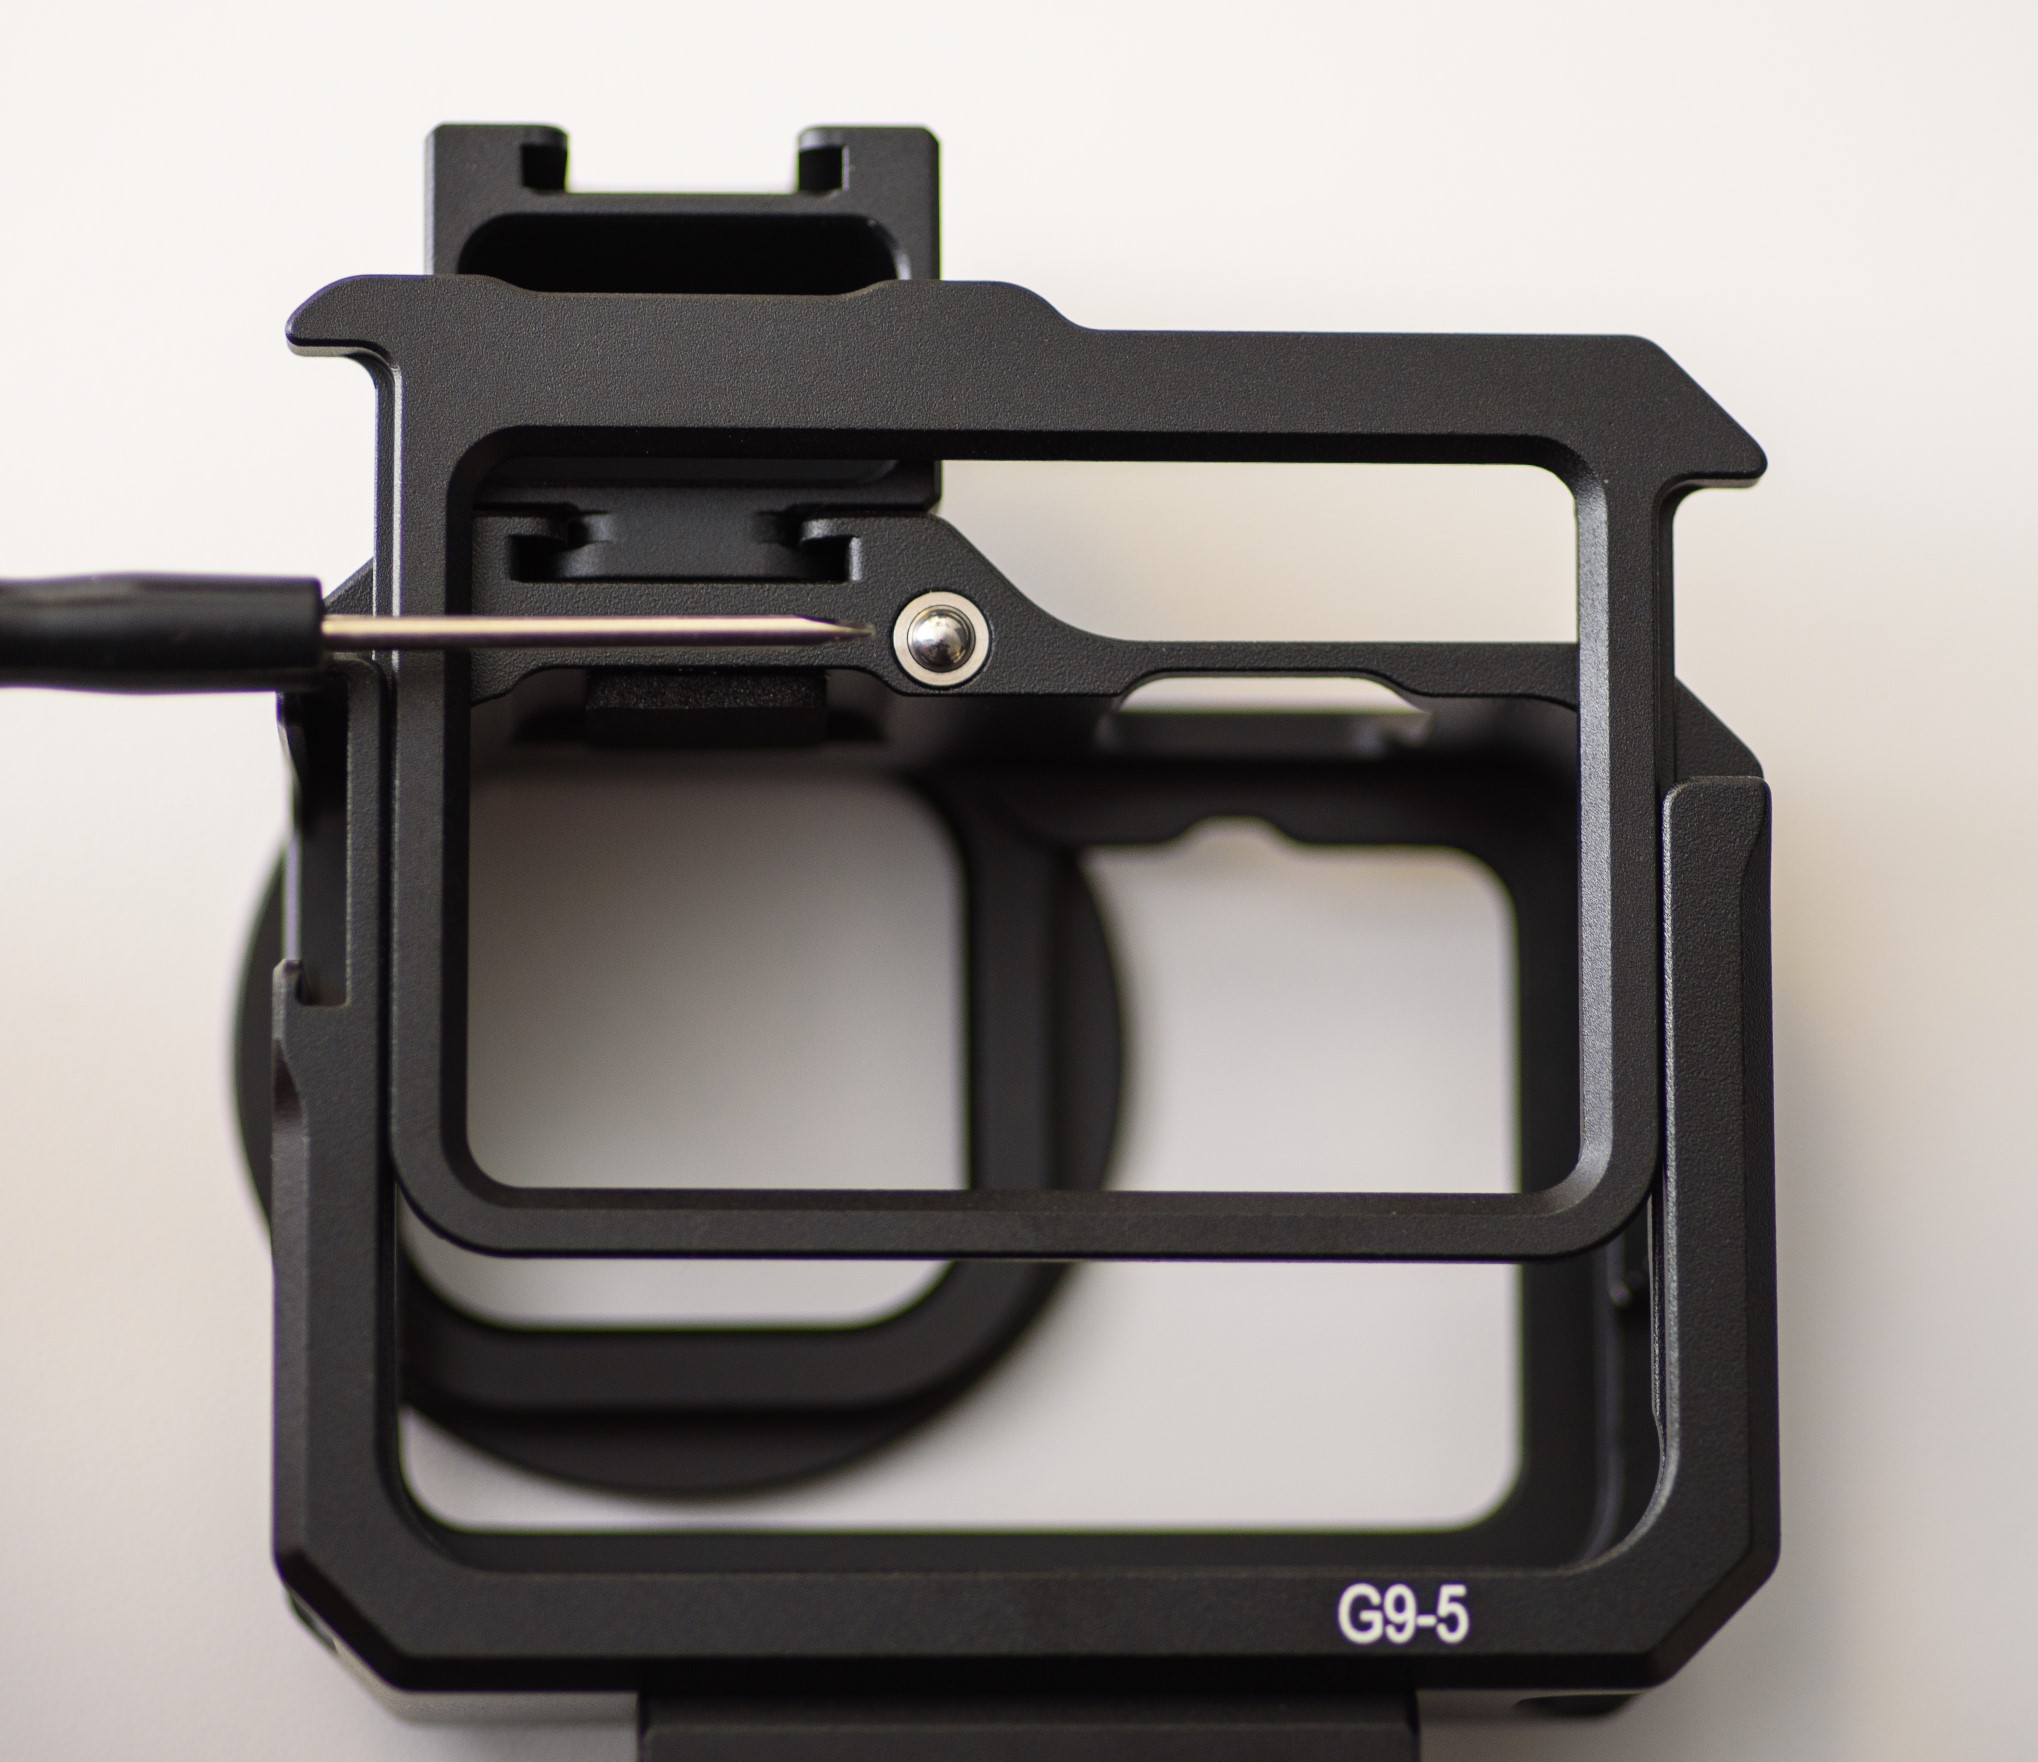
To fit the GoPro Hero 9 or 10 into the cage, the rear of the cage has a sliding door. The door is locked into position by a small spring laden ball that fits into a dent into the rear side of door. This works really well. The door on the side of the cage follow the same principle.
The screwdriver points to a small spring laden ball that looks like the ones you’ll find in ball bearings. It taps into a small dent in the rear frame of the cage, so that it is locked in position.
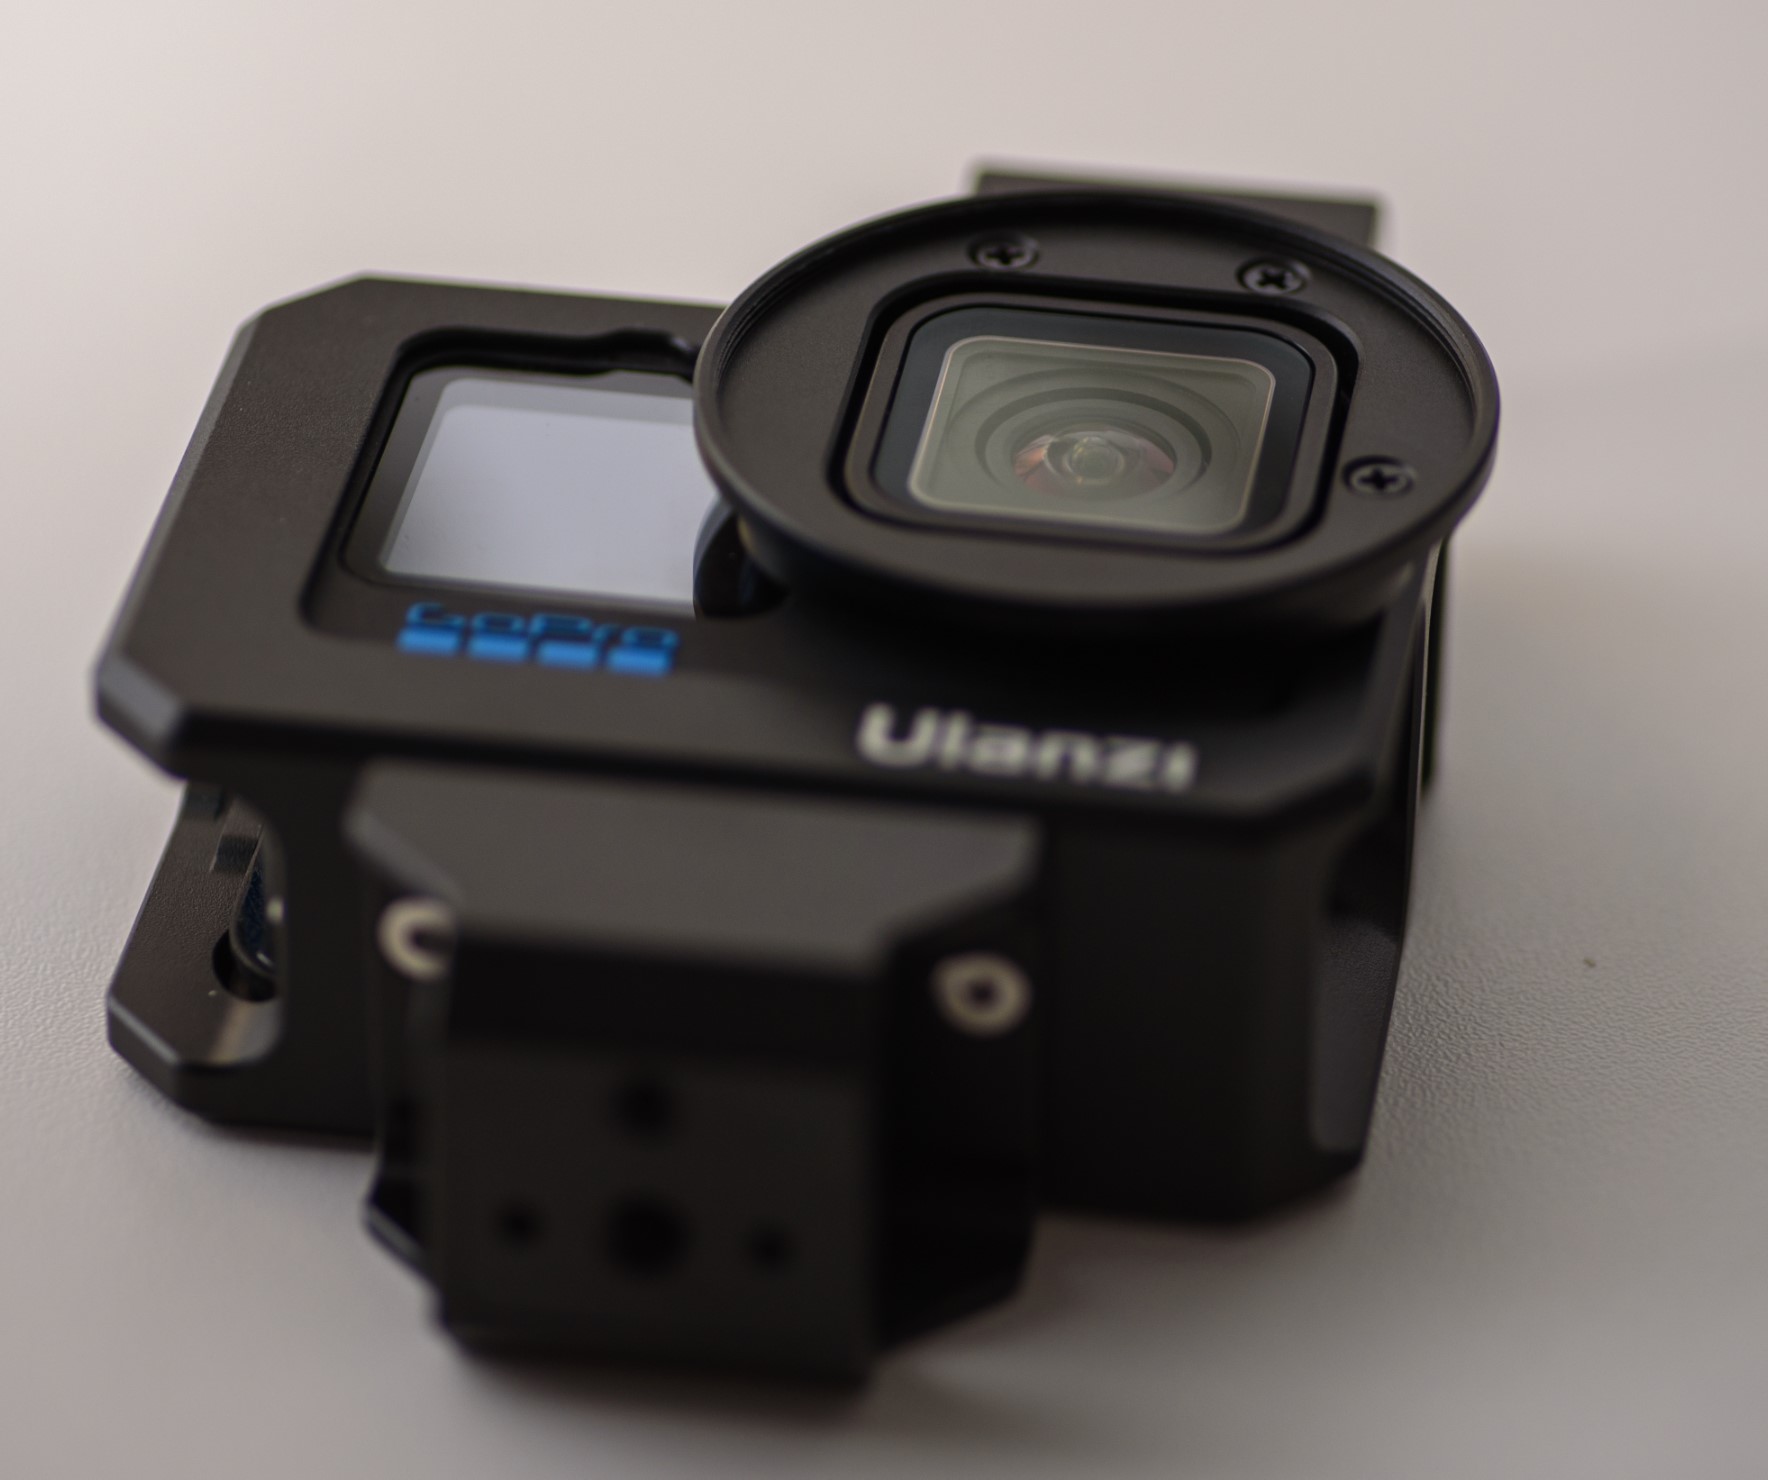
Mounting the GoPro in the cage is very easy and after closing the sliding door on the rear, the GoPro is well protected. The lens is protected from the side by a metal ring, but unfortunately this metal ring also blocks a little of the view to the front LCD, which is a bit annoying, but not a showstopper in any way. The metal ring around the lens has a thread to mount filters in front of the lens.
The cage protects the lens very well, but unfortunately also steals a bit of the view to the front LCD.
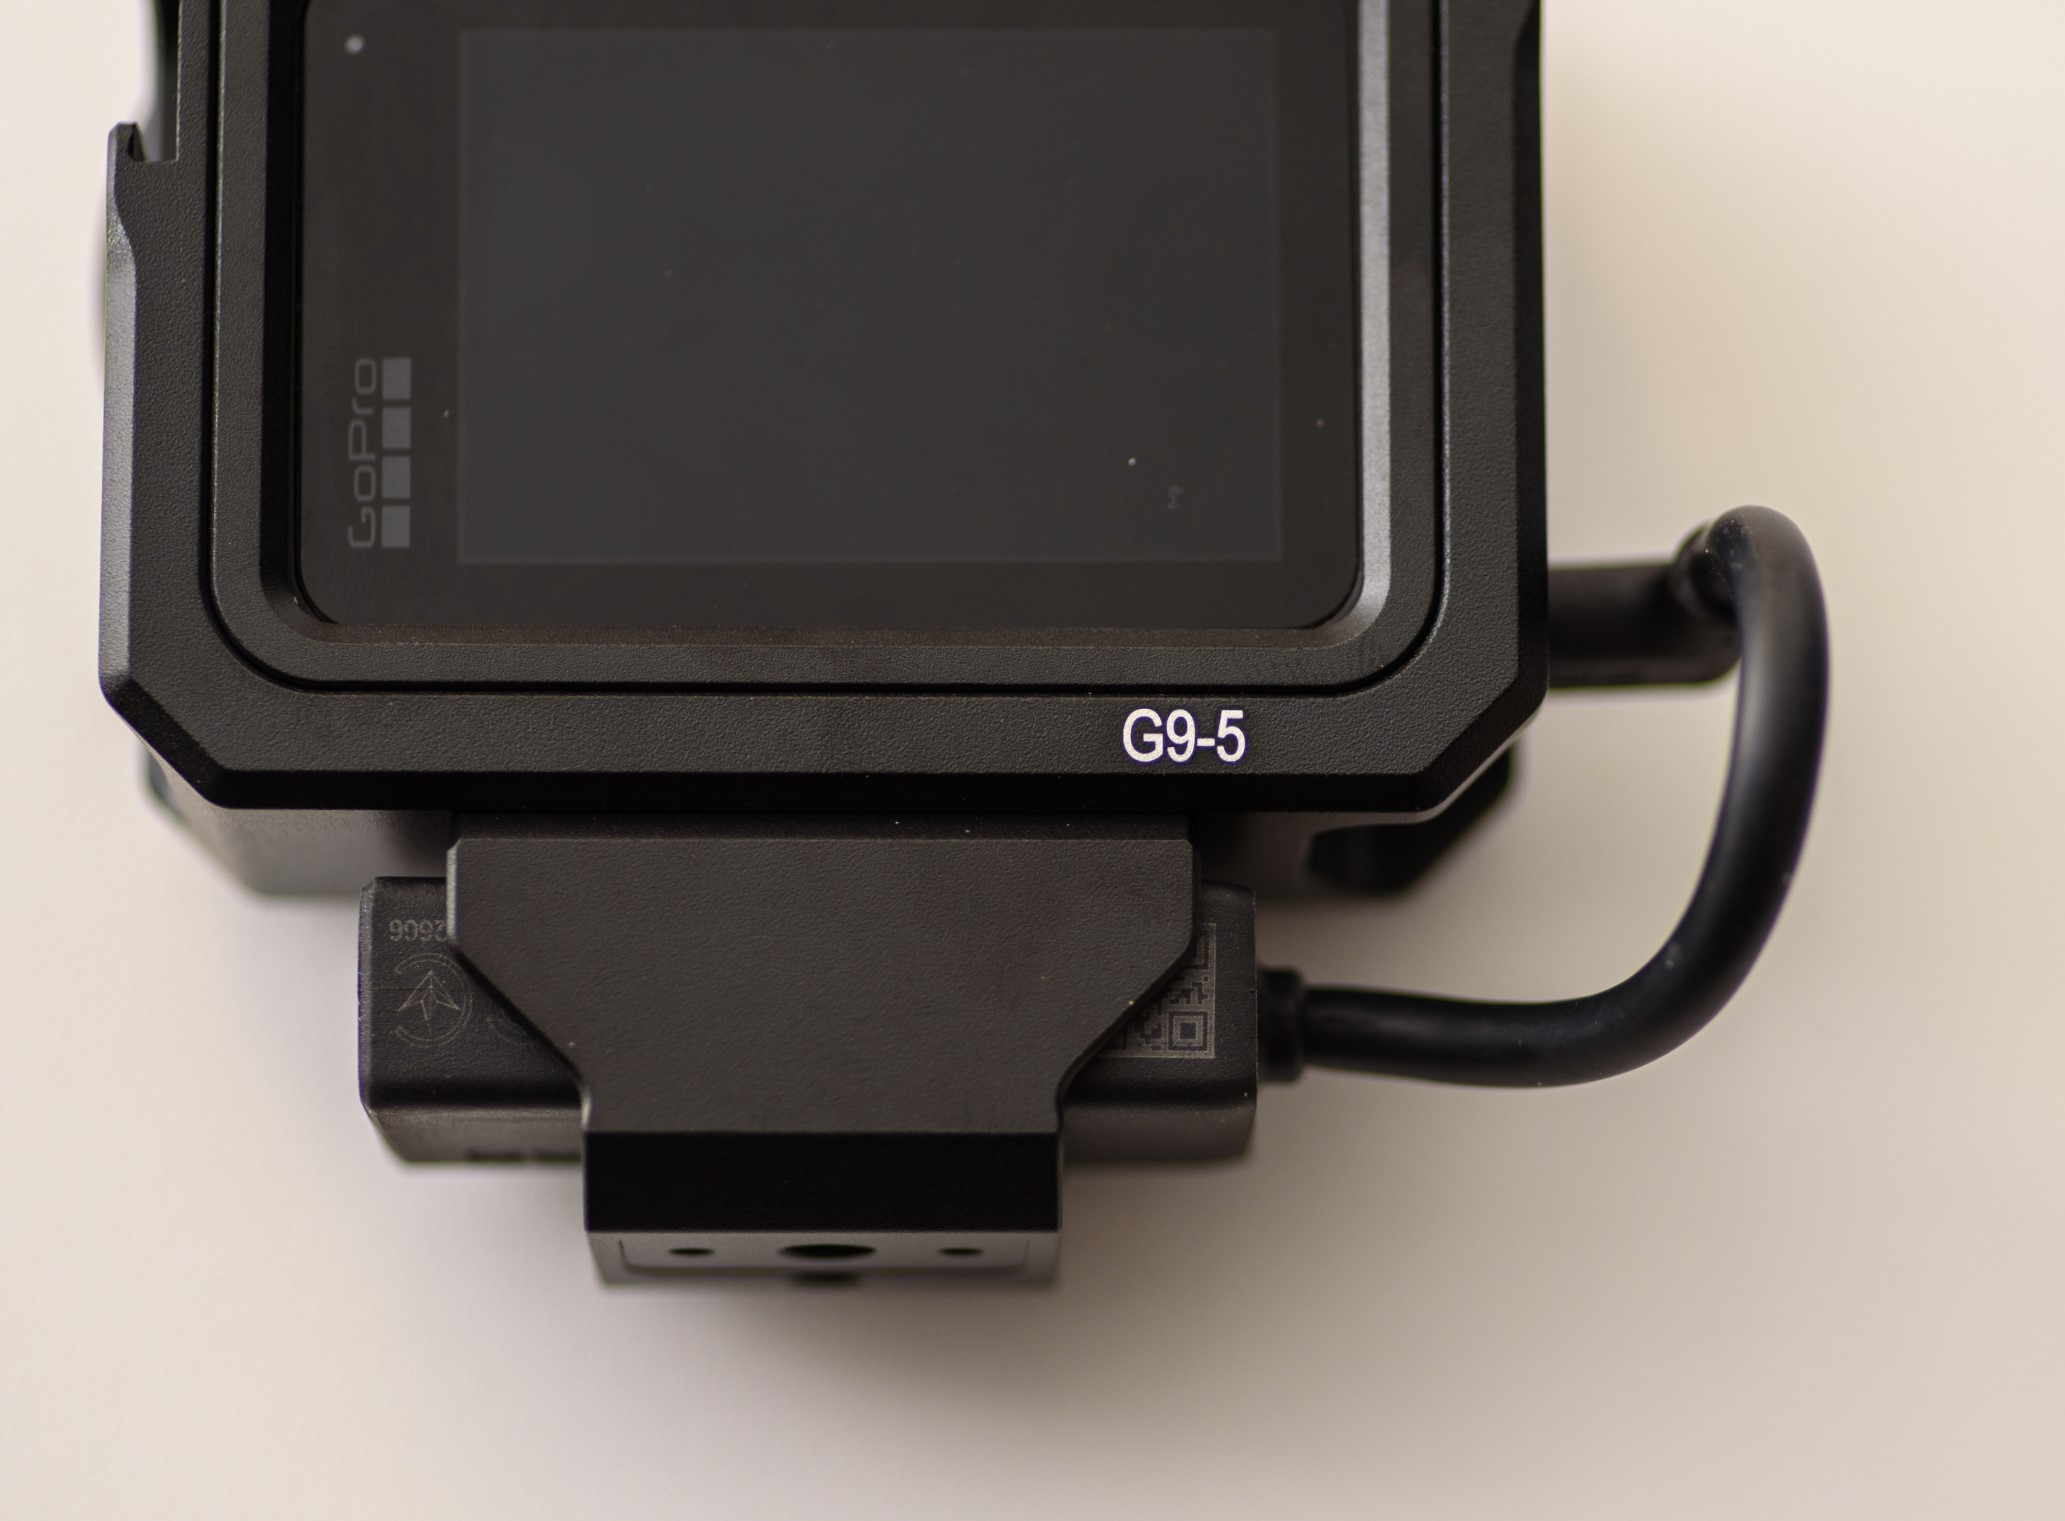
One very important feature of the Ulanzi cage is that it holds the sound adapter for the GoPro, that would otherwise be dangling down the side of the GoPro, at risk of being accidentally pulled out. The adapter simply slides sideways into position as in kept there by a little bit of friction – this also works well and I think there is little risk that the adapter by accident will be pushed sideways out of the cage.
The holder for the sound adapter is mounted at the bottom of the cage from the factory. The adapter simply slides sideways into position as in kept there by a little bit of friction.
The cage comes with a metal door that has a small hole to give access to the USB-C connector on the side of the GoPro. This door cannot be mounted together with the GoPro door, so you have to choose between GoPro door (waterproof) or the cage door (access to the USB-C connector).
If you choose the GoPro door, then be aware that it cannot be opened while mounted in the cage – you have to take it out of the cage to get access to the battery, SD-card and USB-C connector.
As I am very dependent on access to the USB-C connector, the choice is easy, but I have to be careful with water and dust.
Cage right, cage side door left, GoPro door in the middle. You have to choose between these doors as only one of them can be mounted.
Another item that I am keen to keep track of is my Røde wireless recever (sound), that needs to connect to the adapter at the bottom of the cage. You can find a review of the Røde wireless Go here.
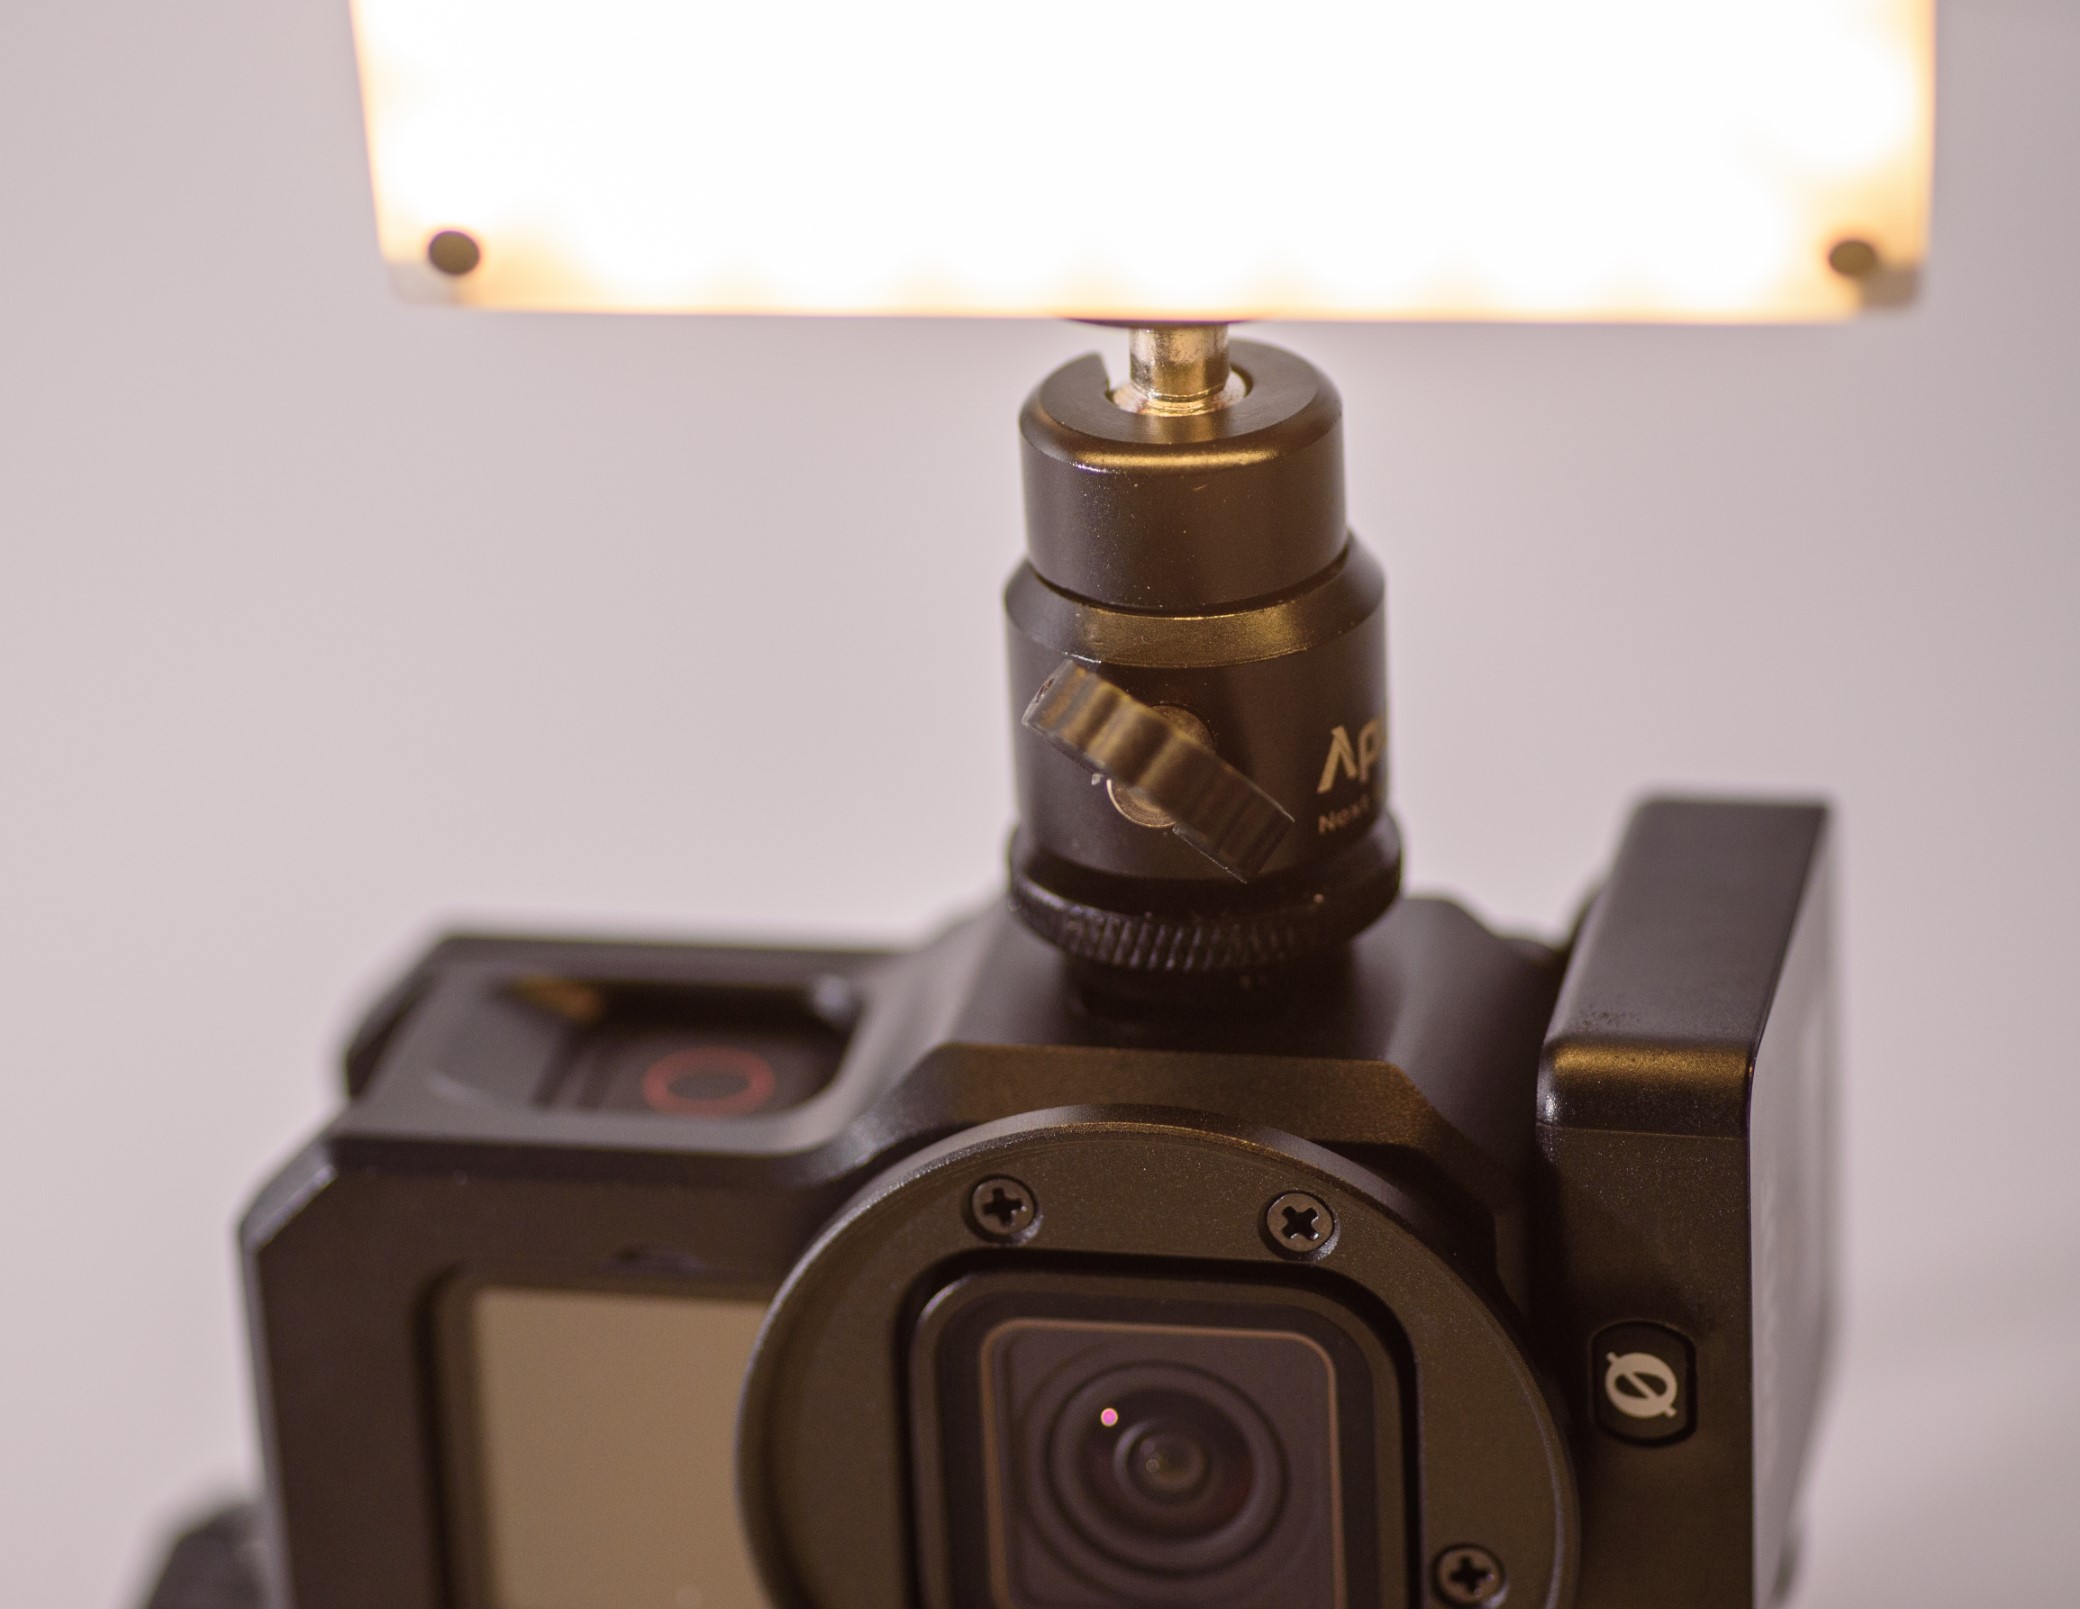
There are two cold shoes for mounting the Røde sender, either at the top or the side. If you mount it on the side, then access to the power button is blocked, so I prefer to have the Røde on top of the cage instead.
The black box on the top of the cage can easily be removed – I think it mainly serves to give some distance between the camera and the microphone, in case you want a microphone to be mounted on the top.
When you mount the Røde sender on the side of the cage, the power button on the left side of the GoPro cannot be accessed. I prefer to mount the Røde at the top of the cage instead.
I have not really used the 2nd cold shoe, but I would imagine that a small light could go here to help out in case the ambient light does not suffice.
If you vlog where the ambient light is sparse, adding light to the setup could be a way to compensate. Here mounted on the top of the cage, on the side where the Røde sender sits is an alternative.
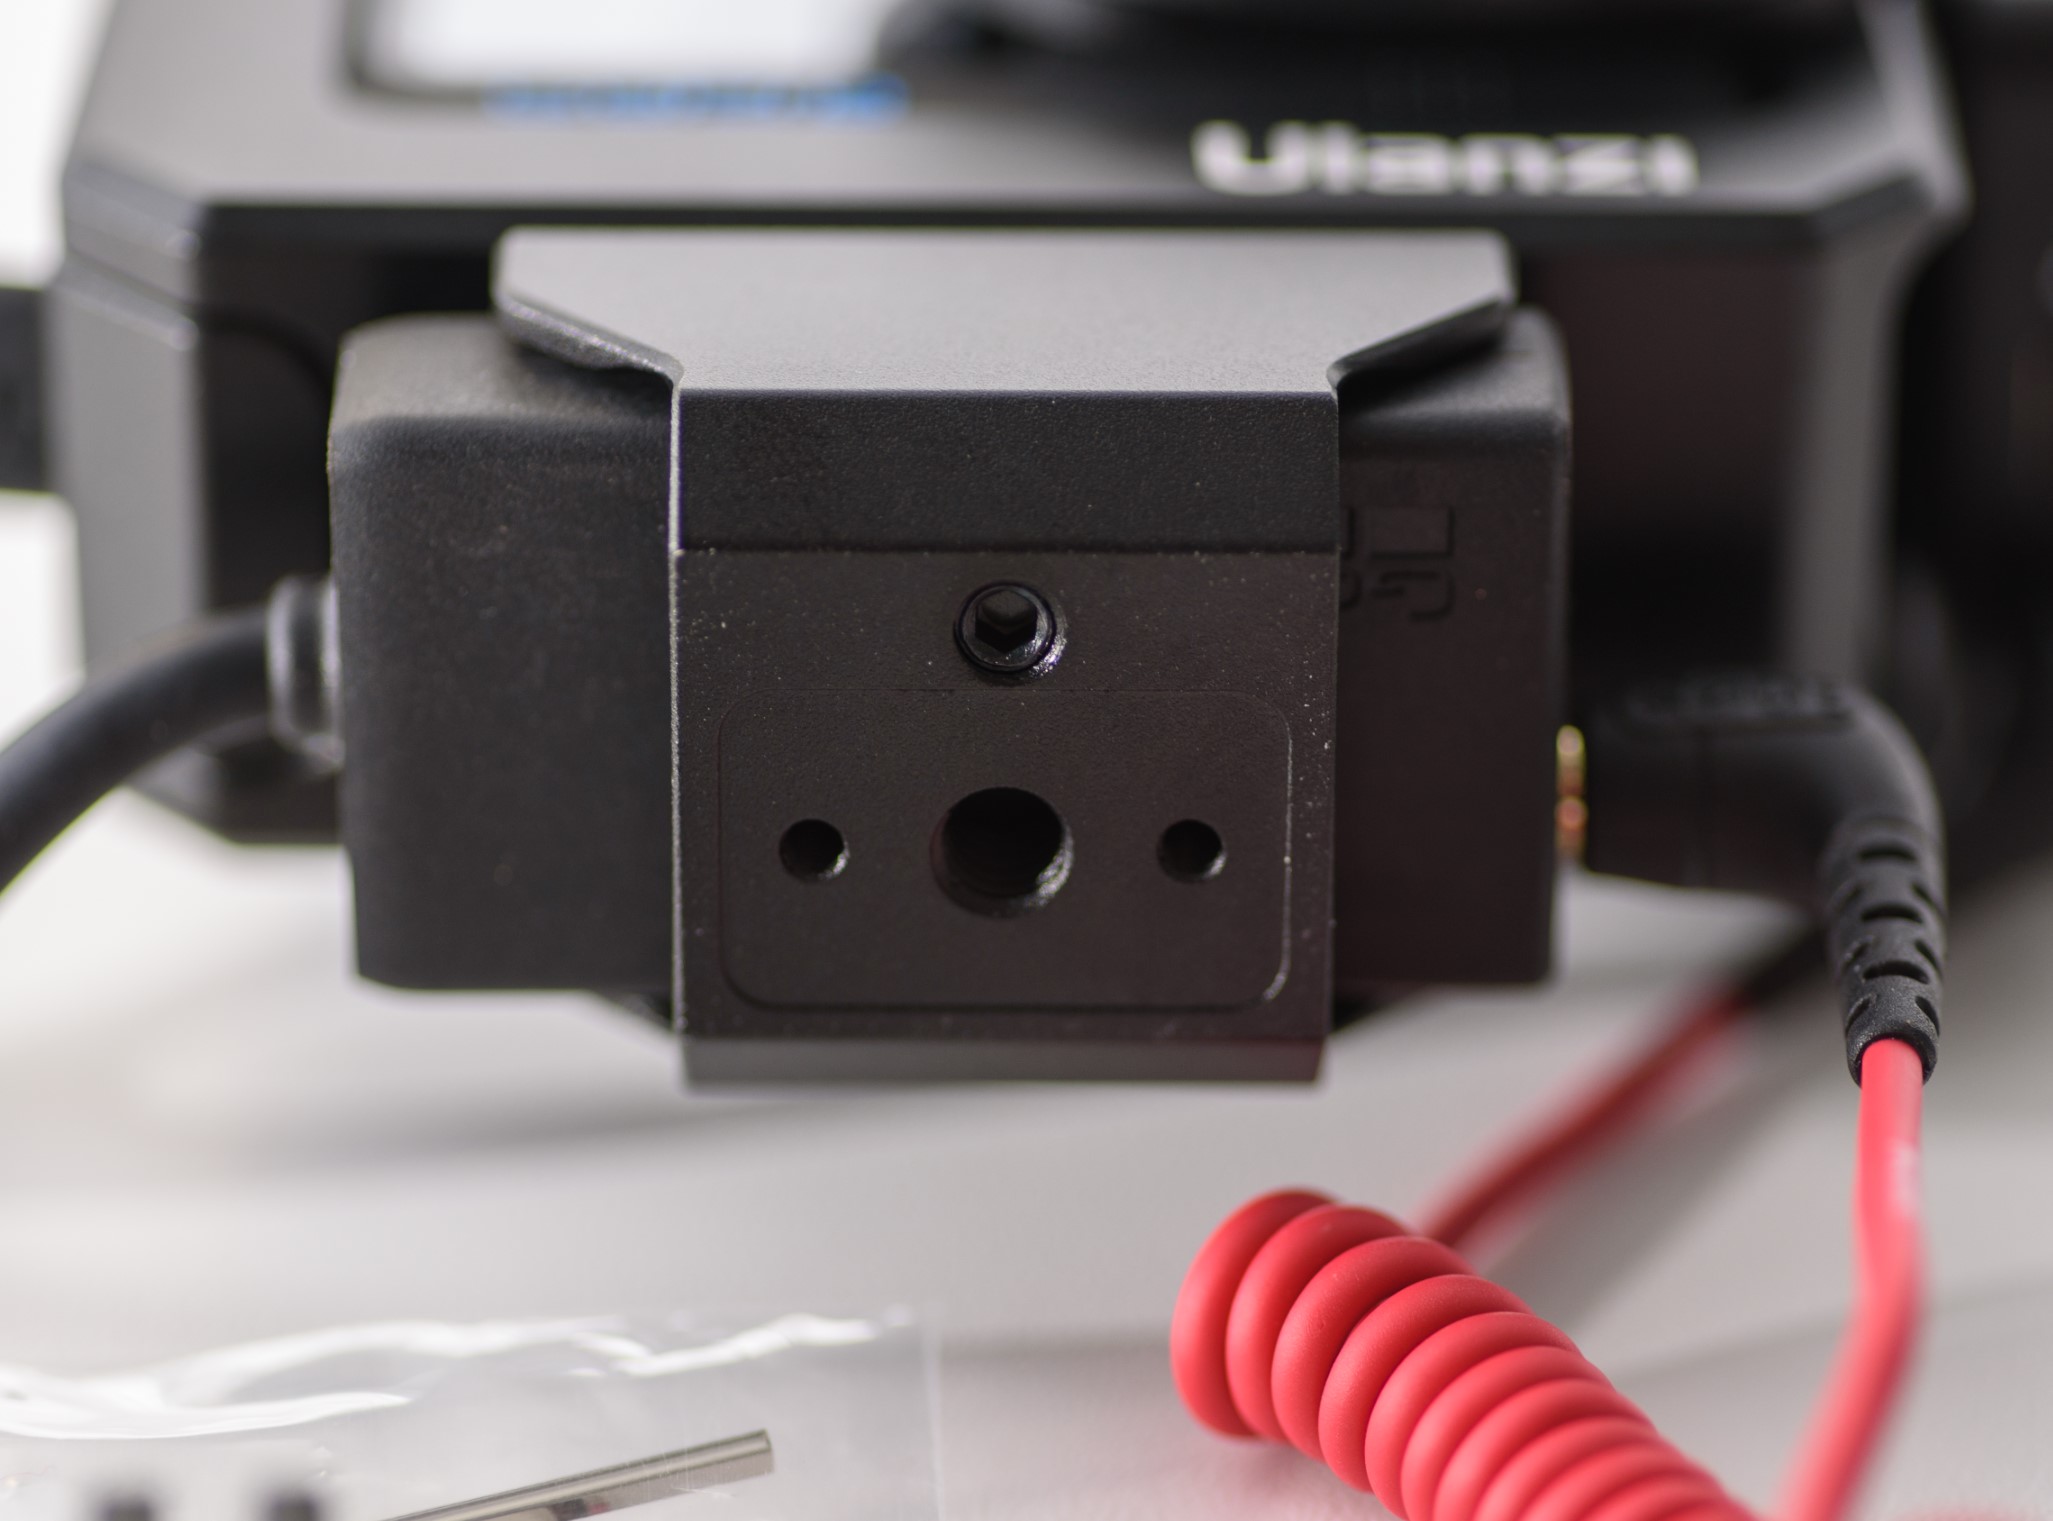
The final thing to do is mount the cage on a tripod or the like, and for this purpose there is a thread at the bottom of the cage, or more precisely at the bottom of the holder for the sound adapter.
At the bottom of the cage is a thread for mounting the cage on a tripod or the like. The two smaller threads on each side of the center thread is for fastening the traditional GoPro mount.
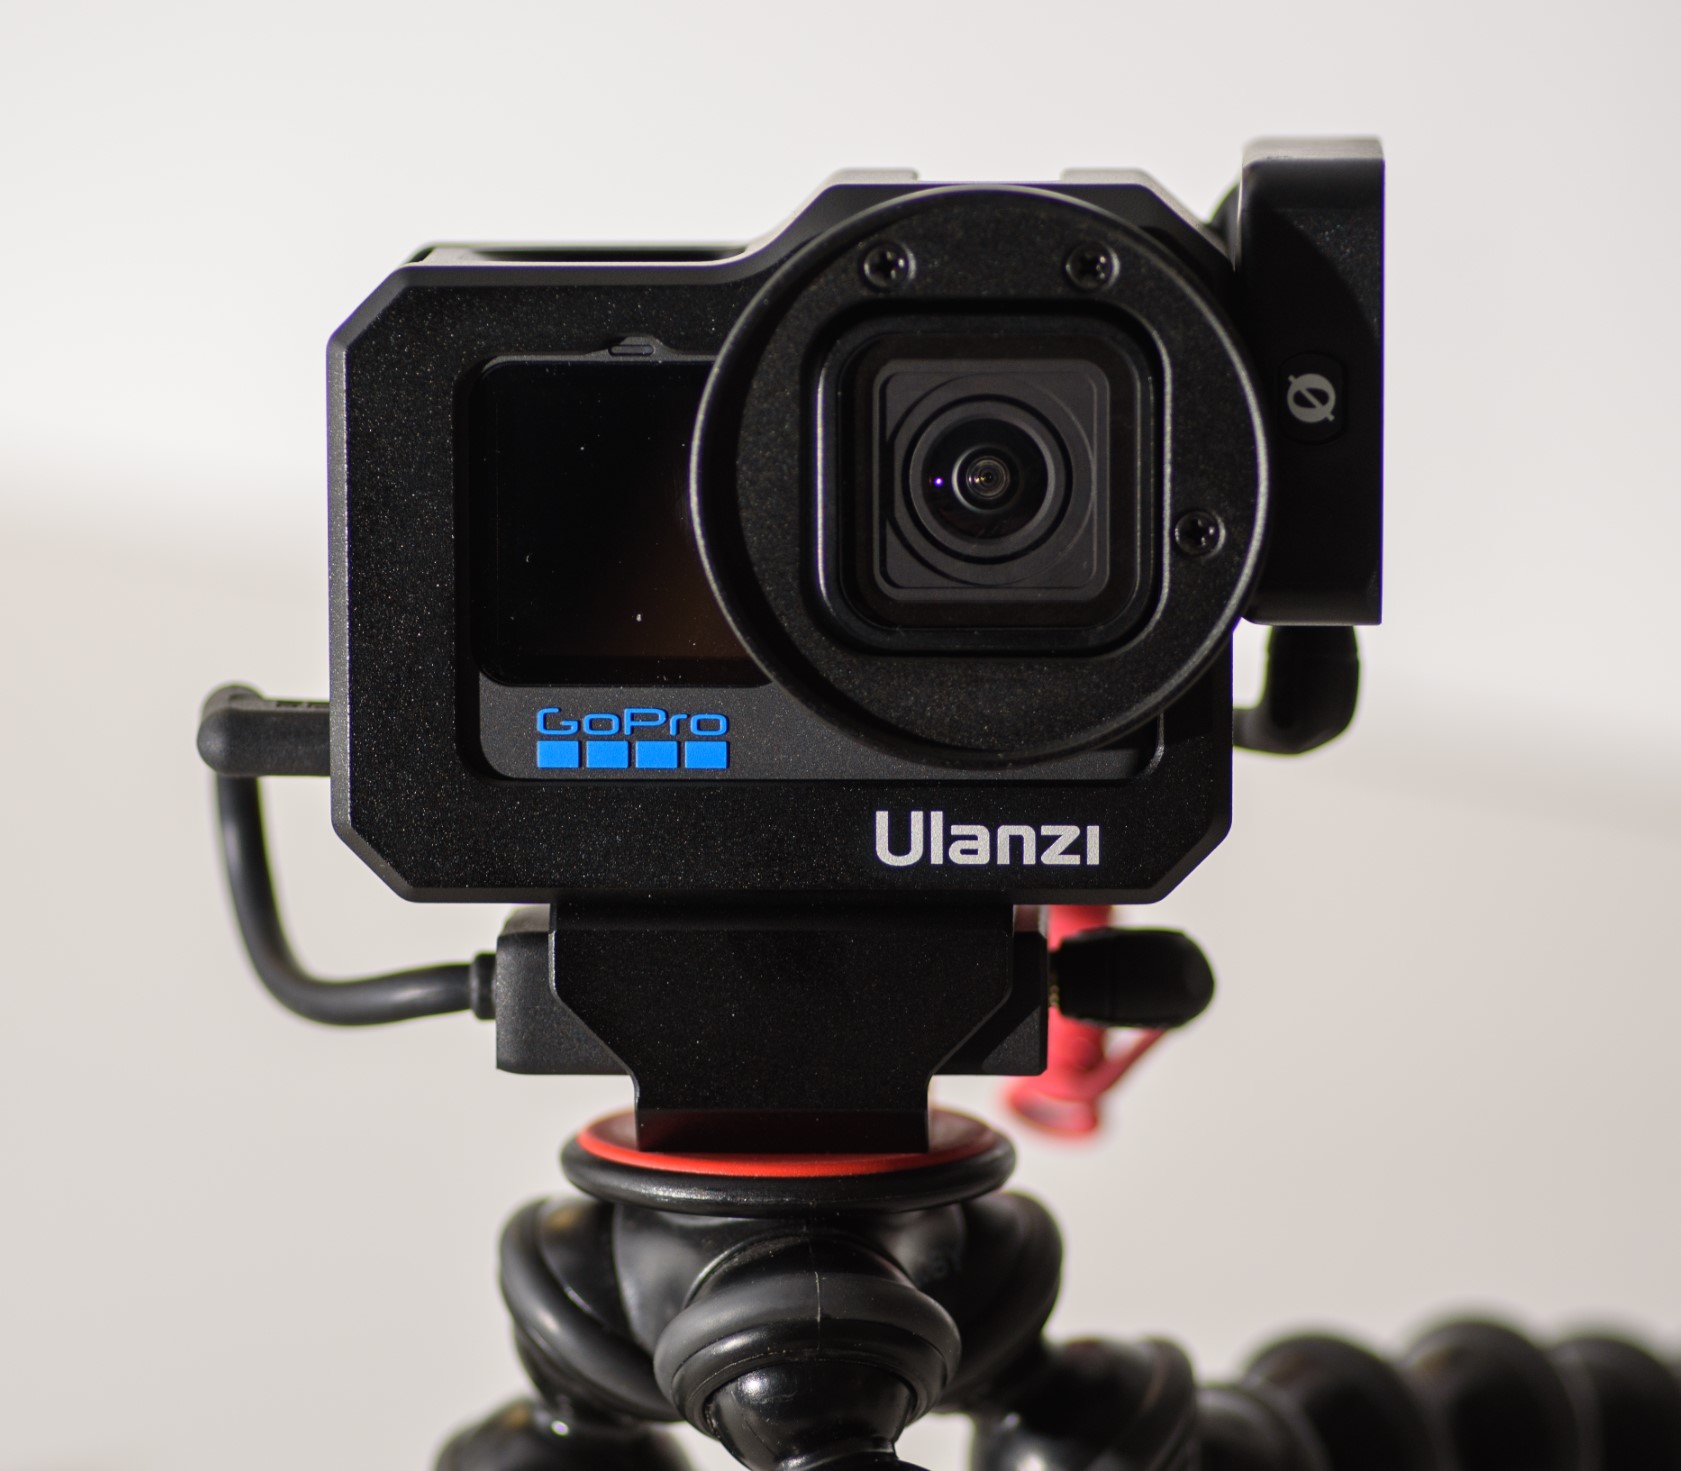
So with both the Røde and the sound adapter mounted on the cage, and the cage on a tripod or the like, you are ready for vlogging with all your bits and bobs well under control and your GoPro well protected.
The GoPro Hero 10 mounted in the cage and on a gorilla tripod ready for vlogging!
Conclusion
I really like this little no-nonsense product. It does exactly what I had expected it to. It protects the GoPro well, it gives access to vital buttons and contacts and it keeps track of the additional items that I need for sound and light. And then it enables you to mount filters in front of the lens and put the GoPro on a tripod out of the box.
The only problems that I see with this product is that it partly blocks the view to the front for LCD for vloggers that need to frame what they shoot while in front of the camera. And then the cage is not water or dust proof when you want to have access to the USB-C connector like me. But in all fairness, this is more due to GoPro that insist both an adapter and a connector is necessary to get the sound into the GoPro.
Price wise I find this product to be a bit on the steep side, but it is very well made and keeps a much more valuable product well protected. So I guess it is ok, but a bargain it is certainly not.