From Garmin Vivoactive 3 to 5

From Vivoactive 3 to 5 – but why?

My wifes Vivoactive 3 started to act funny in terms of battery life. Being 3-4 years old, we figured that a repair would be futile and cumbersome or both, and started to look for alternatives. As Garmin on a regular basis pushes out new versions of their products, our eyes caught the Garmin 5.

Here in December 2024 the Vivoactive 5 is on offer, so a good guess is that the version 5 will be replaced by a version 6 anytime soon. This gives some options for getting a version 5 on offer and this is exactly where we ended up. We did not skip version 4 deliberately, but timing wise it just happened that we were in the market for a new Vivoactive when the version 5 seemed to be the current (and soon to be replaced) version.

So in this blog post I want to relay what it feels like to upgrade from version 3 to 5. It will not be a complete and specs based blog post, rather a “what did we notice along the way” kind of post. So not very scientific or systematic, but we hope it will give some insight to what an upgrade is like, and hopefully this can help you, if you sit on the fence and consider a similar upgrade.

The Garmin Vivoactive series is positioned in the Garmin universe as a budget friendly and feature-rich watch that does not offer the “I’m a triathlete (wannabe)” features of say the Garmin Fenix watches, but on the other hand offers sufficient functionality for the weekend warrier. So my take on the Vivoactive is that it is one of the best options in terms of bang for the buck when we are talking Garmin.

If the whole sports watch universe is new to you, please be aware that a watch is so much more than the watch. You start tapping into an ecosystem that will collect data and metrics about you, and in order to maintain a line of consistency, you probably will be inclined to stay with the brand that you already have. So look at alternatives like e.g. Suunto, Apple and Polar (just to mention a few) before you make the plunge. But given that we are talking Garmin in this particular case, lets dig in.

Unboxing Vivoactive 5

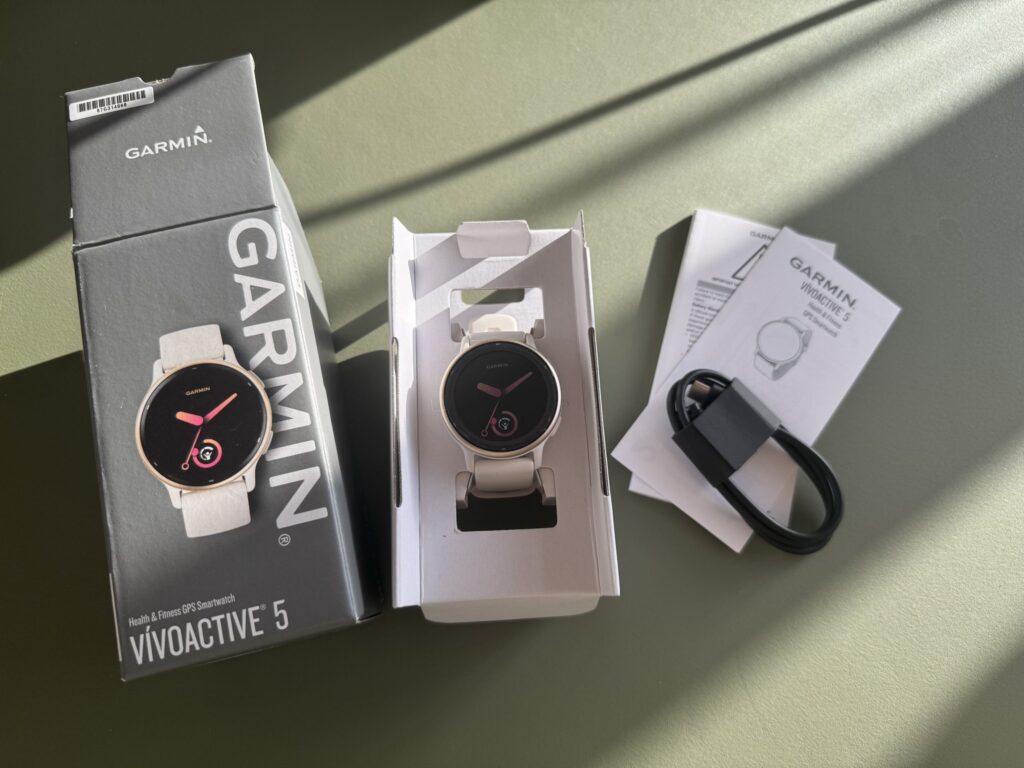
The box with the Vivoactive 5 is light, actually so light that I feared that they had forgotten to put the watch in there! But it was there along with the usual suspects: a charging cable and some paperwork. My fear of missing the watch in the box was perhaps justified, as the spec sheets tells that Vivoactive 5 is only a tad more than 40 grams! That is really impressive!
Garmin Vivoactive 5
In the box I found the watch itself, a charging cable, safety information and a super condensed getting started guide with a QR code to a more elaborate user manual.

The first thing I noticed is that the charging connector is still the Garmin proprietary one – some things apparently don’t change! I had hoped to find USB-C that even my bicycle light now make use of, but no, Garmin sticks to the Garmin connector.
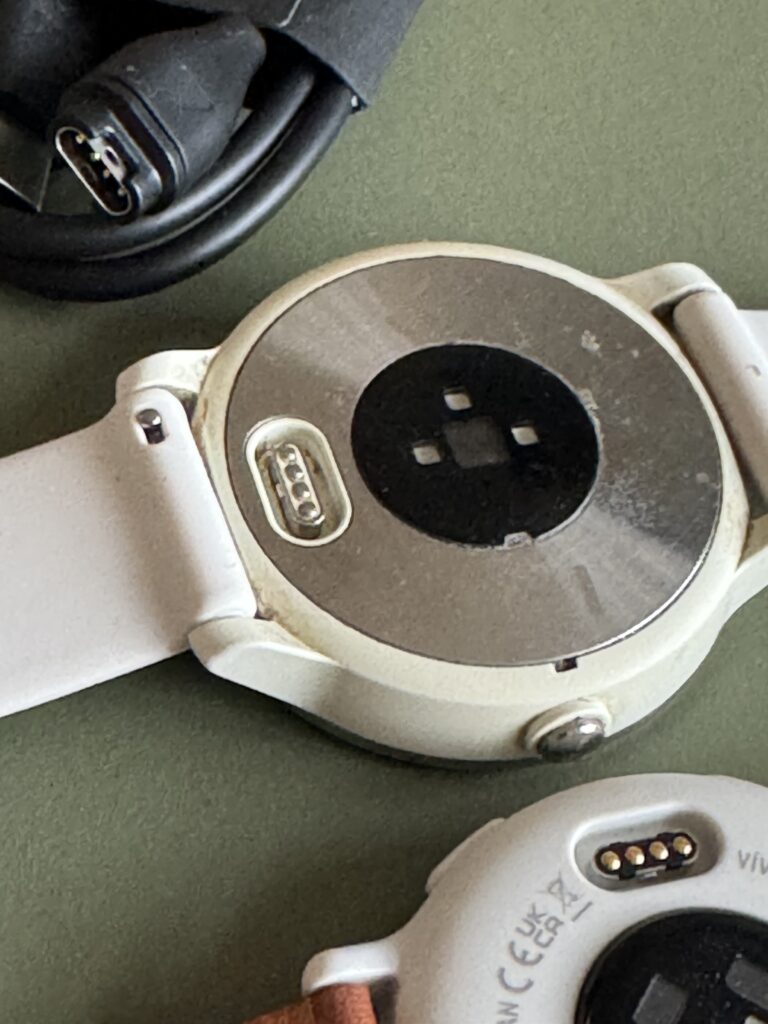
Garmin Vivoactive 5
I was a bit disappointed to learn that the charging connector is still the Garmin proprietary. Had hoped to find USB-C.

Appearance

Comparing the appearance of the two, they are rather similar, which is good news, as it is a small and light watch. However, the Vivoactive 5 is more refined. The bezel is smaller and more rounded, the screen seems larger and with better contrast.
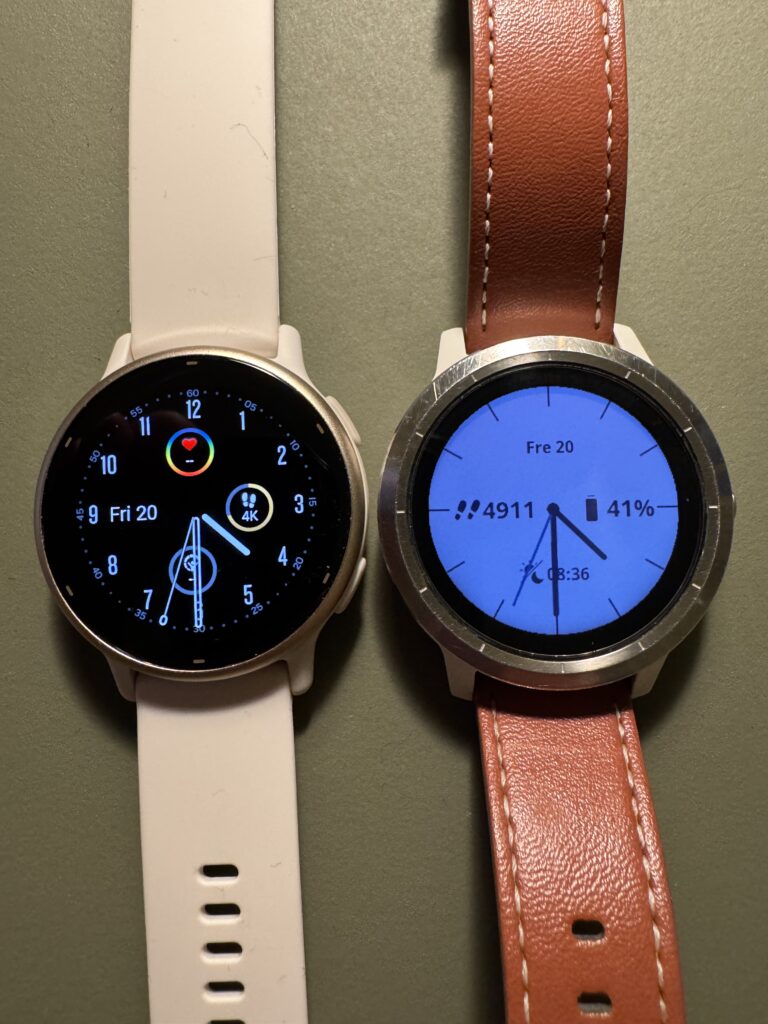
Garmin Vivoactive 5
Garmin Vivoactive 5 to the left, 3 to the right. The vivoactive comes with rubber straps, but you may want to upgrade to leather if your skin does not agree with rubber 24/7/365. Notice how slim and rounded the bezel to the left is.

Also, then you compare the watches from the side, the Vivoactive 5 seems more elegant and rounded in the design; more discrete if you like.
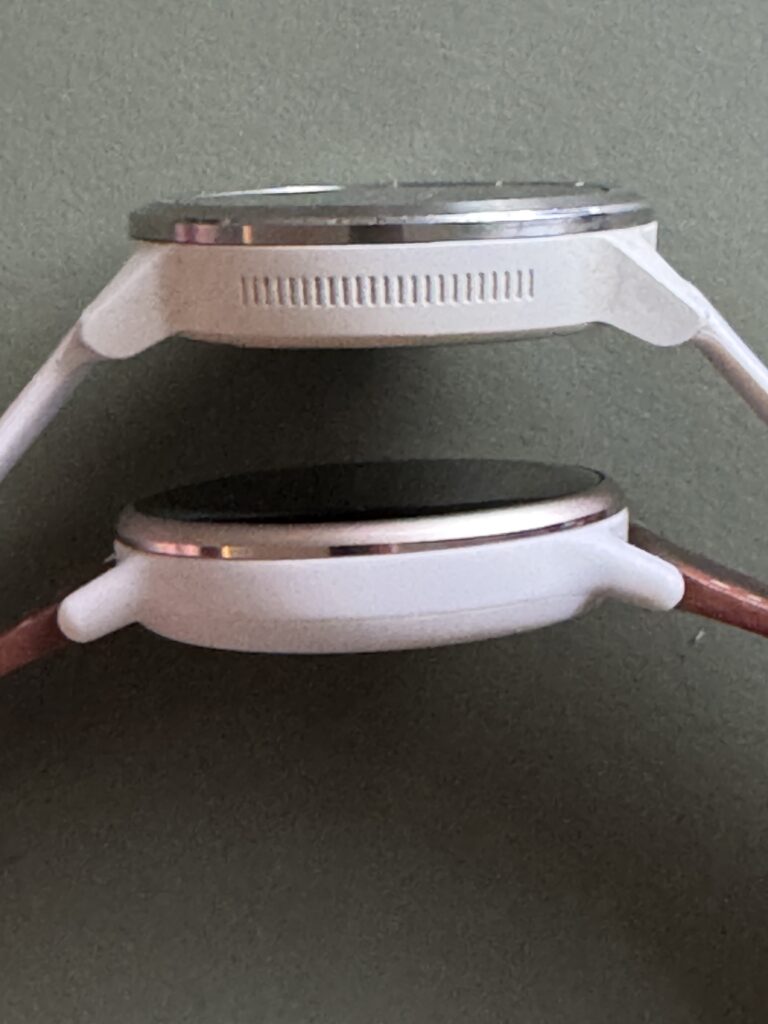
Garmin Vivoactive 5
The Vivoactive 3 on top is a bit larger, more “boxy” and not as elegant and rounded as the Vivoactive 5 below. However, it is minor changes and both watches are both small and light.

I was happy to find that the 20mm width of the straps is unchanged, and hence the leather straps that we have bought as an accessory could easily be moved from the Vivoactive 3 to the Vivoactive 5. As you are likely to wear the Vivoactive round the clock in order to get the most data and the best metrics, you may find that your skin does not agree with the constant contact to the rubber straps. If you buy the straps off-brand as we did, this will not break the bank (this blog is not sponsored by any vendor).

Migration

Moving from the Vivoactive 3 to 5 could hardly be easier: the Vivoactive 5 presents a QR code on the display and once you scan that using the camera on your smartphone, a guided process starts that takes you through the migration from 3 to 5. It really could not be easier.
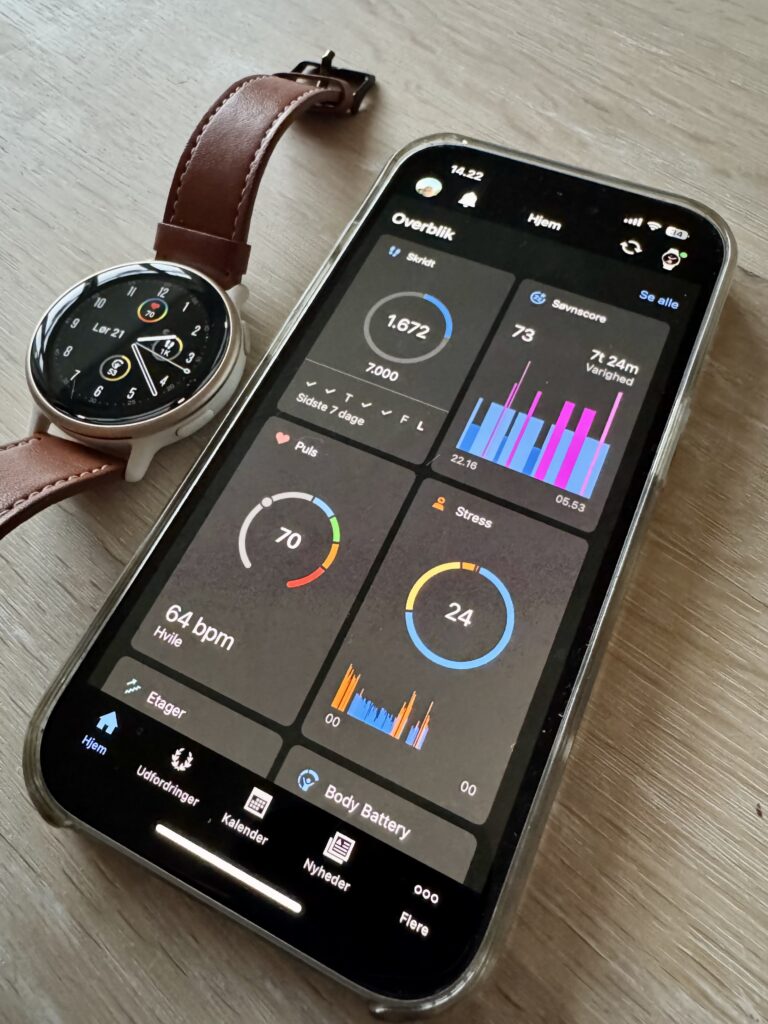
Garmin Vivoactive 5
The watch and the app connected. Lots of data and metrics available and you can configure the summary page in the app to your hearts content!

The precondition for this is that you with the Vivoactive 3 were fully engaged in the Garmin ecosystem and have the Garmin app downloaded. As soon as the connection to the new watch is established, data is transferred to the app as with the Vivoactive 3. The biggest challenge is actually to disconnect the old watch in the app!

Whats new?

The biggest difference you’ll notice immediately is the much better display on the vivoactive 5. It is visible in broad daylight and in the dark and appears much improved over the vivoactive 3. This is probably due to improved resolution, but also that the contrast is much better in the newer display.

Feature wise the Vivoactive 5 has more to offer and we have noticed:

Body battery: An index between 0 and 100 that indicates how well charged your body is and say if you have lots of energy to meet a challenging day. It is fun to see how it raises as you sleep and drops during stress or just being active.

Sleep quality: A measure of the quality of your sleep. With different colours the graphics shows if you were sleeping light, were awake, REM etc. And a good nights sleep often goes hand in hand with a large increase in your body battery reading.

Oxygen saturation: Is probably self explanatory. You can measure it on demand, periodically or continuously. It is interesting to follow, but be aware that it requires a lot of light from the LEDs on the back of the watch and hence is taxing for the batteries.

With all these good improvements, we were a bit sad to see the barometer being discontinued, probably in order to keep production cost down. The Vivoactive 5 still provides GPS-based elevation data but it is with less precision than the barometric one. As we live on the 3rd floor, keeping track of staircases climbed is both important and fun!

There are a lot of features shared between the two watches and hence these do not get attention here. You can both pay with your watch and listen to music on both the Vivoactive 3 and 5.

In terms of battery life, we were actually quite happy with the performance of the Vivoactive 3 until the battery more or less collapsed overnight. With the Vivoactive 5 we hope to see roughly the same performance, but we have not had the watch sufficiently long to assess the battery performance.

Summary

We’re happy campers! The much improved display is a pleasure to use and the watch also seems to be a bit more snappy in its response when you swipe and browse through the menus. The body index, sleep quality and oxygen saturation are all useful new features for us. The only real down side is the loss of the barometer, but time will show if the GPS will be able to provide compensating data.

Further reading

Review: Garmin Varia RTL516 Rearview Radar and Taillight

Review: Hengwin Leather Belt Pouch

Every spring when the weather get warmer I face the same recurring issue: My winter coat has a lot of nice pockets for me to store my wallet, keys and phone, but when summer comes and it is all t-shirts and shorts, what then? When I stuff my pockets with all my gear, I often find that my shorts get more and more interested in saying hello to my angles!

I have sometimes made it with a small backpack, but on a hot summers day, a backpack may not exactly be what you want to keep your back even warmer!

Hengwin

Hengwin Leather belt pouch
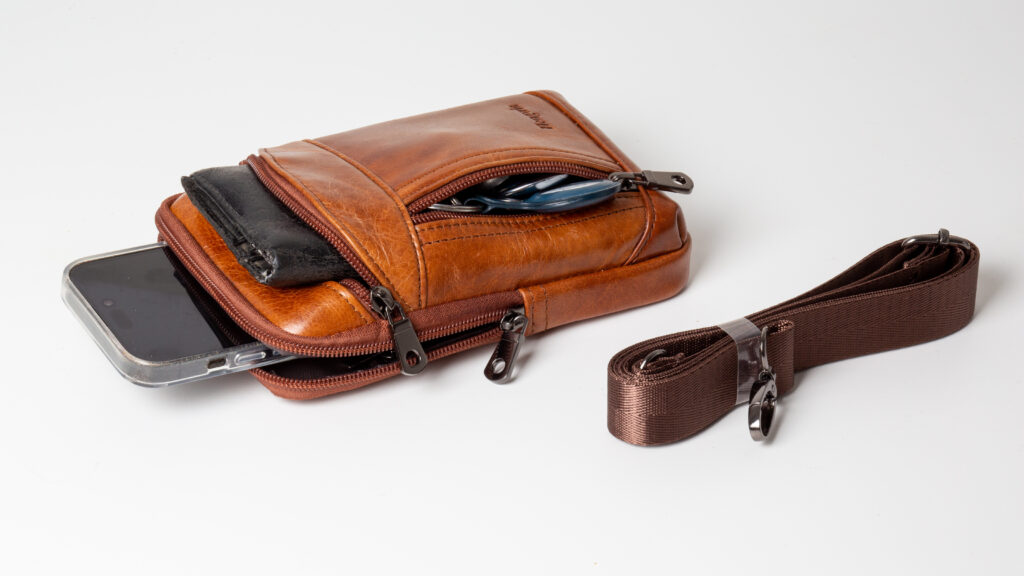
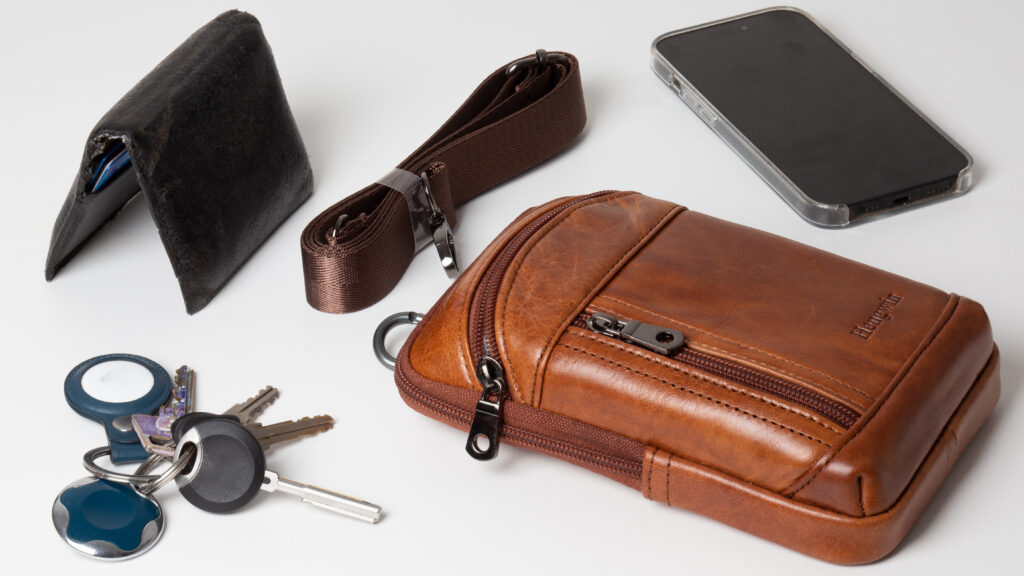
The pouch comes with a strap sitting just above the leather pouch itself, and holds my wallet (top left, black leather), keys and iPhone 13 Pro comfortably.

To the rescue comes Hengwin, a Chinese brand laser focused on small bags and pouches, practical solutions for carrying essentials without breaking the bank. You can find their homepage with all their products right here. The bag shown here will set you back around 30 USD. If you used the code “frederikboving” you’ll get a discount and if you order more than one, you may be eligible for free shipping! Make sure to check that you are not subject to import taxes.

Hengwin Leather belt pouch
The Hengwin Leather belt pouch easily takes my iPhone, wallet and keys. I could also have used the vertical pocket for credit cards.

The leather belt pouch that I have in review here easily takes an iPhone 13 pro, my little wallet and my keys. I could also easily have fitted my sunglasses in there along with the iPhone.

Hengwin Leather belt pouch
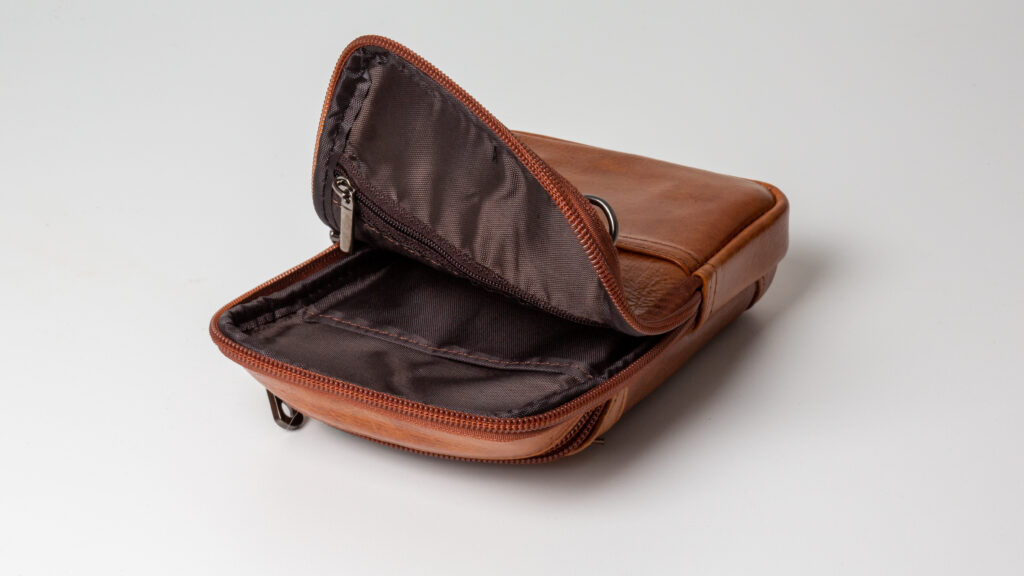
Inside the large room in the pouch you will find two more pockets – one with a zipper and another without.

Carrying

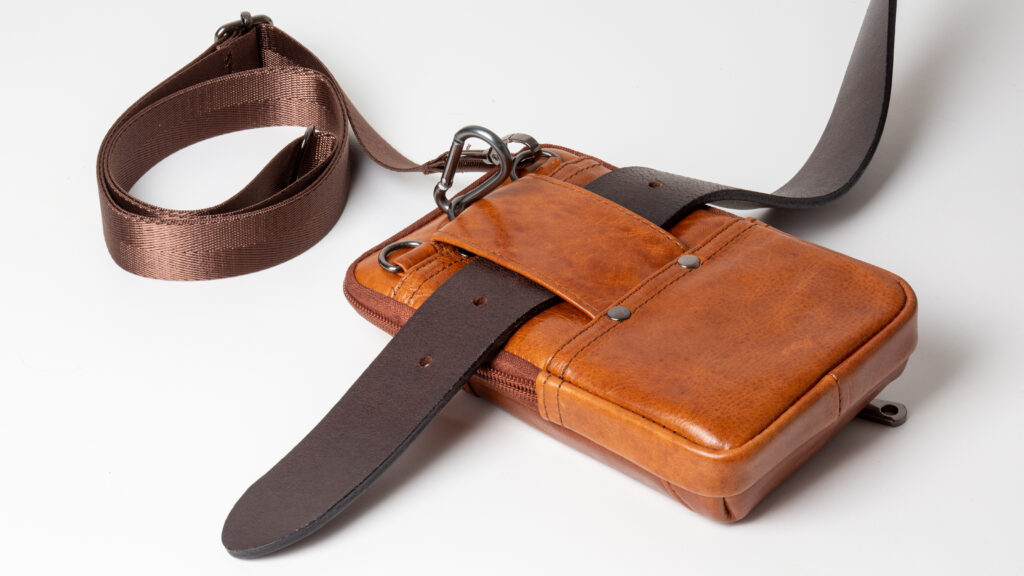
The pouch gives you 3 options for carrying:

  • Attached to your belt via a belt loop attachment
  • Attached to your clothing via clip-ons and
  • Carried in a cross-body adjustable strap

I must admit that I prefer the 3rd option, as it for me has a little more street credit, but also because I find it a more safe option – I am not sure I would notice right away of someone stole the bag when hanging on my hip! But that is all personal preference! It is nice that Hengwin gives options to choose from!

Hengwin Leather belt pouch
There are 3 options for carrying the pouch: belt, strap and carabiner clip.
Hengwen
Although designed to attach the pouch to your belt, I find that attaching my keys to the snap hook works really well in combination with the cross body strap.

Build quality

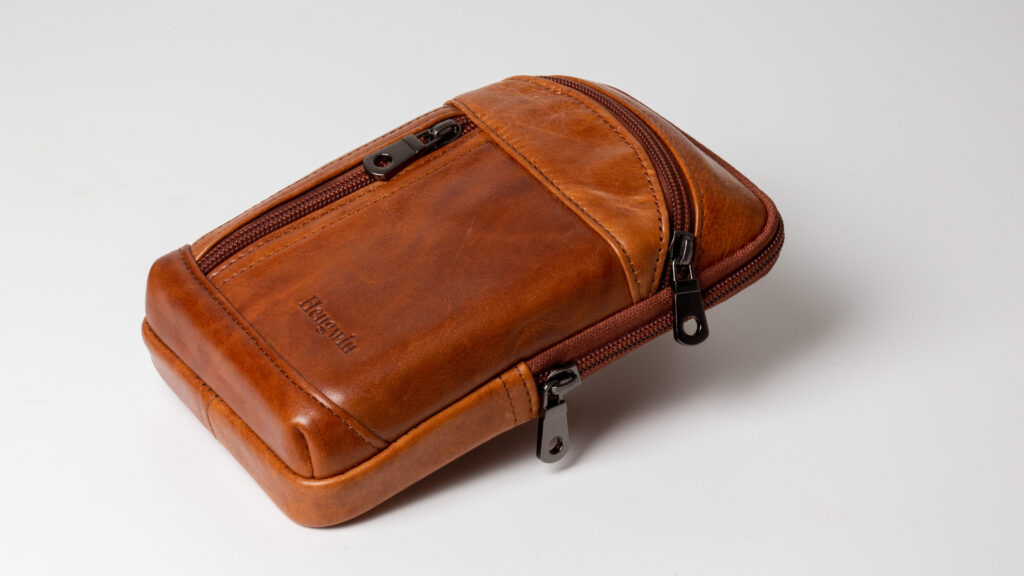
I have not yet long-term tested the pouch, but judging from the initial look and feel, the build quality seems to be very good, especially when you factor in the price point. Both the leather, sewings the zippers seem to be of good quality.

I would have loved if the adjustable strap had been made of leather like the pouch itself, but I also appreciate that a long strap of leather also has some disadvantages when age sets in!

Hengwin Leather belt pouch

Summary

I think this is just the solution I have been looking for to keep my bits and bobs in one place. And  even though I may carry a backpack when going to work, the Hengwin is probably with me as a bag in the bag, so I can always find my keys and phone. The build quality seems fine and if the pouch stands the test of time, I think you will find this to be a handy product without breaking the bank.

Hengwin Leather belt pouch
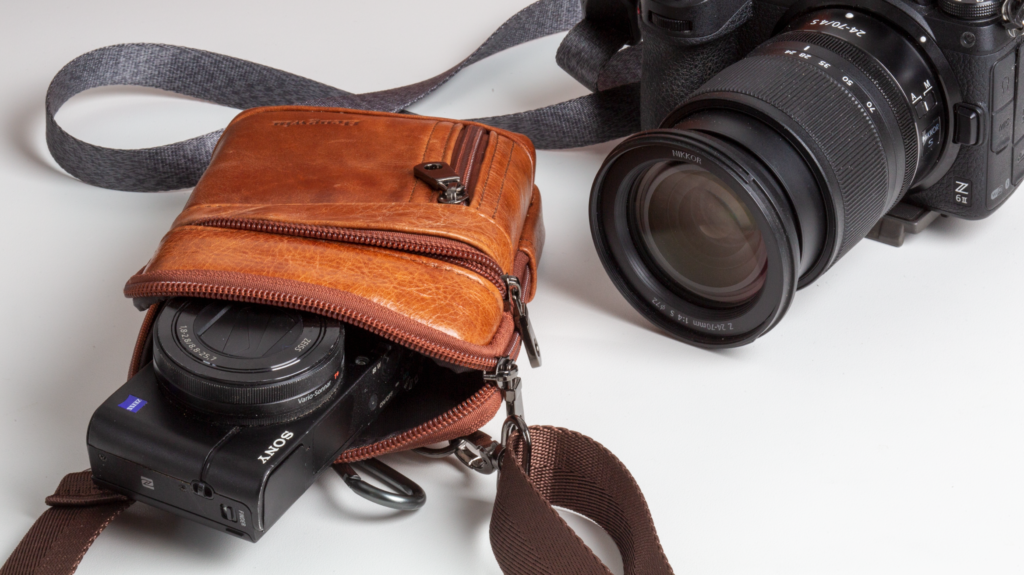
Although the Hengwin bag will take a small camera like the Sony RX100, I usually carry my camera over one shoulder and the Hengwin over the other.

Video link

Related reading

Review: HORL 2 knife sharpener

Review: Timbuk2 Heritage Classic S Messenger bag multi-colored

Review: Oral-B IO series 8

At the last routine check my dentist was rather insisting: “You got to clean especially your gums and the room between your teeth much better than what you do today!” She was unusually upset!

There is a thing with me an dentists: I never get any  praise, rather the opposite! But this time around the dentist was a bit more insisting that usually! I thought I was about to get a little bit of praise having replaced my trusty old classic toothbrush with an electric toothbrush, but no, she apparently wanted more!

“You got to go and buy a Oral-B, the IO series, and it has to be at least number 8!” – “Ok”, I thought, that was pretty direct instructions, and after having checked she herself did not sell it (and hence her advice might have been a bit biased) I headed towards to local hardware store to get as prescribed.

Unfortunately the local shop only had series 4 and 5, and the instruction was to get IO 8, so I had to order online to get my copy for around 220 EUR! Not cheap, but what do you not do to make your dentist happy!

Oral-B IO 8
The Oral-B IO 8 has two buttons only: One to switch on/off and another to change between different programs for brushing your teeth.

I do not have a full overview of the Braun Oral-B series of products, but my best guess is that they get more and more expensive and advanced as you move up the number series. The IO 10 is the top of the pop, but apparently I could do with a version 8.

In the box

Brain Oral-B IO 8
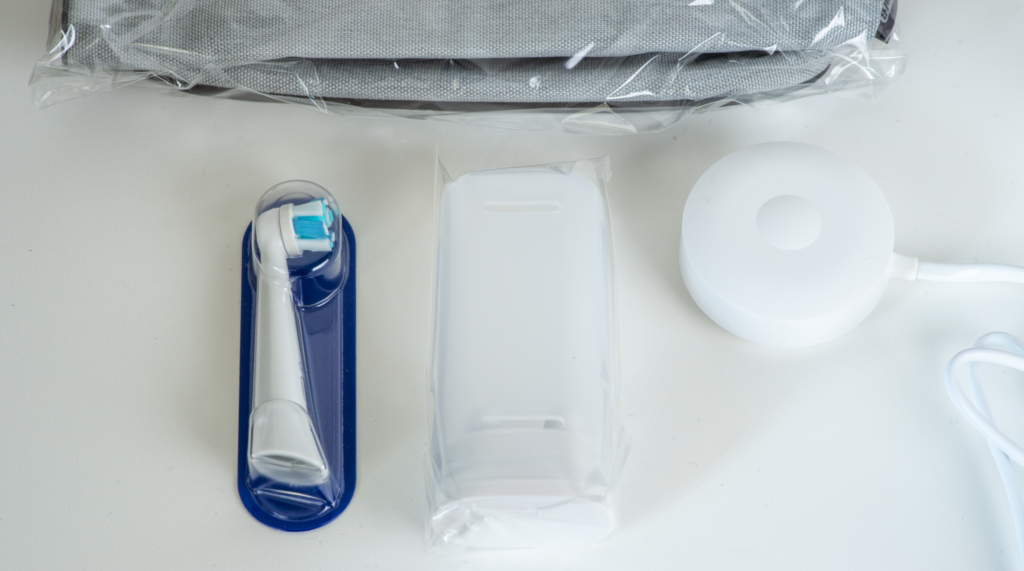
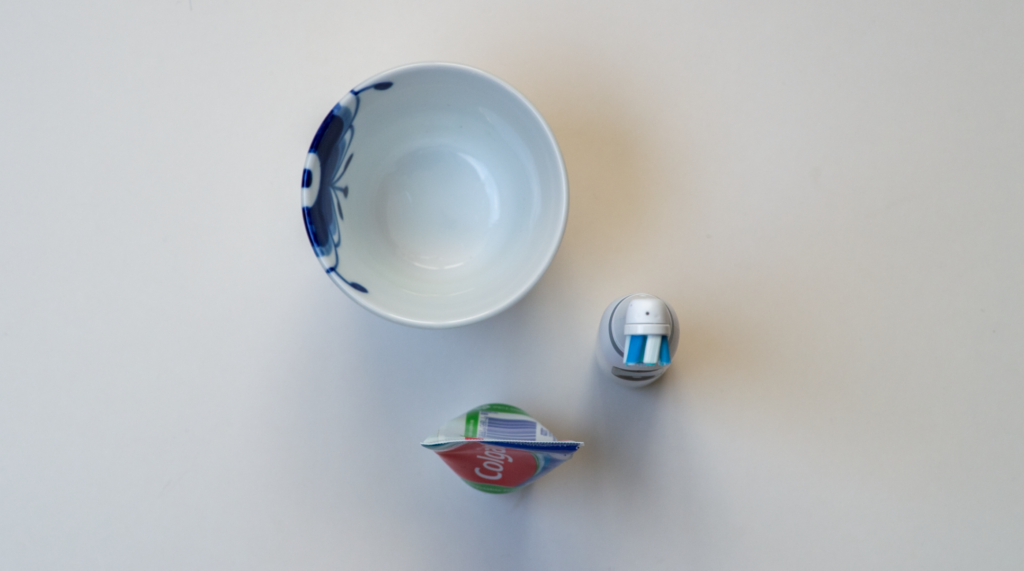
In the box: A little pouch (top), a plastic box to hold 2 brush heads, the brush head and a magnetic charger (right). Of course also the brush itself, which is not shown here.

In the box you will find the brush itself, a charger, a brush head, a container for 2 brush heads and a little pouch for the brush and accessories.

Oral-B IO 8
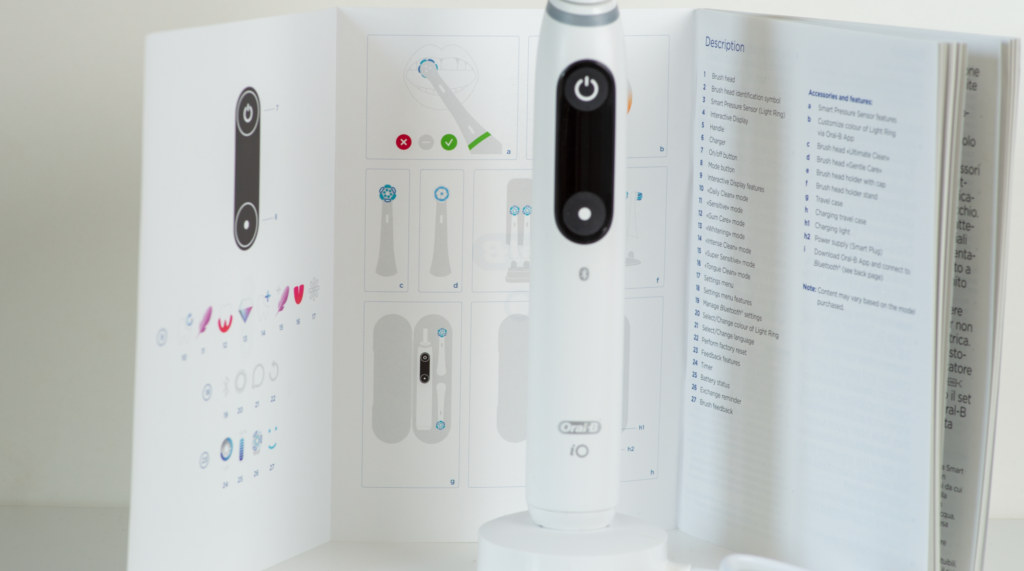
The manual looks overwhelming, but it is only because many languages are supported. After reading 2 pages approx, you are good to go. The graphics are simple and easy to understand.

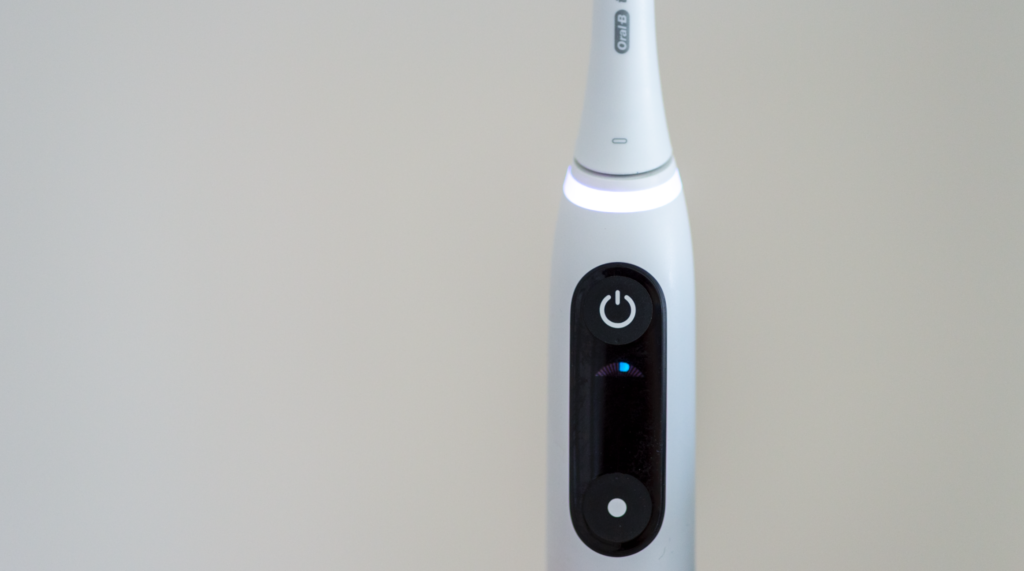
The manual is actually only a few pages in many different languages, so it is quickly read, and it is supplemented by some graphics that are easy to understand.  You’ll be up and running in no time. One of the most important features is the backlit ring at the bottom of the brush head – this ring will tell you if you apply to much, to little or just the right amount of pressure to the brush when holding it against your teeth and gums. I was surprised to learn that apparently I apply way too little pressure! Another thing is that you have to brush your teeth in front of a mirror, so you can continuously monitor that you apply the right amount of pressure.

App and bluetooth

Braun Oral-B IO 8
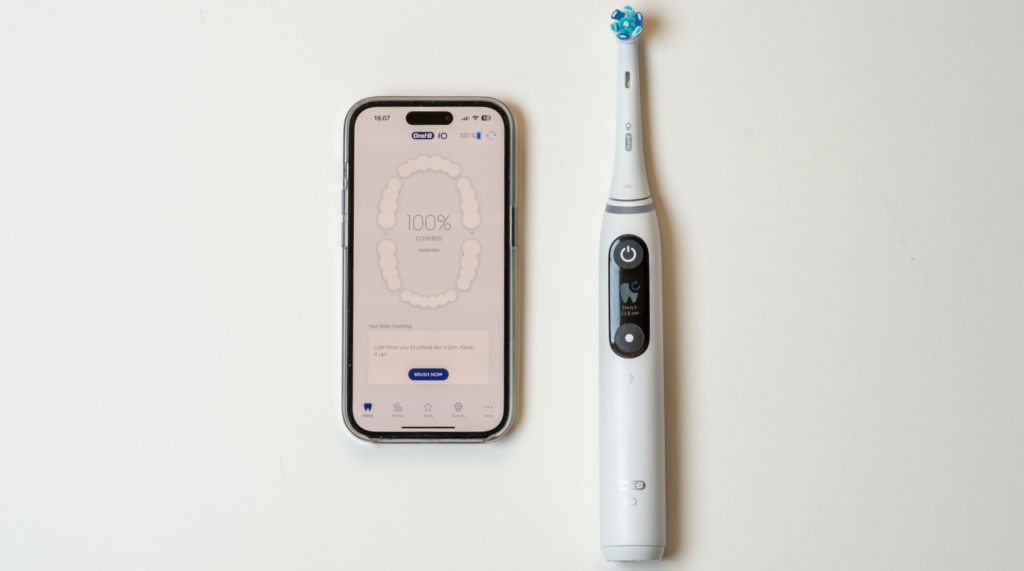
App and brush. The app will guide you though the brush process and give you real time feedback on your performance. And of course keep stats on all your tooth brush sessions!

Of course this toothbrush has an app that will give you guidance and tell you how well you are doing in terms of brushing all your teeth and brushing them well! The most complicated in terms of getting to know the brush was to download the app, but I found it in the App store almost immediately. The brush and the app hook up via bluetooth when within close range. You just shake the toothbrush, and it will activate the bluetooth connection.

Braun Oral-B IO 8
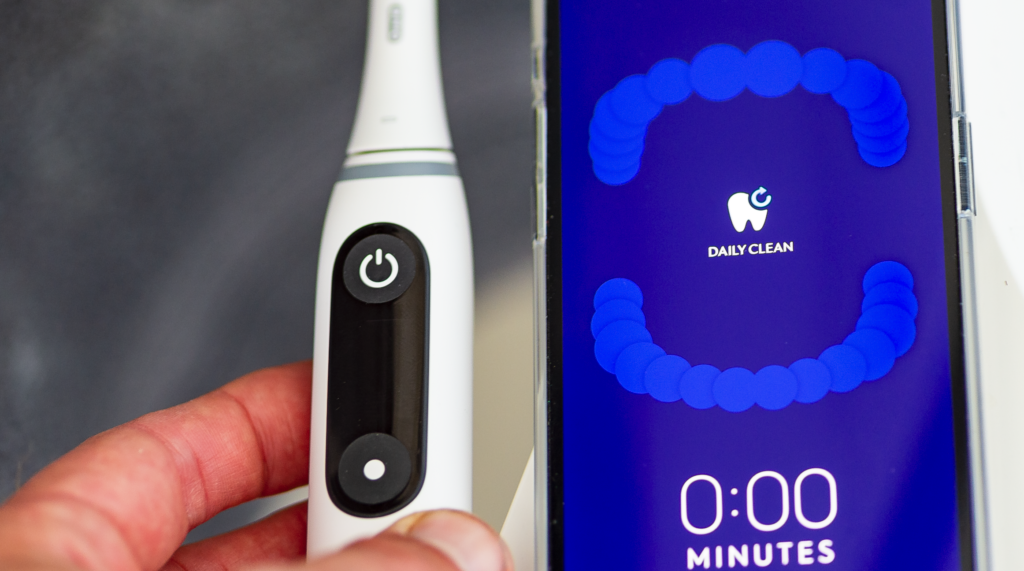
With the app on the phone, you can follow your progress as you brush your teeth. The blue graphics changes from blue to white as you progress.

During the process, the app will colour from blue to white according to your progress with brushing your teeth clean. I find it a little bit difficult to both keep an eye on the colour on the toothbrush itself (right amount of pressure) and an eye on the app (brushing completeness).

Oral-B IO 8
The light ring at the base of the brush tells you if you apply sufficiently pressure: Green = ok. Red = too much. Blue = too little.

Daily routine

Charging is as easy as it can be: simply leave the brush on top of the charger and it takes care of the process. The battery is a Li-On battery and that usually means the battery will last for a long time without charging – I have not stress tested this specifically but it easily does my tooth brushing for several days with no need for recharging.

Oral-B IO 8
Relative to my more traditional Oral-B electric toothbrush, this one does not have a large hole at the bottom. That means it is much easier to keep the charger and the bottom of the brush clean.

In your bathroom cabinet you will find that the toothbrush takes up very little space. It is tall, but otherwise takes up less space than say a tube of toothpaste.

Oral-B IO 8
The Oral-B IO 8 does not take up much space when viewed from this angle!

Using the brush is not complicated, but it did take me some time to learn to brush my teeth in front of a mirror in order to read the pressure colour ring.

Conclusion

I do not know yet if I have passed the exam, as I have to visit my dentist yet one more time to understand if she is happy with my work with the new brush. I will say though that it does feel like my teeth are more clean than ever, and the app and the brush has provided much guidance and feedback that I would not have got with a more basic electric toothbrush.

The price is steep, but if you look at it as insurance money intended to protect you from some nasty dentist bills coming your way, then you might find that in the long run the Oral-B IO 8 is worth every EUR, and then some.

Related reading

Review: HORL 2 knife sharpener

Review: Roborock S7 robot vacuum cleaner

Review: Timbuk2 Heritage Classic S Messenger bag multi-colored

I was looking for a messenger bag (a sling bag), and after googling a bit the Timbuk2 Heritage Classic S Messenger bag quickly came out as the one that suited my needs the best: A basic bag, not too expensive (83 EUR) and solid build quality. The price varies a bit subject to the color chosen, but it is in the vicinity of 80 EUR here in Europe. (For the record: I am not sponsored by TimBuk and have bought this bag for my own money).

Timbuk2 Heritage Classic S Messenger bag multi-colored
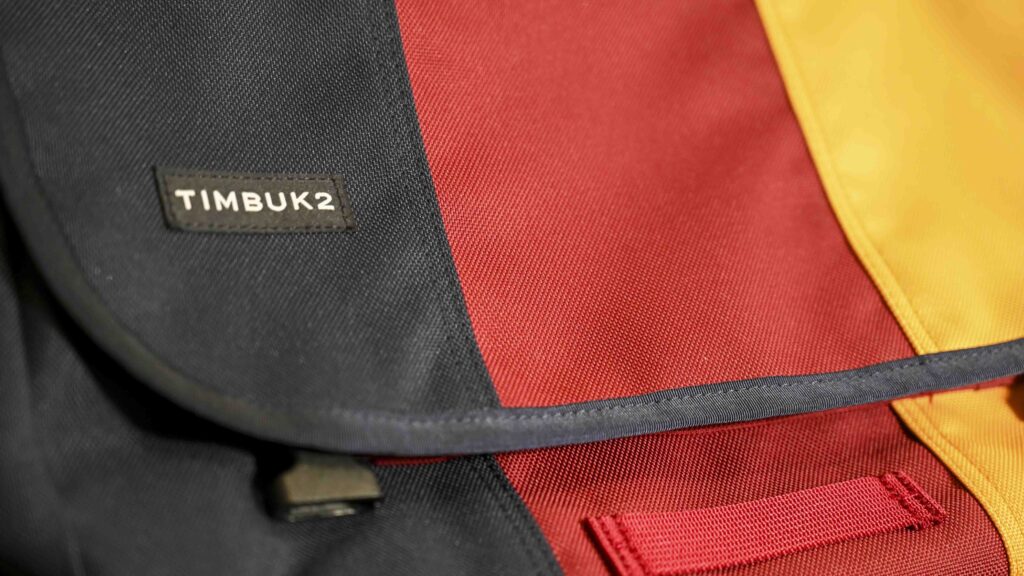
The Timbuk2 comes in many different colors and color combinations. Here colors of the German flag.

It measures 37 x 26 x 10 centimeters approximately and easily holds my laptop, a X280 ThinkPad laptop (13″ approx). In addition I have a notebook and and a few pens, and that is basically it. I have both keyboard, charger, mouse and screen both at home and at my workplace, so I am so lucky that I only need to carry the PC itself and then a notebook. And for this limited purpose, the Timbu2 has plenty of room.

Timbuk2 Heritage Classic S Messenger bag multi-colored
There is no padding – your laptop is not protected if you drop the bag on the ground.

There is no padding in the bag and if you plan to carry fragile material in the bag, you’d better be sure not to drop it or put it down suddenly – there is only a thin fabric. The fabric seems solid and durable and I trust it will last for many years and also keep water out, but do not expect padding.

Timbuk2 Heritage Classic S Messenger bag multi-colored
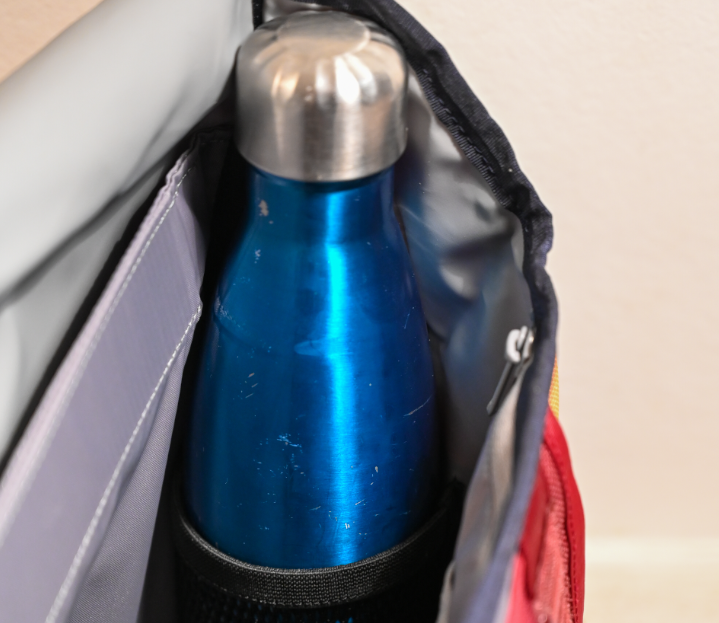
There is a little net to hold a bottle inside the bag. My thermo bottle is a big too large for the bag to close properly, but a 1/2 litre cola will fit nicely.

Inside the bag there are 2 large rooms. I use the inner room for the PC and the other room for my notebook and gloves. There is a little net for holding a bottle as well, but it will not hold a tall thermo bottle like above (the bag will not close properly) – but a 1/2 liter cola fits fine.

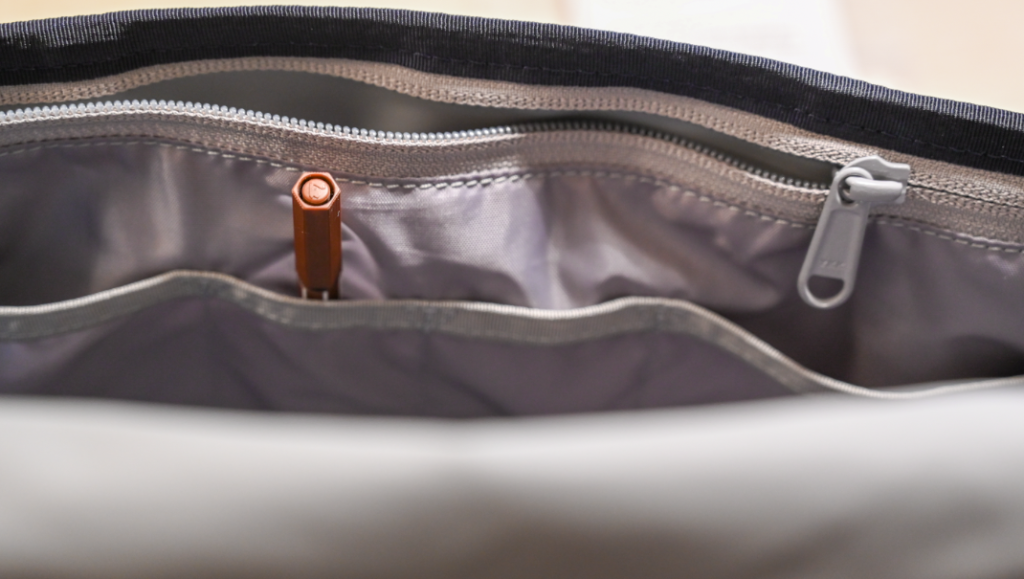
Inside the bag there is a number of small open rooms that I use for holding pens primarily, and there is also a larger room you can close with a zip.

Timbuk2 Heritage Classic S Messenger bag multi-colored
The 4 smaller open rooms inside the bag. And a larger one that closes with a zipper. Notice the inside of the bag is light grey – this is brilliant! If you have ever had a bag with black fabric on the inside, you know how challenging this can be sometimes!

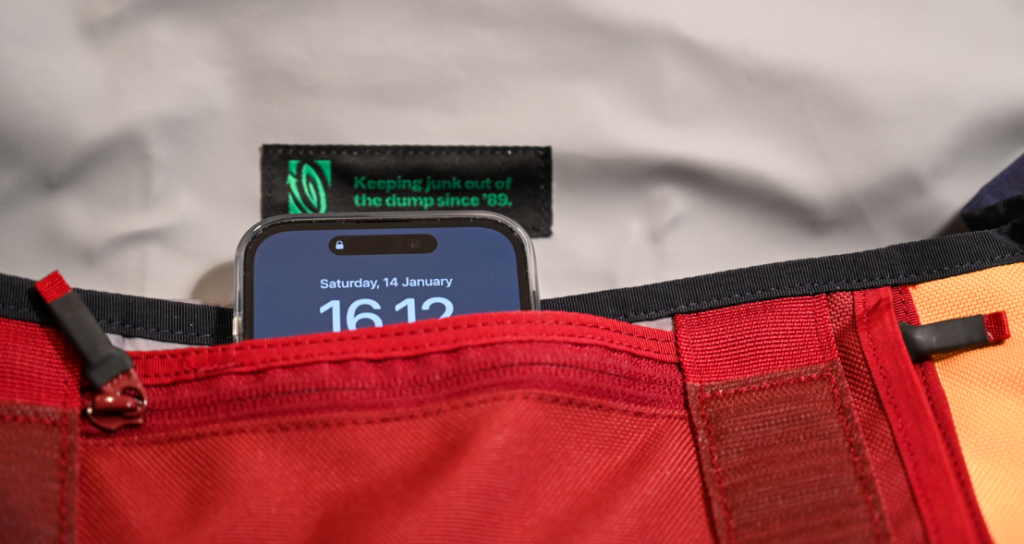
On the outer side of the bag there is one open pocket and two that closes with a zipper, and one of them has a string inside that allows you to attach a keyring so you can have your keys attached and stored safely.

Timbuk2 Heritage Classic S Messenger bag multi-colored
The iPhone here sits in the open pocket for illustration – I usually store it on the inside of the bag. Notice the horizontal zipper to the right – it gives access to a rather deep pocket that goes halfway across the bag.
Timbuk2 Heritage Classic S Messenger bag multi-colored
You can fit a lot into this little bag, even though it is only 8-10 centimeters deep. And if it is heavy things like books, I think the limitation will be more what you want to carry than what the bag can contain.

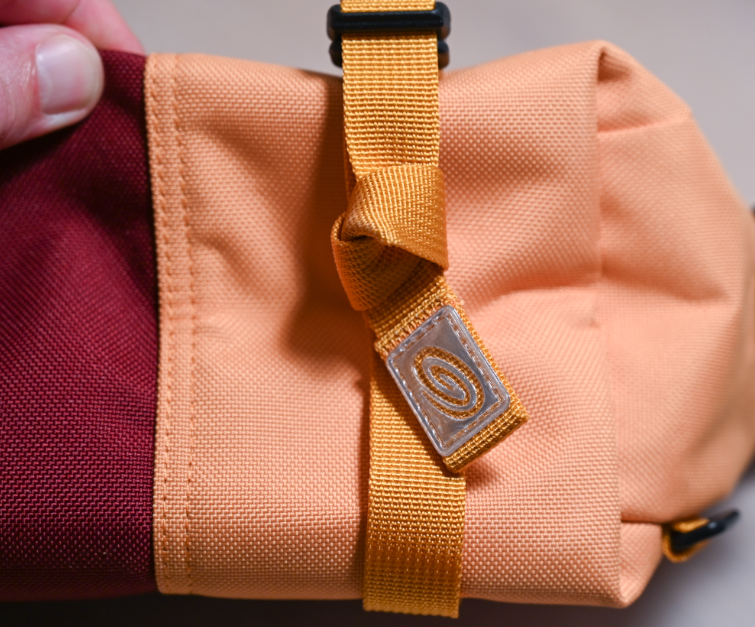
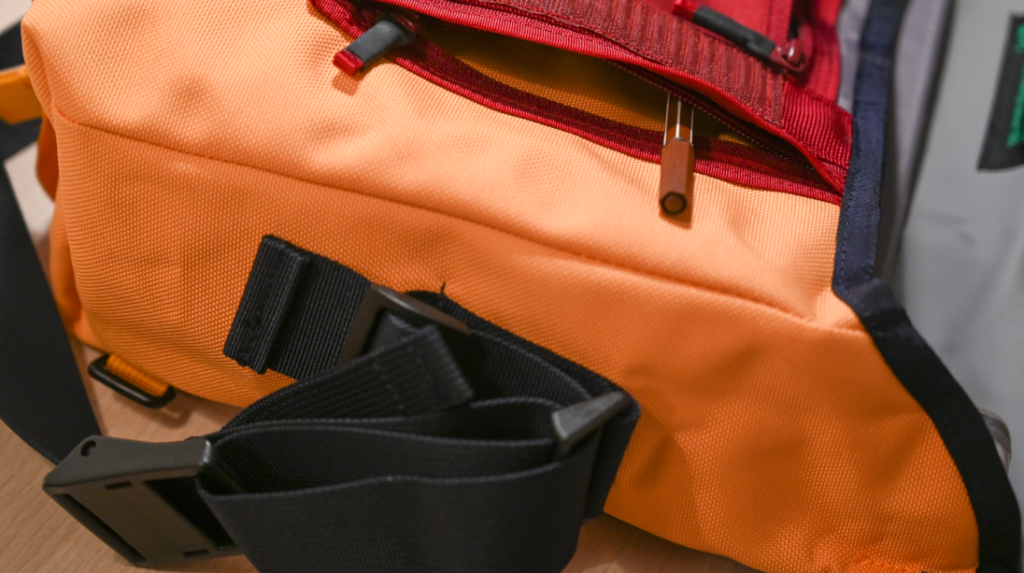
The thickness of the bag can be adjusted with two straps that also hold the locks for closing the bag. I don’t like to have the strings flapping around, especially when I am on the bike, so I have made a little knot to keep them at bay.

Timbuk2 Heritage Classic S Messenger bag multi-colored
The width of the bag can be adjusted using the two strings that also hold the closing mechanism. 10 cm is the widest.

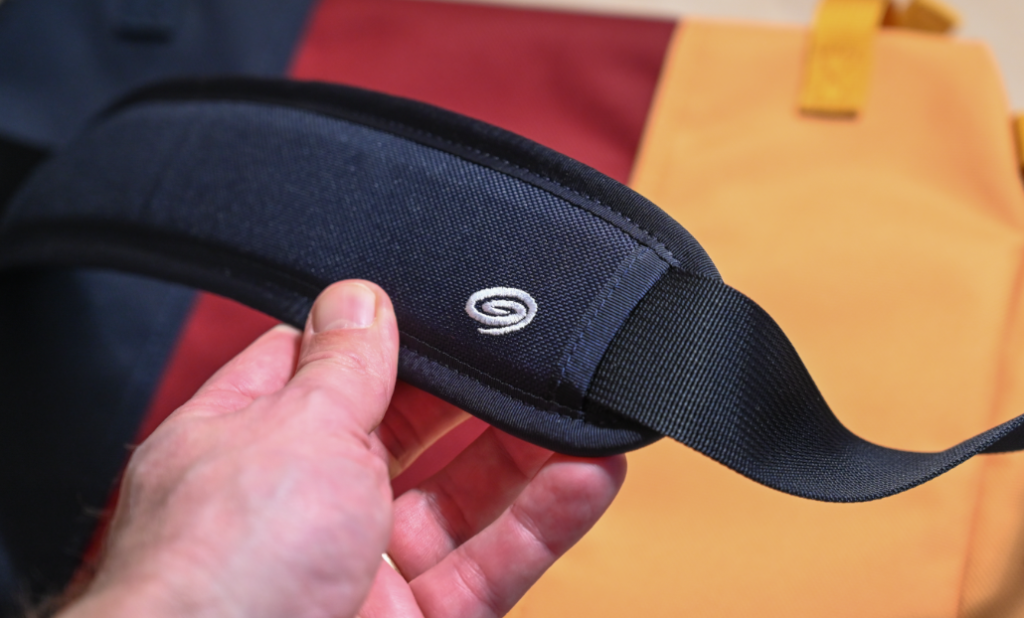
The strap to throw over your shoulder is nice and wide and well padded.

Timbuk2 Heritage Classic S Messenger bag multi-colored
Well padded, and the padding can be moved to sit exactly where it suits you.
Timbuk2 Heritage Classic S Messenger bag multi-colored
The length of the strap can be adjusted as you’d expect. It works really well and is easy to use.
Timbuk2 Heritage Classic S Messenger bag multi-colored
In addition to the sling strap to throw over your shoulder, the bag has 2 soft handles – one on the front and one on the back. Here the latter is shown. Notice the solid sewings.

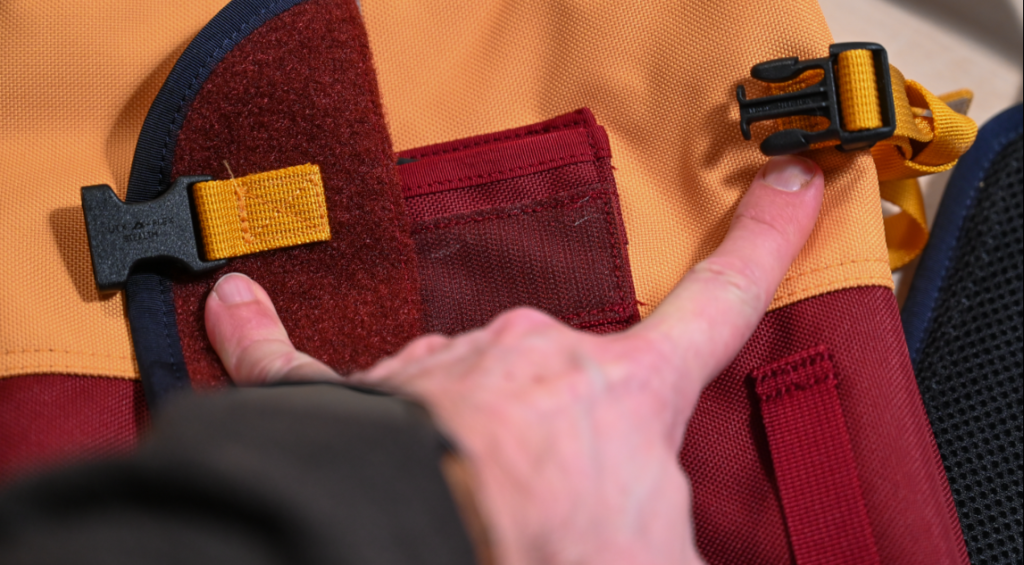
The flap that closes the bag is fitted with both velcro and buckles. When not out and about, the velcro is more than plenty to keep the bag closed, in fact, sometimes it feels a little to efficient when you just want to grab a pen quickly and the velcro does what it can to keep the bag shut! But you’ll get used to it.

Timbuk2 Heritage Classic S Messenger bag multi-colo
My fingers point two the two buckles that close the bag firmly. Between my fingers the velcro that also closes the bag.

Conclusion

If this bag will suit you and your needs of course comes down to your criterias and personal preference. It is a very solid built bag, durable materials and very convincing sewings everywhere. And they have clearly thought very carefully about many of the details such as the closing mechanism, the pockets, the strings, etc. In my humble opinion the design is spot on for a simple bag that will serve you for many years without breaking the bank.

However, the money has been spent on solid durable fabric, sewings and straps, and not on more luxury items such as padding, leather or other up-market features. It is a very basic bag, and if you want a little extra or a little luxury, this bag is probably not for you. This one delivers the basics only, but does so very well.

Related reading

Review: Hövding 3.0 – airbag protection for cyclists!

Review: Garmin Varia RTL516 Rearview Radar and Taillight


Review: RAVPower PD Pioneer Power Bank

Review of the RAVPower PD Pioneer 2-Ports Power Bank with impressive specs.

Long name

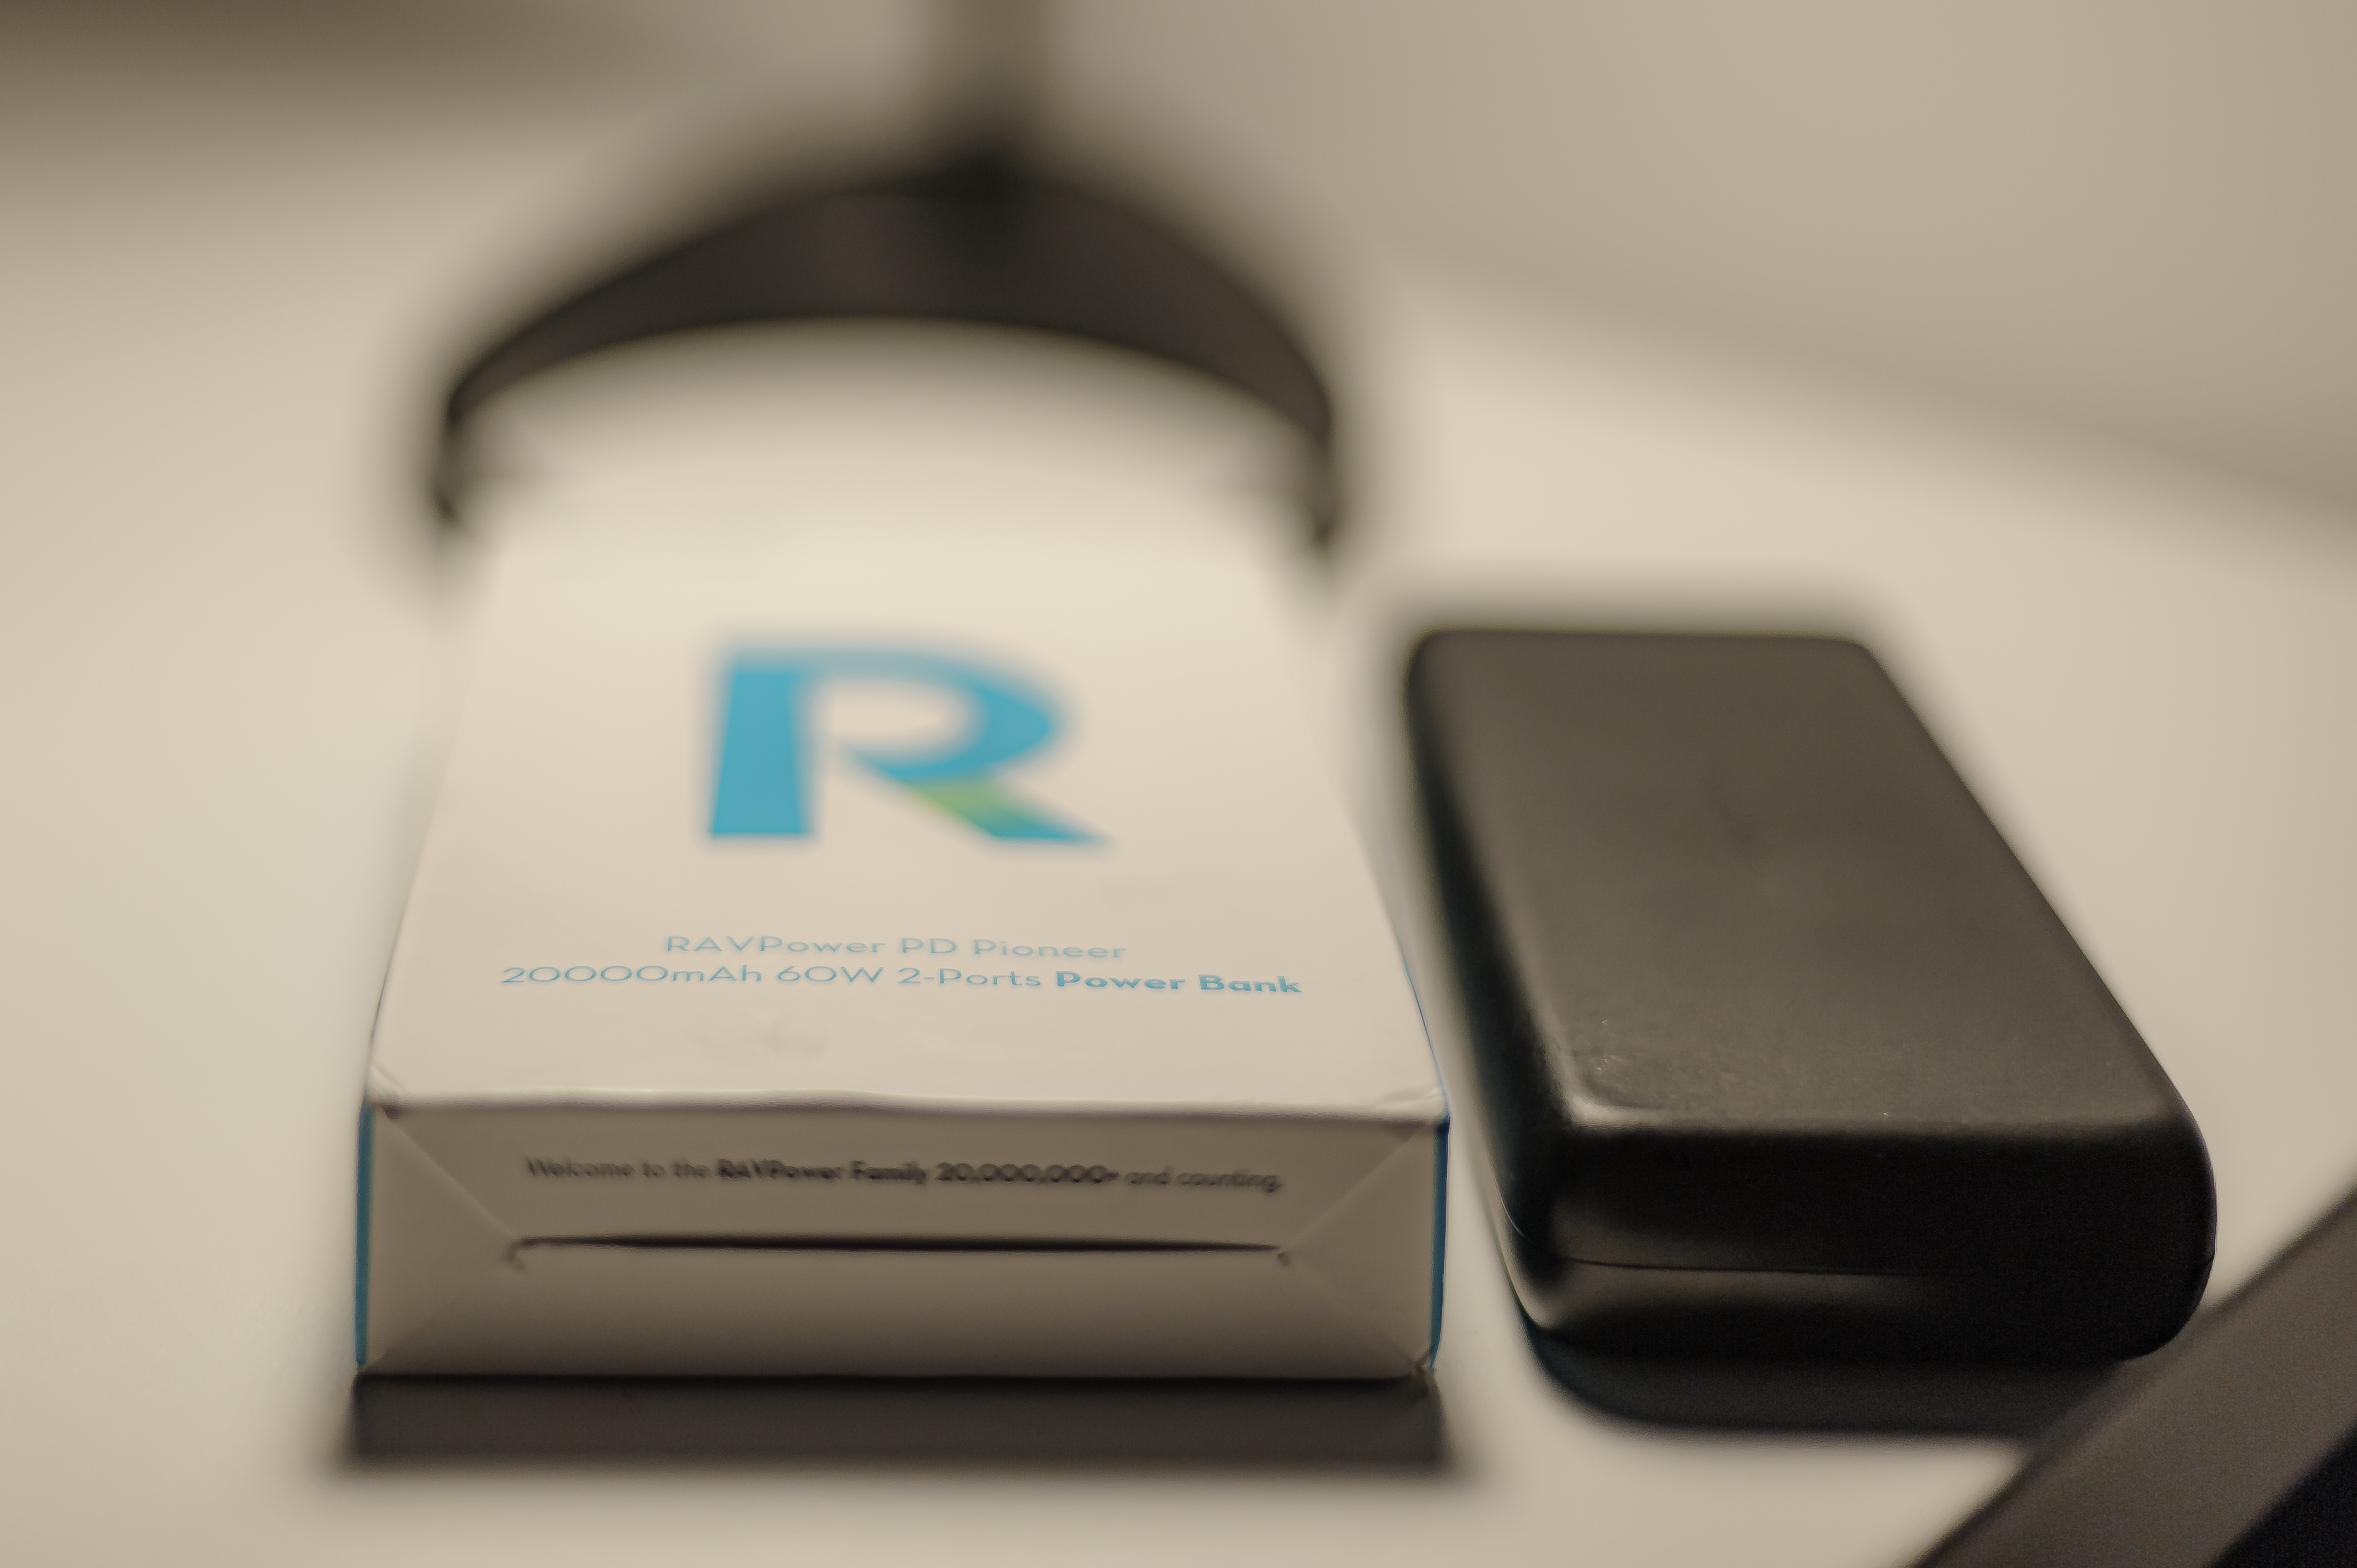
The RAVPower PD Pioneer Power Bank actually has an even longer name: The RAVPower PD Pioneer 20000mAh 60W 2-Ports Power Bank!

The long name on the box reveals impressive specs for this no nonsense product.

And what’s in a name? Well, in this case, actually a lot! Notice the 20000mAh with can be translated to 20Ah! An impressive amount of energy, only found in batteries you would normally plug into your power tools – provided you have pro-level power tools, that is.

And further: 60 Watts! If you have ever tried to hold a light bulb back in the days long before LEDs and energy saving light bulbs were invented, you know how hot a 60 watts light bulb “classic” can get – it is an impressive amount of energy this little battery delivers!

No nonsense

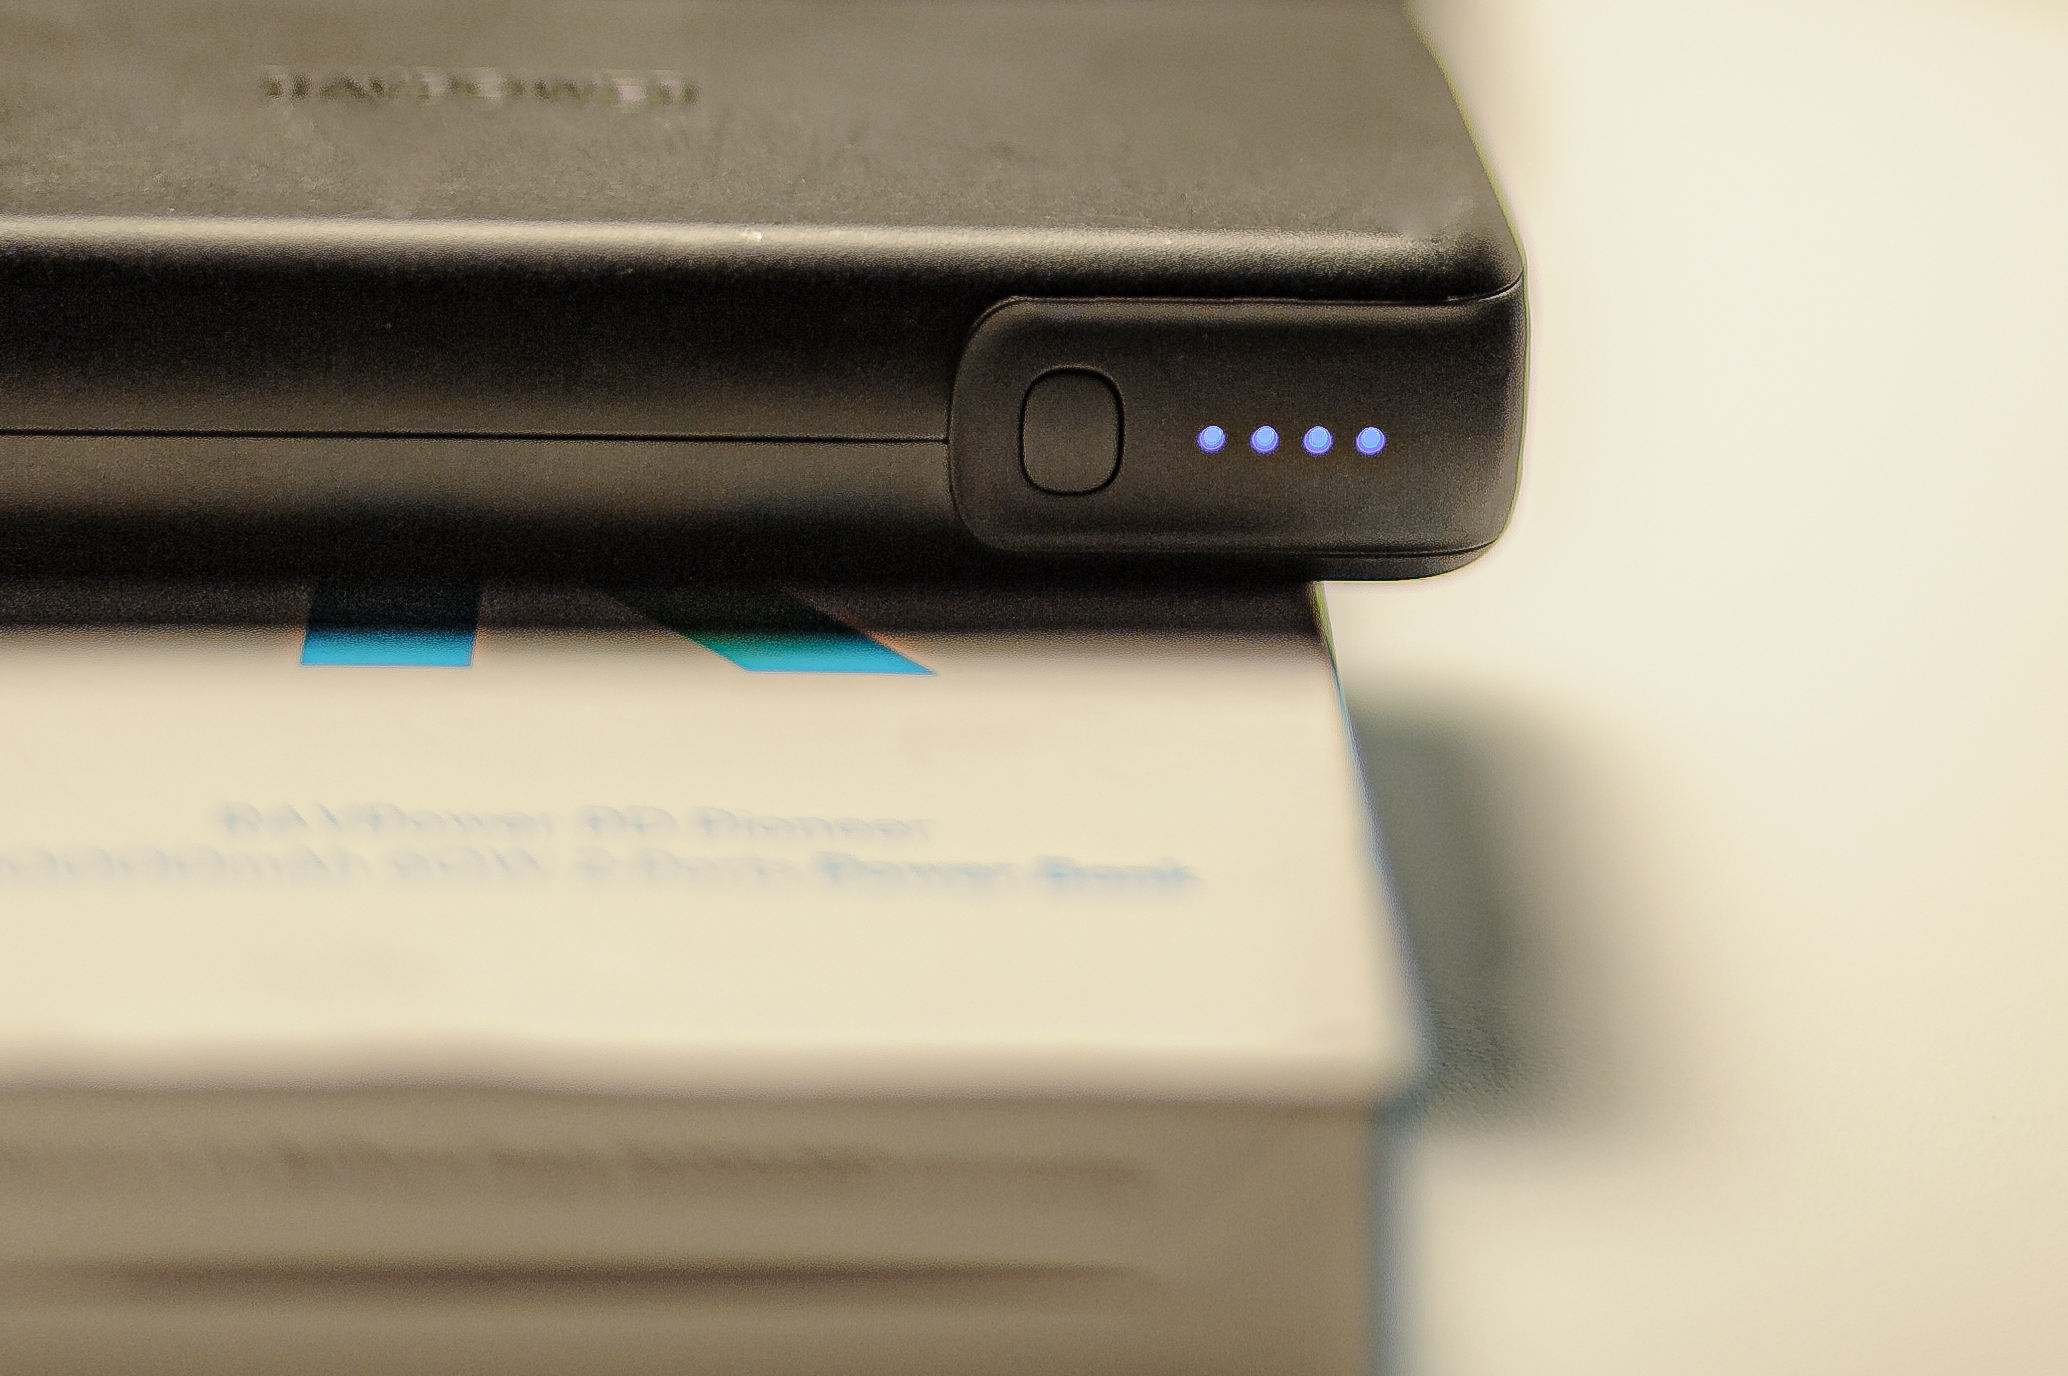
4-level power indicator with blue LEDs. Here the power bank is fully charged.

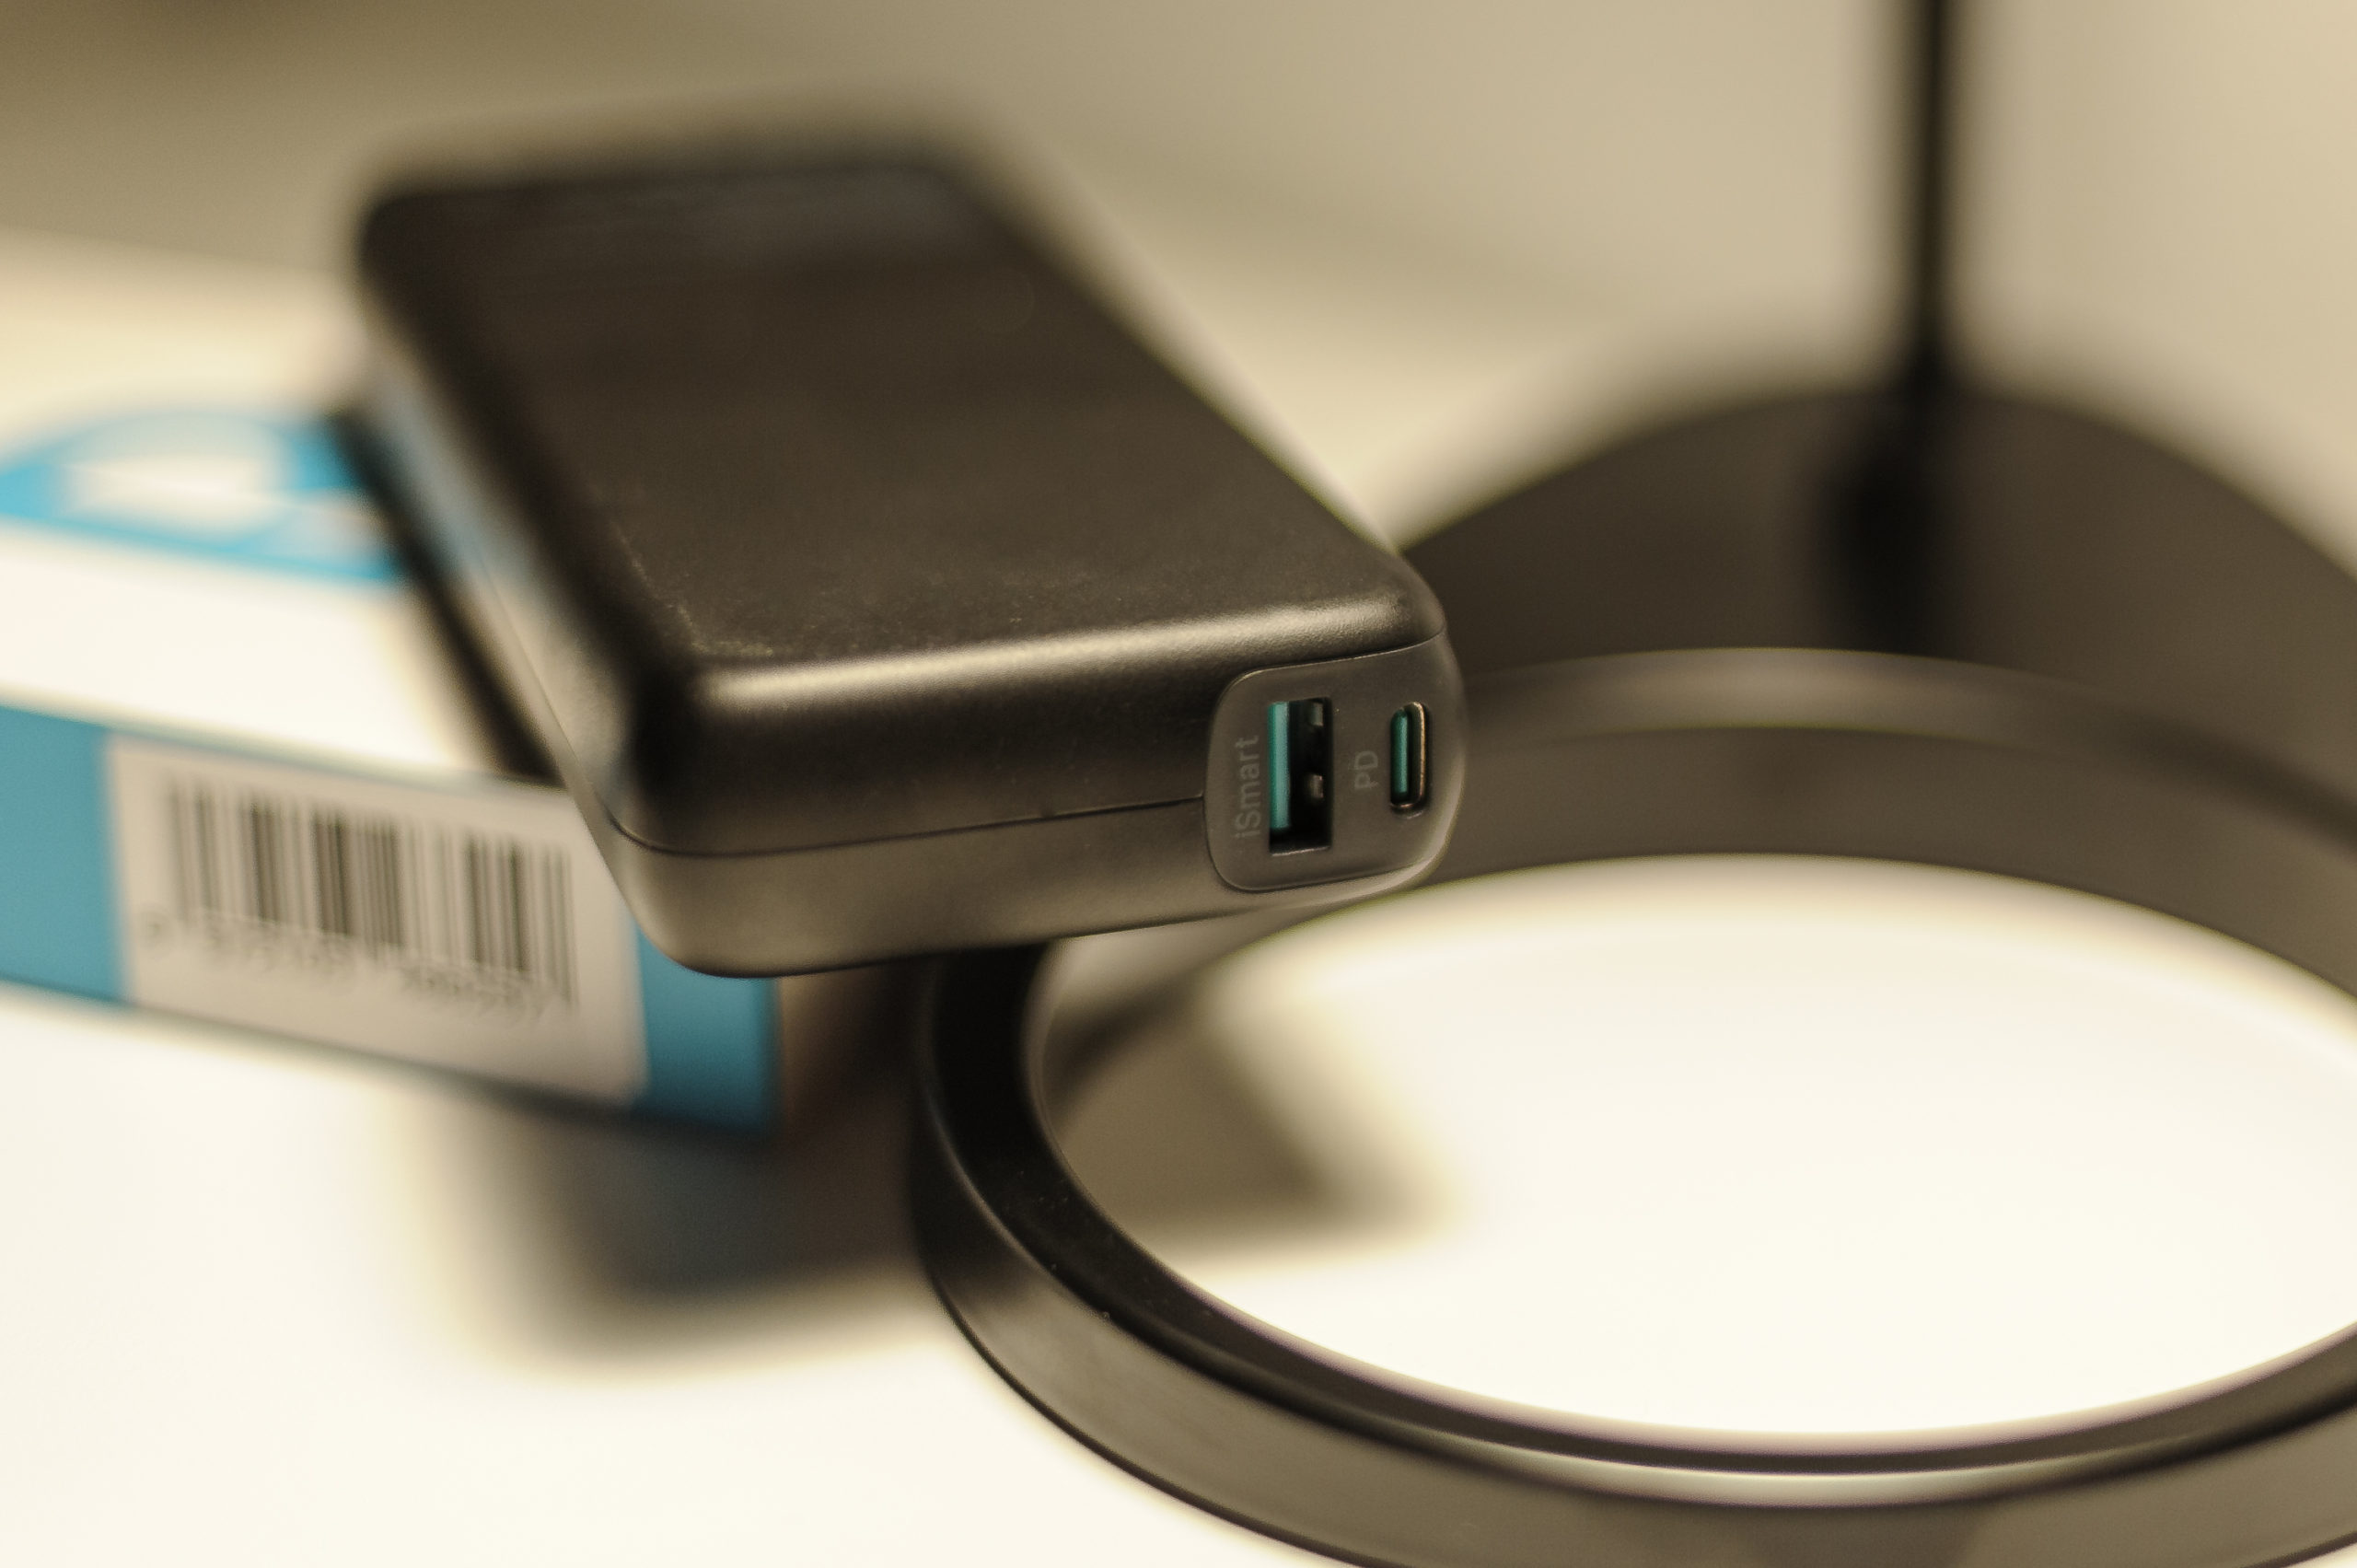
The design is not very advanced: Only one button that activates the 4-LED power indicator and two connectors: USB-C and USB-A. It only comes with one short black cable for the USB-C port. The USB-C port will deliver 45 Watts when used together with the USB-A port delivering 15 Watts. If the USB-C port is used only, it will deliver up to 60 Watts using the so called PD (Power Delivery) technology! The instructions urges you only to use the supplied USB-C cable, as older cables may not be designed for as much power as the PD technology can deliver.

Two ports: USB-C and USB-A.

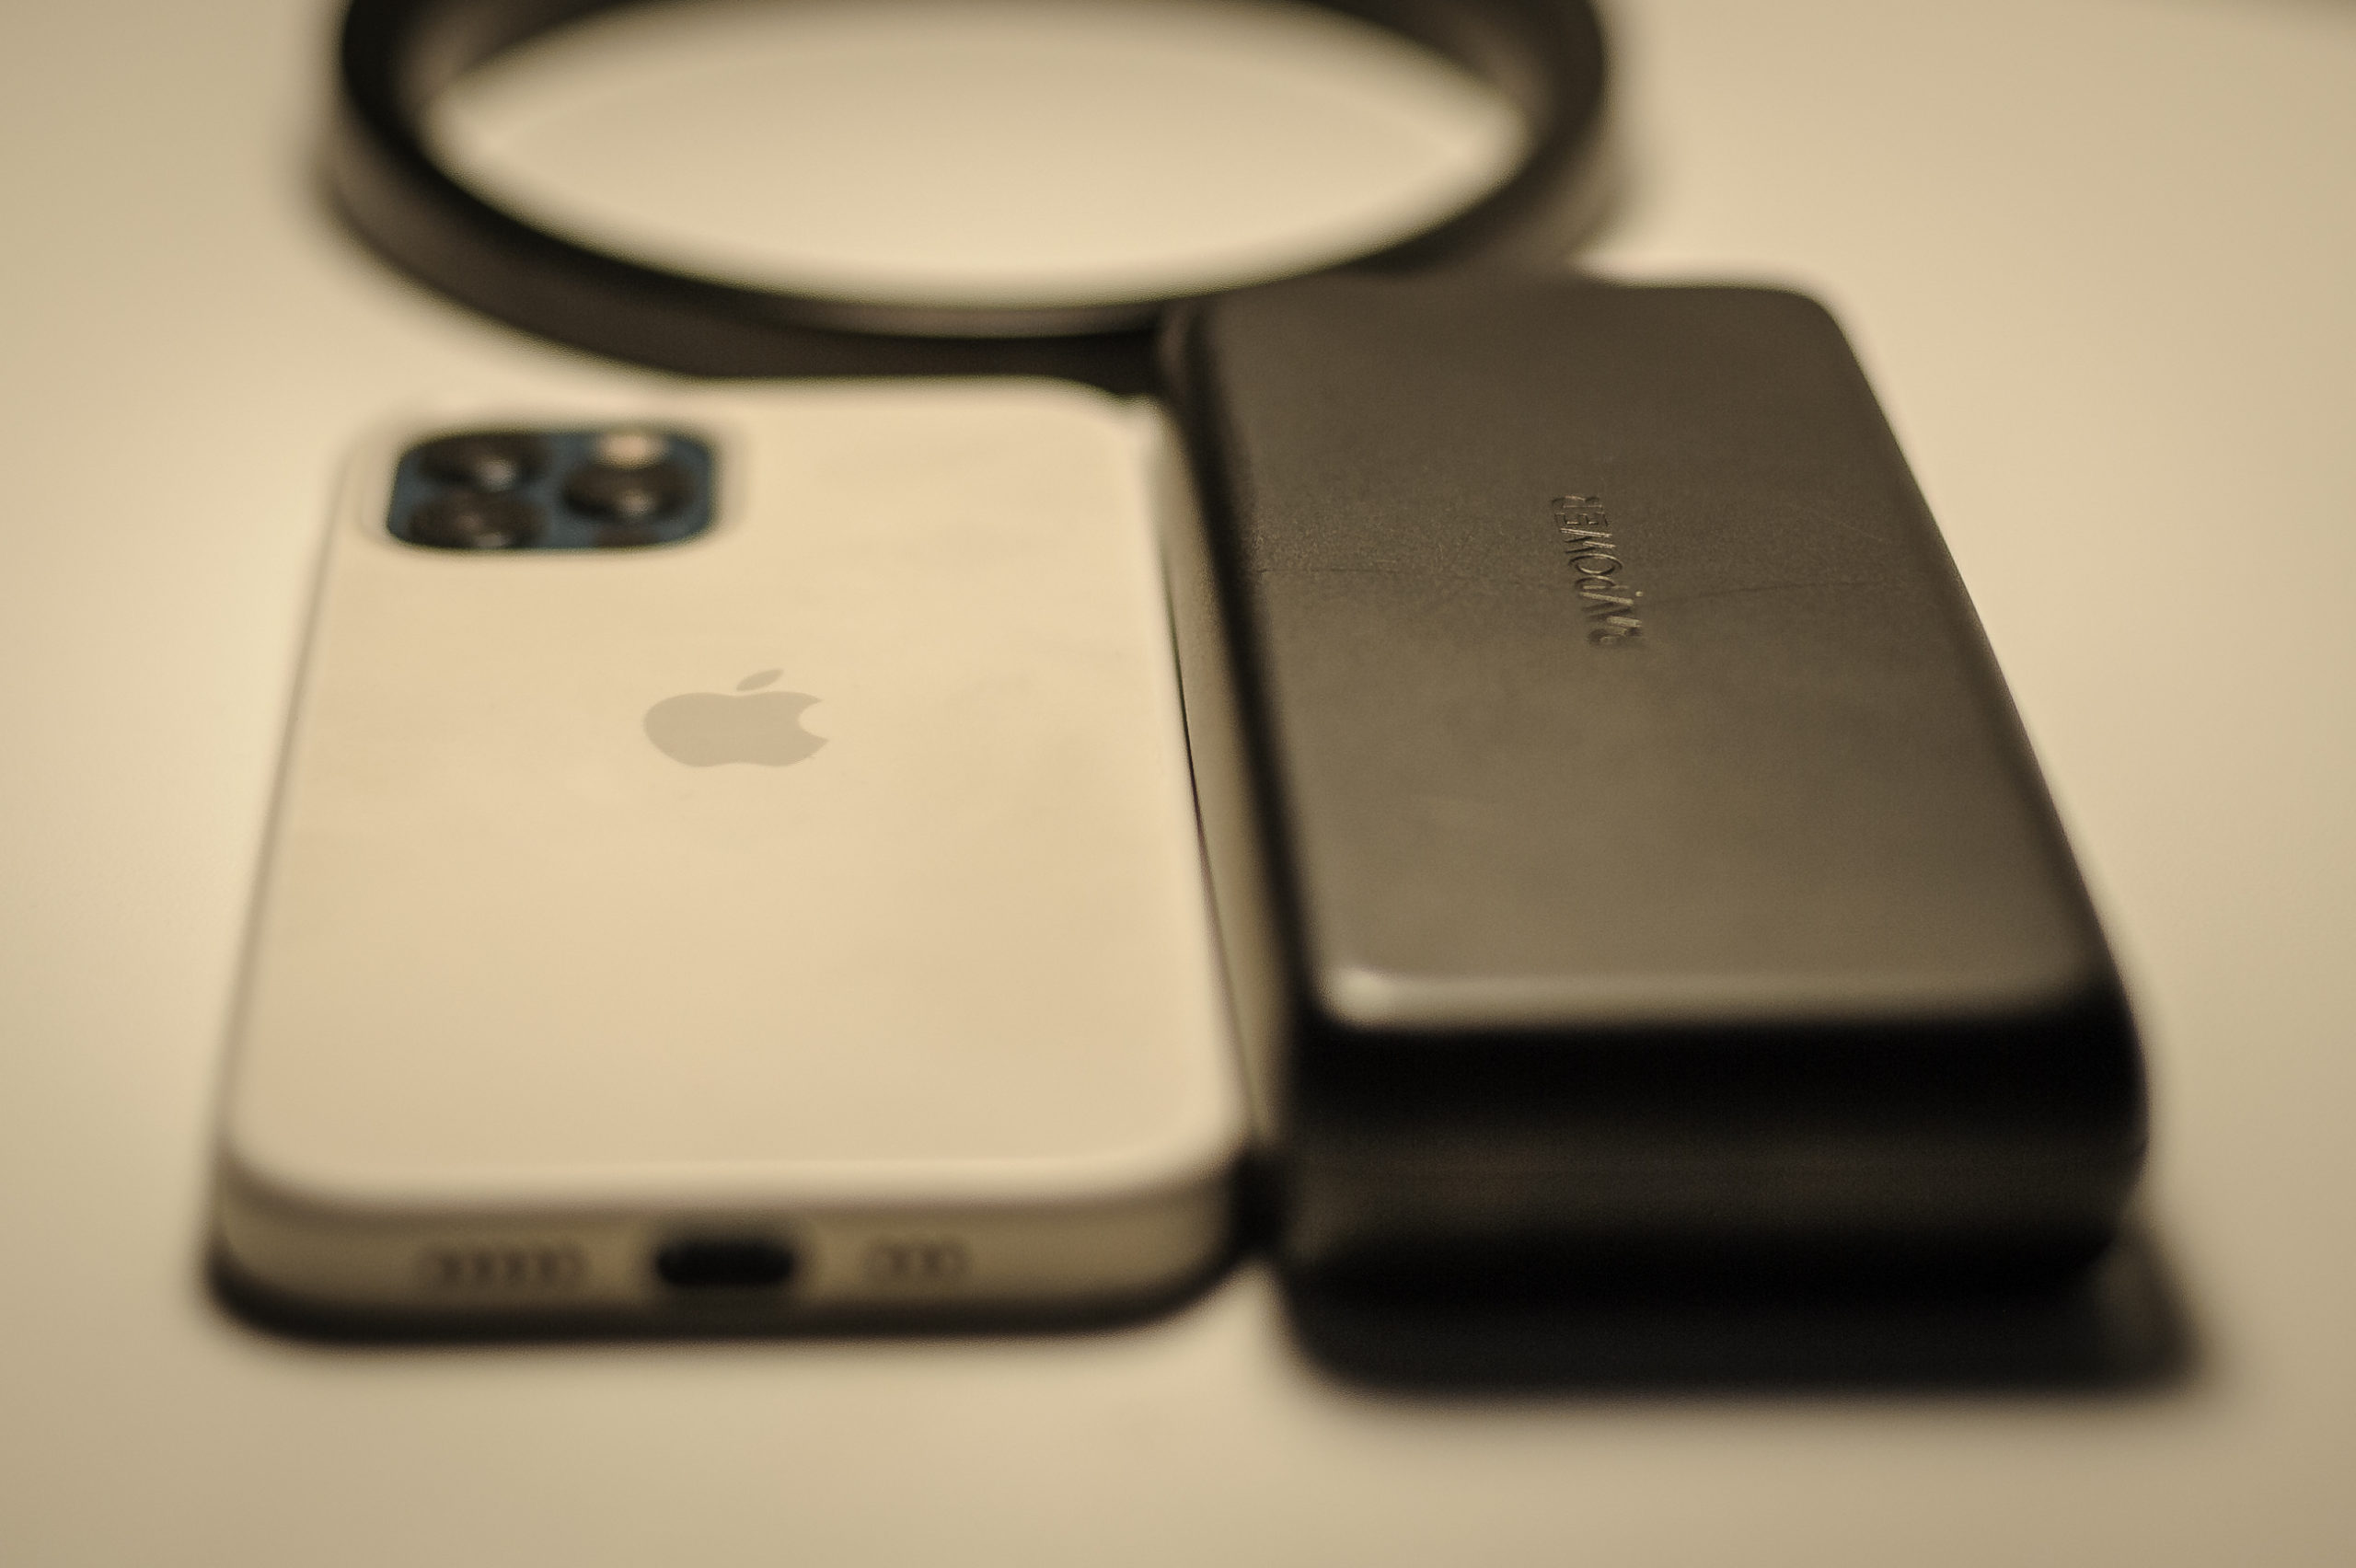
The power bank body design is of the no nonsense kind: a rounded black box weighing 370 grams, and with a size of 15 x 6,5 x 2,5 centimeters. (H x W x D). It is a little less than 2 iPhone 12’s on top of each other.  So it fits nicely into one hand. You can also get it in white if you prefer, but that’s it!

Same height as an iPhone 12, but not as wide and approx. 2 times as deep…

Real world test

I bought this product to keep my demanding PC at work happy during the late hours of the working day. It is a Lenovo Thinkpad that requires 45 Watts power input, and it will certainly make you aware during boot if you try to feed it with anything less! Normally at 3 in the afternoon, the Lenovo battery runs flat and start to go into (intensive) power saving mode, then gives me half an hour more and dies completely. With the RAVPower attached using the USB-C connector, it keeps my PC going almost a full working day, and only towards the end of the day will the RAVPower run out, and the PC starts to make use of it’s own battery! That is truly impressive! The Lenovo charger can then stay at home, and I have the freedom to move around during the day without looking for a power plug or worry about battery depletion!

According to the marketing specs, the RAVPower can charge an MacBook Pro 13″ from 0% to 50% during an hour. I have not tested this, but I find it very likely based on my own experience with the power available in this little gadget. And with my 20 watts apple charger, I have found that in 3-4 hours the RAVPower is back from close-to-flat to fully charged.

Is it for you?

The RAVPower will set you back around 70 EUR here in Denmark, and I would imagine it can be found even less expensive in both the rest of Europe and in the US (although Amazon have removed products from RAVPower for reasons unknown to me).

I have not long term tested it and cannot say if the battery will stay fresh for many years, but the Chinese company behind RAVPower started their business based on battery technology, so I am optimistic it will stand the test of time.

So if you are in the market for a powerful no nonsense power bank , I think this option should be on your short list, if available where you live.

However, if you need more thank 2 ports, there are alternatives available with 2×2 ports, and if you need even more power, there are models with up to 26.000 mAh, but then you will also need to pay significantly more.

Thank you for reading this far! Questions and comments are more than welcome!