Review: Lexyne Zecto Drive 250+ Bicycle Front Light black

Replacement needed

I’m a big fan of the small compact rechargeable bicycle lights from Lezyne. I have had a front light for years, but the battery was getting a bit tired and the charging was based on min-USB (?) which in my house is becoming more and more seldom. Everybody seems to be moving towards USB-C as the industri standard and I welcome it with open arms. It is a much needed simplification if you ask me and greatly reduces the need for multiple chargers in a household.

Also, the output from bicycle lights has improved massively even over the last few years, and I wanted to tap into this development and see what a brand new light could do.
Zecto Drive 250+ Bicycle Front Light black

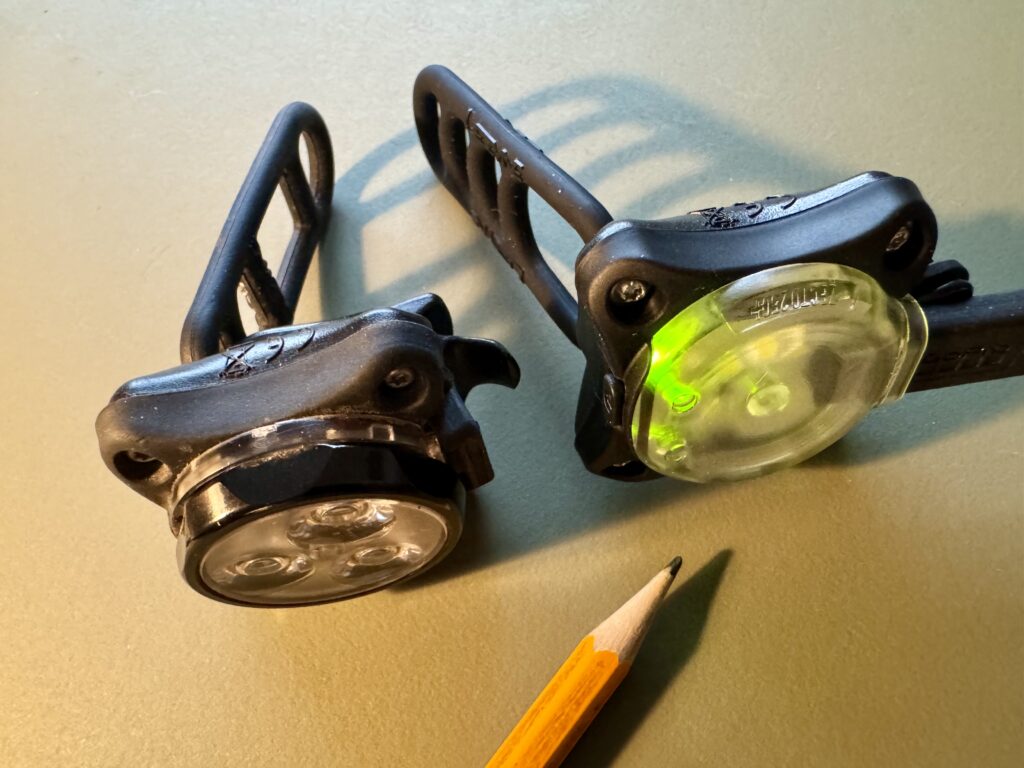
Here the Zecto Drive 250+ Bicycle Front Light is to the right and my trusty copy of what I believe to be an earlier model. The pencil is just there to give a sense of proportions.I really like the concept of this Zecto Drive light. It is small, compact (fits a pocket easily) and delivers plenty of run time per charging for my city life needs. But if you need a lot of Lumen output, you may want to look for other options.

Lezyne Zecto Drive 250+

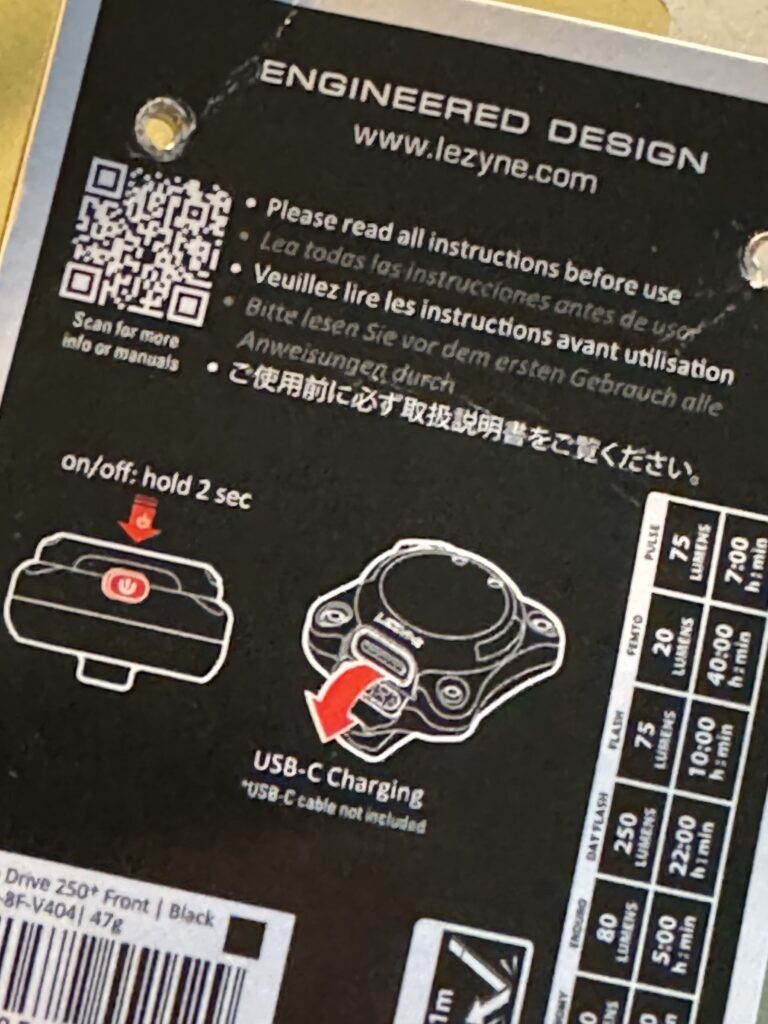
When it arrives, the Zecto Drive 250+ does not make a big impression. It is mounted on a small piece of black cardboard with a few instructions and a QR code for more elaborate instructions and specifications. I welcome this as it minimizes the packaging that I have to get rid of after “unboxing” the product.
Zecto Drive 250+ Bicycle Front Light black
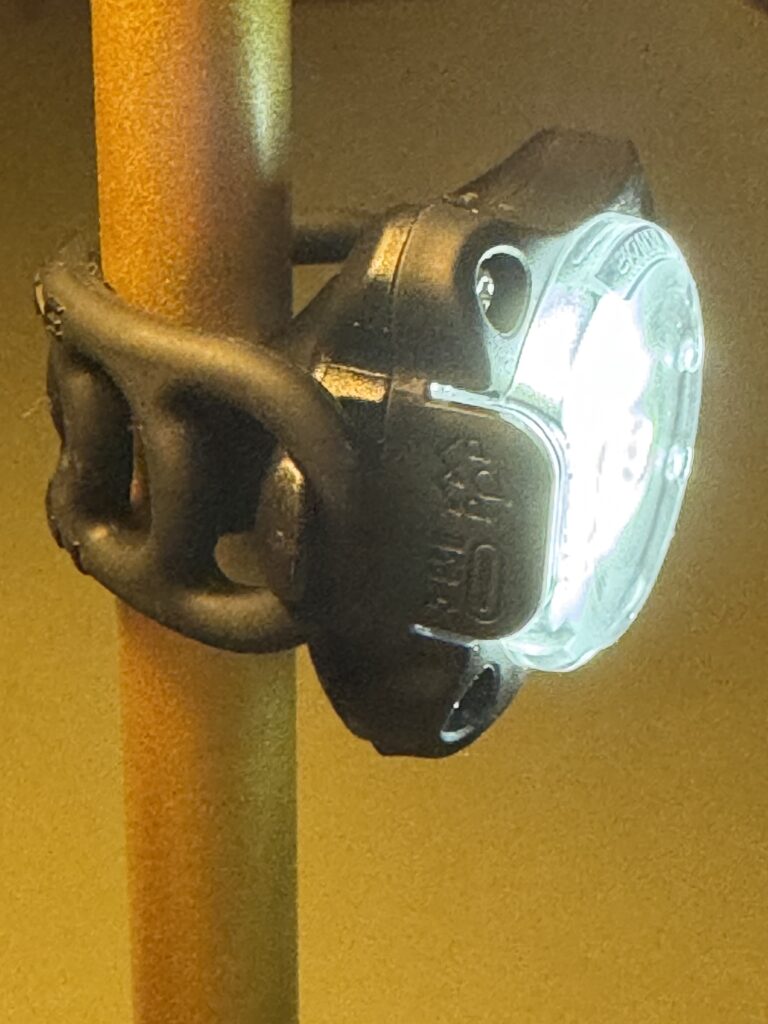
Here the light is mounted using the rubber “belt”. You can easily mount the light using the handlebar or the stem on your bike.

You can mount the light using the rubberized “belt” that can reach around the handlebar on your bike, or you can use the clip to mount it in a belt or the like.
Zecto Drive 250+ Bicycle Front Light black
The user guide is mainly based on the QR code top left. The few instructions on the “tin” only explains how the lens is turned on/off and charged.

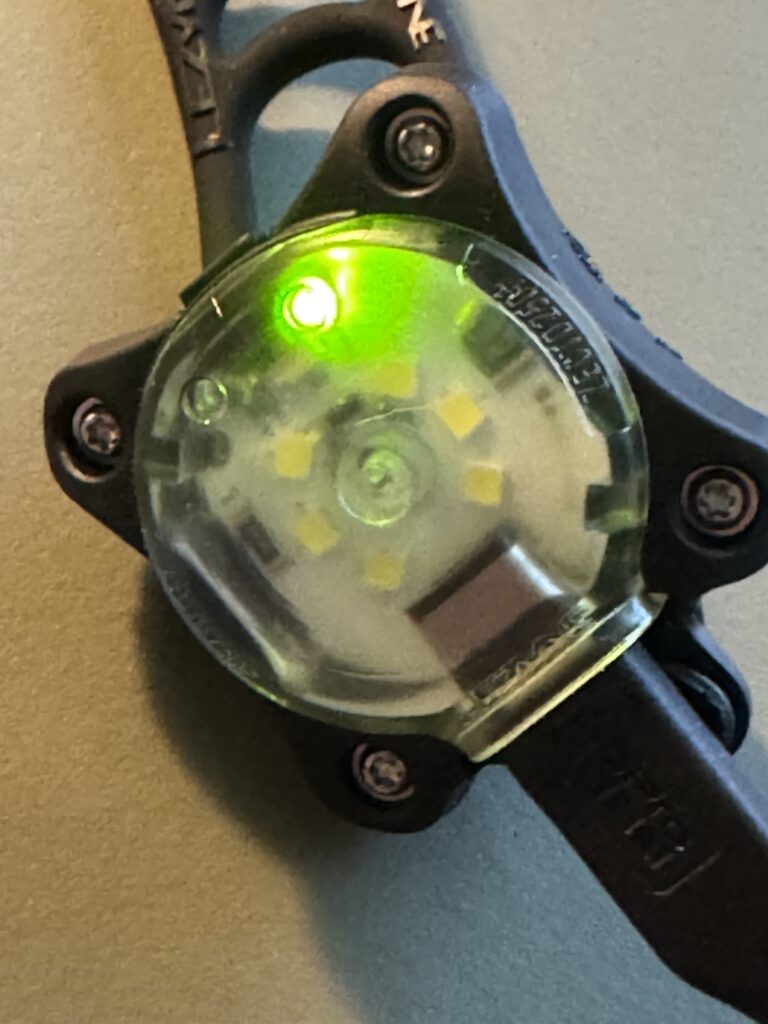
The first thing I did was to put the Lezyne in the charger – there is no USB cable supplied, but I have plenty already and found an available USB-C cable in my existing park of chargers next to my desktop. When it charges, the green LED on the front of the light flashes green.

When the LED turns on steady green, the charging is complete. A little hinged rubber cover can then be closed in order to protect the USB-C port from the elements. I believe this is a precondition for the IPX7 classification. I am no expert in these classifications, but understand that the Lexyne light can be submerged into 1 meter of water and still be functional. We do have much rain in Copenhagen where I live, but I doubt I will ever make use of this impressive capability!
Zecto Drive 250+ Bicycle Front Light black
The USB-C charging at work. The green LED flashes when it is charging and is steady when the charging is done and you can remove the USB-C cable.

To turn the light on or off, you press the on/off switch for 2 seconds. This is a smart design, as it prevents the light from being turned on or off by accident when not in use, i.e. lying in a bag or a pocket.

You have to apply a good amount of force to the button before it reacts. I have gotten used to this as I have used the Lezyne lights for several years, but you may want to test this IRL in your local bicycle shop before you invest.

Light modes

If you hit the on/off switch quickly when the light is on, the light toggles through 6 light modes as depicted below. These are not explained in great detail, but as you can see the first 2 gives steady light and the next 3 involves flashing light and the final one pulses between strong and less strong.

Zecto Drive 250+ Bicycle Front Light black
If you follow the QR code on “the tin”, you will get to more information about the front light. Here you can see the different modes the light offers and how long the light will last.

The Lezyne remembers the mode you used the last time, so when you long press the light to turn it on, it starts up in the mode you used when you long pressed it to turn it off. This is convenient if you – like me – are a creature of habit and quickly identify a preferred mode.

Without being an expert, I would think that the flashing modes is better if you want to be seen by others in the traffic, whereas the steady modes are better if you drive where there is little other light like a path in the woods. I mainly bike in the city with plenty of light available, so I turn on the flash mode to helps others see me.

In terms of battery life, the Lezyne offers so much more than I need. I bike maybe 5-10 kilometers on the same day and the Lezyne never runs flat with this kind of use.

The light

I’m not a mountain biker riding through pitch black woods for several hours! I am a simple cyclist riding from one end of Copenhagen to the other during winter time. Trust me, a good light is needed in order for others to notice you.
Zecto Drive 250+ Bicycle Front Light black
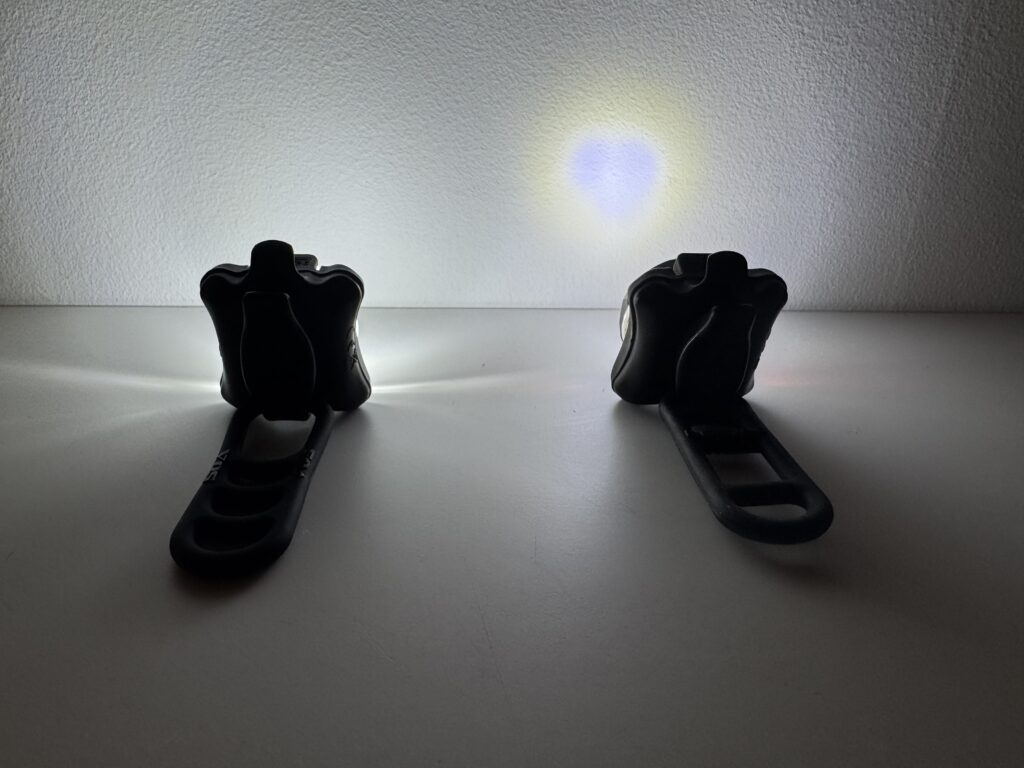
My old Lezyne to the right, the new to the left. Notice how the new light is much less pointy, i.e. the light is thrown to the sides much more with the new version.

Comparing the old Lezyne with the new, it seems to me that the new light throws much more light to the sides and this must be a bonus for visibility from the sides. Also, the 6 LED’s in the new light gives much more power than the 3 LED’s in the old one.

However, I have read experts say that you need at least 200 Lumens in output for riding a bicycle in the city. And only in one of the flashing modes does the Lezyne light deliver that kind of output. That said, I find the light to be fairly strong but be aware that this light may be at the weak end of the scale in terms of safety. I guess that is the price you pay for the light being so compact and light.

Summary

I found this light on sale for around 37 EUR. Here in Denmark where I live, prices are not exactly low, and certainly not when compared to the US. However, looking at the prices on Amazon here, this seems to be a sharp price. However, there are many bicycle lights out there that you can get in a much more budget friendly price range.

Pros

  • Small and compact – easy to bring along
  • Solid build quality
  • Gives a good strong light, also visible from an angle
  • Charges via USB-C
  • Can take some really bad weather and still be operational (IPX7)
  • Easy to mount on the bicycle
  • Several options for light mode

Cons

  • May not be strong enough for your needs
  • You may find the price too steep
  • The on/off button requires some force to be operated

You may also like

Review: Garmin Varia RTL516 Rearview Radar and Taillight

Review: Bosch VitaBoost blender MMBH4P3B

Review: Timbuk2 Heritage Classic S Messenger bag multi-colored

Review: Hövding 3.0 – airbag protection for cyclists!

Warning!

The Swedish authorities (“Konsumverket”) have late 2023 stopped all sales of the Hövding 3 in Sweden until the safety issues have been investigated. It appears that the Hövding 3 in not all cases has provided the protection expected according to EU legislation and hence the sale of the product is on hold until further notice. Also, according to Swedish authorities, the helmet has not been tested at speeds above 20 km/h. The stop of sales has unfortunately challenged the company financially so much that they in December 2023 decided to file for bankruptcy. 

The review below does not look into the efficiency or completeness of the safety provided by the Hövding 3. I simply review the product from my experience with daily usage, and luckily I have not yet been in need of the Hövding 3 actively providing protection for my head during an accident.

I suggest you consult with the latest status from the Swedish authorities and the bankruptcy case so you can factor this in when deciding if the Hövding 3 is the right product for you.

Cycle helmet alternative

In this review I will give you my thought on the Hövding 3.0 airbag for cyclist from a user perspective, assuming it works as promised should an accident occur. I have fortunately never needed the Hövding to do its job, and hence it is not a test or testimony related the ability of the Hövding to protect you when needed, rather it is my view on the Hövding as part of my daily commuting routine.

Notice that there are several generations of the Hövding, and the one in review here is version 3.0 – so if you are considering another version, the content of the review may not apply.

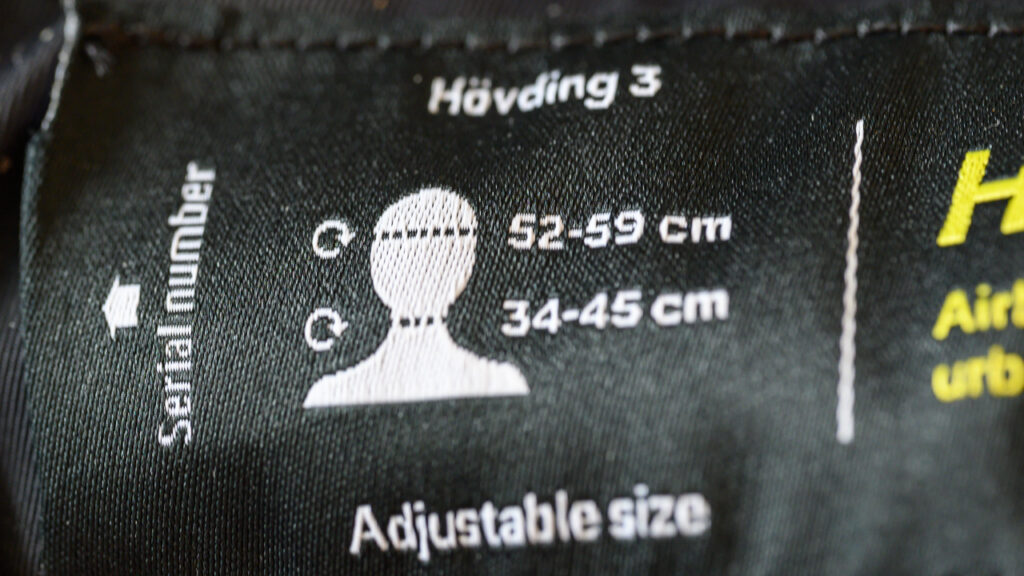
Hövding Size specifications.
Size specifications.

Also notice the size specifications. It does come with adjustable size around the neck, but you may want to consider if the ranges provided are acceptable to you.

Size adjustment
The size around the neck can be adjusted with a system similar to what many race cyclists know from their shoes or skiiers know from their boots.

In my case, with the Hövding at its widest position, it is a bit tight around the neck. I survive, but could have used just a few more centimeters of space. But I guess that safety is first, and that the design is made this way for safety reasons.

Angles matter

Be aware that the Höwding is not made for racing cycling or cycles where you do not sit up right when you bike. If you sit in a position where you lean too much forward, the Hövding will not be comfortable to wear. The lump at the rear of the Hövding will become more noticeable as you lean forward. So only for upright cycling!

Heavy Duty

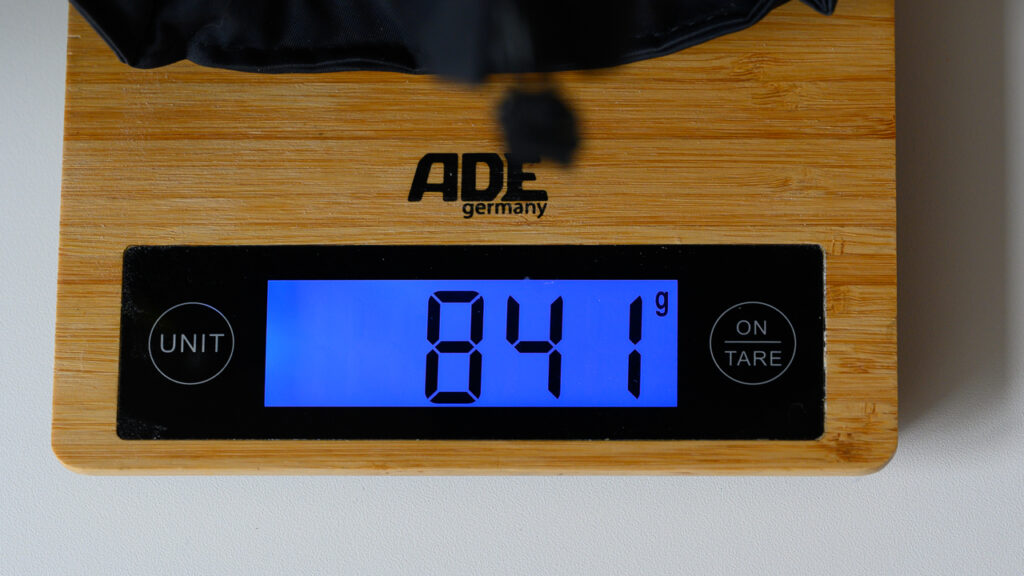
Before you try on a Hövding you may think that it is super light, but that is not the case. You get rid of the helmet and can choose to wear a hat or whatever is to your liking, but it is at the expense of adding weight. My cycling helmet weighs only a fraction of the 800+ grams the Hövding is.

Hövding weight.
Be prepared to carry some weight.

That said, the weight is well distributed and a big part of it sits in the centre around your neck, so it feels less of a pain.

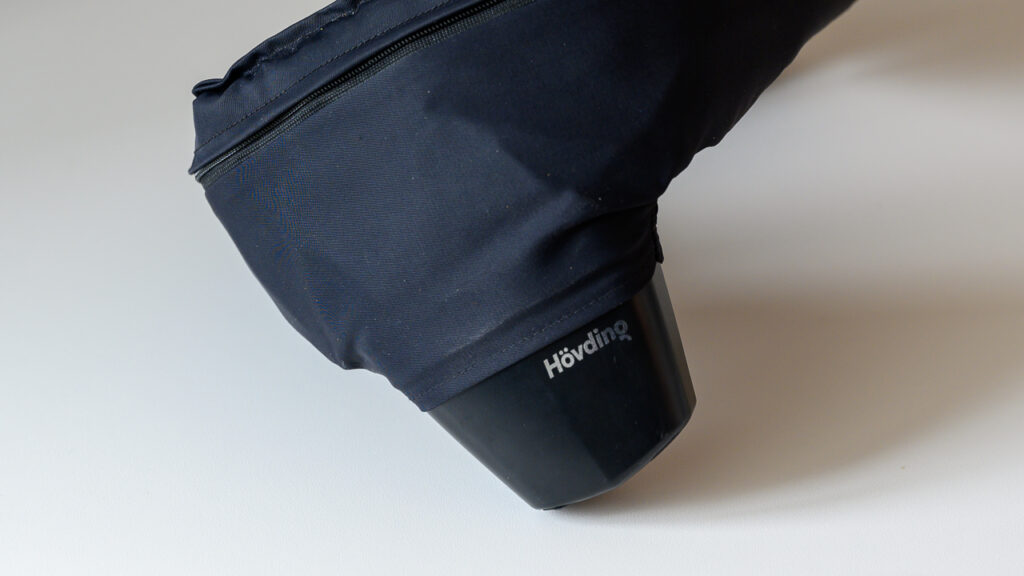
Hövding weight.
A good deal of the weight is sitting in the black lump in the centre of the Hövding. It also holds the charging USB-C port and led status.

But I was surprised the first time I put on the Hövding how heavy it was. In all fairness, after some time, you get used to it!

However, what I still struggle with is the fact that the Hövding is like wearing a scarf constantly! It is fine in the winter time, as you would do that anyway, but during summer I find that it is an absolute pain and prefer a traditional helmet for that reason.

Electronics

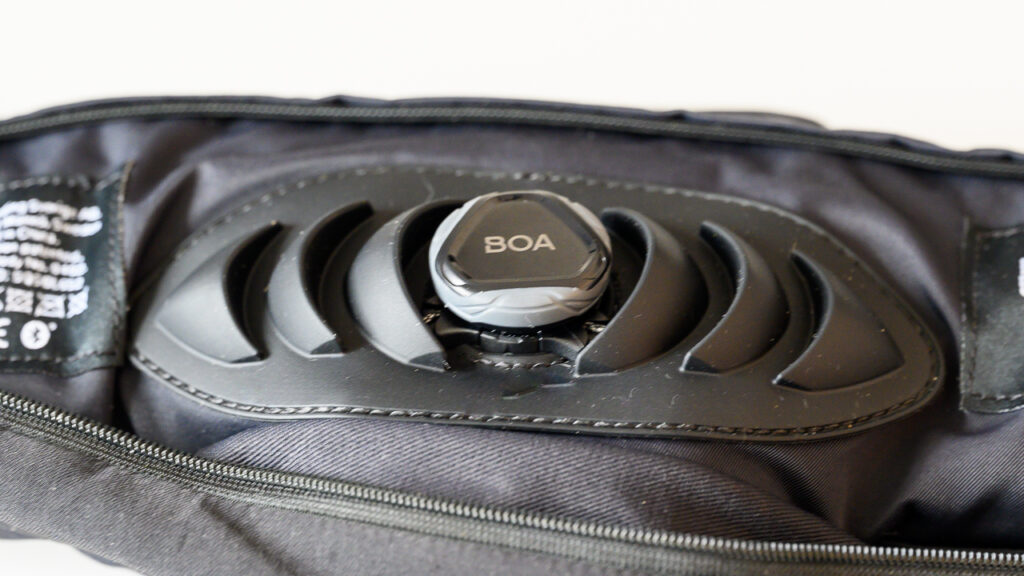
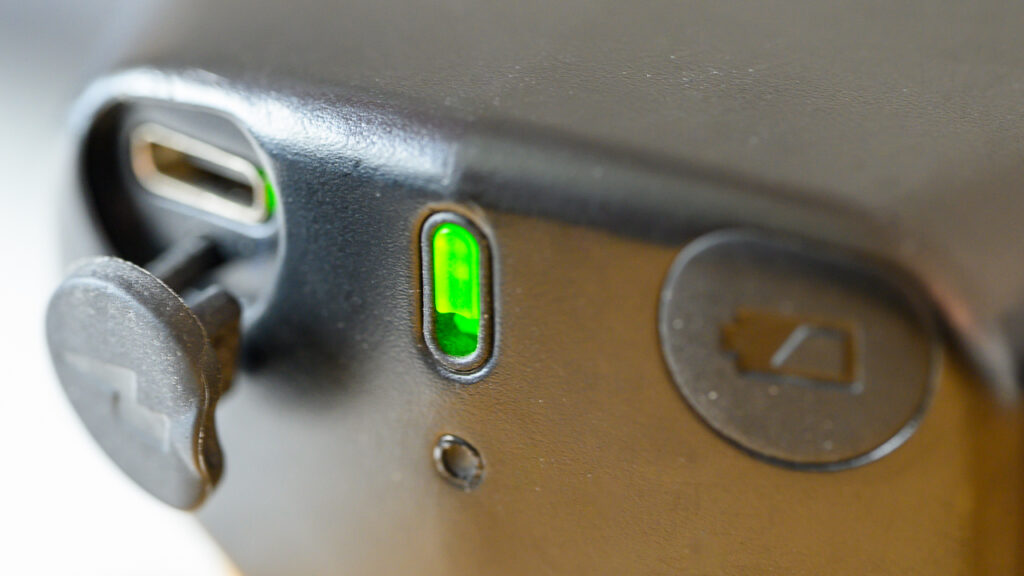
The Hövding charges via USB-C and thank you for that! Great that an industry standard for charging is catching on! There is a small charging light and a button to push to get the battery status, and that is actually the vitals in terms of the electronics.

Hövding USB-C.
USB-C – Yay!

When you close the Hövding, a clear sound signal tells you that the helmet is now  operational and will protect you if you fall. The instructions underlines the importance of only doing this while on the bicycle! Similarly, when you open the helmet, a different – but equally clear – sound signal tells you the helmet is no longer operational (and the light turns from green to red).

Hövding light.
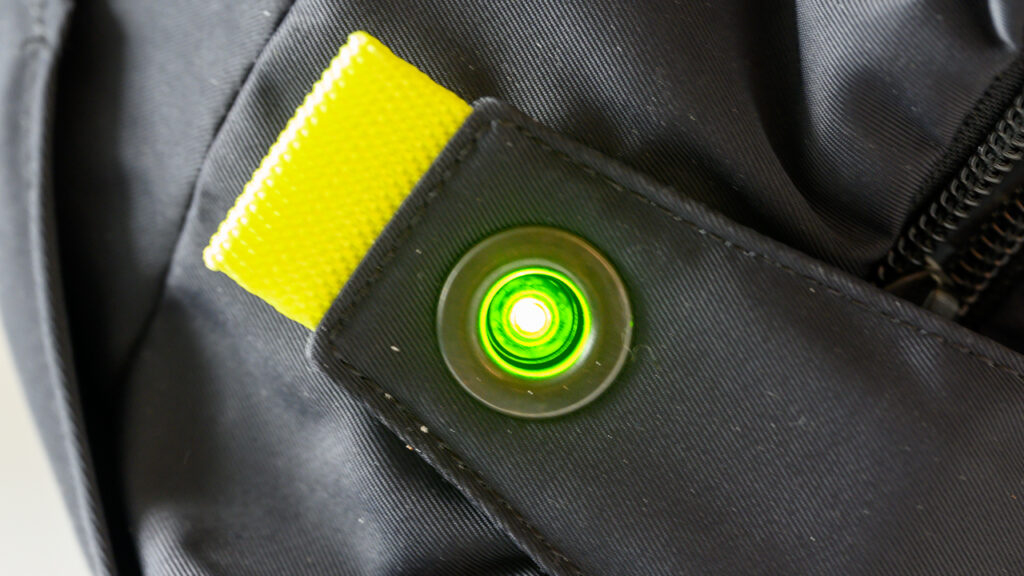
Green light indicates the Hövding is closed and operational.

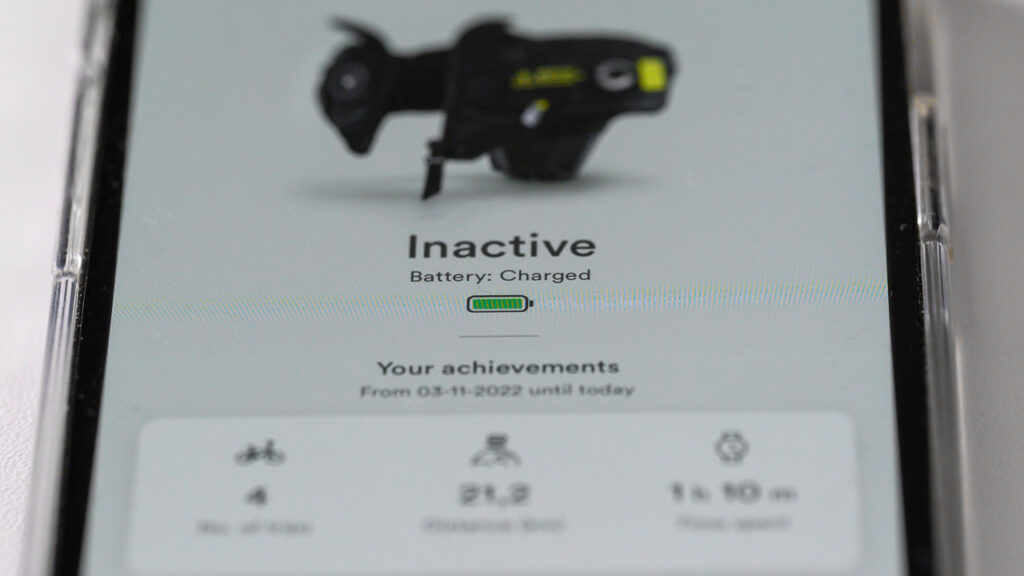
Of course the Hövding has an app, and it talks with the Hövding via bluetooth. The app works well and also keeps track of how far you have cycled and how many times you have been on the bicycle. And of course gives you a good conscience keeping track of how much CO2 you have saved the planet for, relative to travelling the same distance in a car.

Hövding app.
An app, of course!

Storage

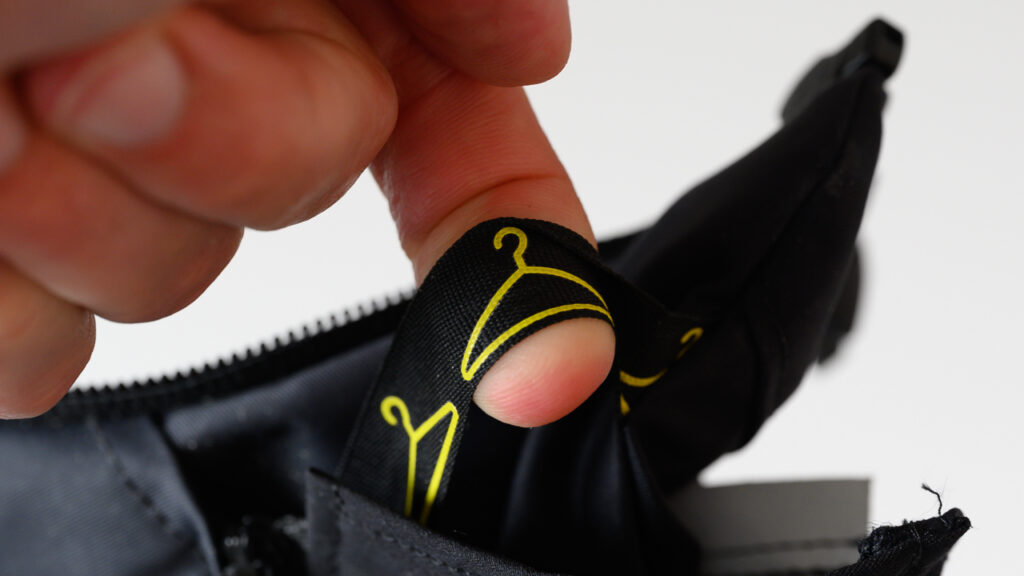
The Hövding is fairly small folded and can be fitted into most backpacks or the like for storage. It also has a small strap that allows you hang it on a hook easily when not in use.

Hövding hook.
The design includes a strap for hanging the Hövding on a hook.

Price and conclusion

The Hövding is a little less than 300 EUR here November 2022, but with the inflation numbers we are seeing this day and age, it is probably wise if you check the current prices. The Hövding is a use-once-only product, but I find that 300 EUR for avoiding a serious head injury is what I am more than willing to pay. My main complaint when it comes to the daily use is that it is warm to wear the Hövding, and as such I only use it during winter time. The rest of the year I prefer a traditional cycling helmet. But it is great to be able to use it during winter time and wear a warm hat at the same time – the latter does not fit well under the “hood” of my cycling helmet.

Related reading

Review: Garmin Varia RTL516 Rearview Radar and Taillight

Review: Timbuk2 Heritage Classic S Messenger bag multi-colored
 

Review: Garmin Varia RTL516 Rearview Radar and Taillight

Recommended

To make a long story short: Can I recommend this product? Yes.

Any downsides? Apart from maybe being a bit expensive, the biggest downside is that it is so interesting to watch what the radar tells you, that you may forget to look forward!

What is it?

The Garmin Varia RTL 516 is a taillight and rearview radar in combination. It hence makes you more visible, and also makes it possible for you to see what is coming from behind, without turning your head. This is particularly useful for triathletes that due to their position on the bike have a hard time looking over their shoulder, but it is also very useful for racing bikes, where the same applies, maybe to a lesser extent.

Garmin promises that it will detect cars as far as 140 meters away. I have not tested this claim, but I have tested the product in real life, and I can say that it works very well. I am actually a bit impressed. Even if I was driving on a bike path with parked cars between the bike path and the road, the radar was still able to “see” though the parked cars and identify cars approaching.

What is in the box?

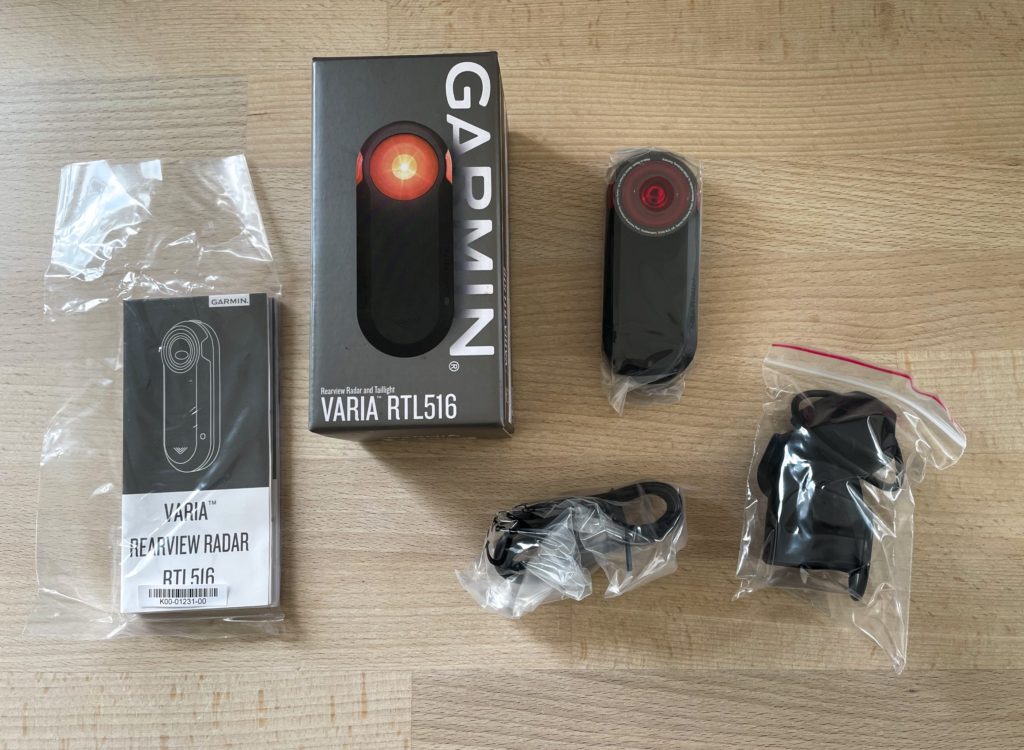
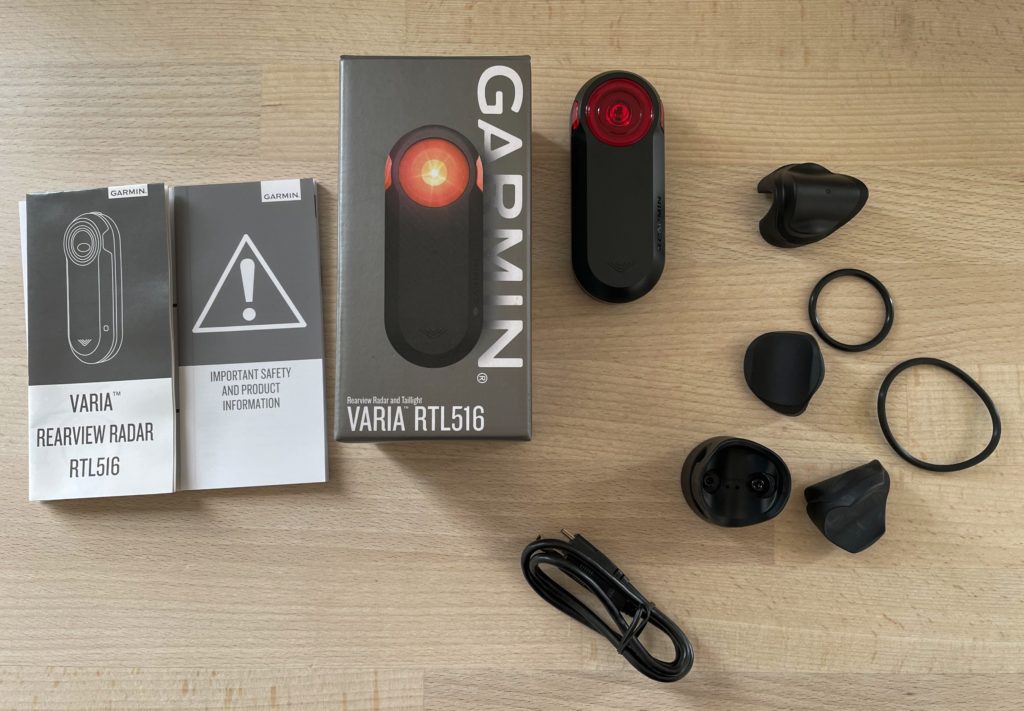
Left to right: Documentation, the box, charging cable, the unit itself and mount solution.

Other than the unit itself, the box contains a charging cable, documentation and some options for mounting the unit to the saddle post. You’ll quickly find the relevant parts for your size and shape of saddle post.

Left to right: User guide, safety instruction, box, charging cable, the rear light itself, and then a range of options for mounting the unit.

Is installation easy?

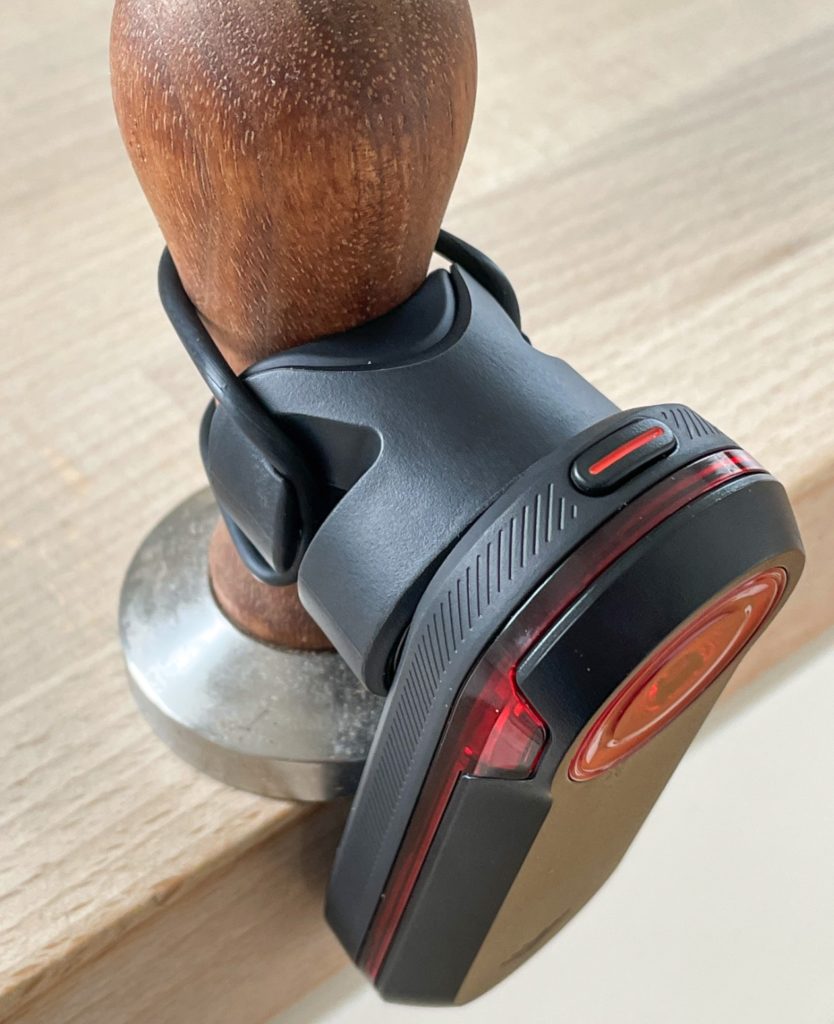
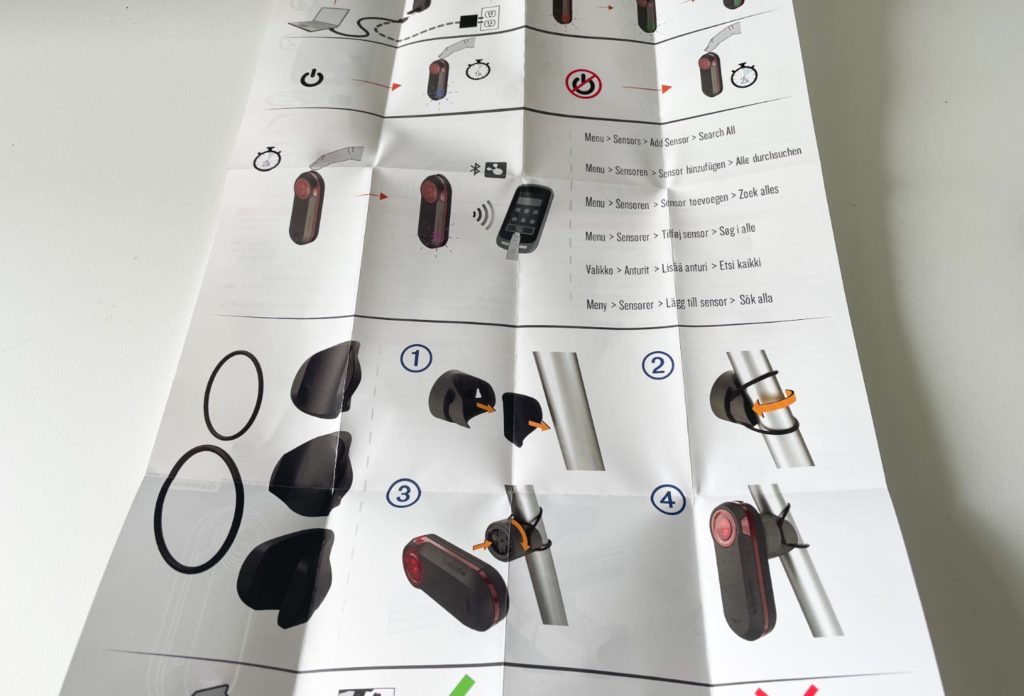
Yes. You just need to find the right length of rubber band and the best shape for your saddle post, and then you can mount it on your bike in 30 seconds.

The light mounted on my coffee stomper just to illustrate how it works.
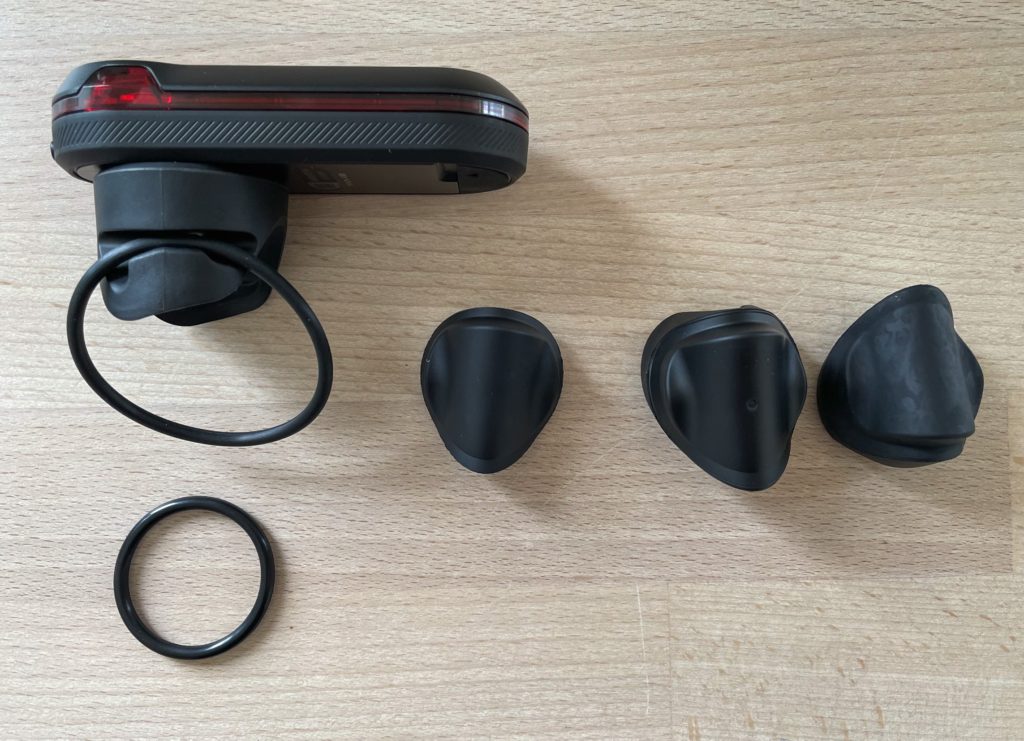
The light is locked into position with the twist-and-lock system we know from many other Garmin products. Different options for mounting on more or less aerodynamic saddle posts.

Is pairing easy?

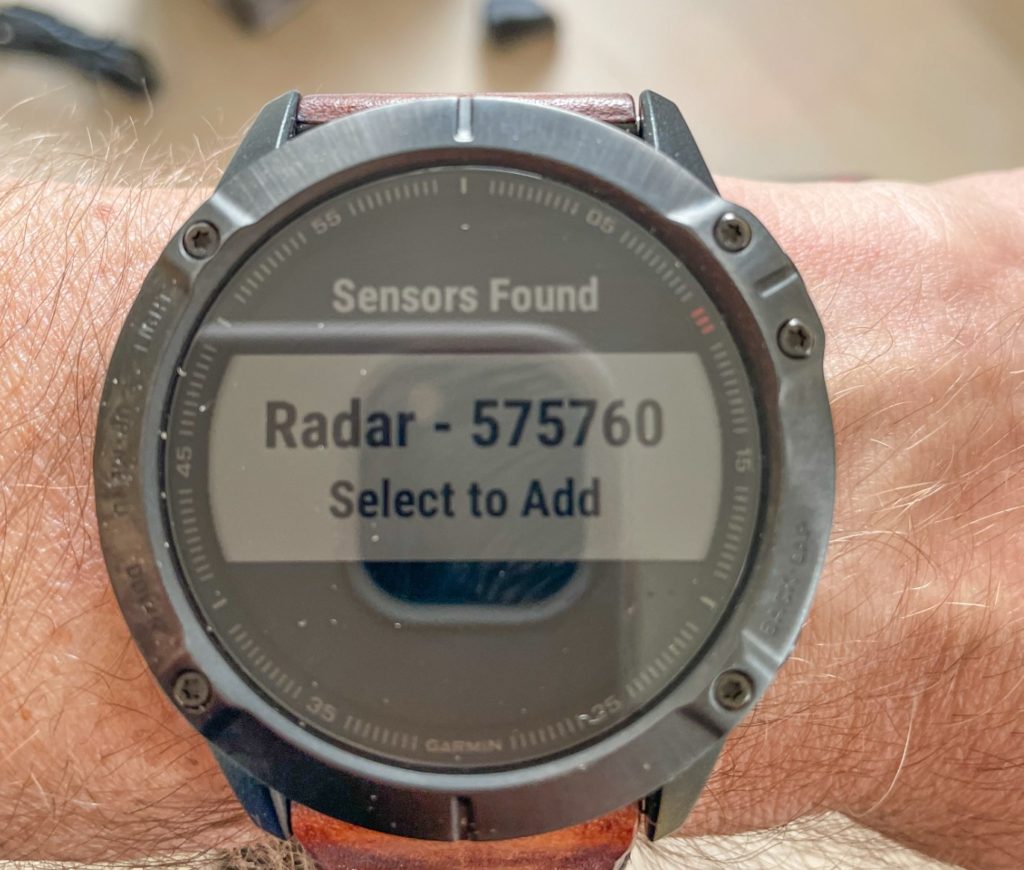
Yes. I used it with my Fenix 5 and just asked my watch to scan for new Bluetooth units nearby. By holding down the on/off button for a few seconds, the radar also starts pairing and 10 seconds later the handshake was complete and the units linked.

Connecting the rear light radar to my Fenix 5 watch was really easy and took no time.
The user guide is wonderfully simple to follow. Lots of illustrations. Very little text.

Is the battery life ok?

Yes. Garmin promises 9 hours, and although I have not tested it to the limit, it is my clear impression that there will be plenty of power on a full charge for most cyclists. Only if you cannot charge between rides, I would imagine the battery could run out. On other news, I was a bit disappointed to see that the charging cable – here in 2022 where EU has decided it is the future standard – is not USB-C.

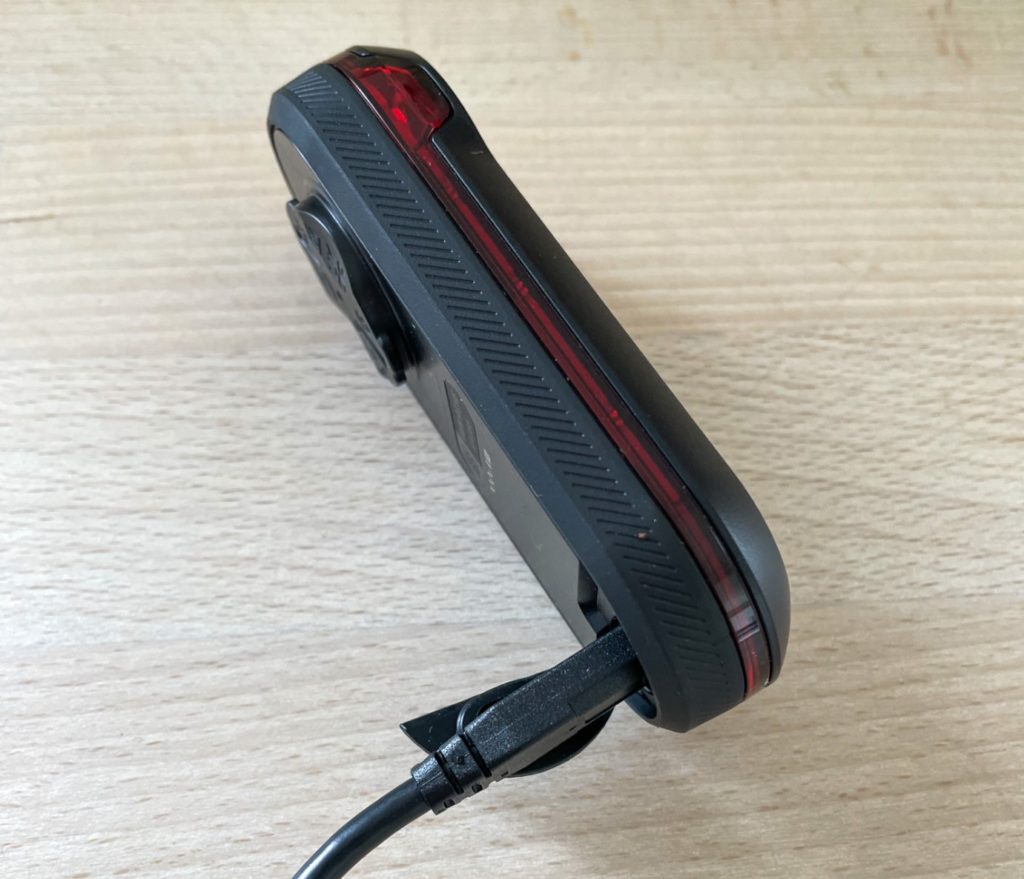
Charging the unit with the supplied cable. Unfortunately it is not USB-C, but just mini USB.

How is it to use?

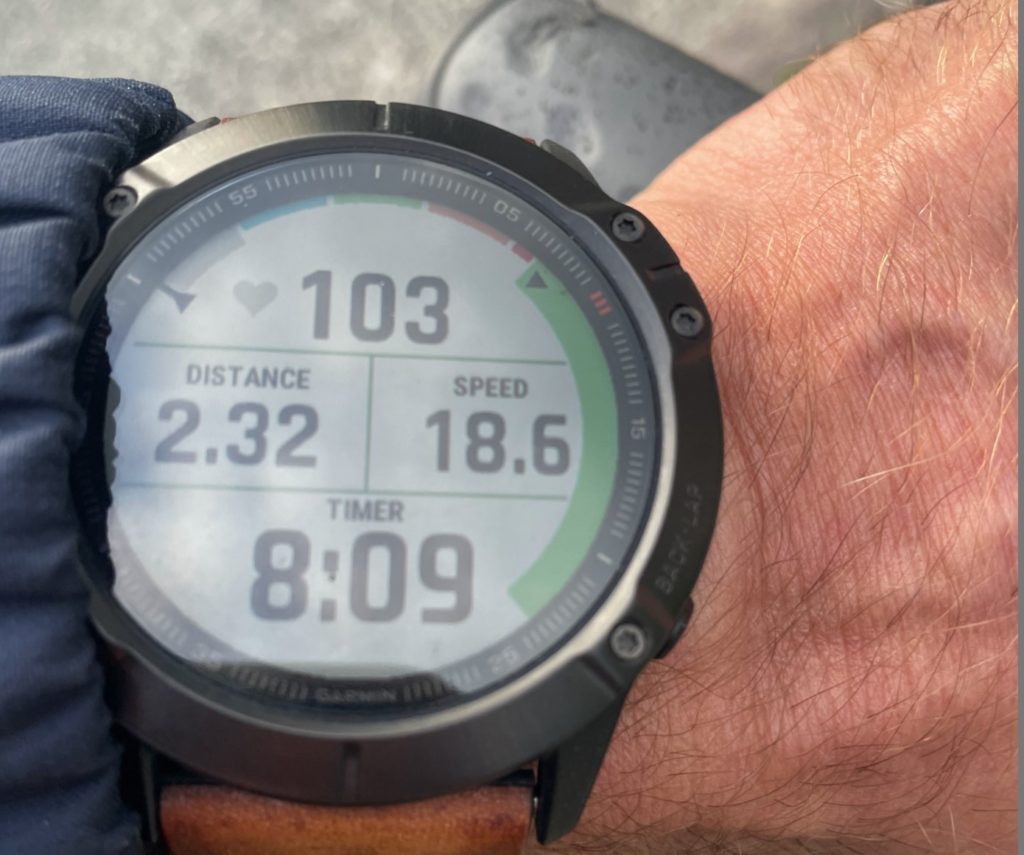
I tested the unit on a Fenix 5 watch, and the way it works is that a little bar appears to the right in the screen. It is green when no one is approaching and turns amber and red, subject to how fast and how close those approaching are.

The bar to the right is the radars graphical zone. Here it shows that there are no cars or objects approaching and hence it is colored green = no danger.

Cars approaching are illustrated as little dots that move from the bottom of the bar to the top as they approach. Several dots will appear if you’ve got several cars approaching. And it works really well and I am impressed how it is able to distinguish between objects that you just pass (like a parked car) and objects that are approaching. It is so fascinating to watch, that you may forget entirely to look forward! So be cautious when you start using it!

In the best of worlds I would have had a Garmin product to sit on my handlebar so I would be able to see the graphics easily. But I found that when danger really was high, the Fenix 5 watch vibrated just a bit, to draw my attention to the radar. It works really well, but of course can be a bit stressful until you get used to it.

Conclusion

As you probably have guessed by now, I find this to be a great product, and an invention that potentially could save lives in the traffic. It is a bit expensive, but it works really well and considering what damage it potentially can avoid, I really wished that more cyclists would start using this product.