Nikon D700: Image file formats explained

All about the data…

The options available for storing files on the Nikon D700 can be a bit overwhelming, so I try here to give a short overview, so you quickly get a “drivers license” to the options available. It is not intended to be a full blown engineer explanation of all the ins and outs of file formats and compression, but a drivers license to help you make some clever decisions without getting too bugged down by technical details.

Resolution and compression

Your Nikon D700 has a 12MP sensor. No matter which format or compression you choose, the source of the data is still the same. And the resolution of the sensor remains the same.  What your are changing is the format of the file, how much info is stored about each pixel and how the file is compressed. But not the number of pixels.

Note: You can change the cameras image area between FX and DX format, and within these choose between L, M and S. I will not cover this part here, but always recommend that you go for Large (L) FX format, to give you the most options in post processing. You can always crop the file, if that is to your liking.

RAW format

The D700 stores in RAW format named NEF – Nikon Electronic Format. It is just a format or a way to structure the file. Most software these days like Lightroom or Photoshop can read and work with these files. RAW is the “richest” format you can choose, i.e. all that is recorded by the sensor is also stored in the file. If you don’t like RAW format, then TIFF is an alternative, but if you don’t know what TIFF is or your printer doesn’t insist you send the files in TIFF format, then I would suggest you ignore this option.

You can compress the RAW file to varying degrees. The objective of compression is to save space. Lossless compression is  the “lightest” way of compressing that enables your computer to “reverse engineer” the compression back to the amount of information available when the image was taken. In other words, despite the compression, no information is lost. Hence the name. My recommended setting. Uncompressed has the same advantage – no data is lost, but mind you that it takes up a bit more space and that processing time is a bit longer simply because the file is larger.

Compressed RAW saves you around 40-45% of disk space, and you loose very little data. However, you do loose some data, and the original file cannot be recreated. It is in other words a non-reversible algorithm that is applied when the compression is done. If you struggle with card and disk space, i.e. you have too little of it, then this could be a really good option to use for mitigating your space headache. But mind you that the price for memory and disk has only gone one way for many years – down.

Another dimension to the RAW format is the bit depth. Again, it is not related to resolution, but how much information is stored for each pixel. You can choose between 12-bit and 14-bit. It may sound like a small difference, but the number of options explodes exponentially as you add positions for storing information, and hence going from 12 tp 14 bit enables your camera to store MUCH more information. If you in any way shape or form can handle the bigger files that 14 bit generates, then the 14 bit is my recommendation.

JPEG format

JPEG is a very different format from RAW, and the objective is first and foremost to save space and make the file significantly smaller. Not in terms of resolution, but in terms of how much info is stored per pixel. JPEGS were designed to share images via low bandwidth channels and hence compression and small files is the main objective here.

The D700 gives you 3 JPEG options: Fine, Normal and Basic. Basic is where the compression is the biggest and the file is the smallest. Fine is where the compression is the least and the file is the biggest. Normal is the middle of the road alternative sitting somewhere between Fine and Basic. The compression takes data out of the equation. To illustrate: Where a RAW file may store say  100 shades of grey, a JPEG file reduces these to 30 shades of grey in Fine mode and only 10 shades of grey in Basic mode. So the granularity of the shades and the colors will be reduced due to the compression made. JPEG files are rather small also in Fine mode, so if you want to use the JPEG format, I always recommend that you use the format with the least compression: Fine.

Combined formats

You can choose to combine formats, so that the camera records both a RAW and a JPEG file at the same time. I have used this in my post processing so that I load the JPEGs and do a review of the images, mark the ones that I like and then afterwards only import the ones that I like as RAW files. As this is an additional step in the work, I have dropped this way of working and now only shoot and import RAW files. It takes more space both on my camera and my computer, but it saves me for a lot of time, and hence it is to my preference. As they say, time is money.

Related reading

Is JPG a bad format for photography?

How many MP do you need in your camera?

High dynamic range shooting with a DSLR

Nightclub photography

So I got a question on YouTube related to nightclub photography and how that can be achieved.  In order to answer, I will start with the human eye, which has a dynamic range of 21 stops! Even the best cameras ever made can keep up with this performance – for example the acclaimed Nikon D700 “only” has a dynamic range of 13.9 stops according to DXOmark, whereas the very best modern cameras manage to go to 15 stops.

The dynamic range is the ability to distinguish between light intensity in the darkest of the dark and the brightest of the bright at the same time. The fact that it is at the same time is important. You can always underexpose an mage to make sure you preserve the details in the brightest of bright areas. And the other way around, you can always preserve the details in the darkest areas by overexposing the image. But the challenge is to do both at the same time.

A nightclub with both neon lights (super bright), disco light (bright and moving fast) and also dark areas (could be the dancing floor itself or the side of the bar) has an extremely high dynamic range. It is very similar to shooting the moon at night – you both have something very bright and something very dark at the same time. It is like shooting a 100 watts light bulb in a dark room at night.

Metering

Your metering system is likely to very confused if you shoot at a nightclub, especially if you meter with an average method. 95% of the frame is likely to be pitch black, whereas the remaining 5% is super bright. My guess is that your camera, unless you try spot metering or go to manual exposure, will over expose the image to compensate for the dominating dark. Try to experiment with different metering modes or manual exposure to get the exposure as you want it. You can also give exposure compensation a try.

ISO or not

A camera that can go to crazy high ISO values will not help you. Setting ISO high enables you to capture images where there is little light, buy when doing so, the parts where there is light will be over exposed. In other words, you will loose details in the bright areas. Here I ignore the issues related to high ISO such as grain and noise, the point is that even if you can live with these issues, it will not help you much.

Fast lens

A fast lens has the same features as high ISO, but without the grain and the noise. It will take in more light and enable you to shoot at faster shutter speeds all things being equal, but you will have the same issue as with ISO, that it will only push your histogram to the right and you need it to be extended in both sides.

HDR

High Dynamic Range or HDR you probably know from your smartphone. It offers the HDR feature without telling you what it does – it is an integral service that just presents you with the result. But behind the scenes the smartphones takes a series of images, typically some over exposed and others over exposed, and combine them into one picture selecting the correct exposed parts from the different pictures into one. You can do HDR with your DSLR and combine the images in post processing, and this will certainly work. The problem is just that your subject has to stand still while this happens. And disco lights have a tendency not to obey to this wish.

Loosing details

One of my favorite photographers is Sean Tucker. If you study his work, you will see that he often and deliberately looses details in the dark. His motto is to “preserve your highlights”, i.e. preserve the details in the highlights and let the different shades of grey be one big black surface without any detail.

You can loose details in both ends of the spectrum. Which “end” you choose is up to you. I would imagine that loosing details in a neon light would not matter much, suggesting that you should expose for the dark parts, i.e. over exposing to preserve details in the darker parts. But this is of course entirely up to you and what you want to express.


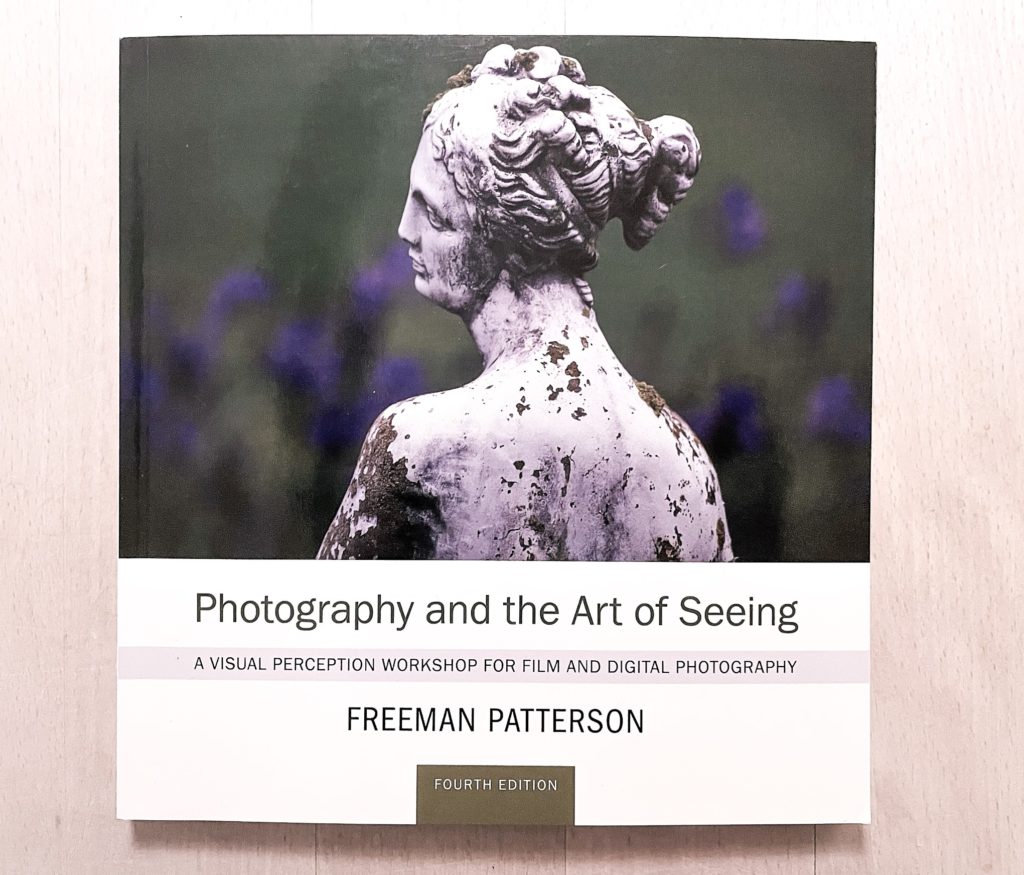
Review: Photography and the Art of Seeing by Freeman Patterson

The art of Seeing

Being a Canadian, Freeman Patterson is perhaps not so well known in Europe or the US as many other leading photographers. But if you look at his resume with a Lifetime Achievement Award from the North American Nature Photography Association and the Miller Brittan Award for Excellence in visual arts, then you start to understand the magnitude and importance of Patterson’s work.

Freeman Patterson: Photography and the art of seeing

Who is it for?

If you are new to photography and want to learn the basics, then this book is not for you. I would recommend that you instead look towards the books from Bryan F. Peterson or Joel Sartore.  The Art of Seeing is much more about the photography process and how you can widen your creativity.

What is it?

The book is organized around 3 main themes:

  • Learning to observe
  • Learning to imagine and
  • Learning to express.

Especially the last part, where Patterson talks about visual design, was a an eye opener for me. I have the same feeling when reading the book The Art of War by Lao Tzu, that even though I do not yet understand every sentence or every paragraph in the book, I have a very distinct feeling that it is a super condensed text that presents the essence of years and years of experience. I have read the book once, but want to read it several times to make sure I get all the points.

Can I recommend it?

Yes is the short answer. I have read many books about photography as this blog documents, and this is probably one of the best. The book has been developed to support a series of workshops that Patterson held way back when, but you can still make use of the exercises described in the book of you want to have the full benefit of the book. Even if you don’t do all the exercises or if you only want to read the theory, I find that this is an excellent book about the photography process and it comes with my highest recommendation.

Shopping link

Freeman Patterson, Photography and the Art of seeing

Video link

Related reading

Saul Leiter In My Room, Edited by Margit Erb and Robert Benton

Henri Cartier-Bresson Here and Now, by Clément Chéroux